

actions/upload-artifact@v4 action.
Use artifact uploads to preserve test outputs (JUnit XML, coverage reports, screenshots) for later inspection, release pipelines, or when adding richer PR annotations with a test-reporting action.
Why upload test results as artifacts?
- Keeps test artifacts available after the run completes.
- Allows manual download for debugging failed runs.
- Enables downstream workflows or release jobs to consume test output.
- Works well with parsers that convert JUnit/Jest XML into GitHub annotations or PR test summaries.
Never commit secrets (e.g., full connection strings with credentials) into source control. Use GitHub
secrets or vars as shown in the examples below.GitHub Actions: Solar System CI (unit-testing + upload artifact)
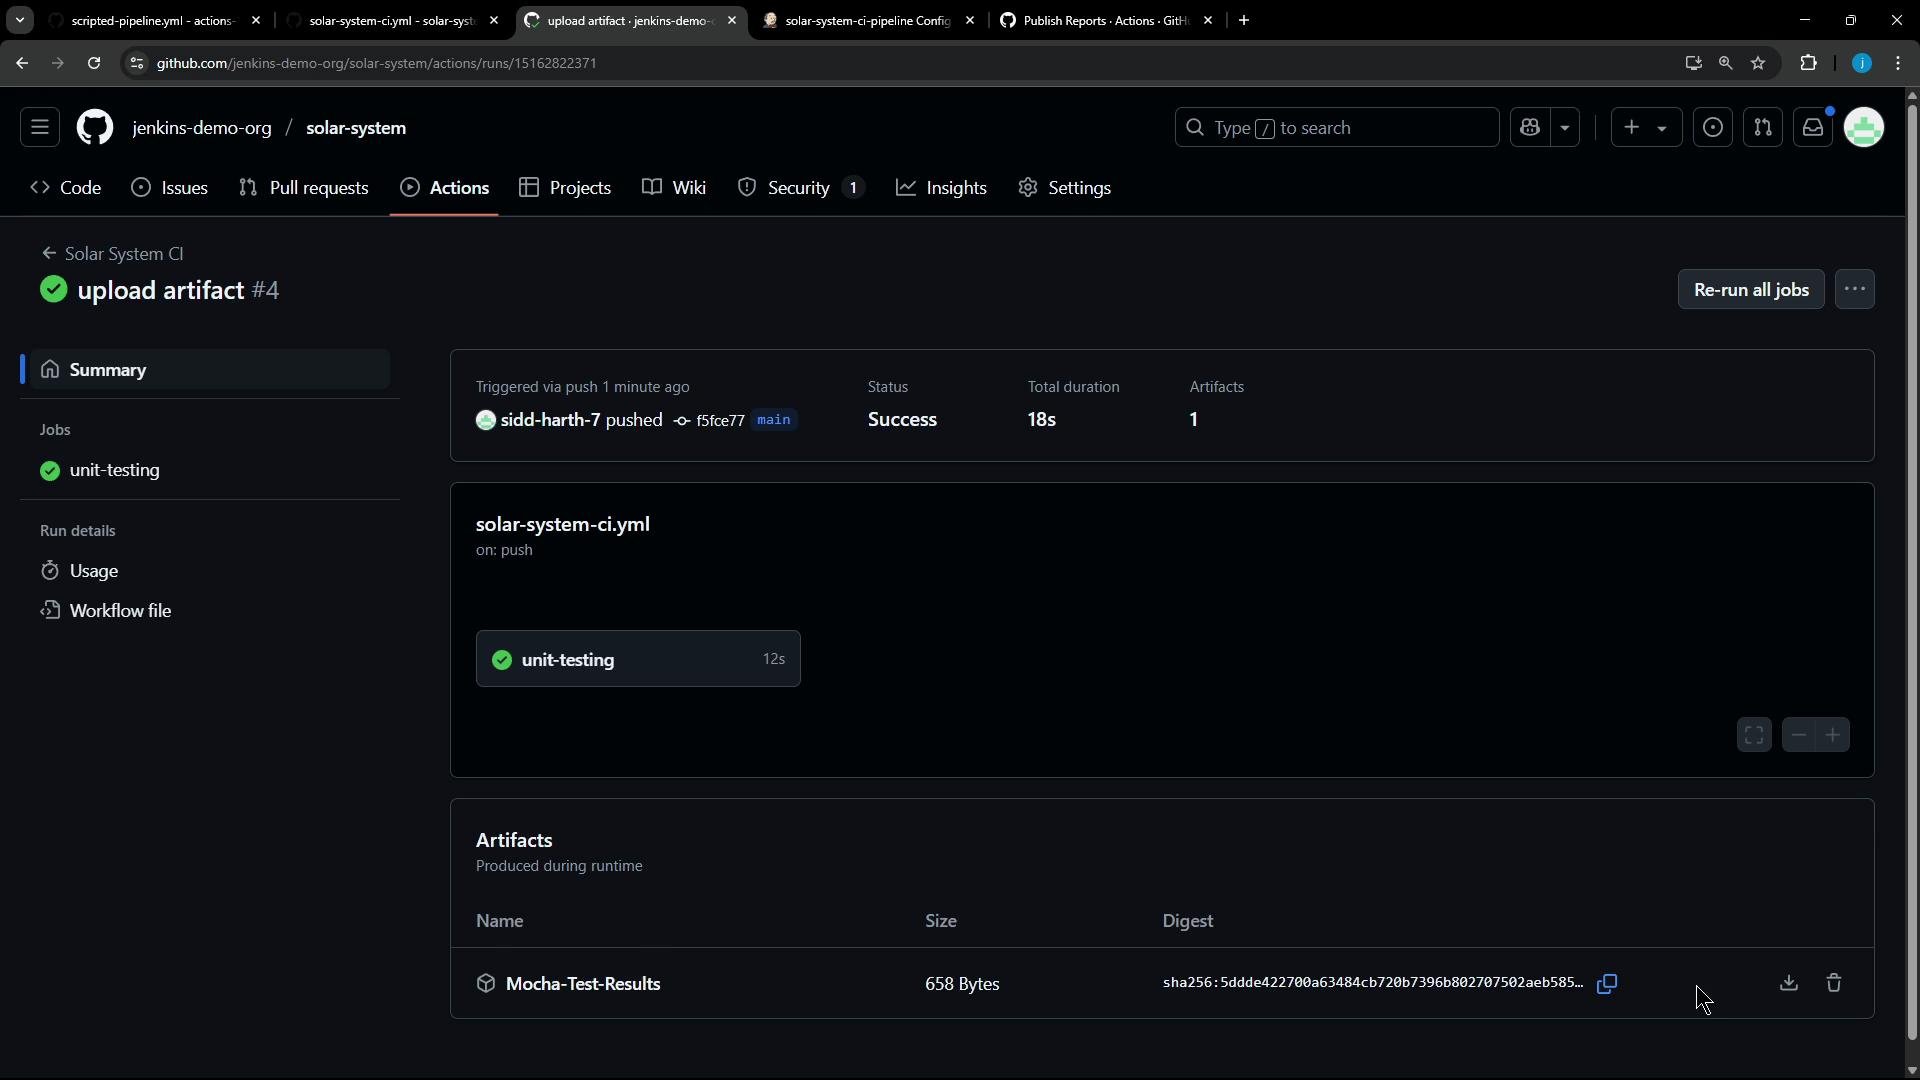
Below is the GitHub Actions workflow used for the “Solar System CI” job. It checks out the repository, installs Node dependencies, runs tests, and uploads thetest-results.xml file as an artifact named Mocha-Test-Results.
- The workflow expects your test runner to emit a JUnit-style XML file (here
test-results.xml). Configure your test runner (Mocha, Jest, etc.) to produce that XML. - The artifact name is
Mocha-Test-Results, and it will appear in the workflow run UI under “Artifacts”.
Equivalent Jenkins Declarative Stage (for comparison)
If you are migrating from Jenkins pipelines, your Jenkinsfile may already have a stage that runs tests and archives JUnit XML results. This compact declarative snippet demonstrates the same behavior with thejunit step publishing test-results.xml:
When migrating from Jenkins, keep the same test command and JUnit output filename to minimize changes: your GitHub Actions job can reuse the same reporting files as Jenkins did.
actions/upload-artifact@v4 — key inputs and behavior
Theactions/upload-artifact action is used to persist files from a workflow run. Below is a concise reference for the most commonly used inputs:
Use backticks for paths and file names when including CLI or code examples (e.g.,
test-results.xml).
Reporting and PR annotations
If you want richer reporting (annotations, inline failures in PRs, or test summaries), consider adding a test reporter action from the GitHub Marketplace. Search for “JUnit”, “Test Reporter”, or “Test Results” to find actions that parse JUnit/Jest XML and create annotations or PR-level reports. Recommended approaches:- Use an action that creates GitHub annotations from JUnit XML to surface failing lines in the Pull Request.
- Upload XML artifacts and run a separate workflow to parse them and create a consolidated test report.
- Combine
upload-artifactwith a third-party action (marketplace) that both uploads and annotates test failures.
- actions/upload-artifact: https://github.com/actions/upload-artifact
- GitHub Marketplace search for test reporters: https://github.com/marketplace?type=actions&query=JUnit
Viewing and downloading artifacts
After the workflow completes:- The artifact appears in the workflow run UI under “Artifacts”.
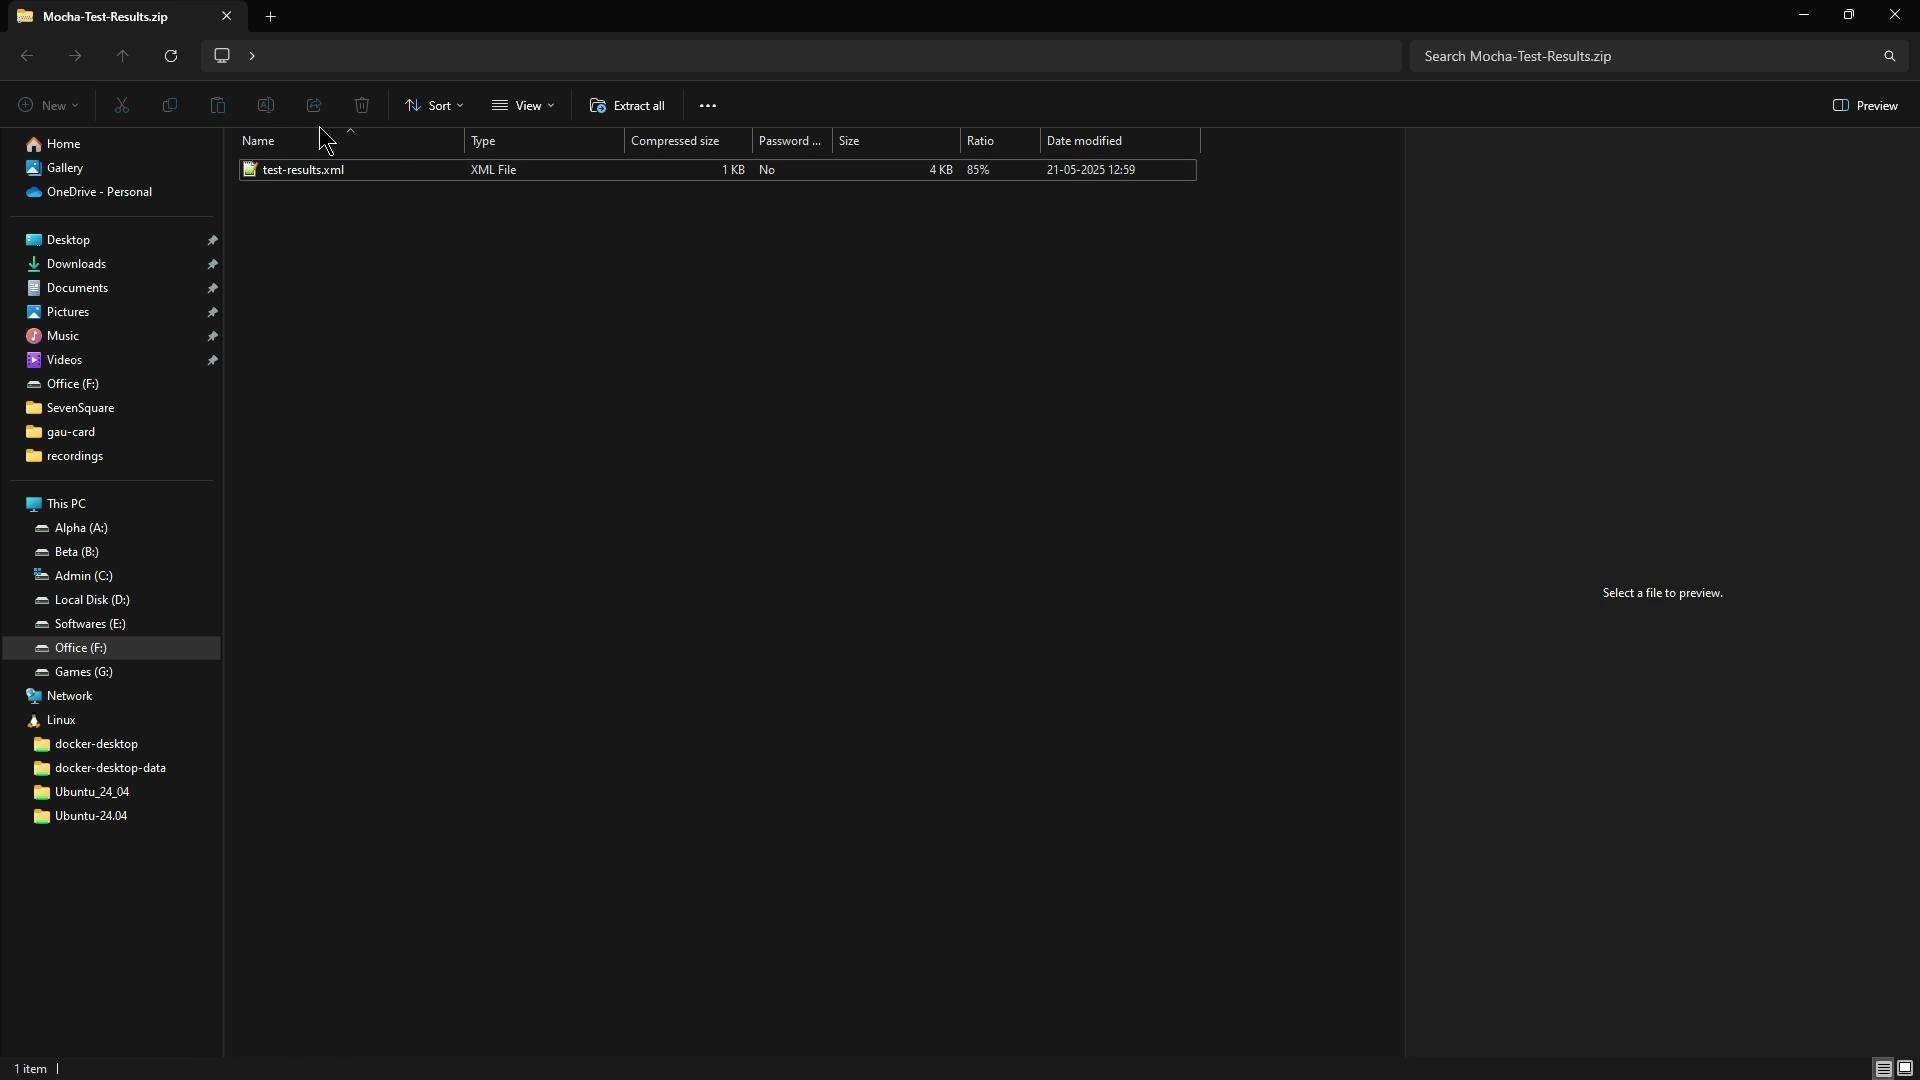
- Clicking the artifact downloads a ZIP file (e.g.,
Mocha-Test-Results.zip) that containstest-results.xml. - You can also download artifacts programmatically using the GitHub REST API or the
ghCLI.
test-results.xml file:
Example failing test output (illustrative)
When parsers or reporters create annotations, they often highlight the failing stack trace or assertion. Example raw failure output:Triggering the workflow
To run the workflow on push, ensure the workflow contains thepush trigger:
workflow_dispatch.
Links and references
- GitHub Actions: actions/upload-artifact — https://github.com/actions/upload-artifact
- GitHub Marketplace: Test reporter actions — https://github.com/marketplace?type=actions&query=JUnit
- Jenkins documentation and pipeline plugins — https://www.jenkins.io/doc/