Create the cluster
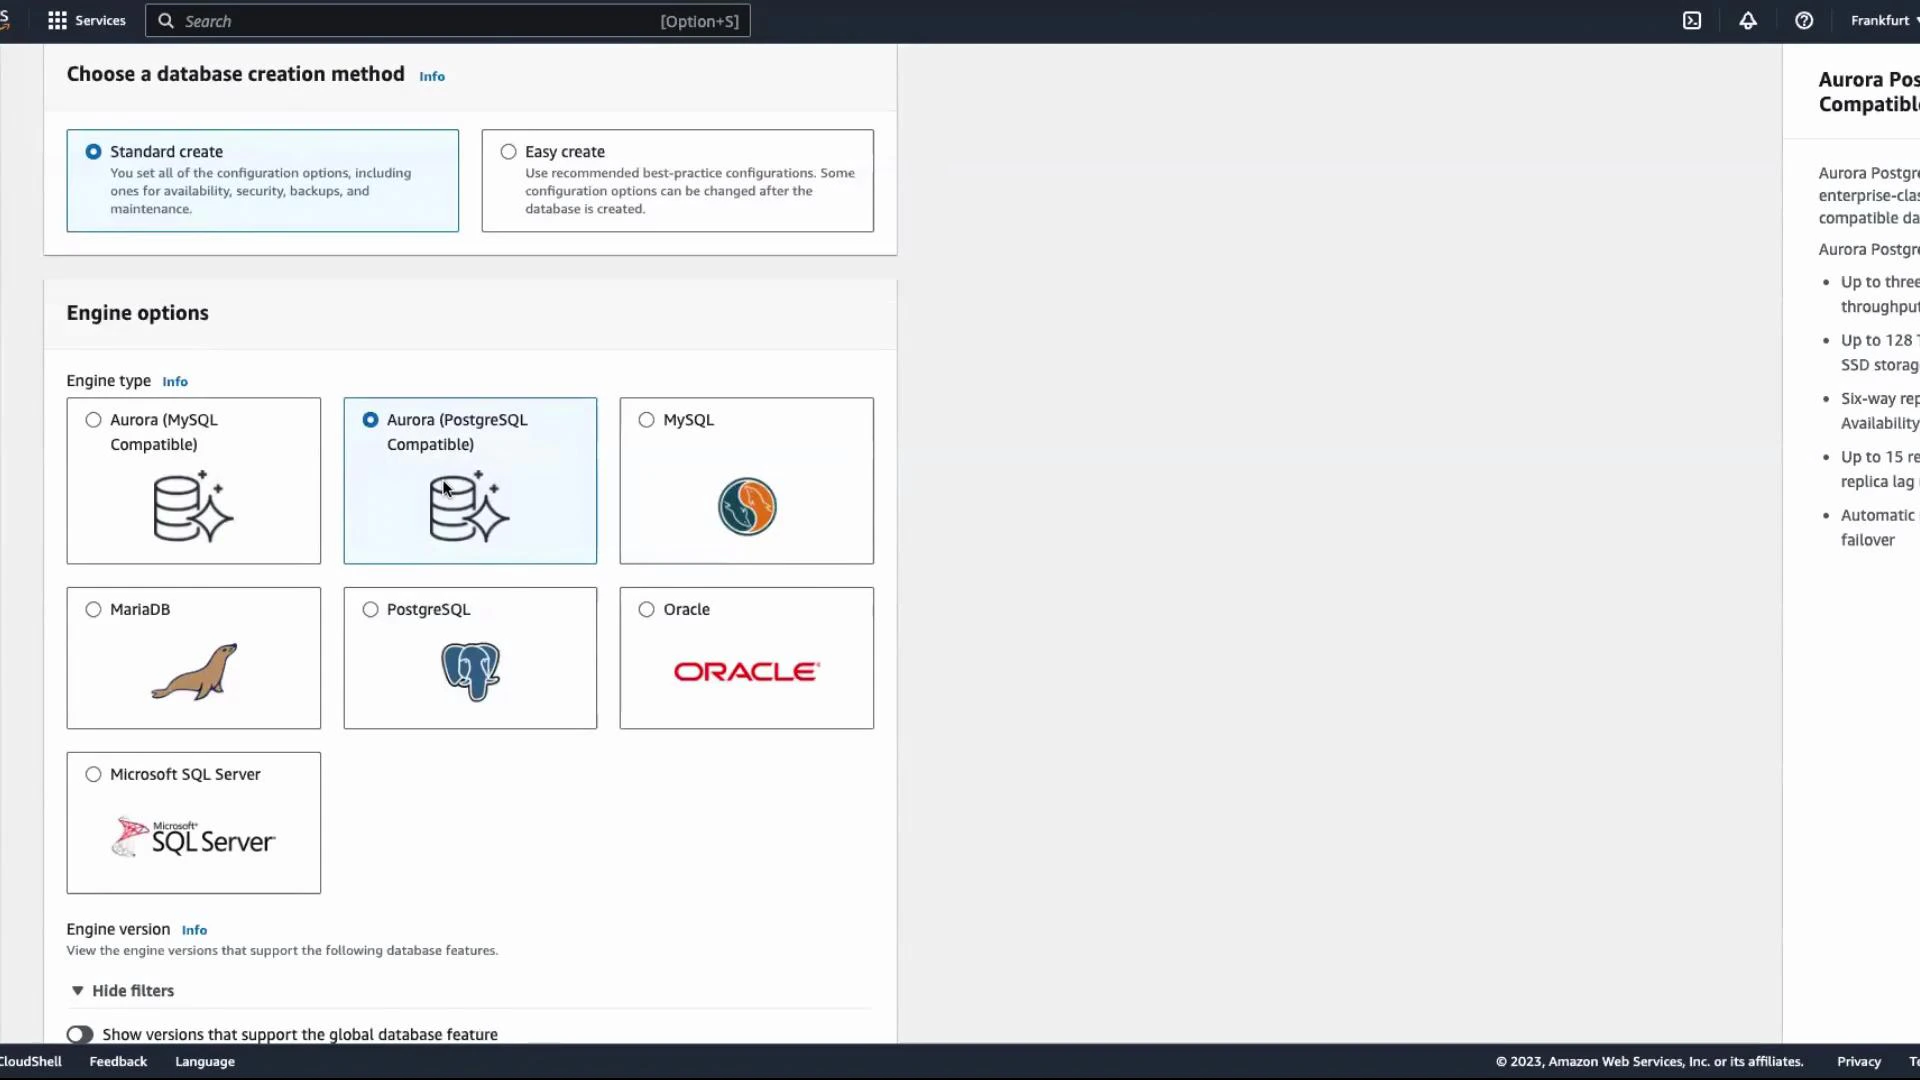
Follow these steps in the RDS console to create an Aurora (PostgreSQL-compatible) cluster:- Open the RDS console and click Create database.
- Choose Standard Create and select Aurora (PostgreSQL-compatible) as the engine.
- For the use case, pick Dev and Test (or Production for production workloads).
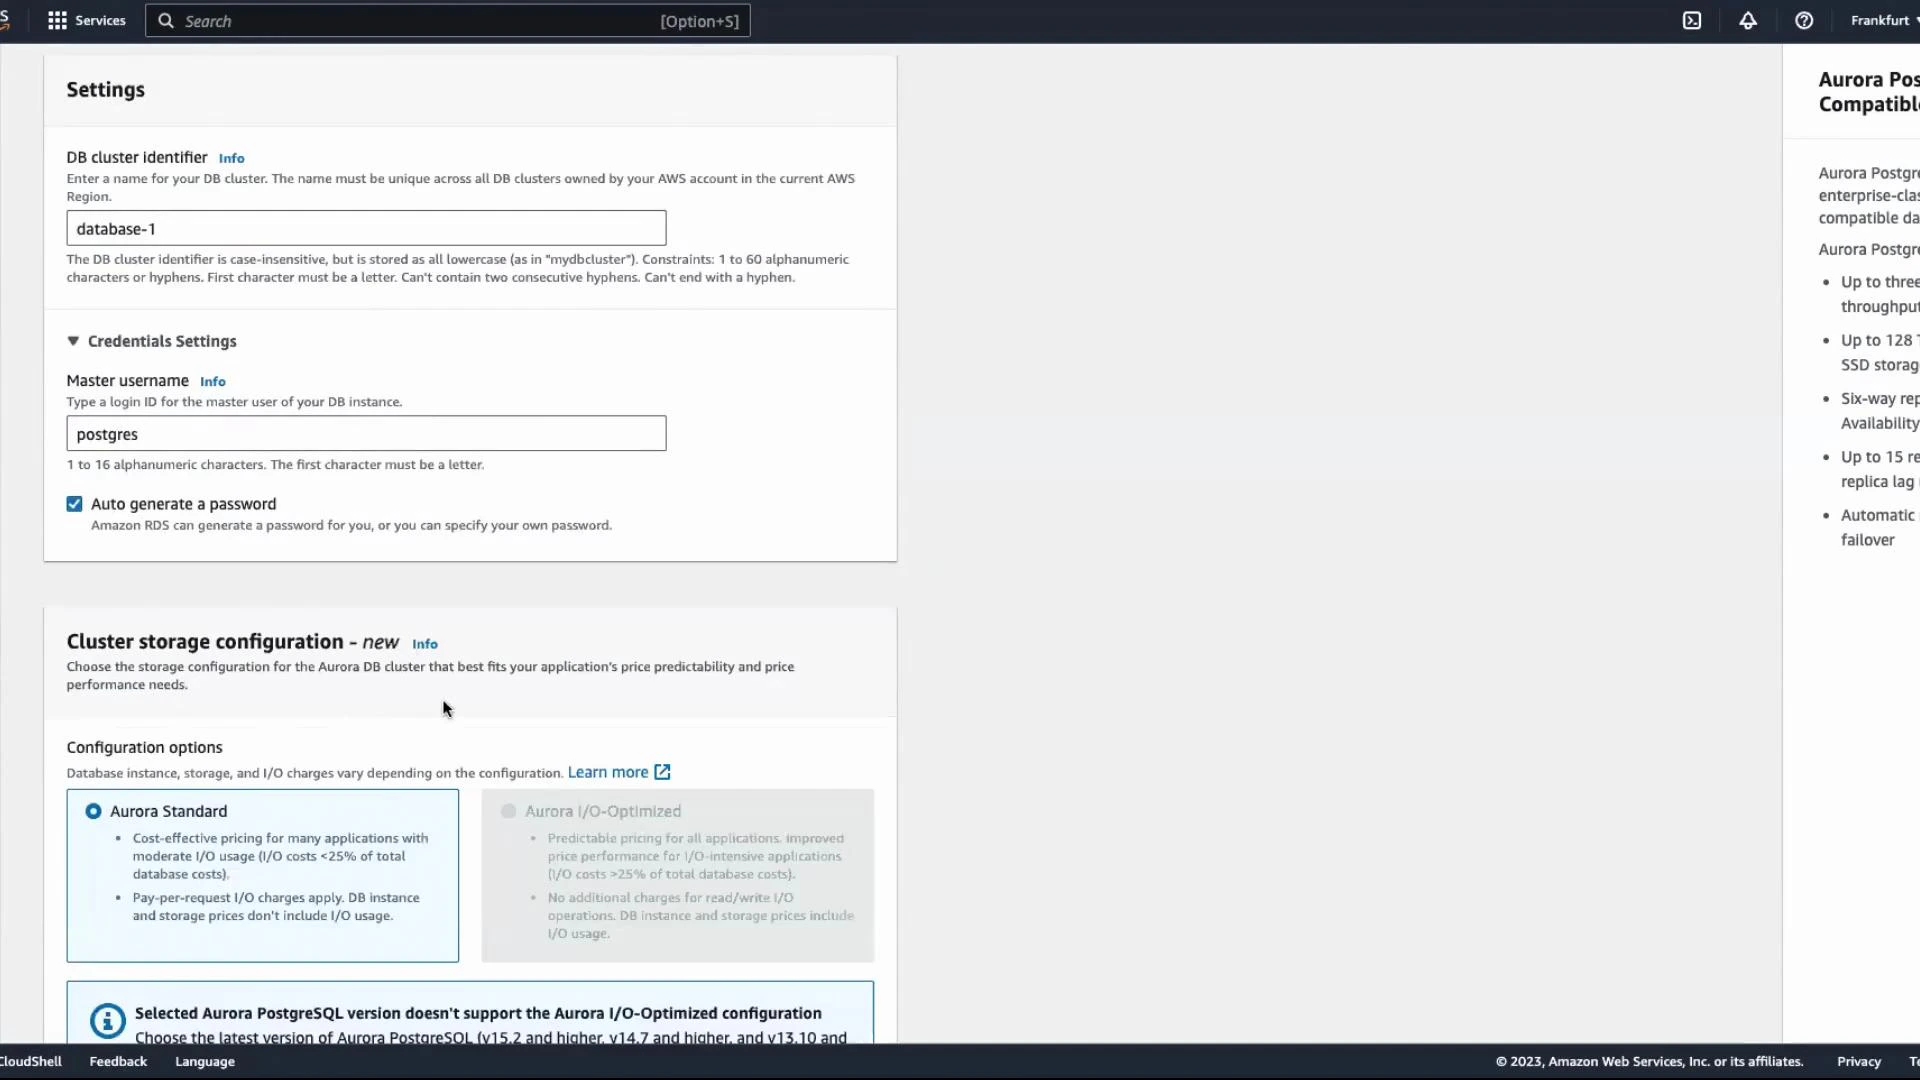
- Set the DB cluster identifier and master username (for example,
postgres). You can select Auto-generate password if you want RDS to create a password for you—store the generated password securely because it’s shown only once during creation. - Under Availability & durability, add reader instances (Aurora Readers) and configure instance placement across Availability Zones if required.
- Configure Public access to match your network and security requirements.
Enabling Public access can simplify quick testing but increases exposure. For production workloads, restrict public access and use private networking (VPC, security groups, and proper IAM policies).
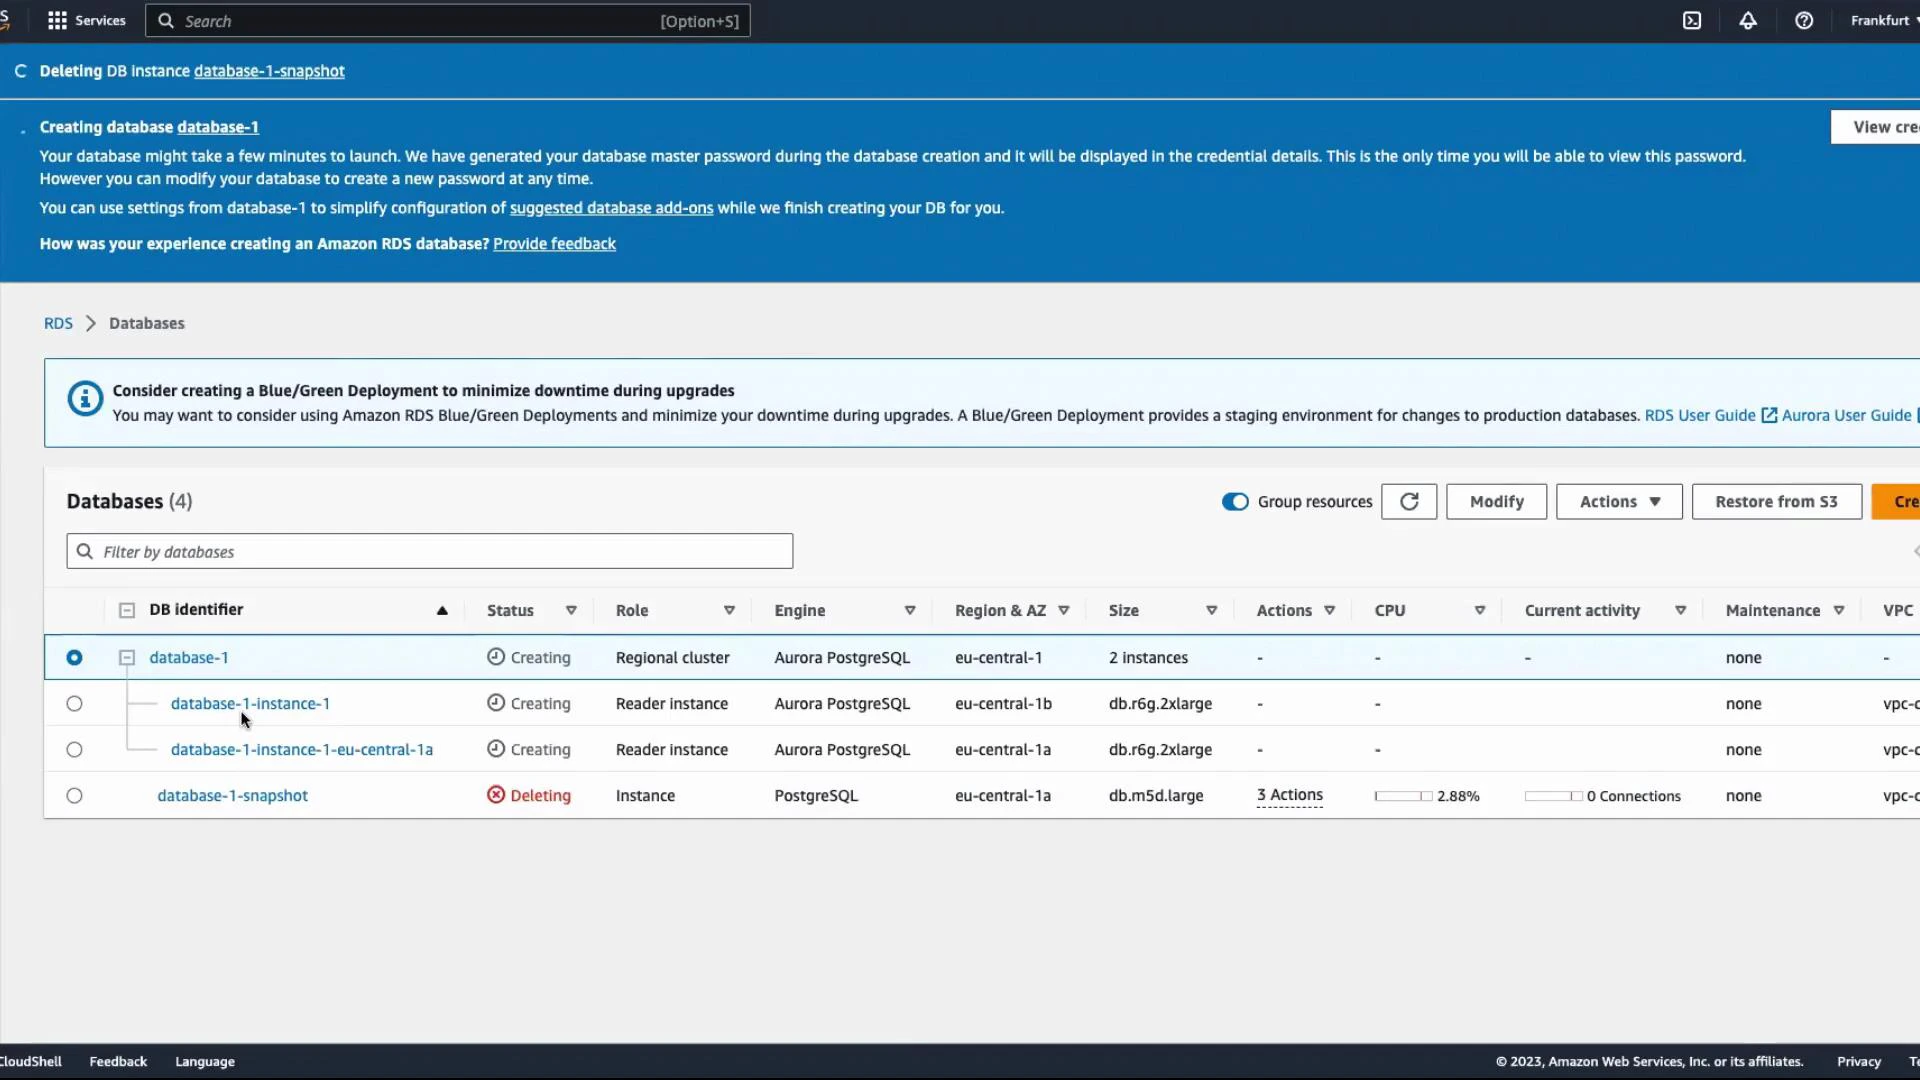
- Review all settings and click Create database.
What Aurora creates
When you create an Aurora cluster, RDS provisions:- A primary (writer) instance that accepts read/write connections.
- Optionally, one or more reader instances for read scaling and high availability.
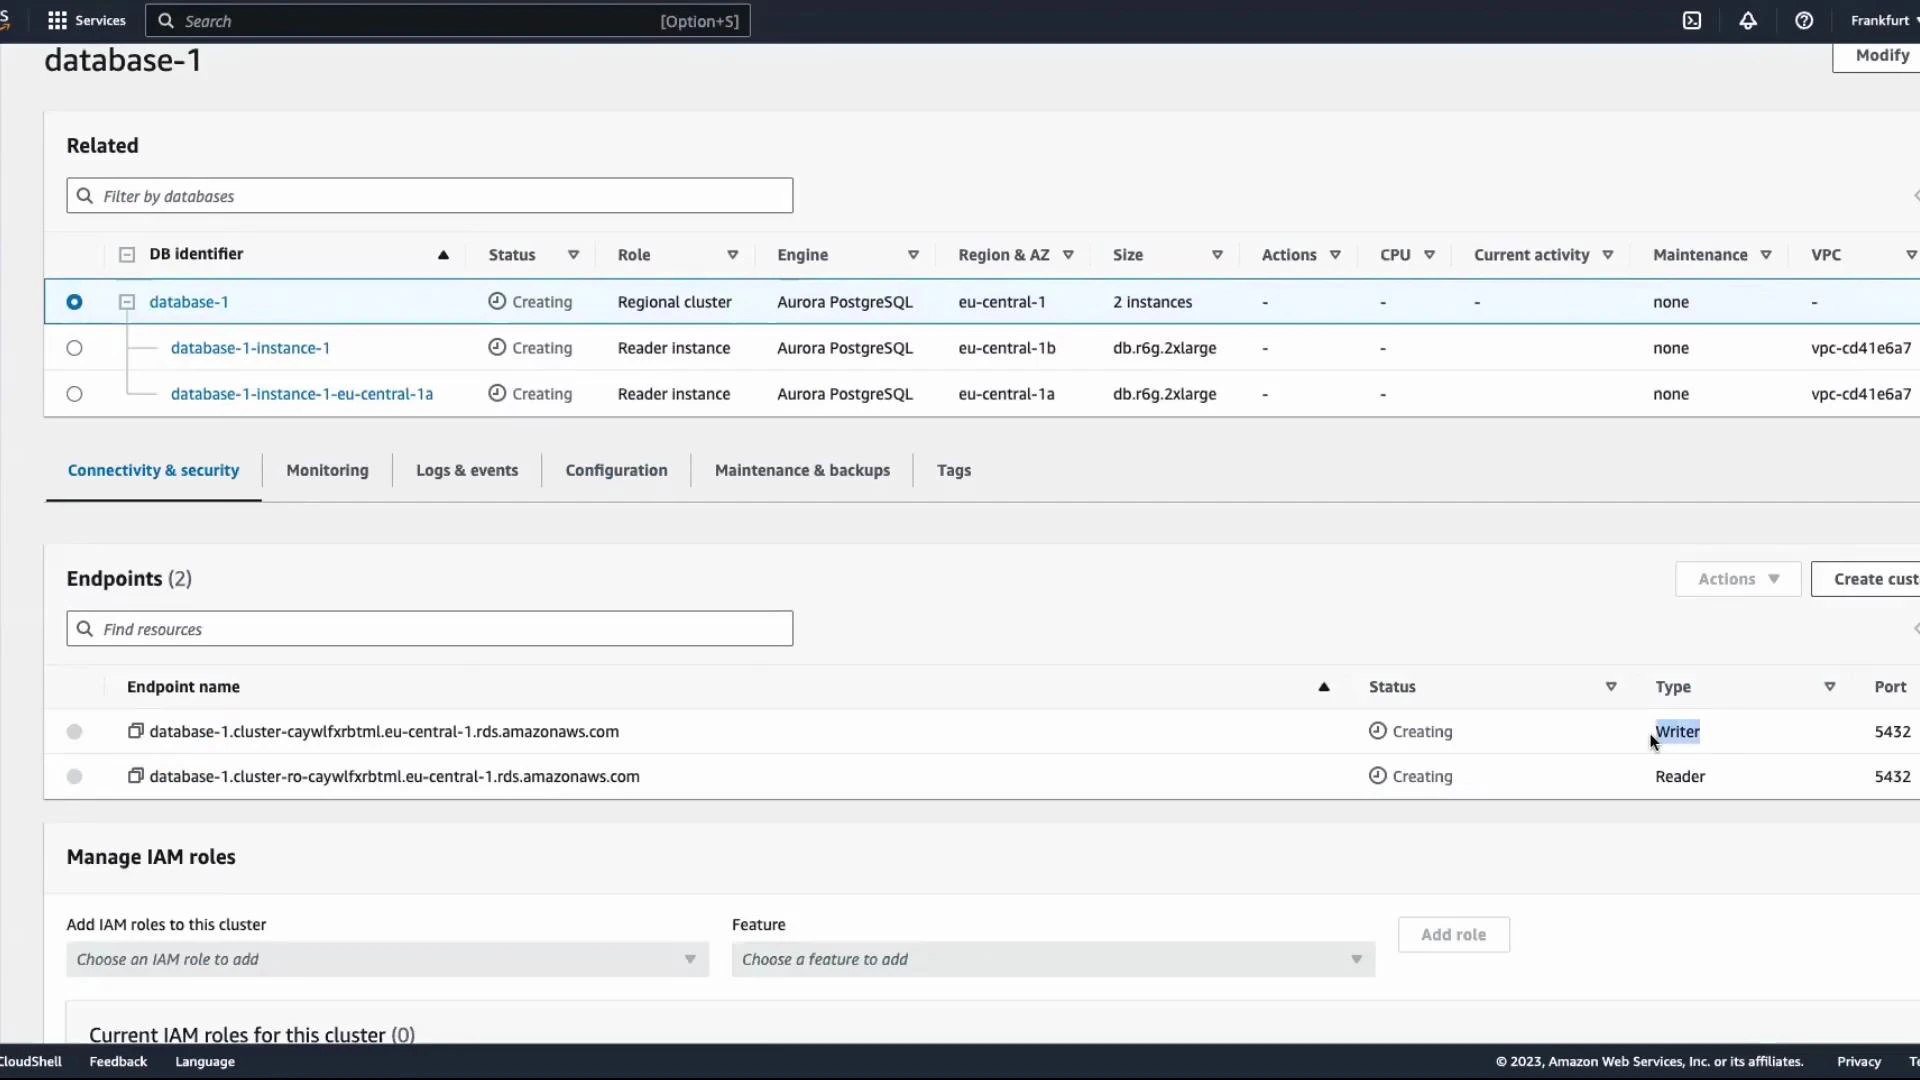
- A cluster-level endpoint for read/write traffic and reader endpoints for load-balanced read-only traffic.
- A distributed, fault-tolerant storage layer that is decoupled from compute.
Connecting to the cluster
Once the cluster status is Available, open the cluster details to find endpoints and connection information. Use the cluster (writer) endpoint for read/write operations. For read scaling and load distribution, use the reader endpoint which load-balances across available read replicas. You can also connect directly to a specific instance using its instance endpoint when you need instance-level access (for diagnostics or targeted read traffic). Endpoint types and common uses:| Endpoint type | Use case | Typical connection |
|---|---|---|
| Cluster (writer) endpoint | Read/write transactions, DDL | Primary DB client connections |
| Reader endpoint | Load-balanced read-only queries | Reporting, analytics, read scaling |
| Instance endpoint | Targeted connections to a specific instance | Diagnostics, session pinning, targeted reads |
- The master password cannot be retrieved after creation. If you lose it, reset the password from the RDS console.
- Prefer the cluster endpoint for application connections. Use reader endpoints for scaling read workloads.
- Monitor instance roles (writer vs. reader) and failover events in the RDS console and CloudWatch.
Quick-create option
If you want a faster setup with sensible defaults, use Easy create:- From Create database → Easy create, pick Aurora (PostgreSQL) and select your use case (Dev/Test or Production).
- Easy create automatically configures backups, performance insights, instance sizing recommendations, and other operational settings.
Storage behavior and scaling
Aurora abstracts storage from the user—there’s no fixed disk size to choose at creation. The storage layer is a distributed, SSD-backed system that automatically grows as your database consumes more data (up to the service limit, e.g., 128 TB for Aurora PostgreSQL).Aurora manages storage automatically and charges for the storage you consume. This lets you focus on scaling compute and connections while Aurora transparently expands the storage volume as needed.
Monitoring and next steps
- Return to the Databases list to check cluster status and instance roles.
- Use CloudWatch metrics and Performance Insights for query performance and resource utilization.
- Configure automated backups, snapshots, and maintenance windows for production systems.
- For more details, see the official AWS documentation: Amazon RDS for Aurora.