Demo showing how to create a MySQL RDS instance, enable and use an RDS Proxy, store credentials in Secrets Manager, and connect from an EC2 instance.
Hello, and welcome back.This article builds on the concepts of what AWS RDS Proxy is and how it can help; here we will implement an RDS Proxy and connect to the database through it. The steps below walk through creating a MySQL RDS instance, enabling an RDS Proxy, launching an EC2 bastion to test connectivity, and connecting to the database through the proxy using credentials stored in AWS Secrets Manager.
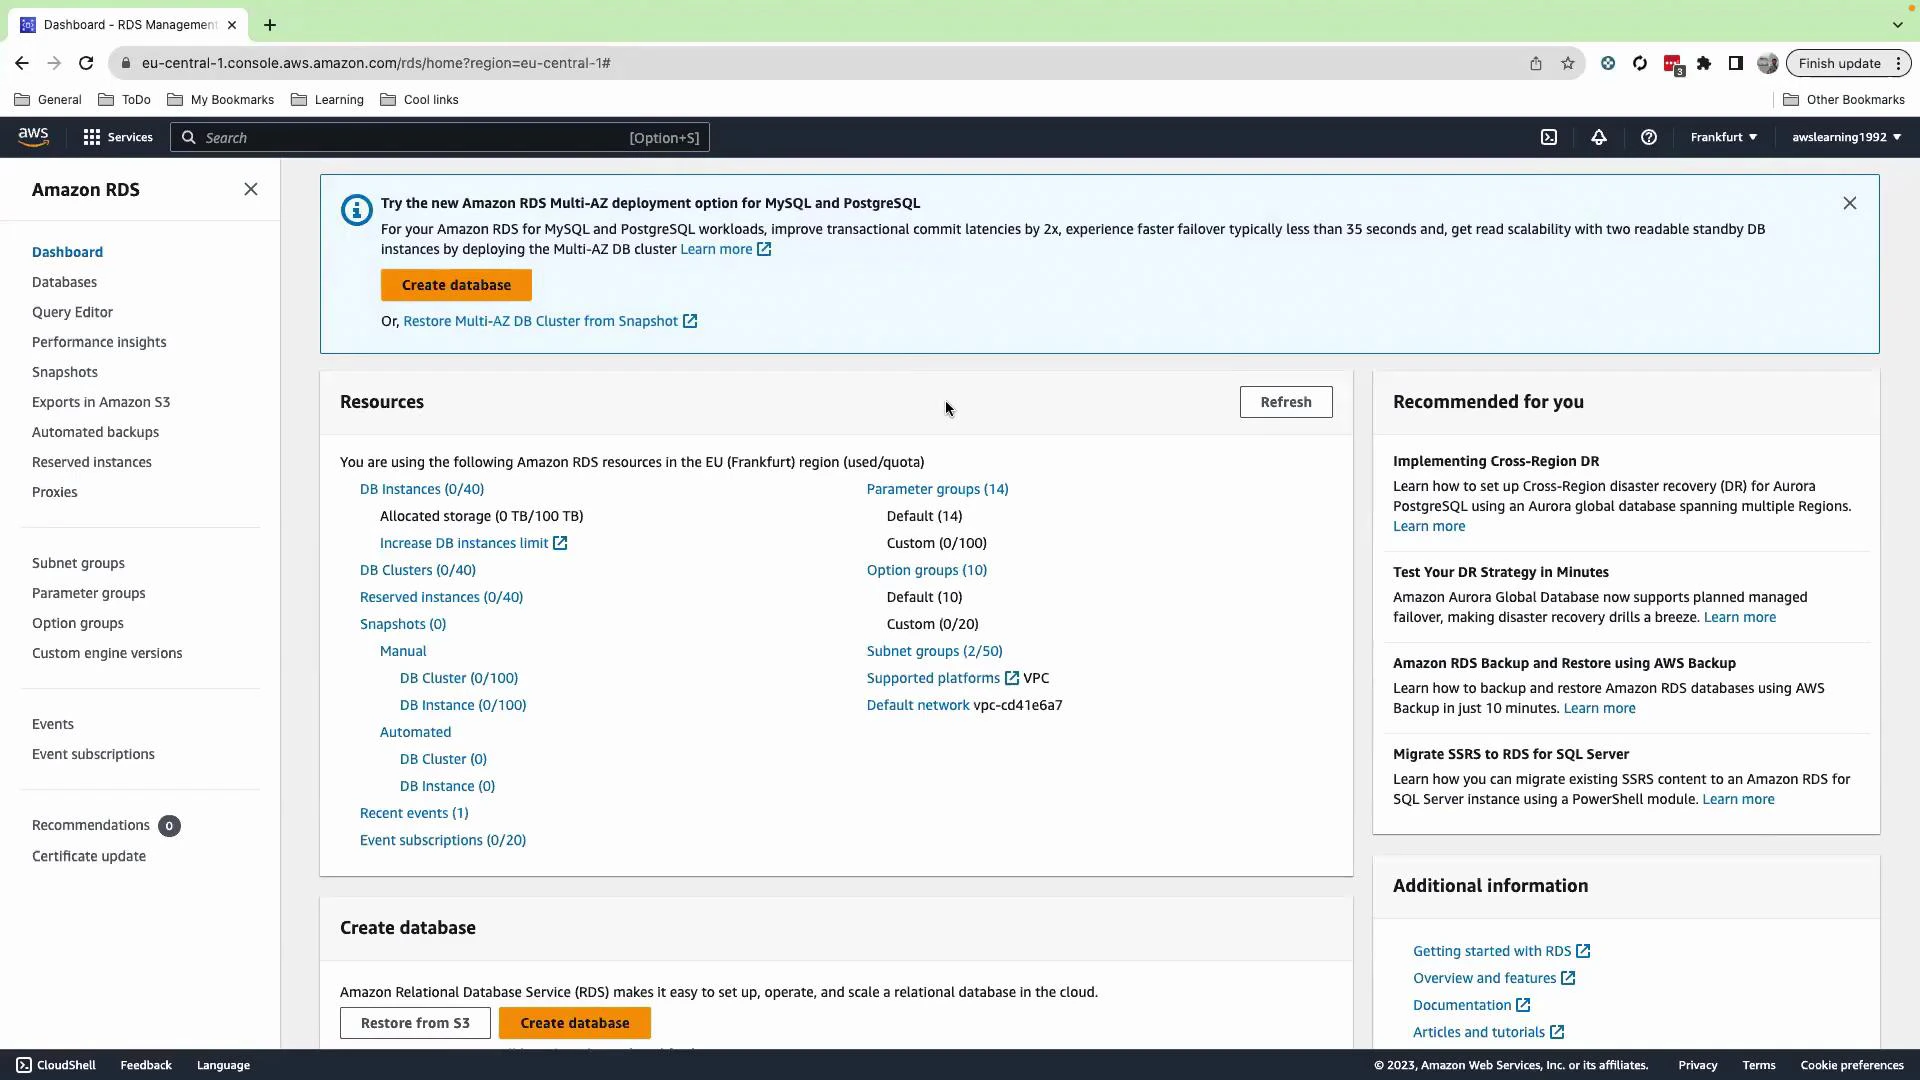
From the RDS console navigate to Databases and click Create database. Use Standard create and the following options for this demo:
Setting
Value / Action
Engine
MySQL
Template
Dev and test
DB instance
Single DB
DB identifier
DB1 (default)
Master username
admin
Password
Auto-generate (store in Secrets Manager)
DB instance class
leave default
Allocated storage
20 GB
Storage autoscaling
disabled
Scroll down and enable Public access for this RDS instance so the EC2 instance we launch in the same account/region can reach it for the demo. If you’re operating inside an organizational or production AWS account, do not enable public access — use private subnets and correct network controls instead.
Enabling public access exposes the database to the internet. For production or organizational environments, prefer private subnets, restricted security groups, and bastion hosts.
Further down the Create database page, enable Create an RDS Proxy for this DB instance. When enabled, RDS will create the IAM role and the Secrets Manager secret that the proxy uses to authenticate to the database. The console may indicate there is no additional RDS Proxy charge for this configuration; confirm current RDS Proxy pricing for your region and account before relying on it.If you do not need Performance Insights for this demo, remove it, then click Create database.RDS will first create the DB instance and then create the RDS Proxy associated with it. Wait until the DB status becomes Available before proceeding.
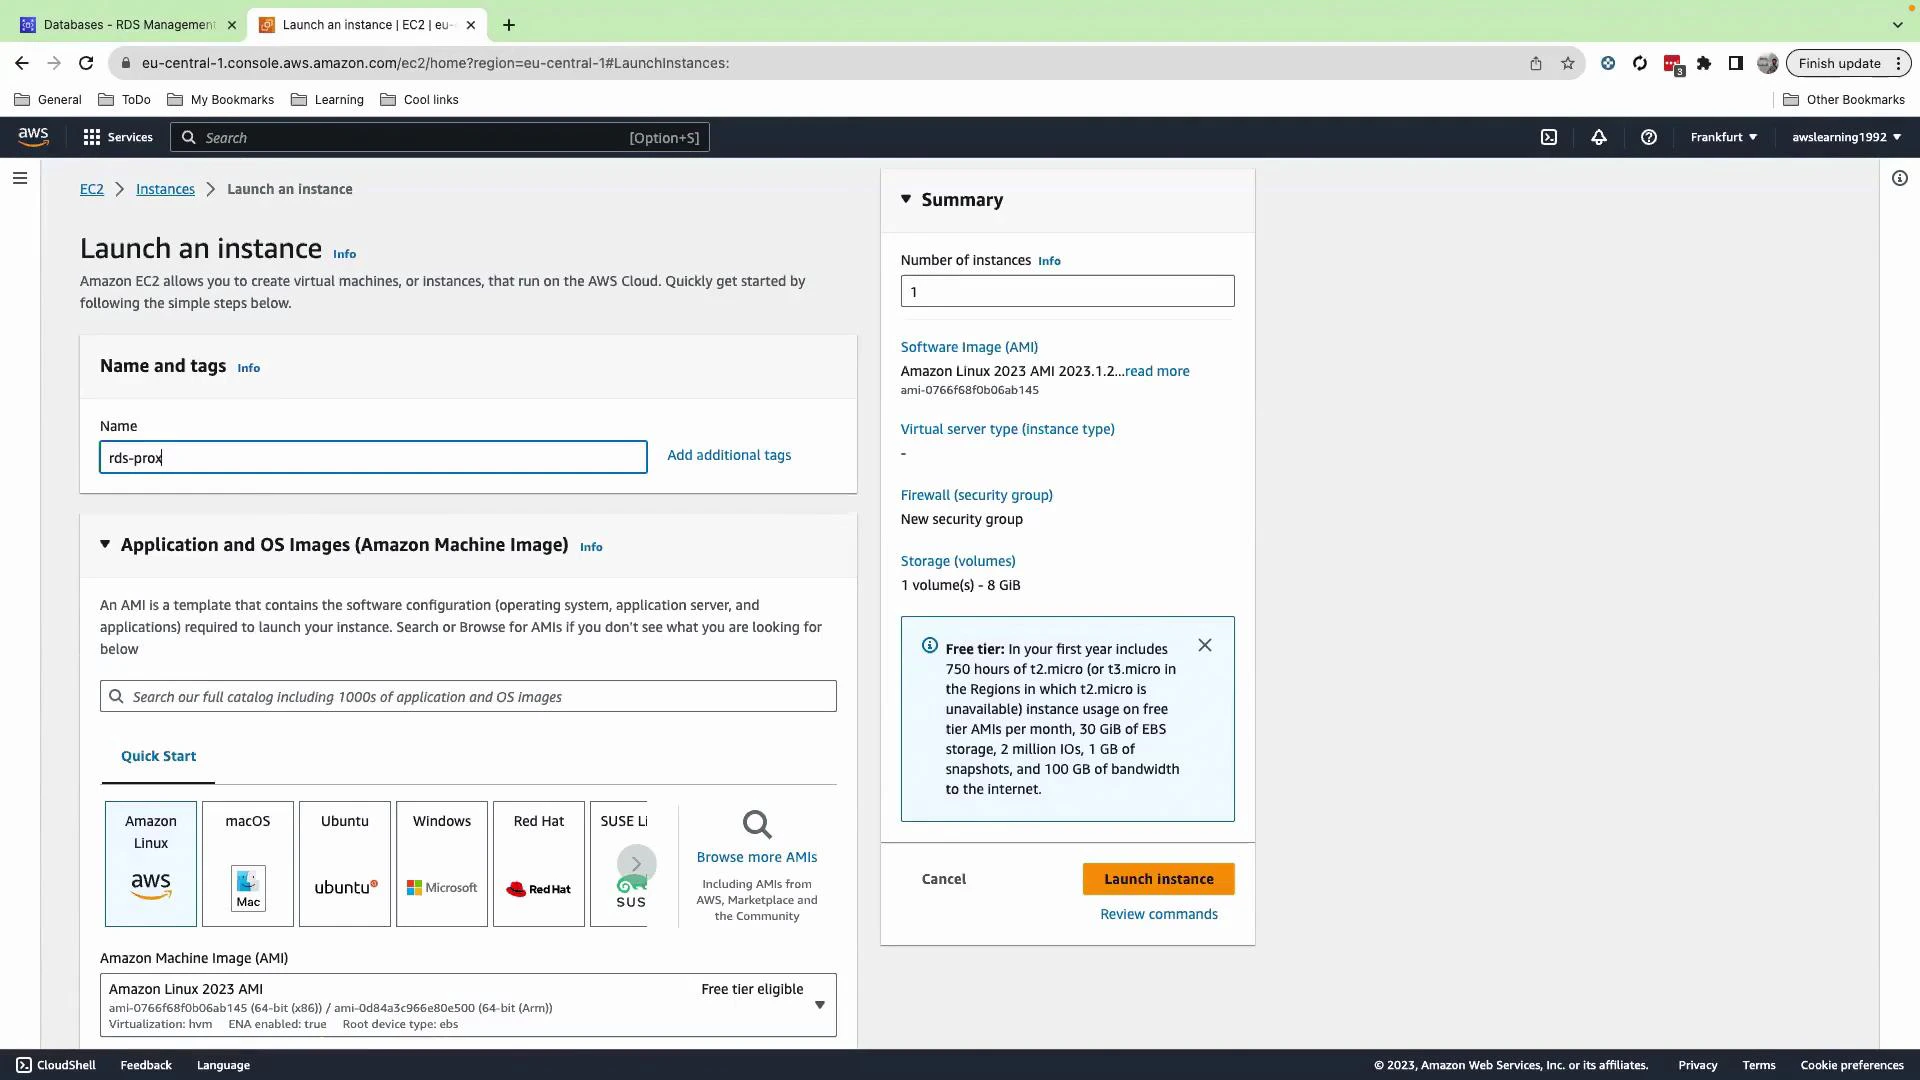
While RDS is creating, launch a small EC2 instance in the same VPC (or in a network that can reach the RDS Proxy endpoint). This instance will be used to run the MySQL client and test connecting through the proxy.
Go to EC2 → Launch Instance.
Give the instance a name such as rds-prox.
Choose an Ubuntu AMI (or your preferred Linux).
For this lab, the demo proceeds without a key pair (not recommended for production); in real environments always configure key pairs or SSM Session Manager access.
Ensure the instance is placed in the same VPC and has security group rules that allow outbound traffic to the proxy (port 3306).
Wait until the instance shows Running and has network access to the RDS Proxy.
After the DB and proxy are created, open RDS → Proxies. Click the proxy to view details: proxy endpoints, target group, authentication (Secrets Manager secret ARN), and CloudWatch metrics. The proxy status should be Available. If it is Unavailable, verify networking, security groups, and credentials — the proxy must be able to reach the DB instance.
The proxy creates and references a Secrets Manager secret containing the DB credentials. Go to Secrets Manager → Secrets and locate the secret created for the RDS proxy. Click Retrieve secret value to view or copy the current username and password. Only users or roles with IAM permission to read that secret can retrieve the raw credentials.
Best practice: grant only the minimum IAM permissions required to access the Secrets Manager secret. Use secret rotation to rotate database passwords automatically and reduce credential exposure.
Use the proxy endpoint from the RDS Proxy details as the MySQL host. The Authentication section of the proxy shows the Secrets Manager ARN that holds the DB credentials. Example placeholder values from the demo (replace with your actual values):
Connect to MySQL through the proxy from the EC2 instance. Use host = proxy endpoint, port = 3306, user = admin, and the password retrieved from Secrets Manager:
mysql -h proxy-1693971320810-database-1.proxy-caywlfxrbtml.eu-central-1.rds.amazonaws.com -P 3306 -u admin -p
When prompted, paste or type the password (the terminal won’t echo it) and press Enter. A successful connection displays the MySQL monitor welcome message:
Enter password:Welcome to the MySQL monitor. Commands end with ; or \g.Your MySQL connection id is 2959658574Server version: 8.0.33Type 'help;' or '\h' for help. Type '\c' to clear the current input statement.mysql>
The RDS Proxy uses the Secrets Manager credential for authenticating to the database; when you rotate the secret, the proxy will use the latest secret automatically.
Only IAM principals with Secrets Manager read permissions can retrieve the raw username/password. The proxy itself fetches the secret for authentication.
Use private networking (VPC, subnets, and security groups) for production deployments—avoid public access.
RDS Proxy helps with connection pooling, better scalability, failover handling, and central credential management for applications that open many short-lived connections.
That completes this demo of creating an RDS DB, enabling an RDS Proxy, and connecting to the DB via the proxy from an EC2 instance. Speak with you in the next demo.