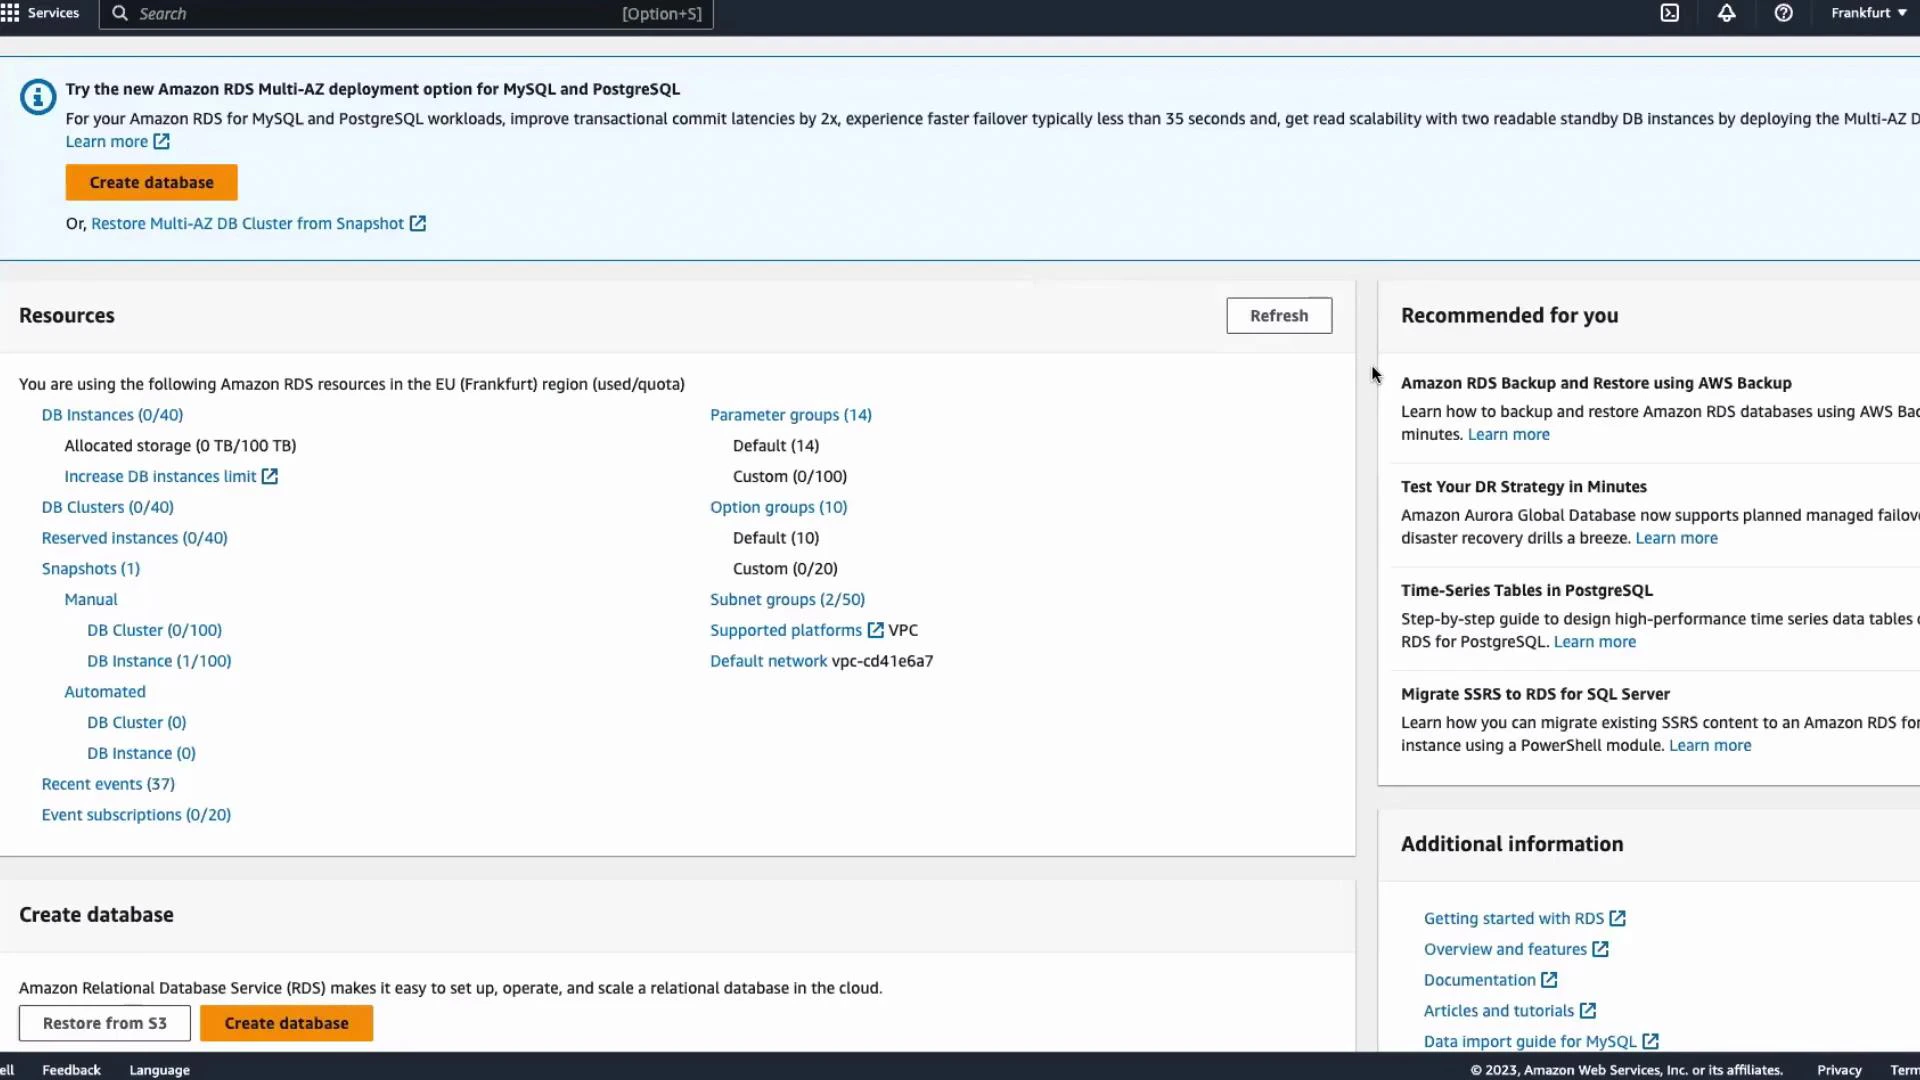
1. Create a new PostgreSQL instance
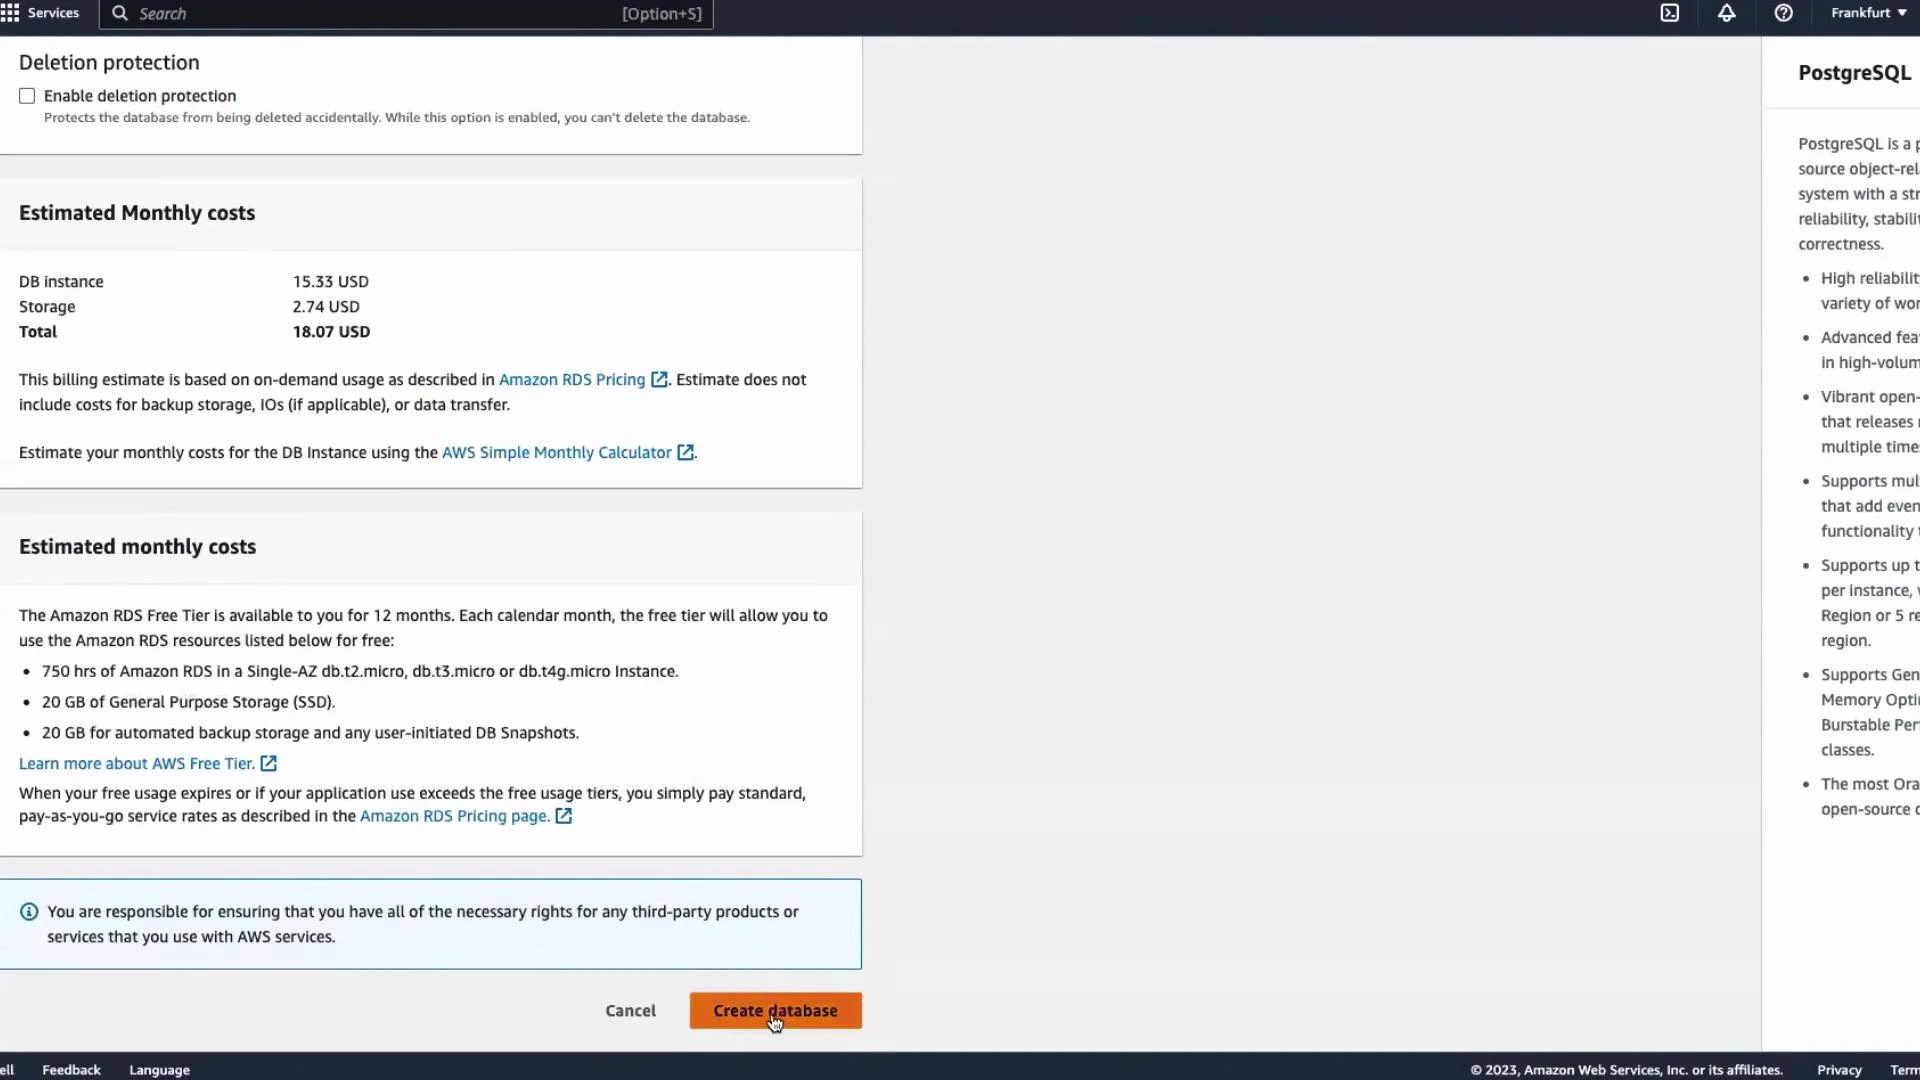
- From the RDS console, click Databases → Create database.
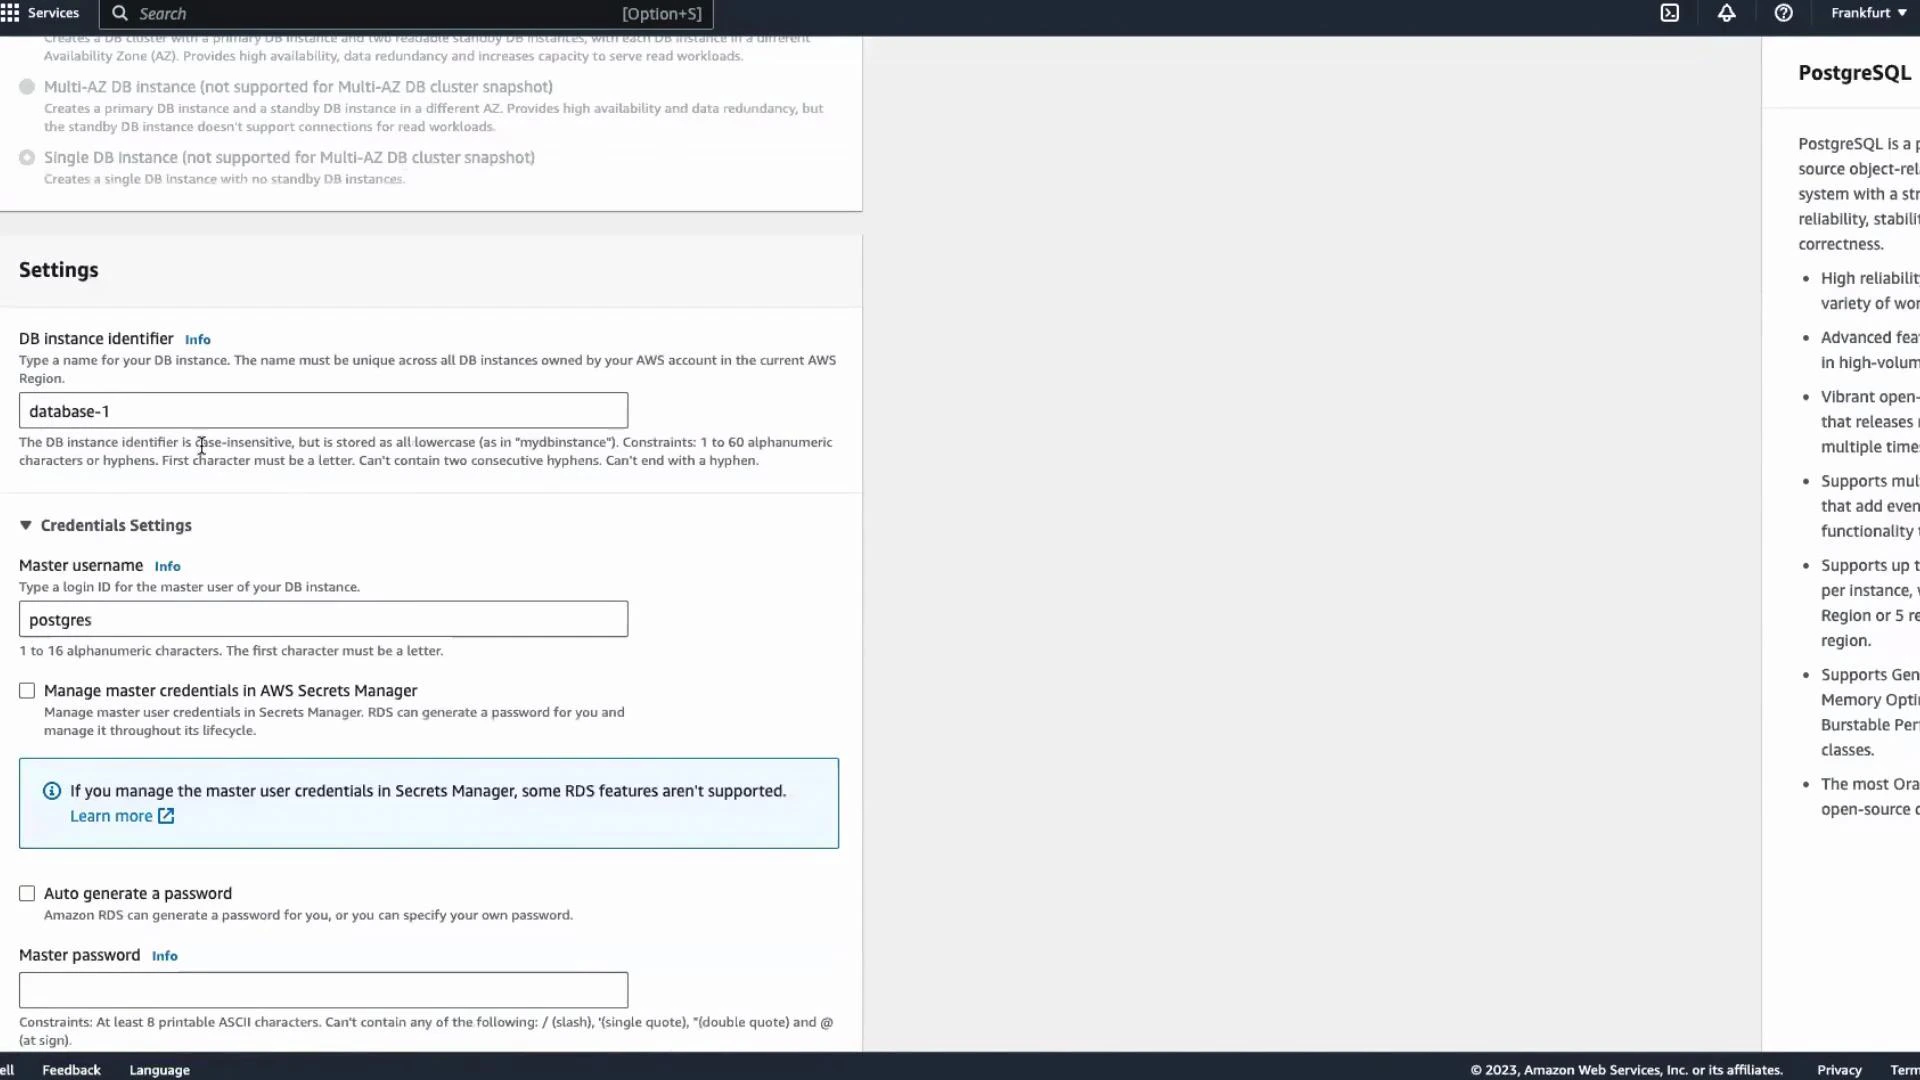
- Keep the default creation method (Standard create).
- Select the engine: PostgreSQL.
- Leave the DB instance identifier (database-1) and master username (postgres) as defaults.
- Set Public access to Yes if you need to connect from your laptop or an external SQL client.
- Confirm VPC, subnets, and security groups match your network requirements.
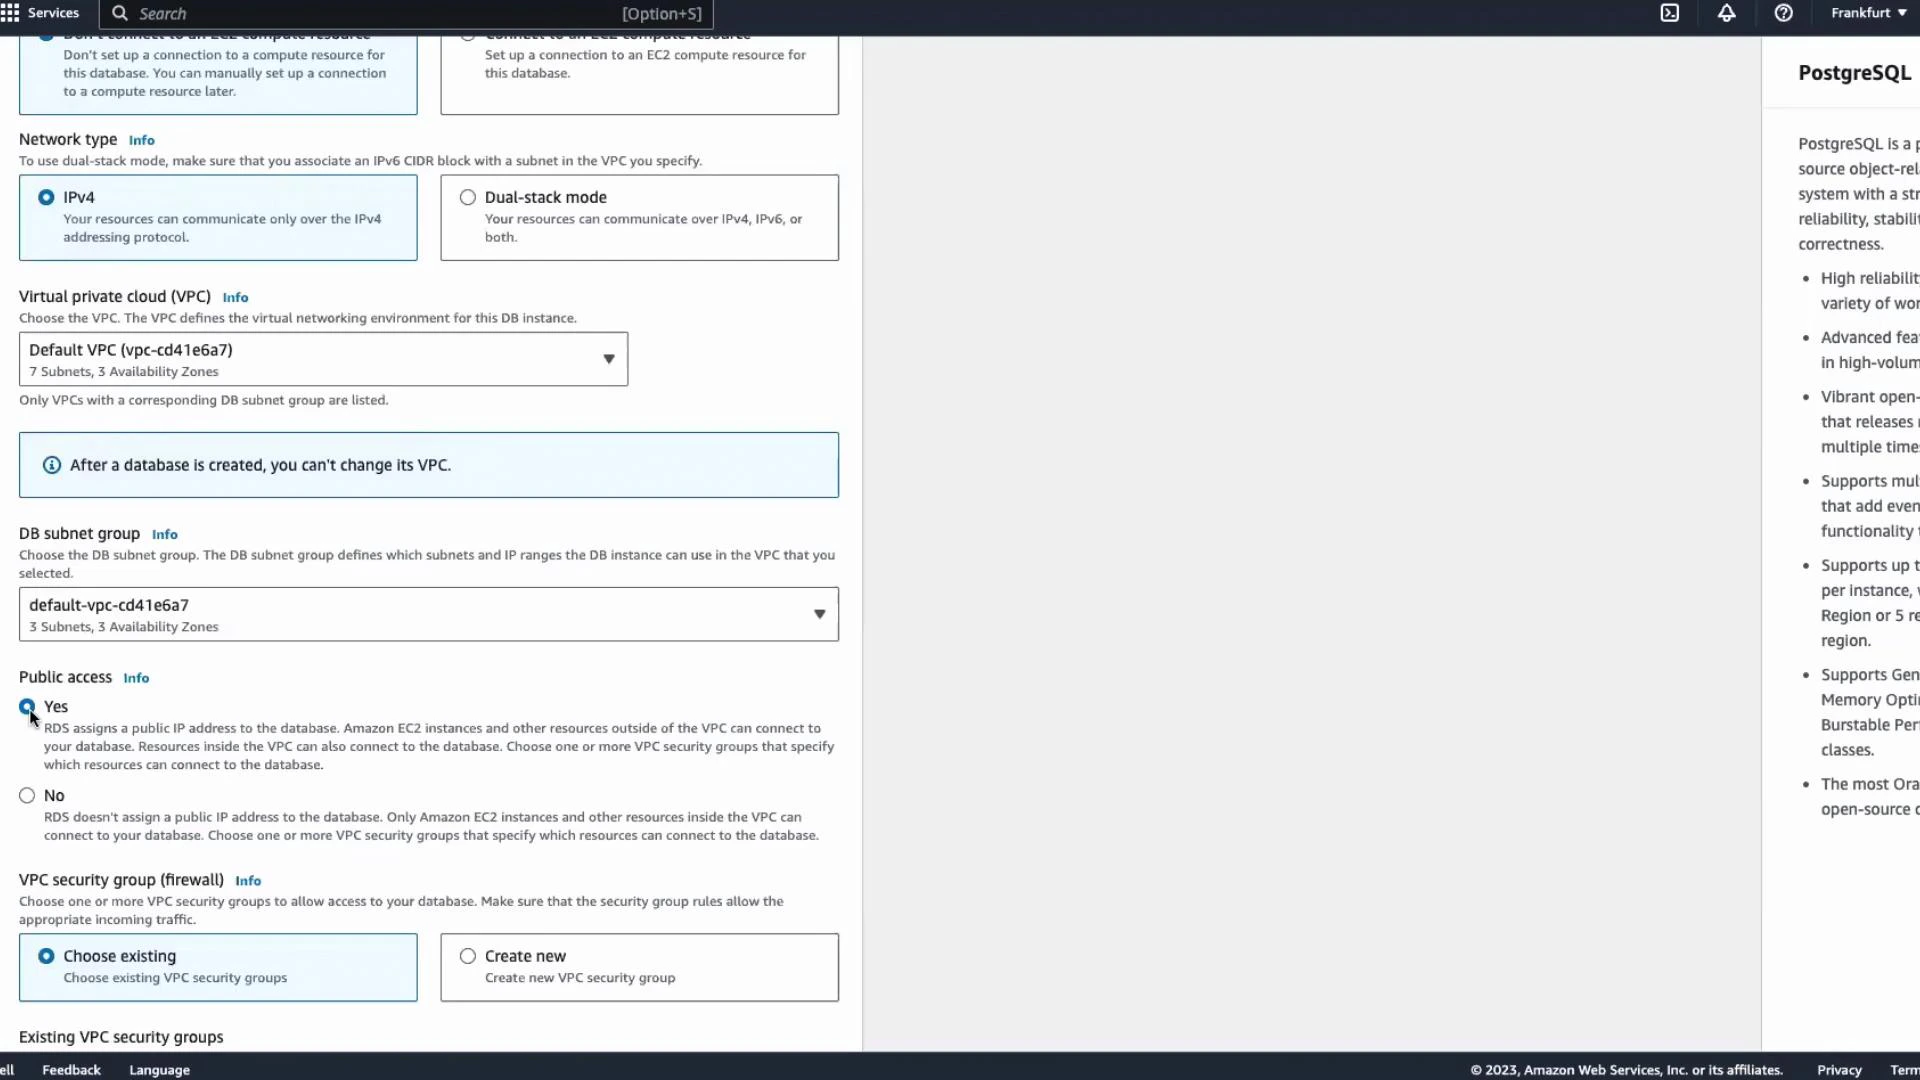
Setting Public access to Yes exposes the database endpoint to the internet. For production or organizational environments, avoid public access unless you have strict network controls (security groups, IP whitelisting) in place.
2. Connect and create sample data
Open your preferred PostgreSQL client (DBeaver, psql, pgAdmin, etc.) and create a new connection using:- Host: RDS endpoint (from the instance details)
- Port: 5432
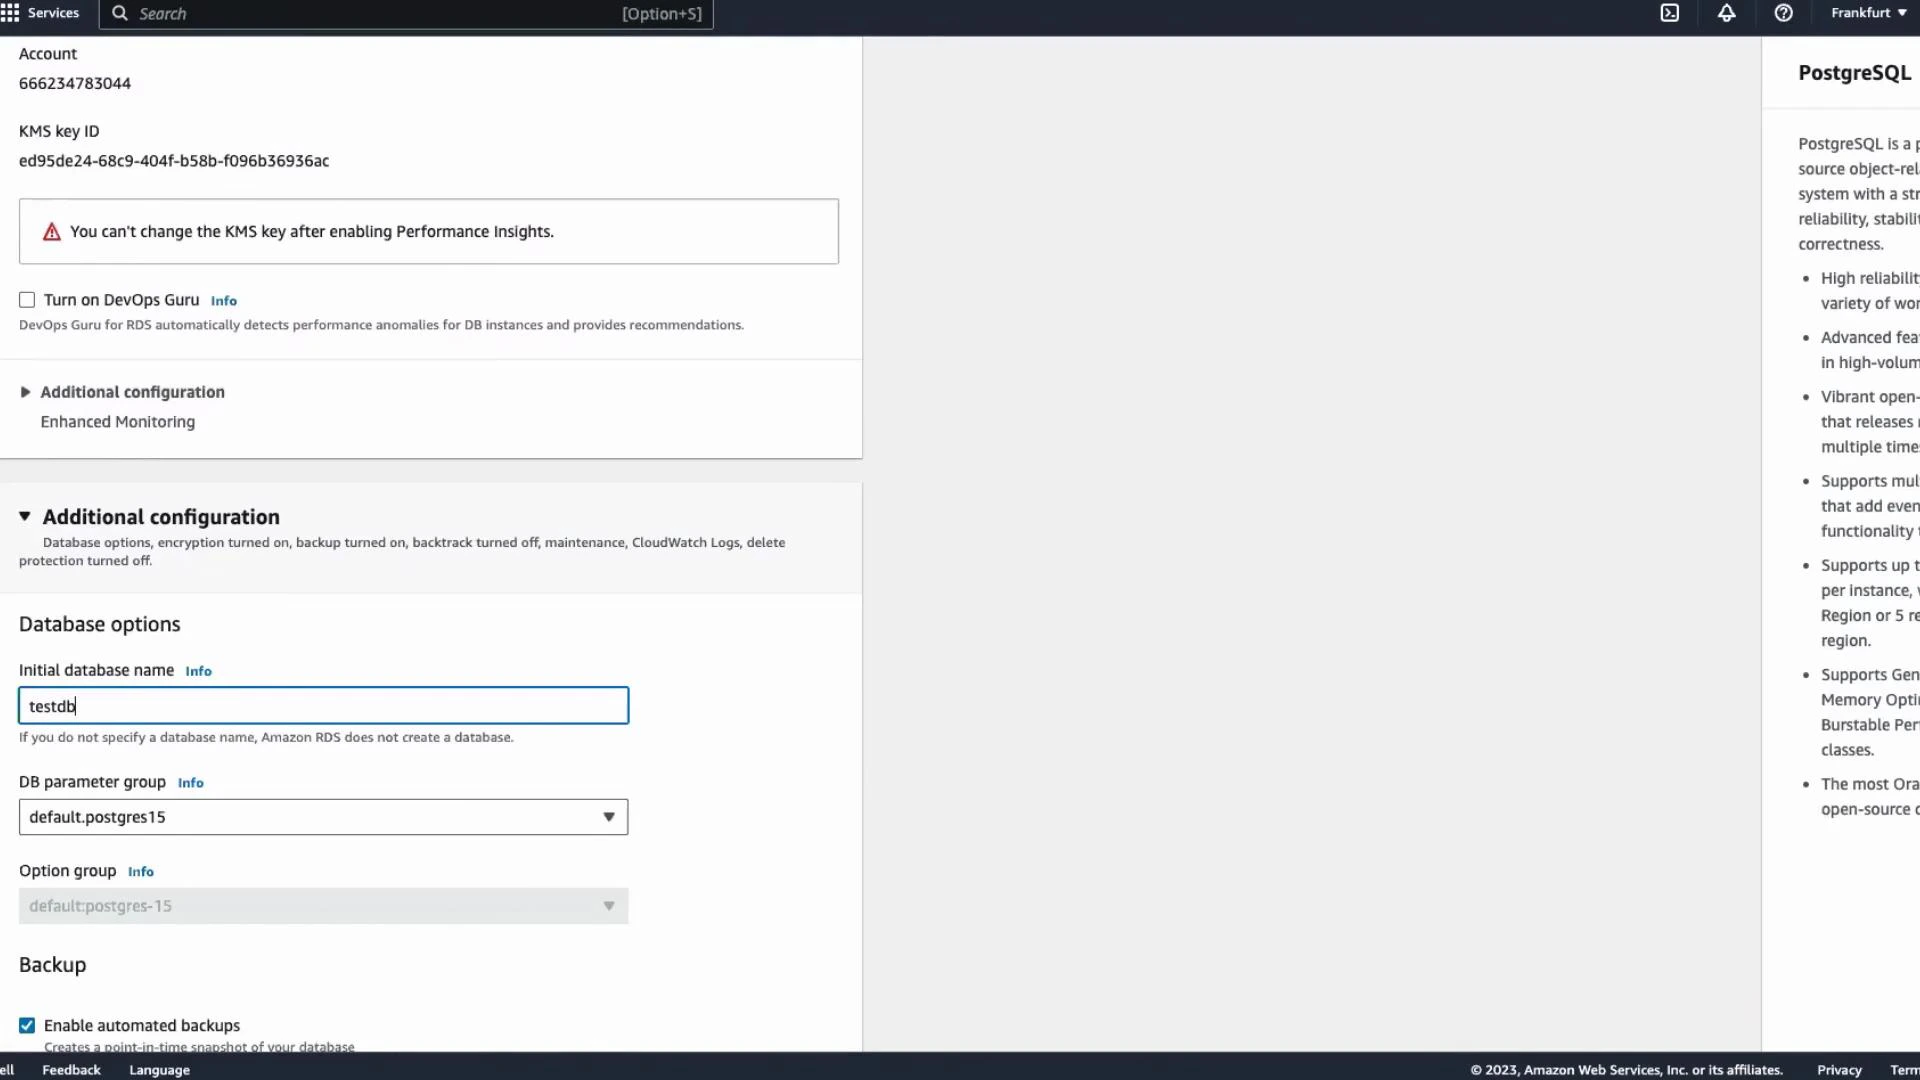
- Database: testdb
- Username: postgres
- Password: the generated password

3. Take a manual snapshot
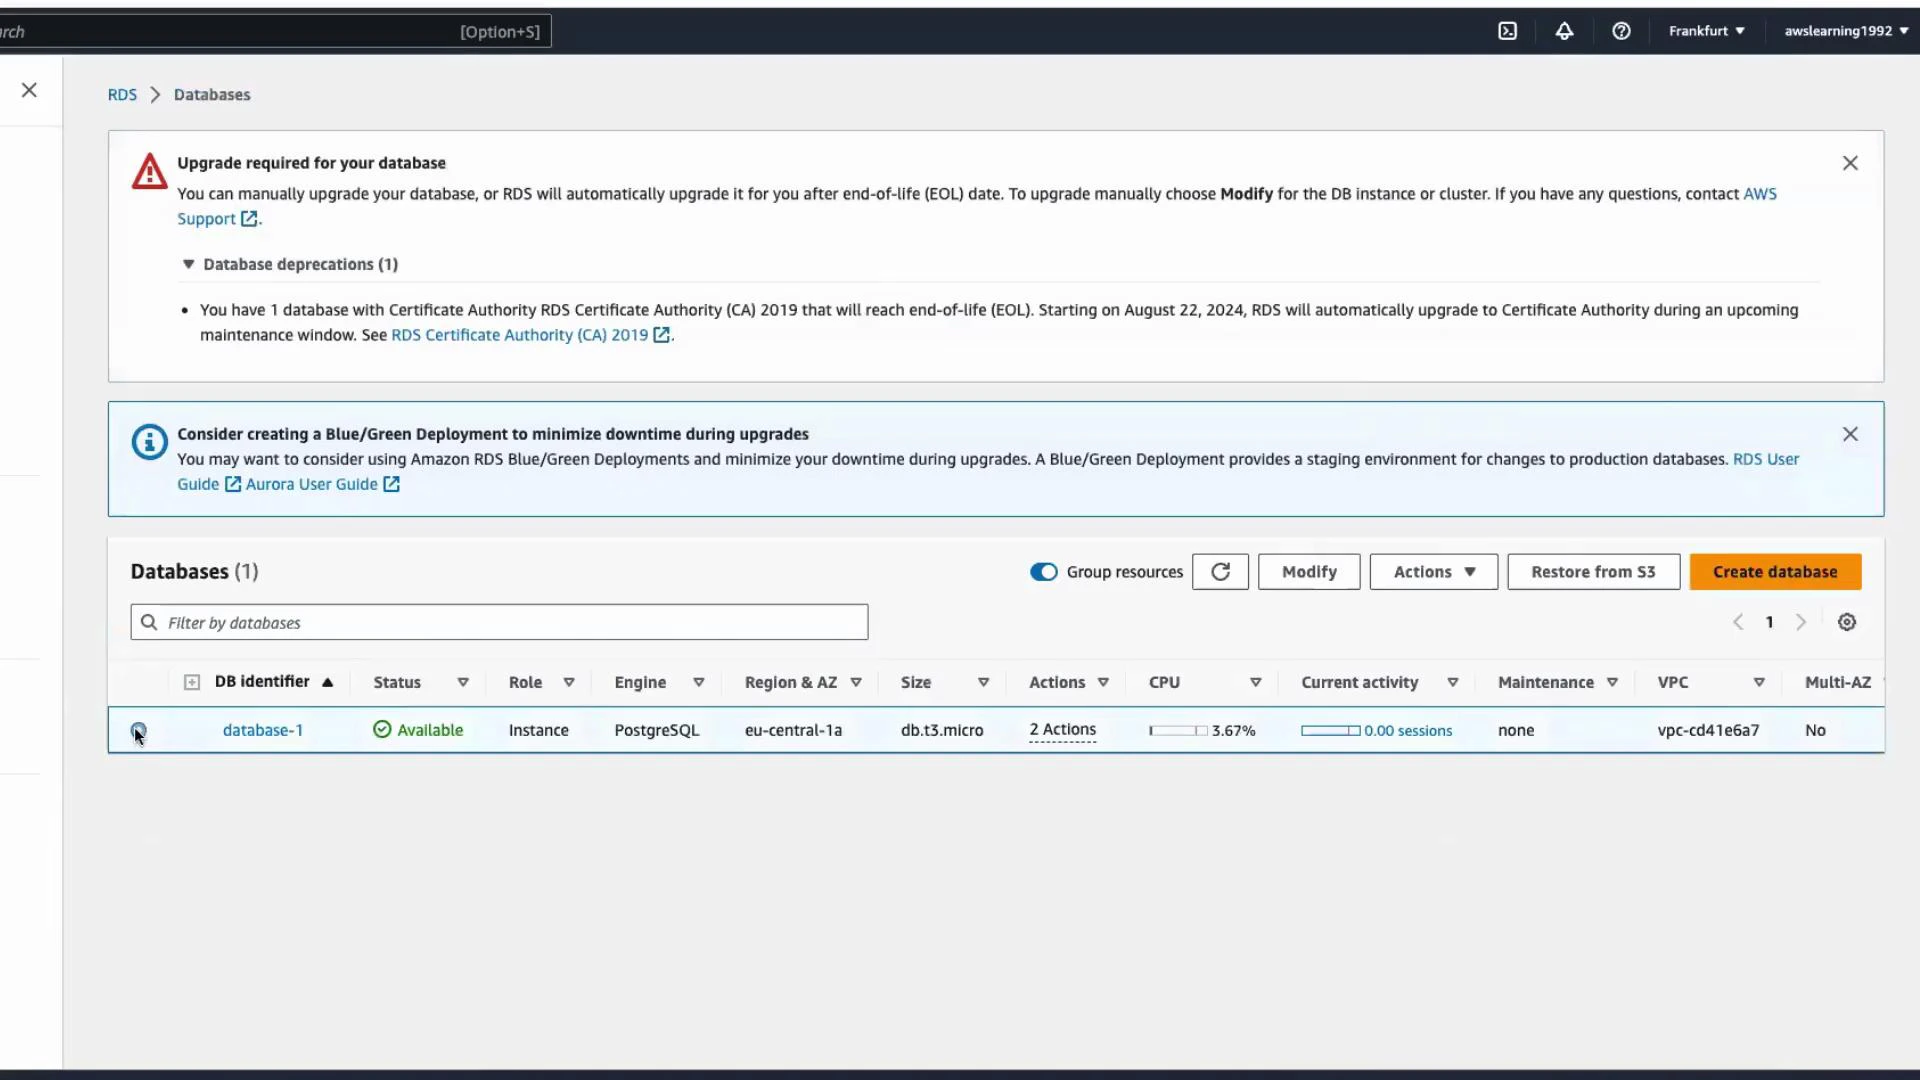
Manual snapshots capture the full state of the DB instance at a point in time. In the RDS console:- Select the database instance.
- Actions → Take snapshot.
- Provide a meaningful snapshot name and confirm.
4. Delete and restore from the snapshot (demo)
To demonstrate restore behavior, delete the original instance (if you choose to follow this demo, ensure you have the snapshot completed first). Then:- In the RDS console, open Snapshots.
- Select the snapshot you created.
- Actions → Restore snapshot.
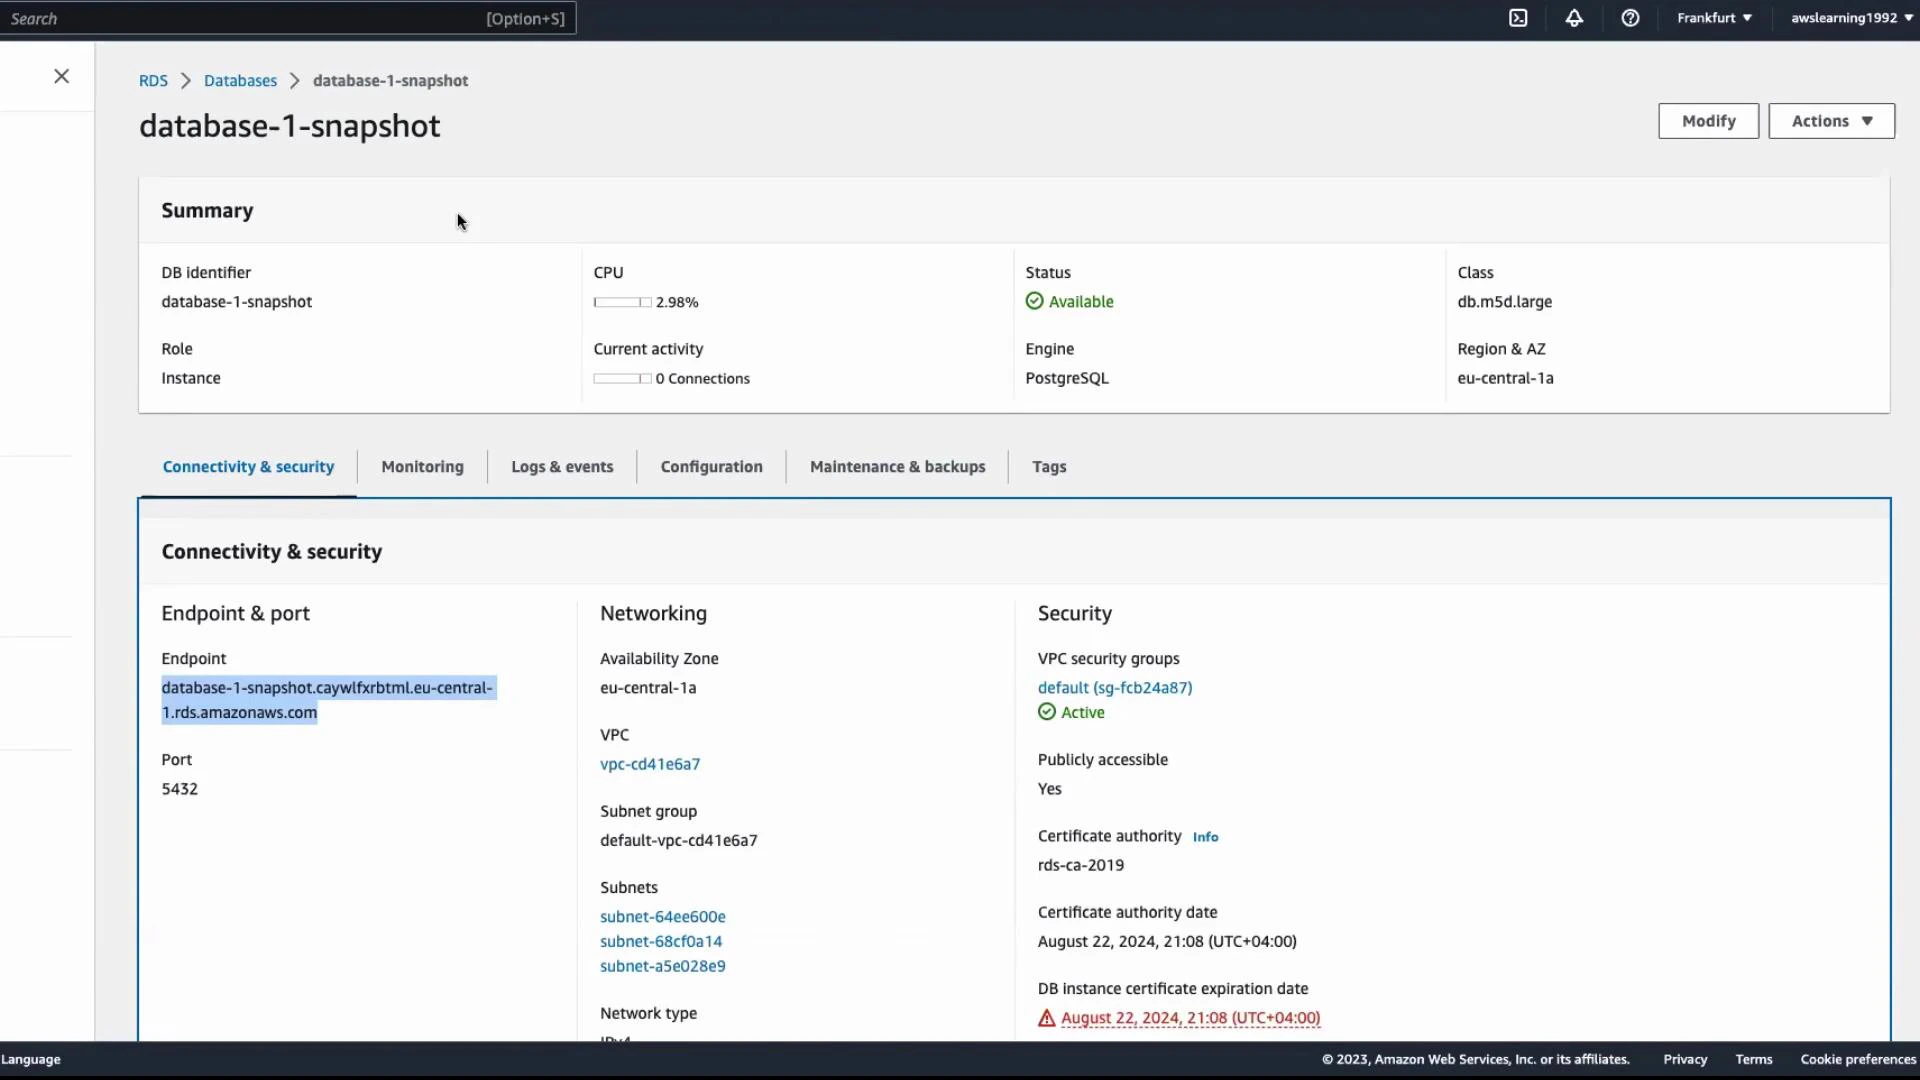
- Provide a unique DB instance identifier (e.g., database-1-snapshot).
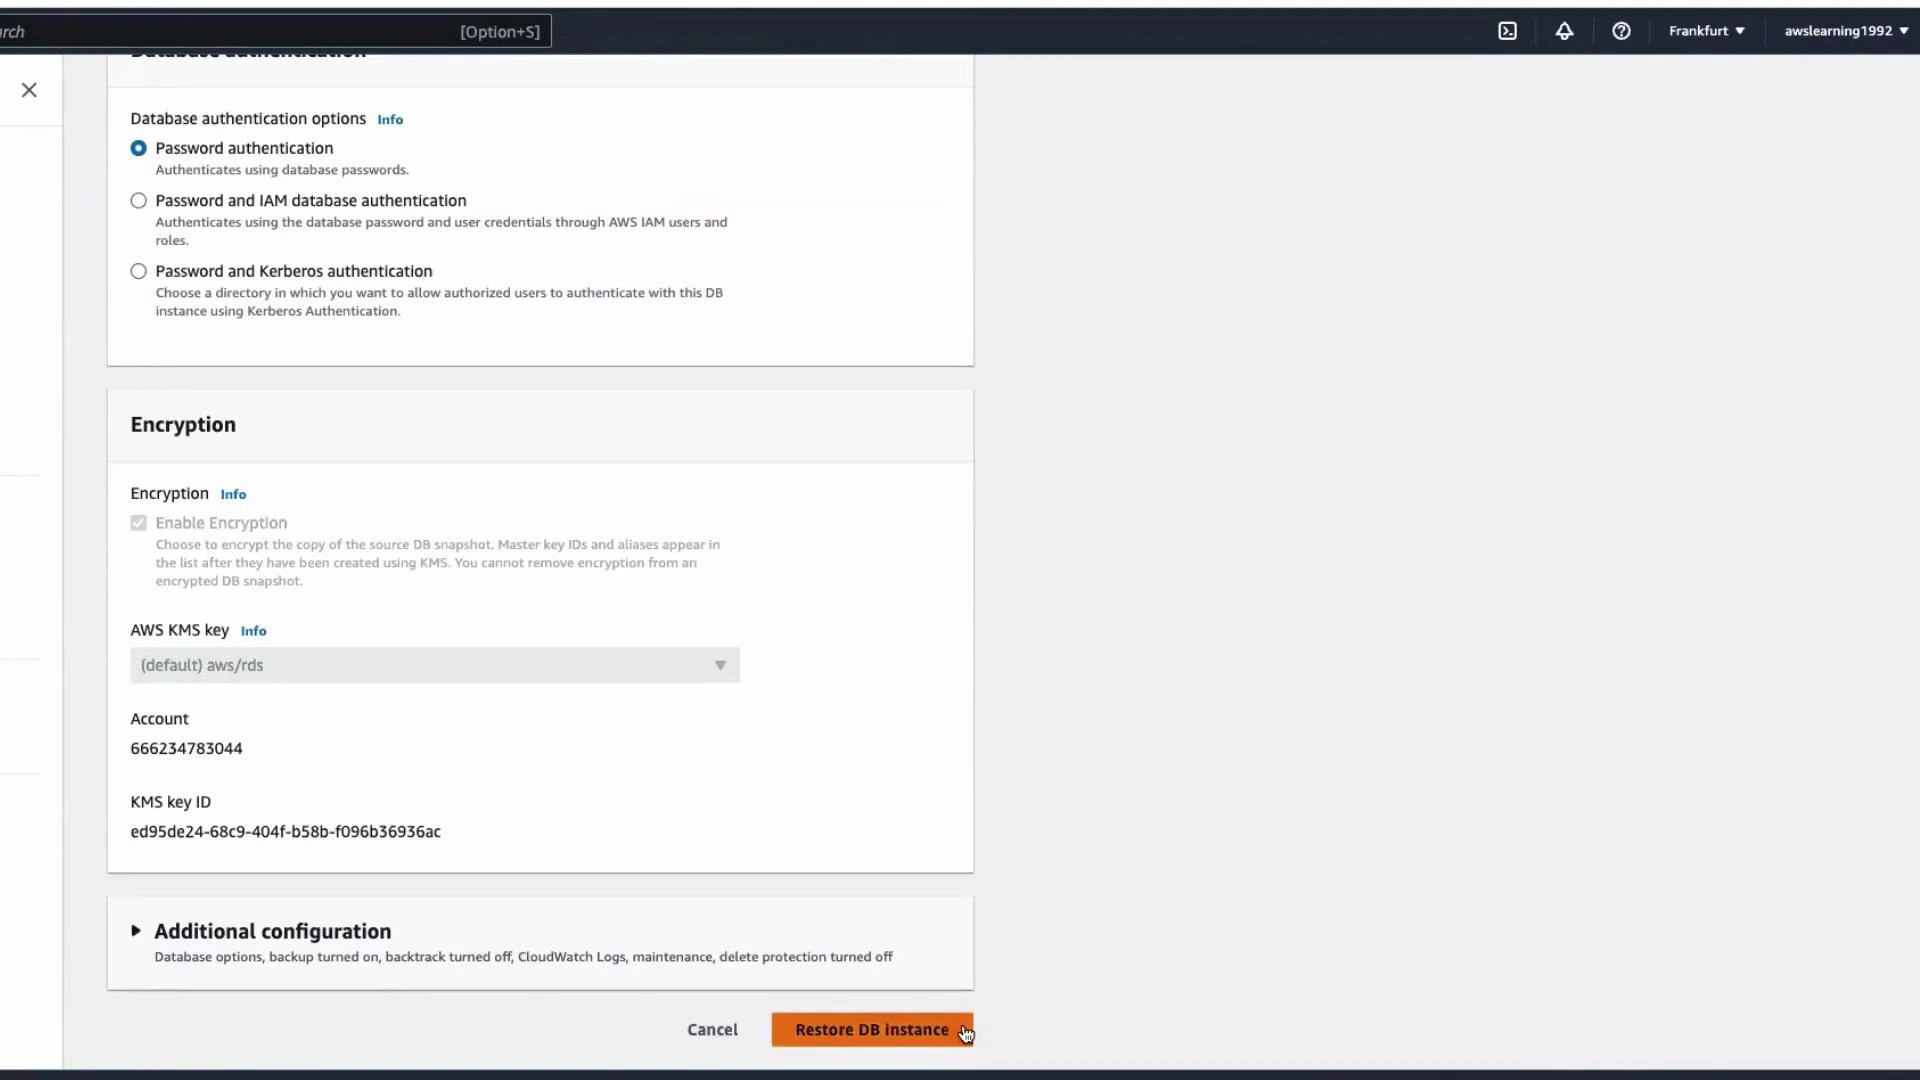
- Keep defaults or adjust as needed — set Public access to Yes if you need external connectivity.
- Click Restore DB instance.
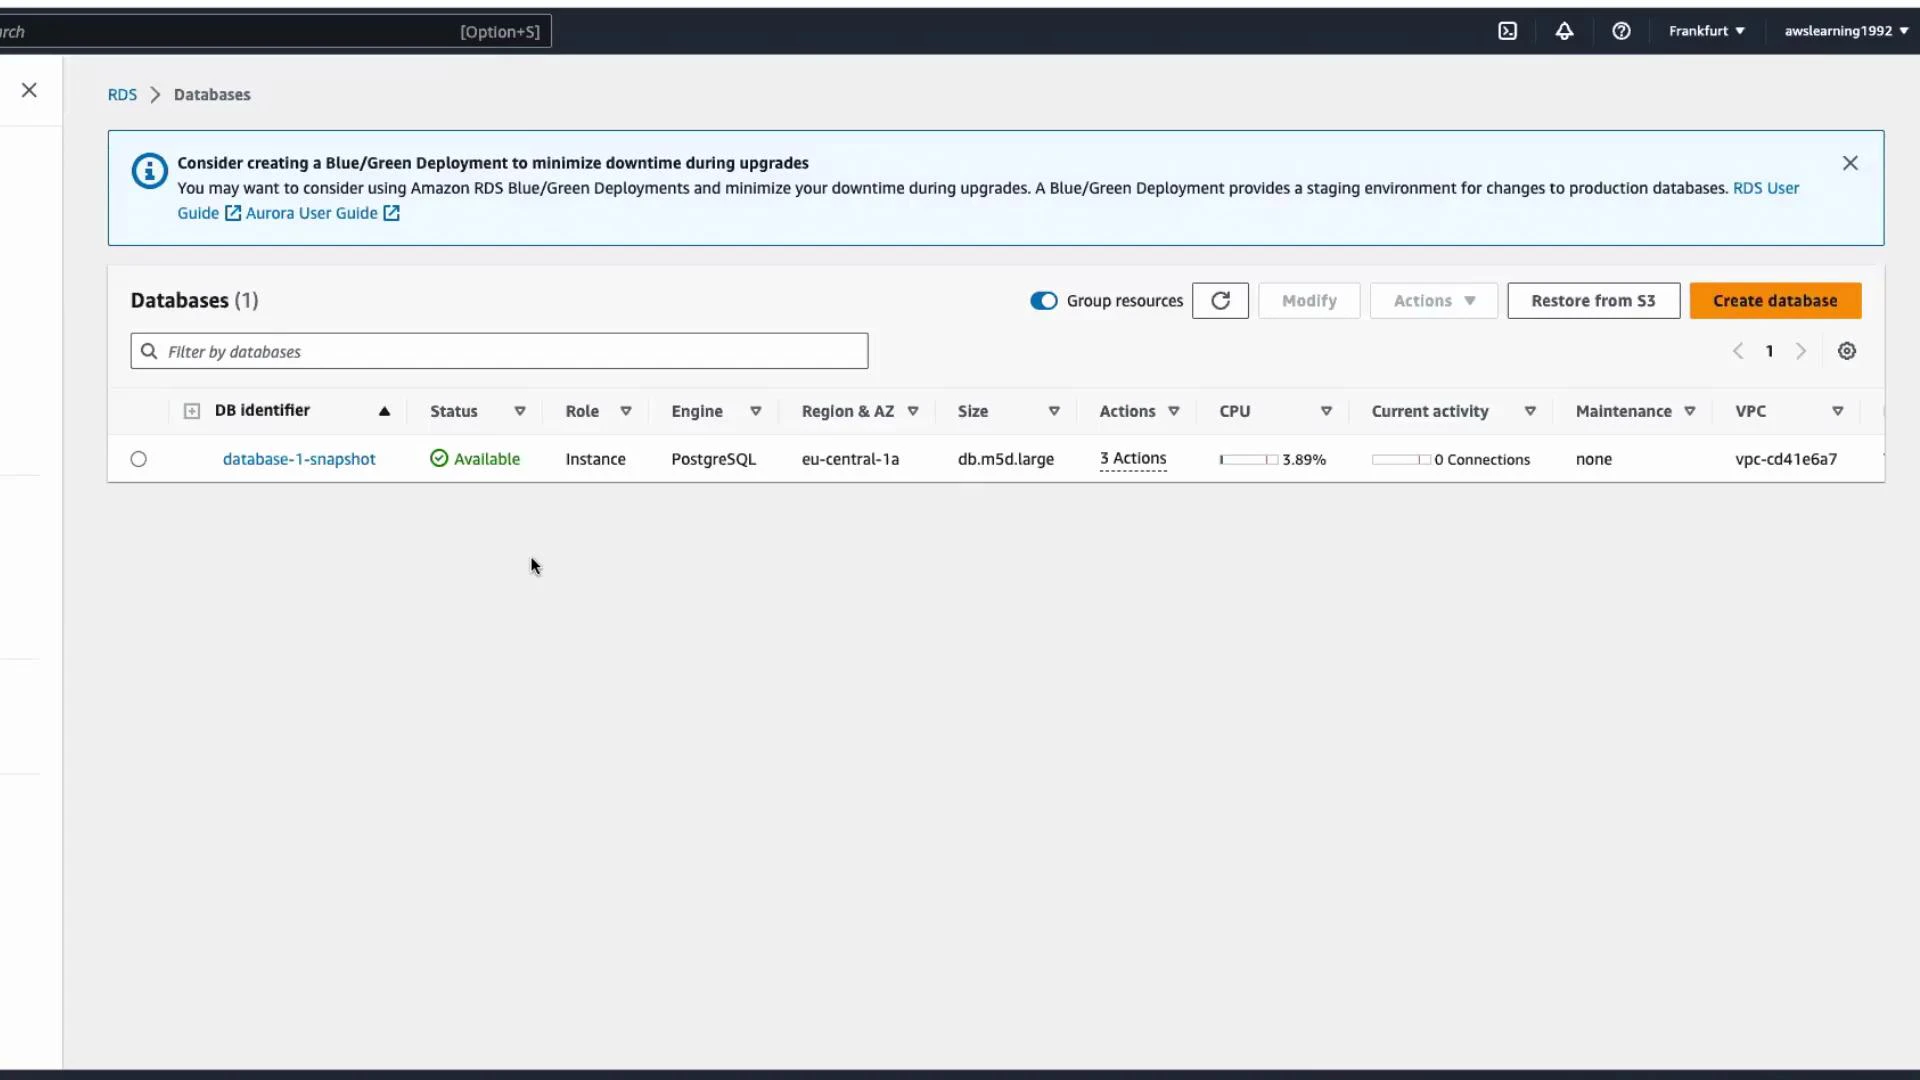
5. Reconnect and verify restored data
Create a new connection in your SQL client using the restored instance endpoint, port 5432, database testdb, and the master credentials. Test the connection and open an SQL editor.
Backup options overview
| Backup Type | Use Case | Notes |
|---|---|---|
| Automated backups | Continuous automated backup and point-in-time recovery (PITR) | Enable retention window and monitor storage usage |
| Manual snapshots | Ad-hoc point-in-time capture for long-term retention or pre-change snapshots | Stored until explicitly deleted |
Use automated backups for continuous protection and point-in-time recovery, and take manual snapshots for critical milestones (before upgrades or destructive changes). Remember to manage snapshot lifecycle and IAM permissions for snapshot access.
Summary and best practices
- Manual snapshots capture the full DB instance state at a specific point in time and can be restored to create a new instance.
- Restored instances inherit engine version and many configuration settings from the snapshot; set or reset credentials as needed during restore.
- Avoid enabling public access for production databases unless you require it and have strict security controls in place.
- Combine automated backups (PITR) with regular manual snapshots for critical checkpoints.
- Monitor snapshot storage and establish lifecycle/retention policies to control costs.