- Region: Confirm the active region in the top-right (for example, Frankfurt). When following demos in your own account, choose a region geographically close to you to reduce latency and, when applicable, costs.
- Navigation: Use the Services menu or the search bar to find services quickly. For example, go to Database → Amazon RDS to open the RDS console.
Always clean up resources you create during practice (stop/delete instances, snapshots, clusters, etc.). Unused resources can still incur charges.
Monitoring spend with Budgets
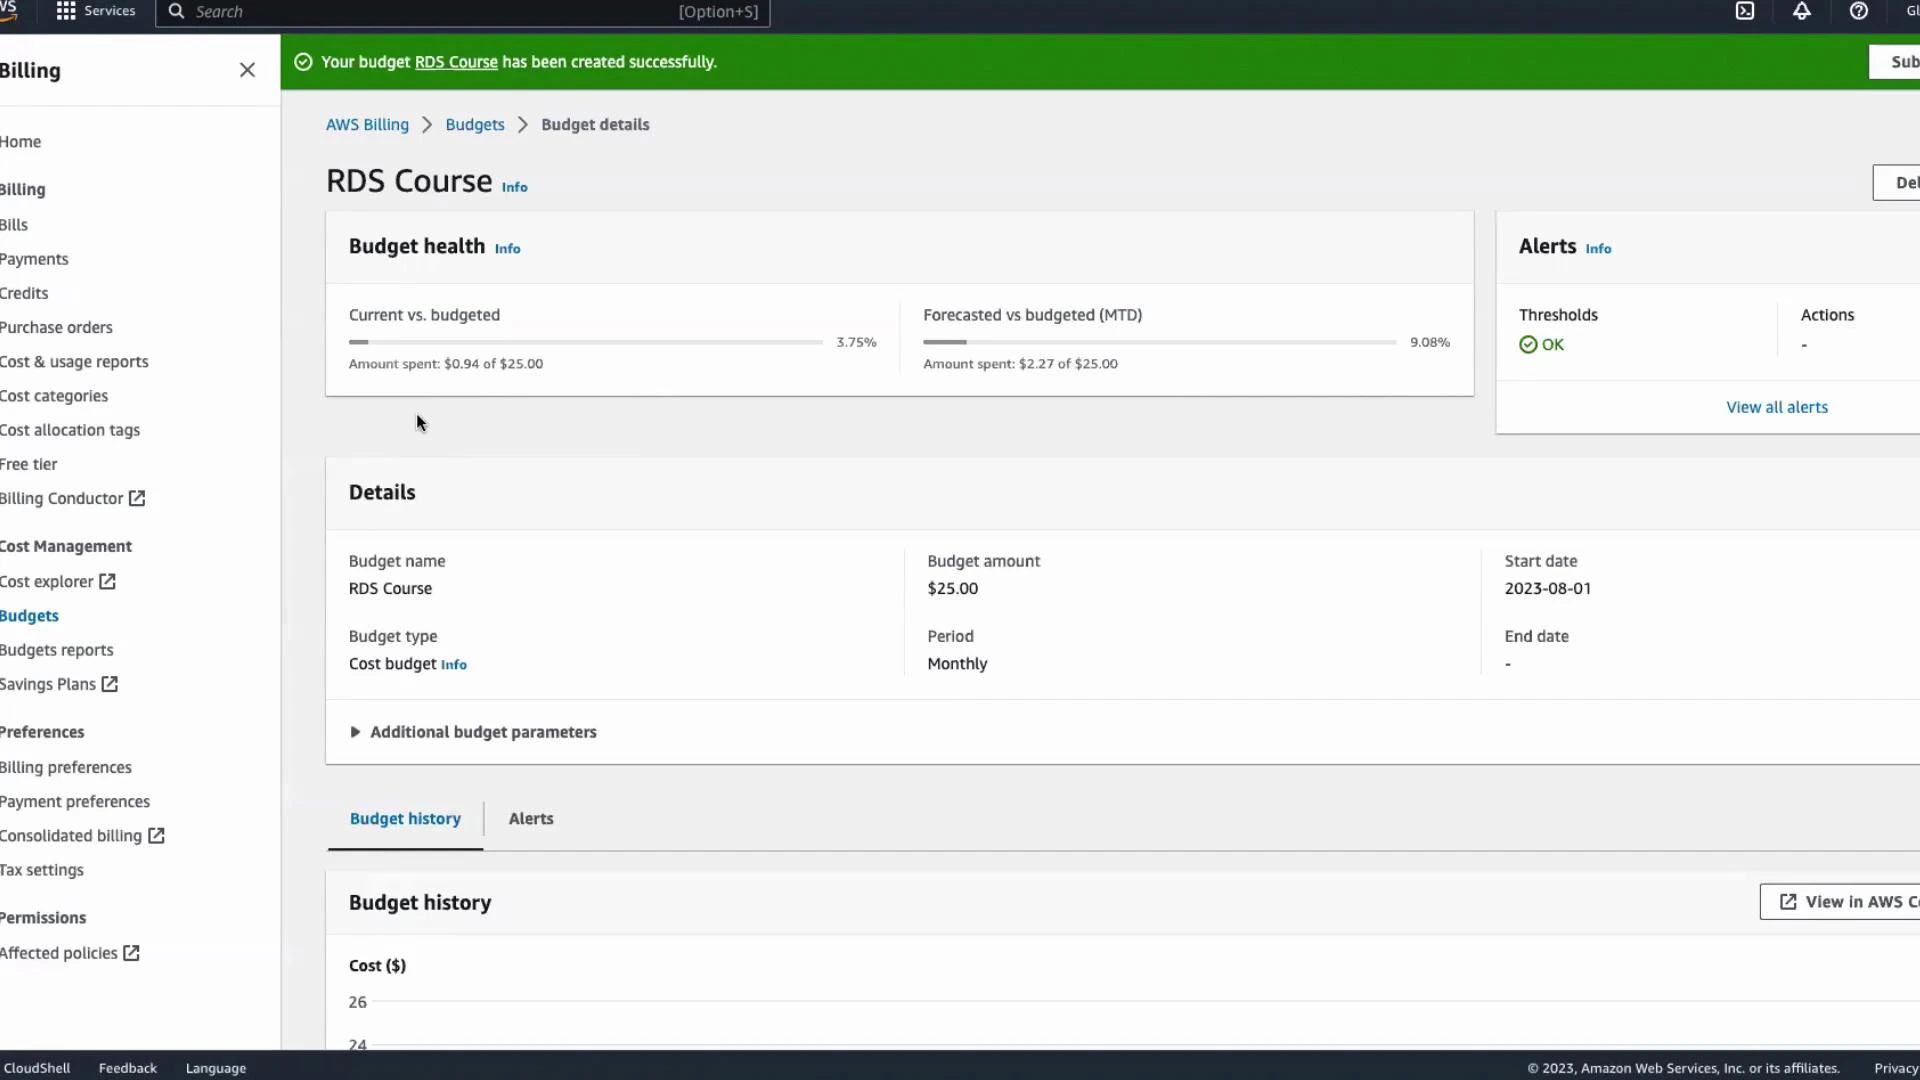
If you’re new to AWS or using the Free Tier, create an AWS Budget to receive alerts before costs grow unexpectedly. Budgets let you track costs by account, service, and tags, and can notify you when thresholds are reached. Quick steps to create a cost budget:- In the AWS Management Console search bar type “budgets” and open the Budgets page (under Billing).
- Click Create budget.
- Choose Cost budget. For more granular control (accounts, services, tags) select the advanced/custom options; otherwise use the default cost budget.
- Choose recurrence — select Recurring for ongoing monitoring and set a start date (for example, the start of the month).
- Set the budget amount and currency (for example, enter 25 for a $25/month budget).
- Click Next and add alert thresholds (for example, 80% to receive a notification when spend reaches 25 budget).
- Enter the email address that should receive alerts.
- Review the budget settings and click Create budget.
| Setting | Purpose | Example |
|---|---|---|
| Budget type | Defines what you’re tracking | Cost budget |
| Recurrence | How often the budget resets | Recurring — monthly |
| Amount & currency | Spending limit to monitor | $25 USD |
| Alert thresholds | When notifications are sent | 80% (notify at $20) |
| Notification recipients | Who receives alerts | team@example.com |
Tip: Use tags and service filters when creating budgets to monitor specific projects or resources (for example, only RDS or only a particular project tag).
- AWS Budgets documentation: https://docs.aws.amazon.com/cost-management/latest/userguide/budgets-managing-costs.html
- AWS Billing and Cost Management: https://aws.amazon.com/aws-cost-management/