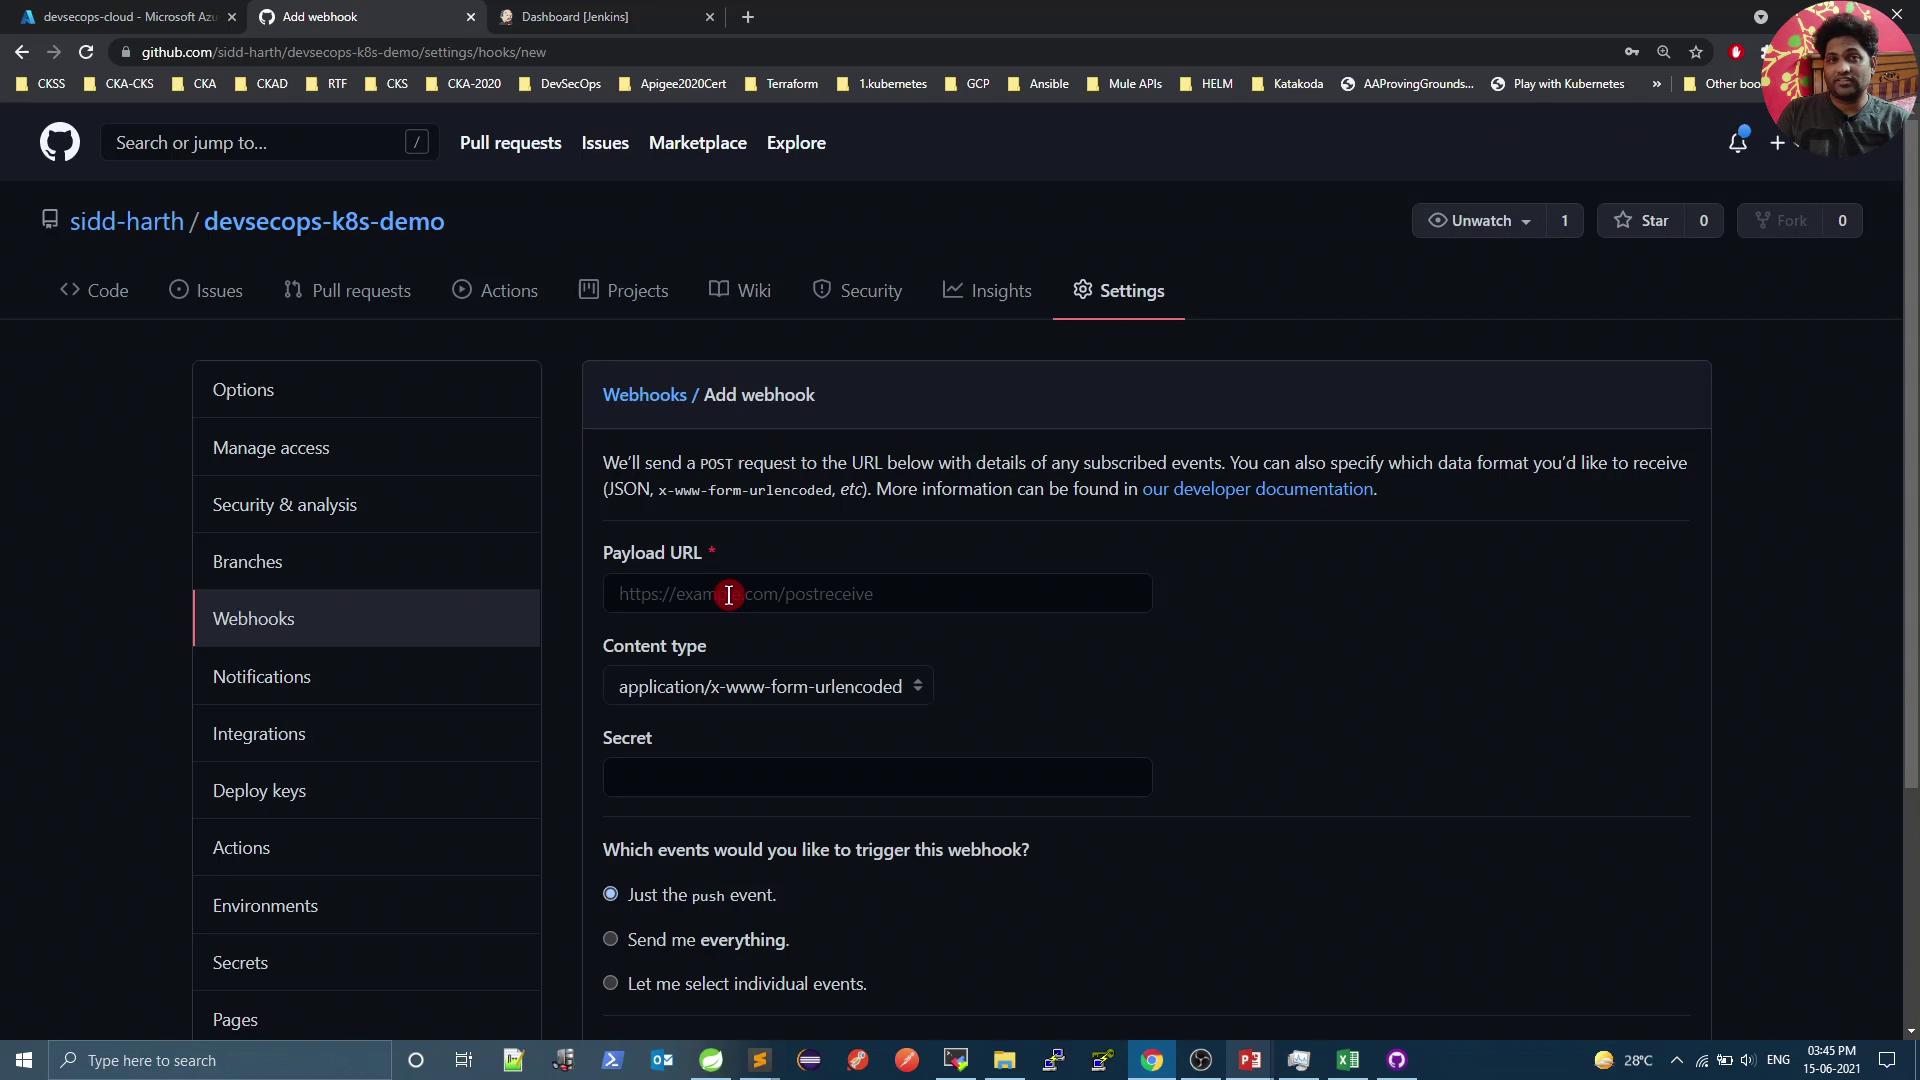
1. Set Up GitHub Webhook
- Open your GitHub repository in the browser.
- Navigate to Settings > Webhooks.
- Click Add webhook.
- Configure the webhook fields as follows:
| Setting | Value | Description |
|---|---|---|
| Payload URL | https://<your-jenkins-url>/github-webhook/ | Jenkins listens here for events. |
| Content type | application/json | Ensures JSON payload delivery. |
| Events | Just the push event | Triggers on git push to branches. |
- Click Add webhook.
Make sure your Jenkins instance is accessible from the internet or via VPN so GitHub can reach the webhook endpoint.
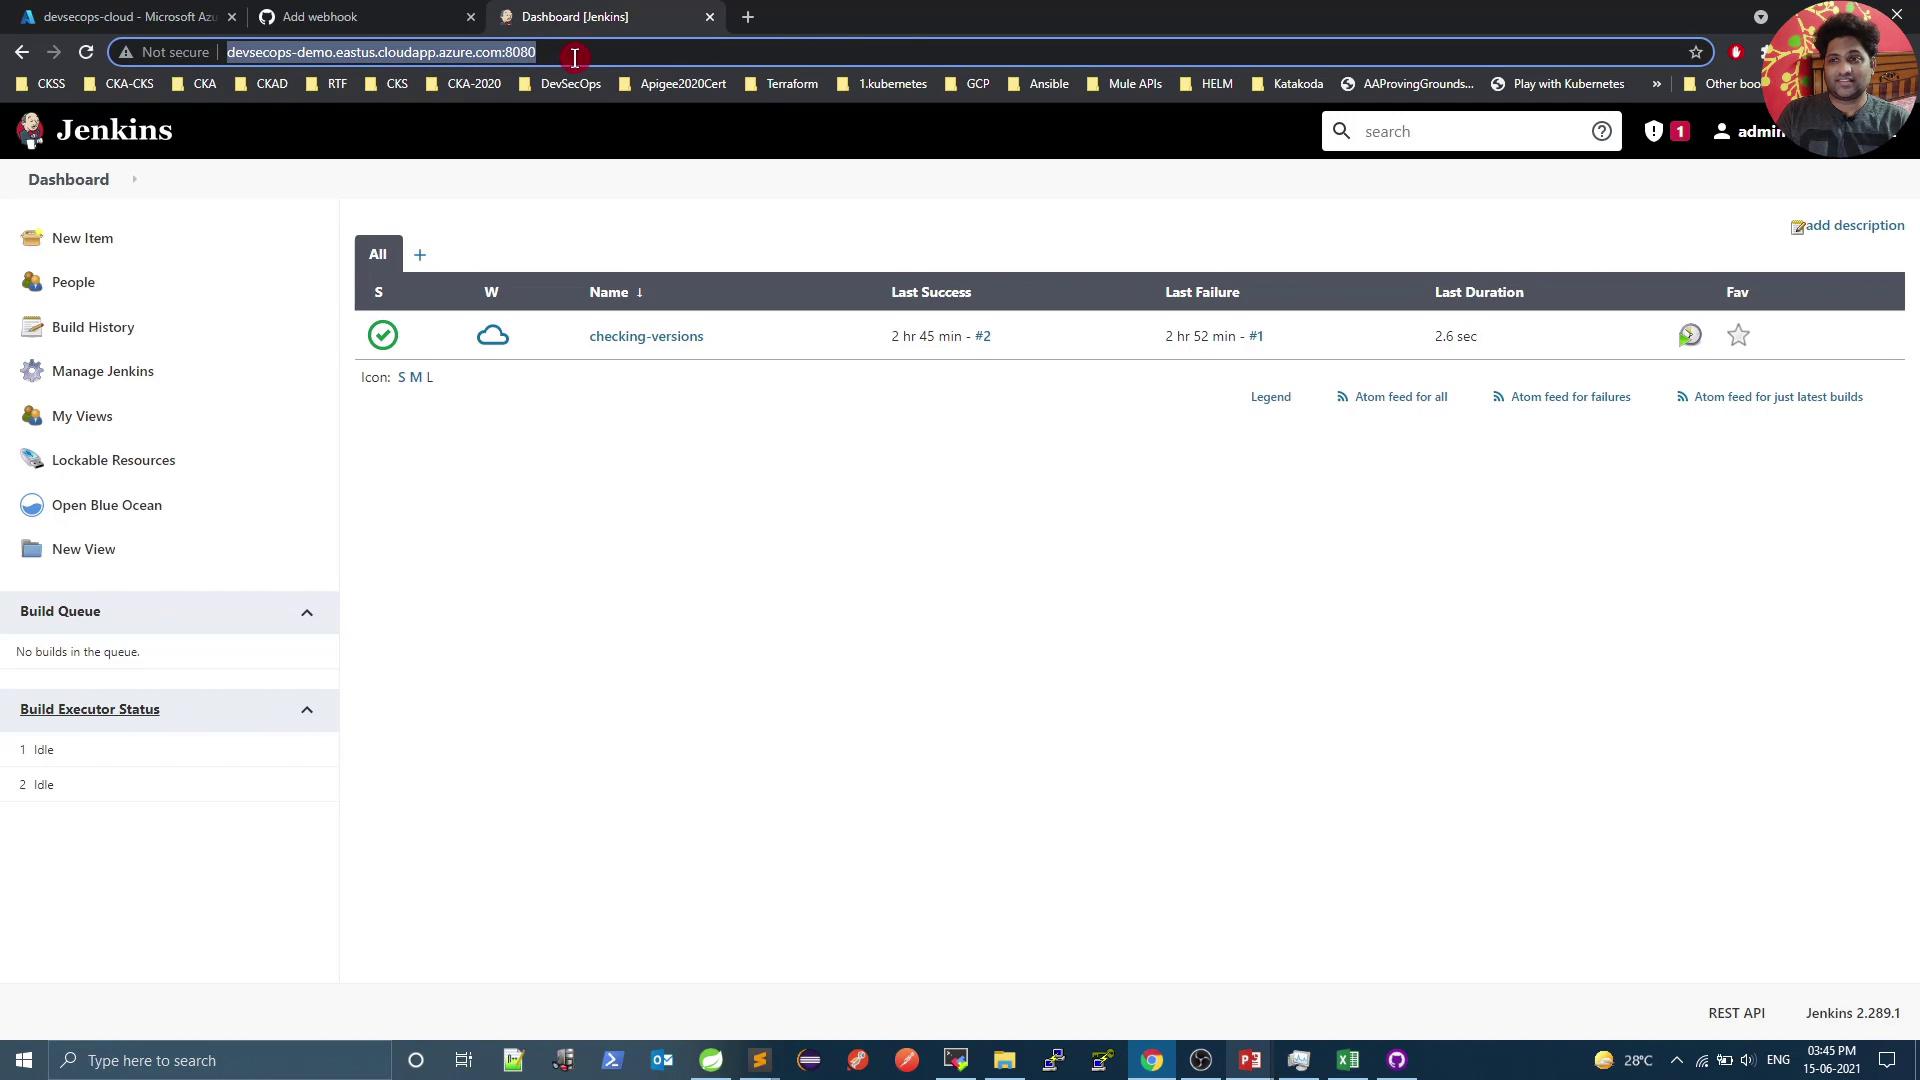
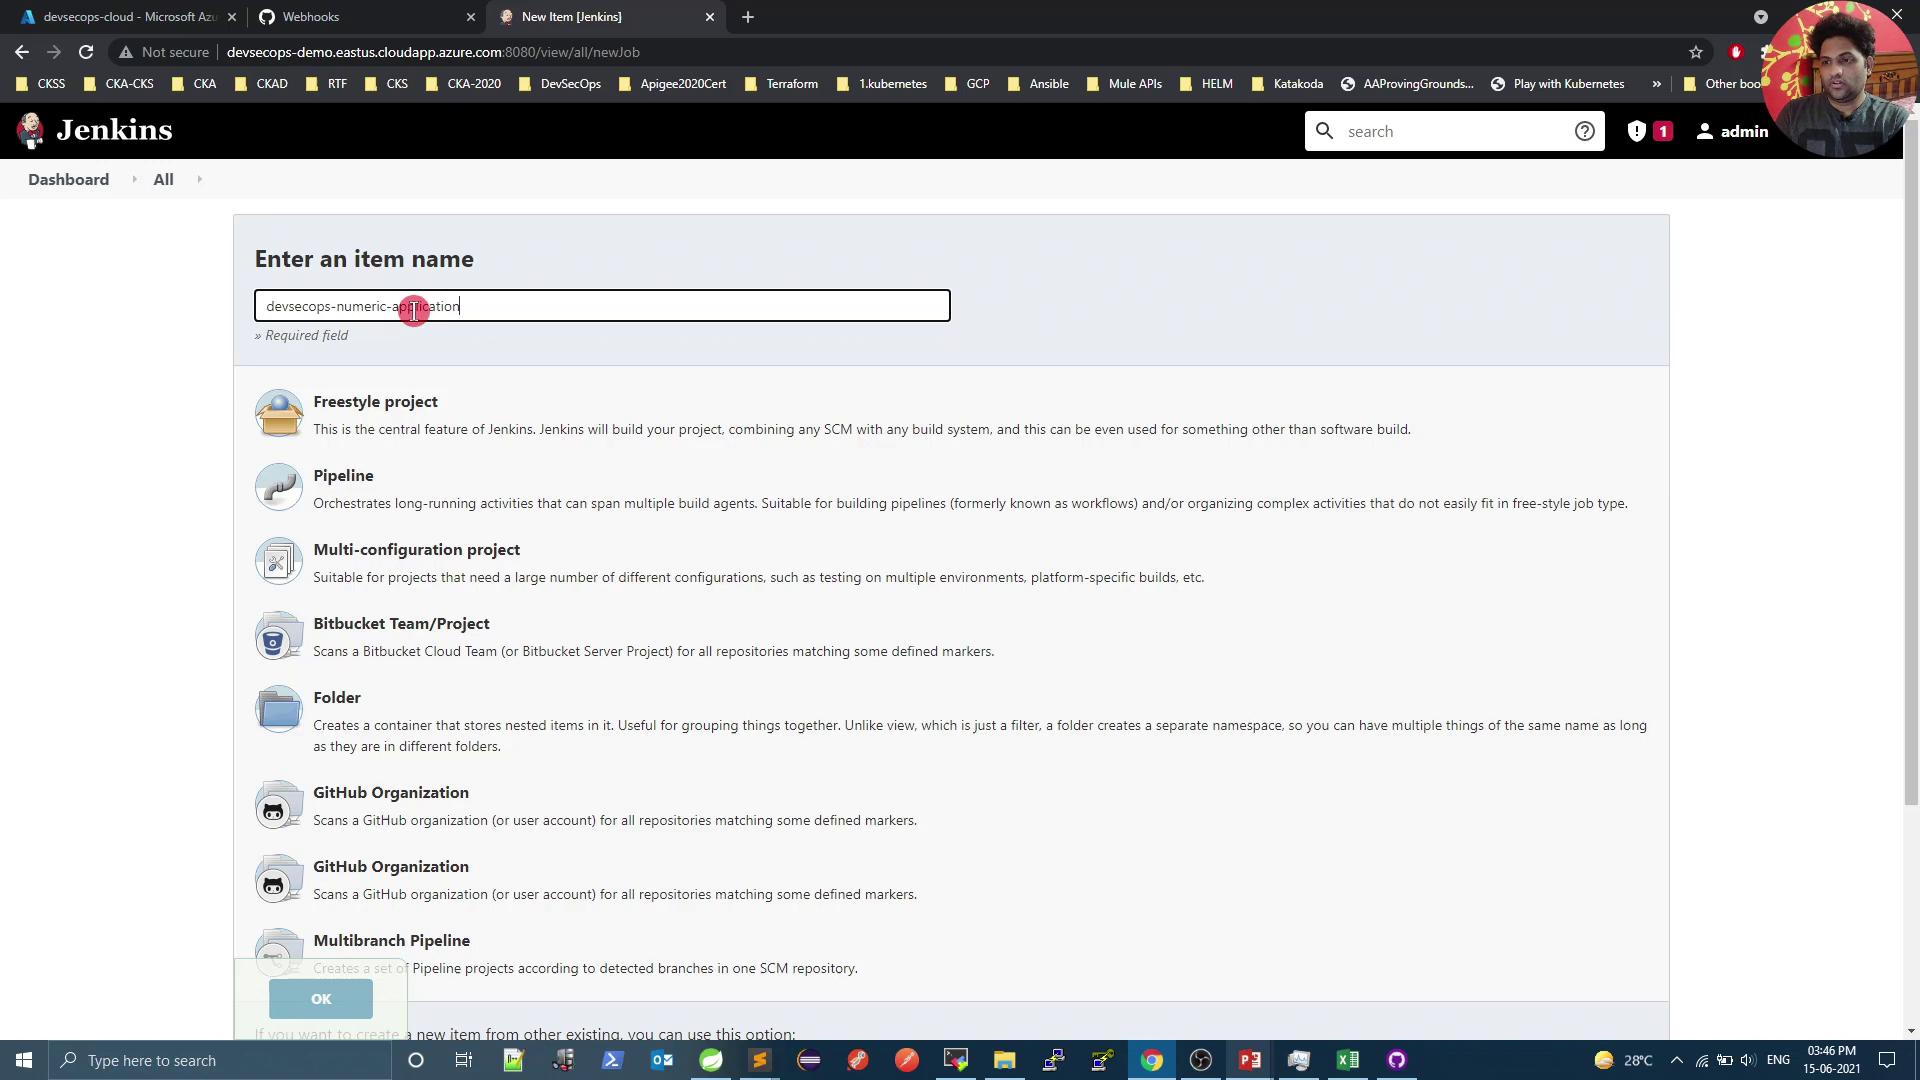
2. Create a New Jenkins Pipeline Job
- Go to your Jenkins dashboard.
- Click New Item.
- Enter a name (e.g.,
devsecops-numeric-application). - Select Pipeline, then click OK.
3. Configure the Pipeline
In the job’s Configure screen:- Under Build Triggers, enable GitHub hook trigger for GIT SCM polling.
-
Scroll to Pipeline:
- Definition: Pipeline script from SCM
- SCM: Git
- Repository URL:
https://github.com/your-org/your-repo.git - Branch:
main
- Click Save.
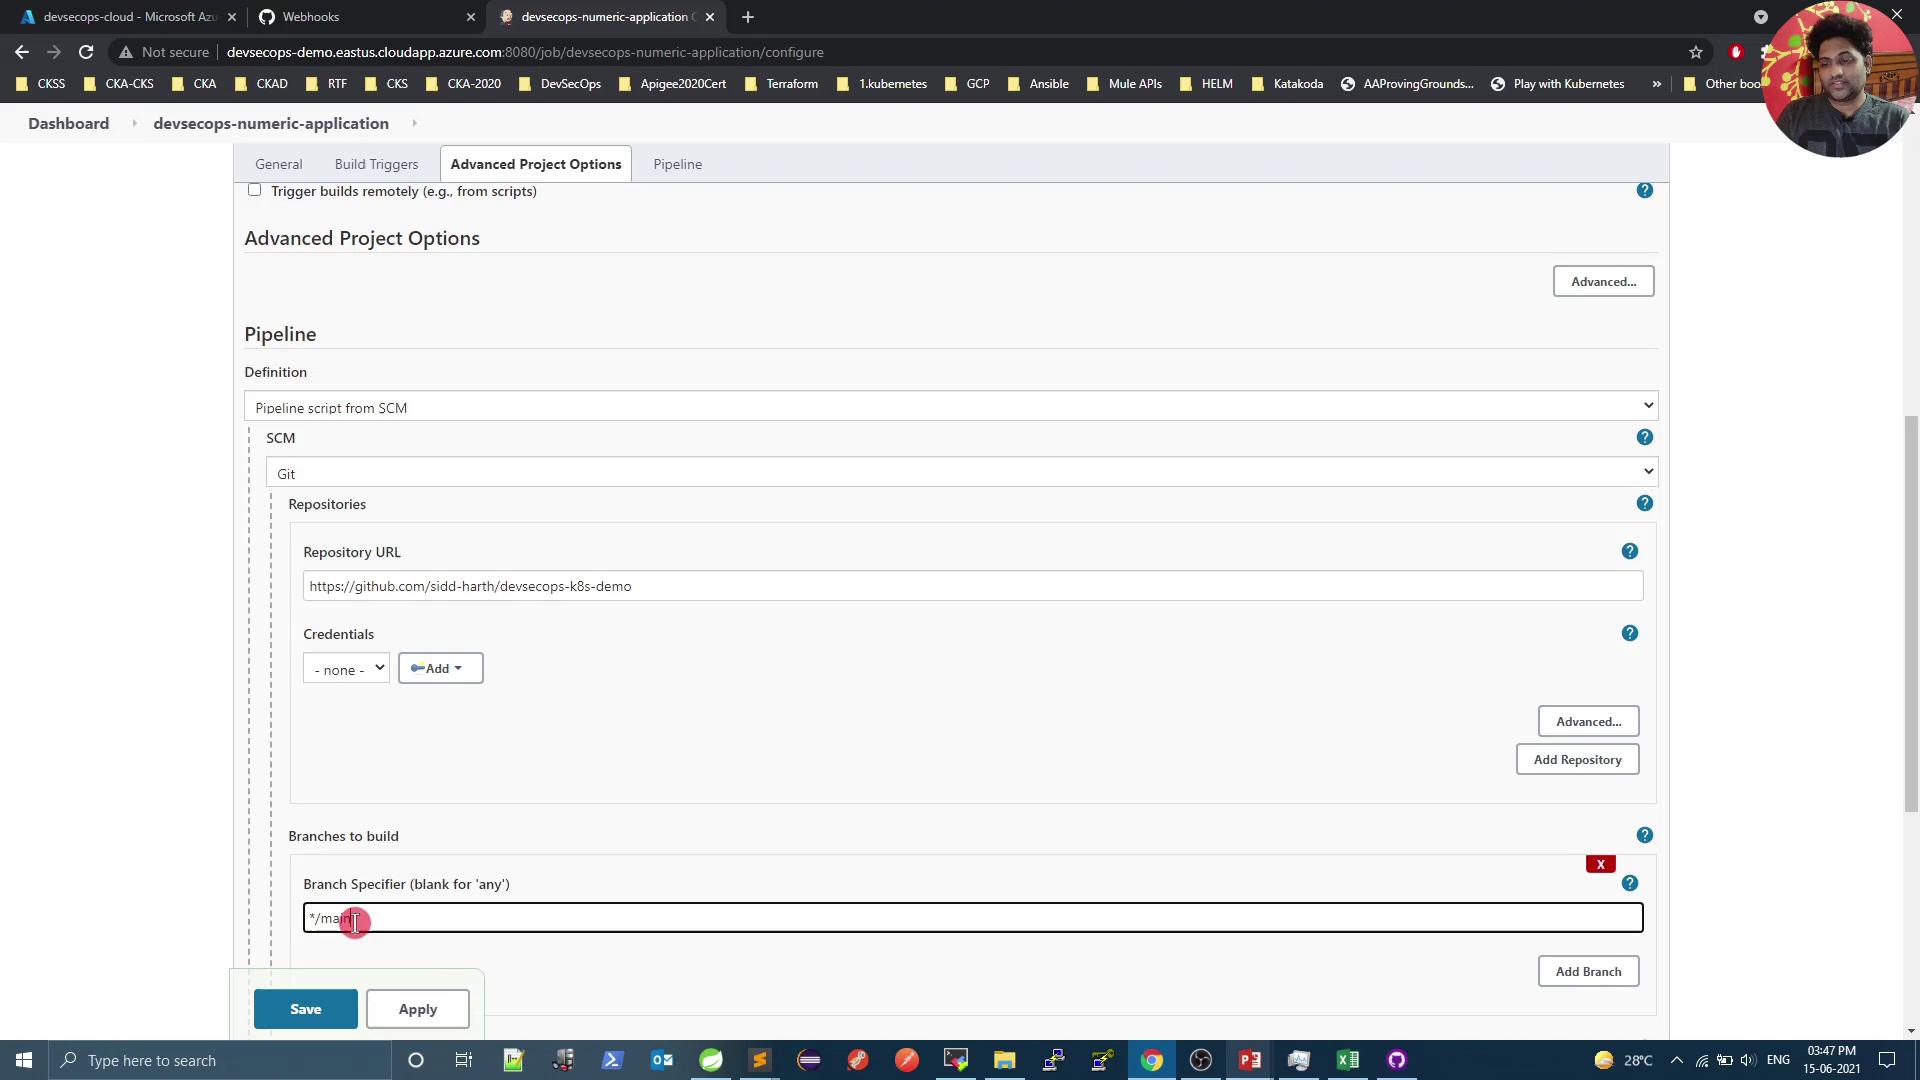
Ensure the GitHub Integration and Pipeline plugins are installed in Jenkins to enable SCM polling and webhook triggers.
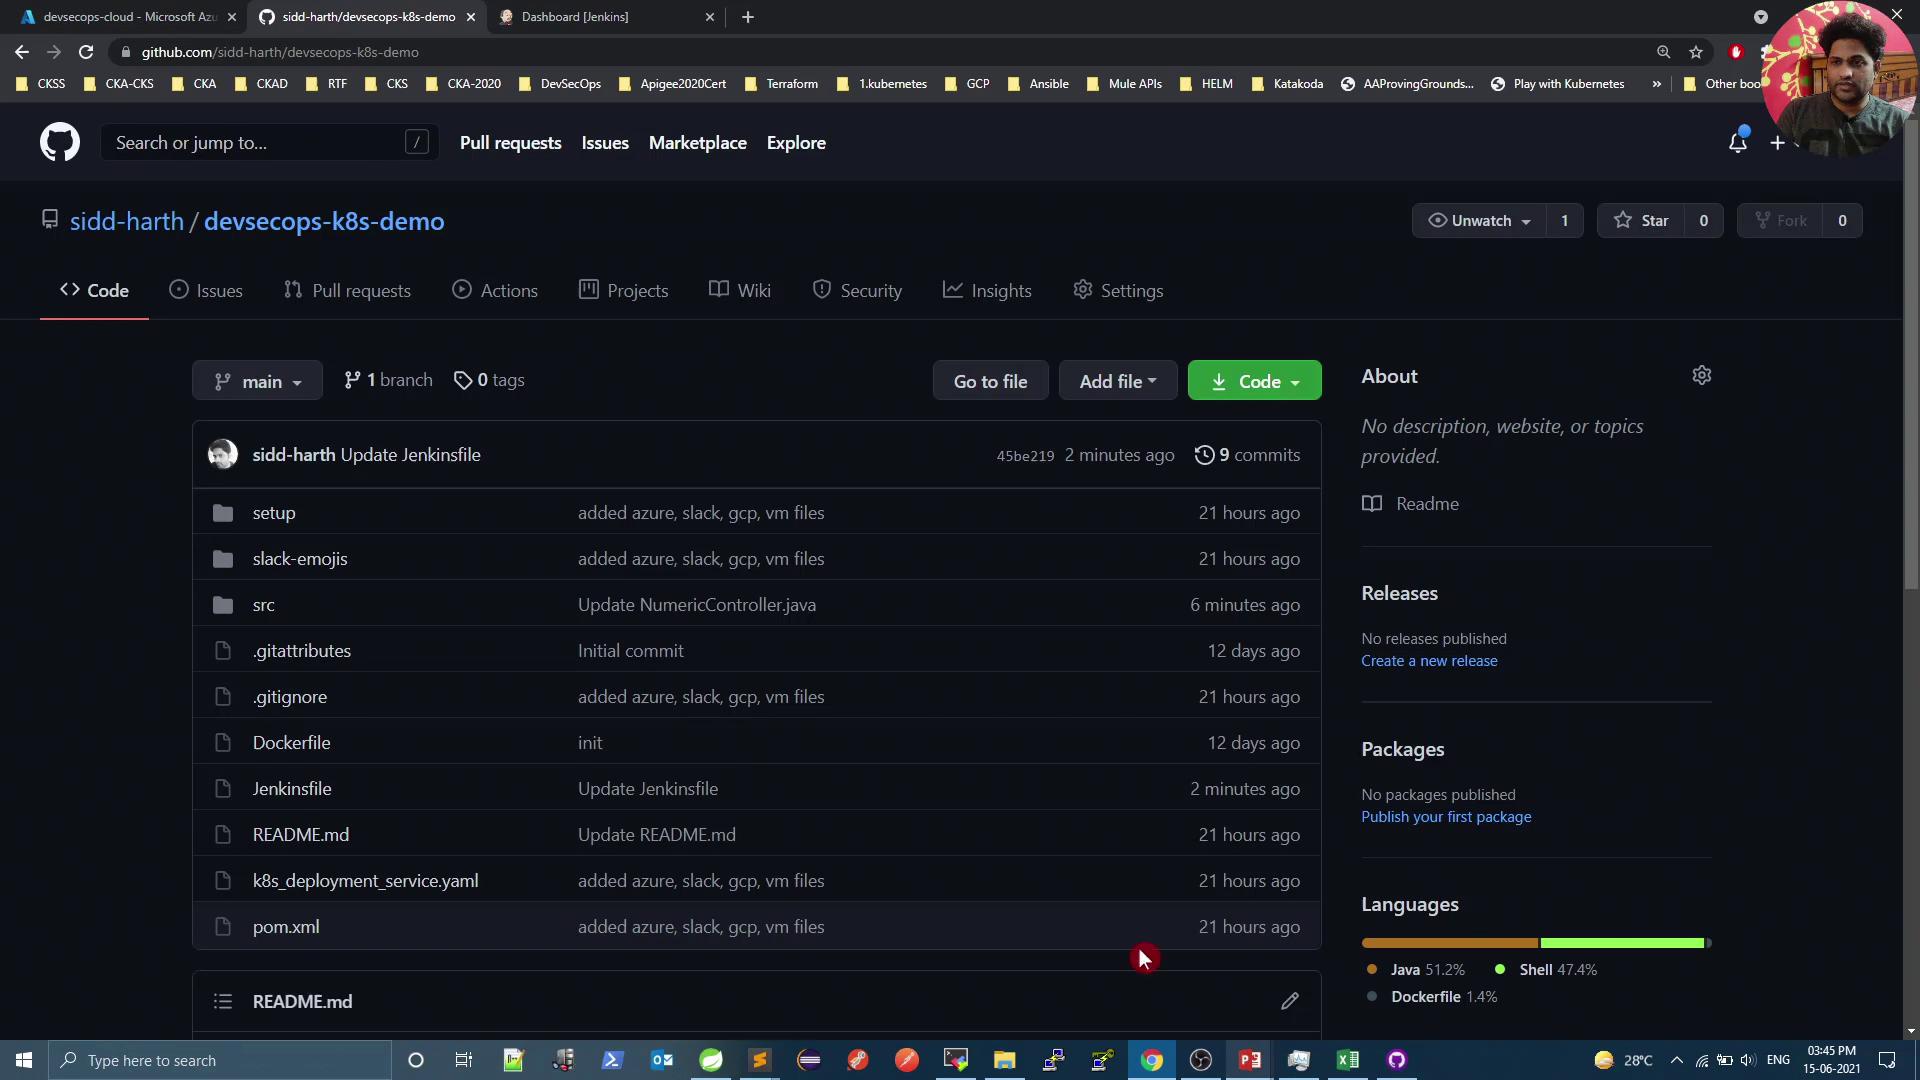
4. Define Your Jenkinsfile
At the root of your GitHub repository, add a file namedJenkinsfile:
any agent, runs the Maven package goal, skips tests, and archives the resulting JAR.
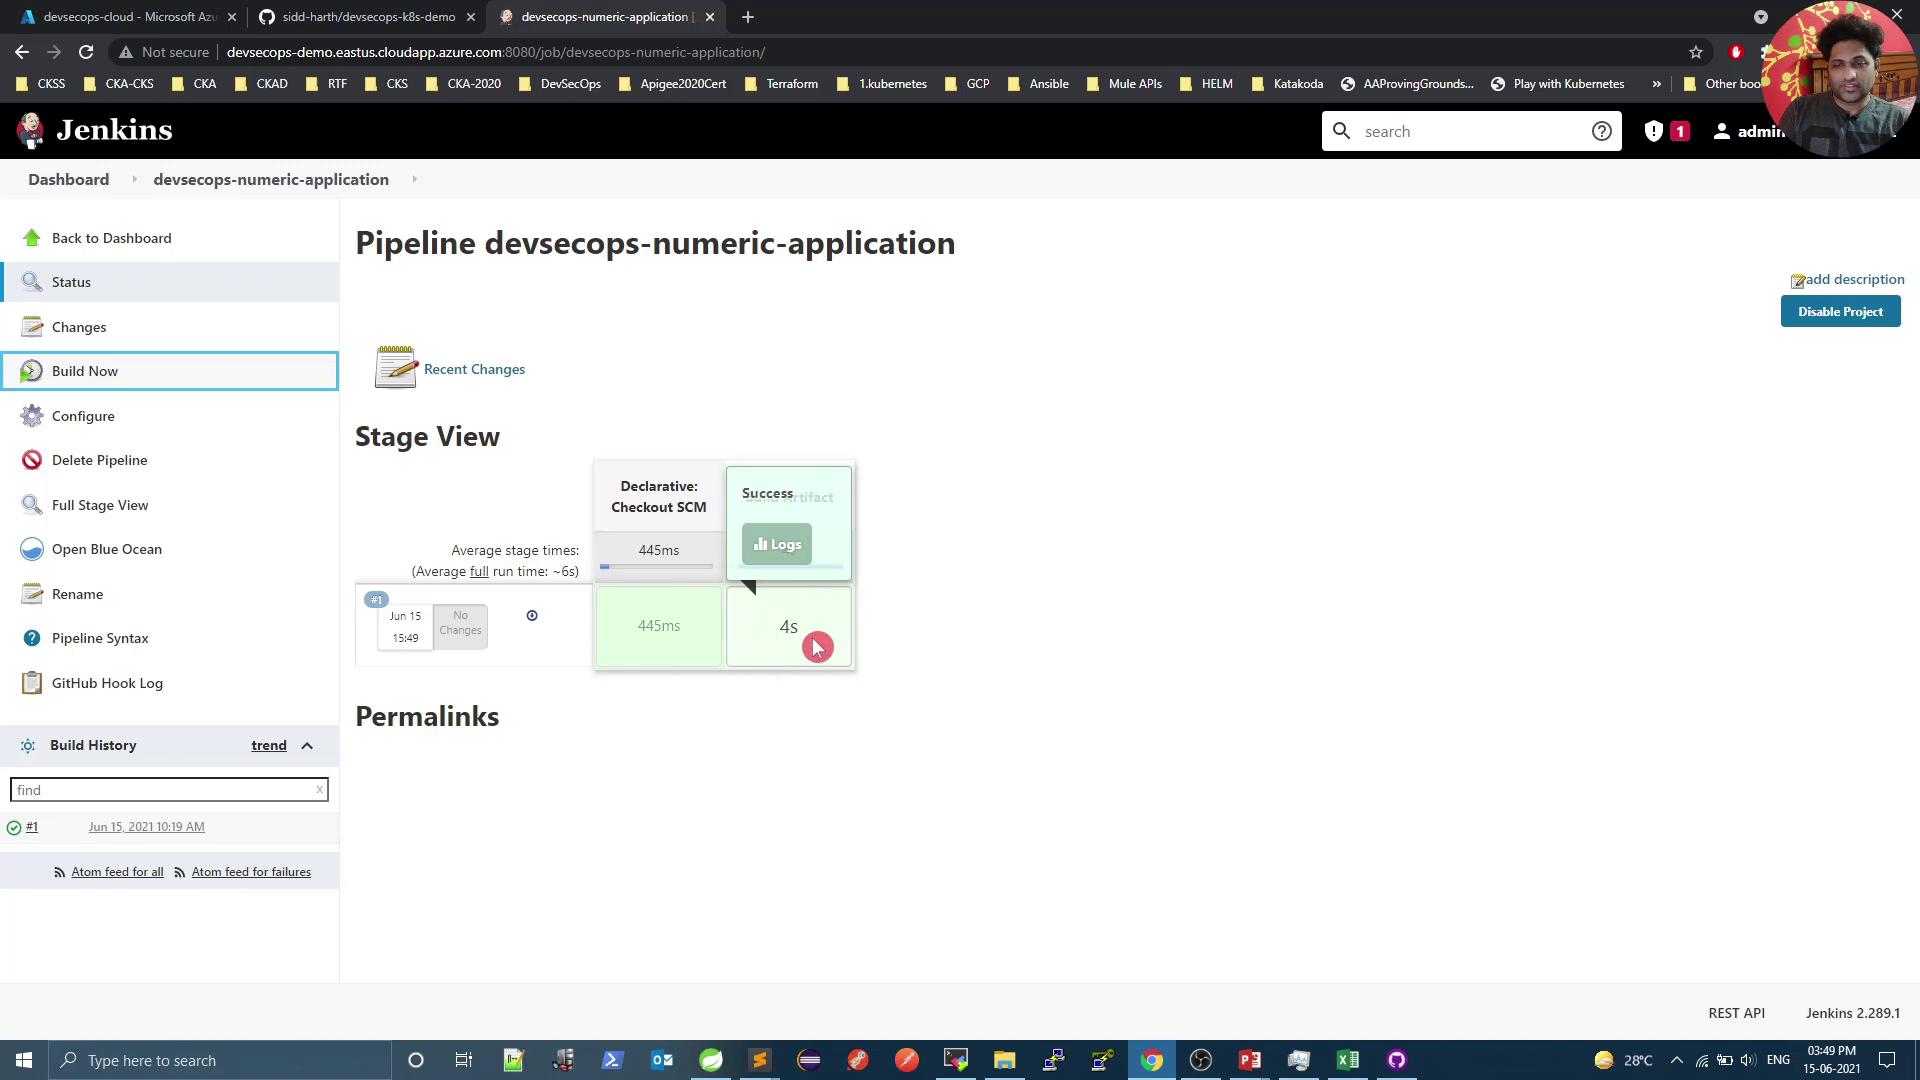
5. Run Your First Build
-
Commit and push the
Jenkinsfile: - In Jenkins, open your pipeline job and click Build Now.
- Monitor the console output. The initial build will download all dependencies.
6. Automate Builds via Webhook
Now every push tomain triggers a new build automatically. For example:
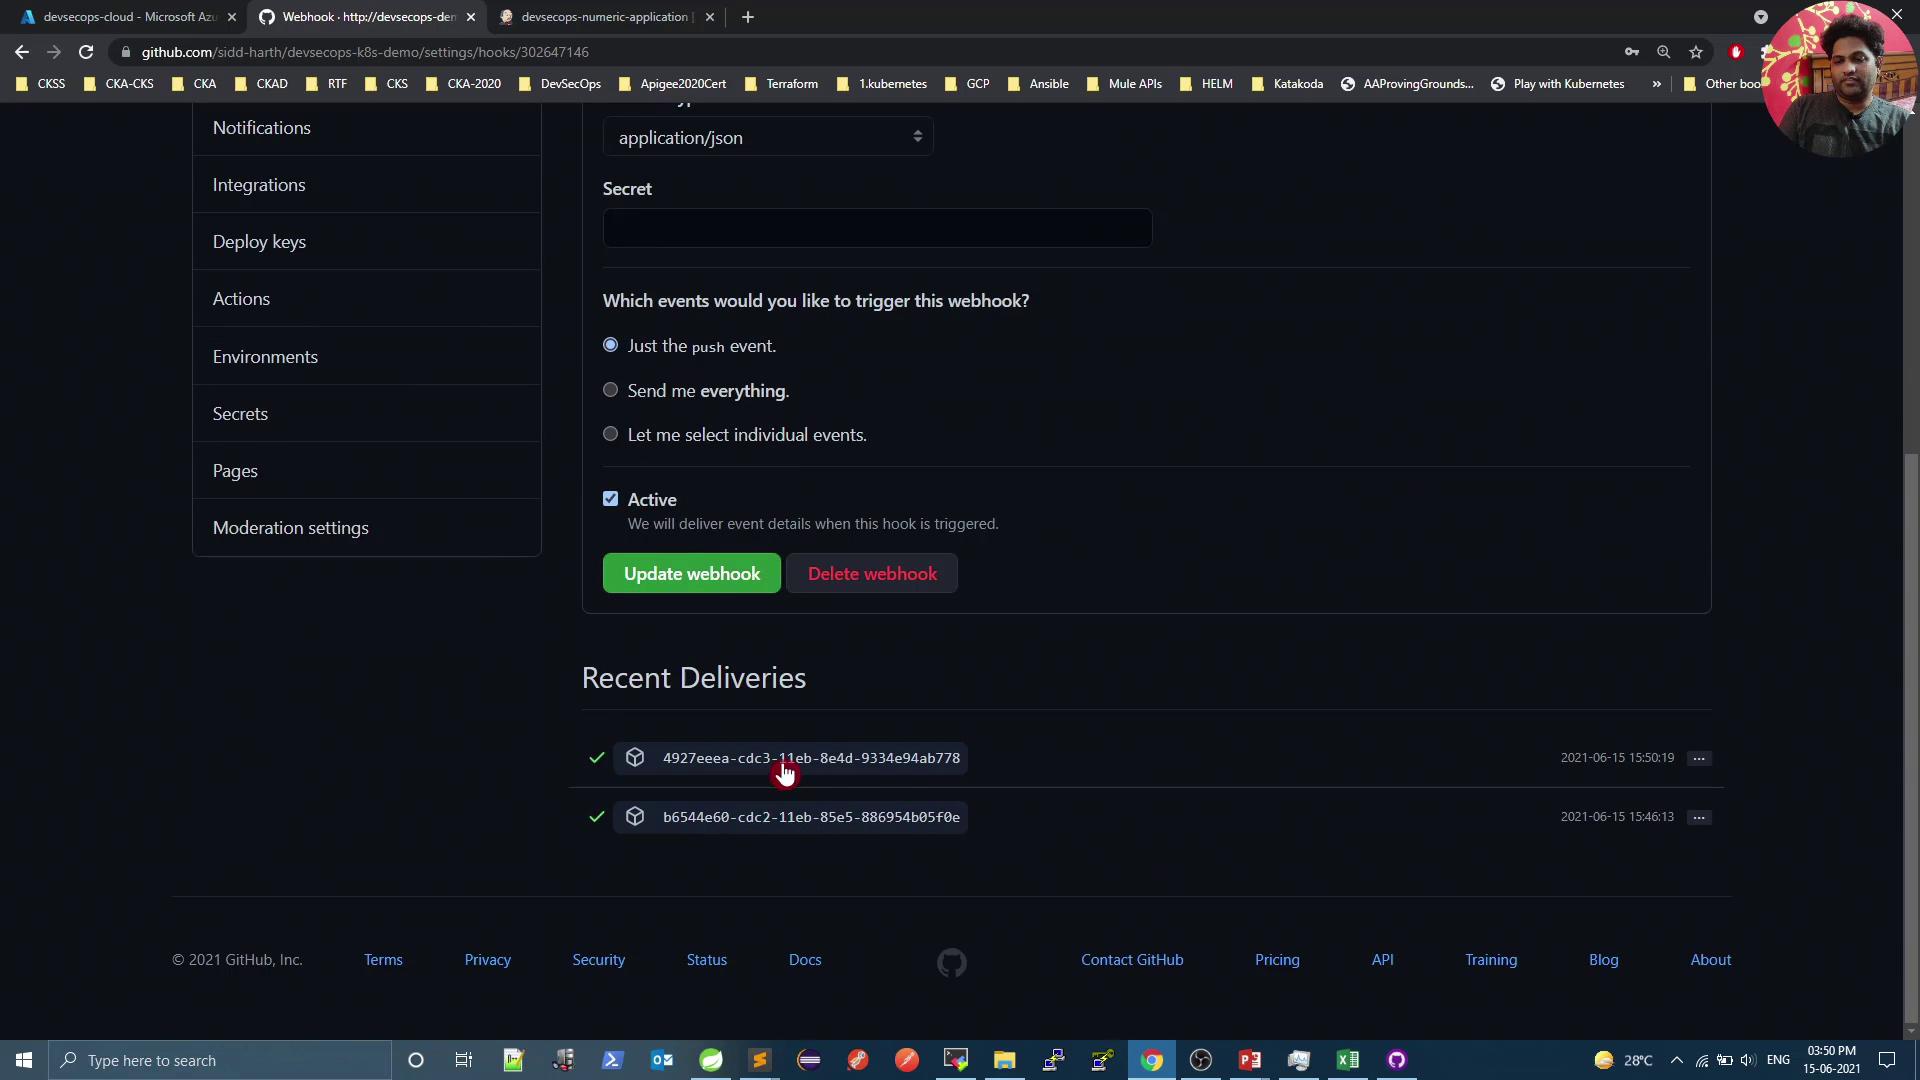
7. Verify Webhook Deliveries
To inspect delivery logs:- In your GitHub repo, go to Settings > Webhooks.
- Click on the webhook entry.
- Review Recent Deliveries for payloads and response codes.