In this tutorial, you’ll learn how to extend your existing Jenkins pipeline to deploy a Kubernetes application into a production namespace and then visualize the service mesh using Kiali. While a dedicated pipeline is recommended for production, this guide demonstrates how to add a production stage to your current Jenkinsfile.

Table of Contents

  1. Updating the Jenkinsfile
  2. Kubernetes Production Deployment YAML
  3. Why Drop NET_RAW?
  4. Rollout Status Script
  5. Triggering the Deployment
  6. Verifying the Production Deployment
  7. Visualizing with Kiali
  8. References

Updating the Jenkinsfile

Add a new stage named K8S Deployment - PROD right after your CIS Benchmarking stage. This stage runs two parallel steps:
Make sure your Jenkins agent has permissions to apply manifests in the prod namespace.

Kubernetes Production Deployment YAML

Create a file named k8s_PROD-deployment_service.yaml with the following content. It includes:
  • A Deployment with three replicas
  • A security context that drops NET_RAW
  • Resource requests and limits
  • A ClusterIP Service

Resource Requests and Limits


Why Drop NET_RAW?

Dropping the NET_RAW capability mitigates DNS spoofing and other low-level network attacks. For a deeper dive, read DNS Spoofing on Kubernetes Clusters.
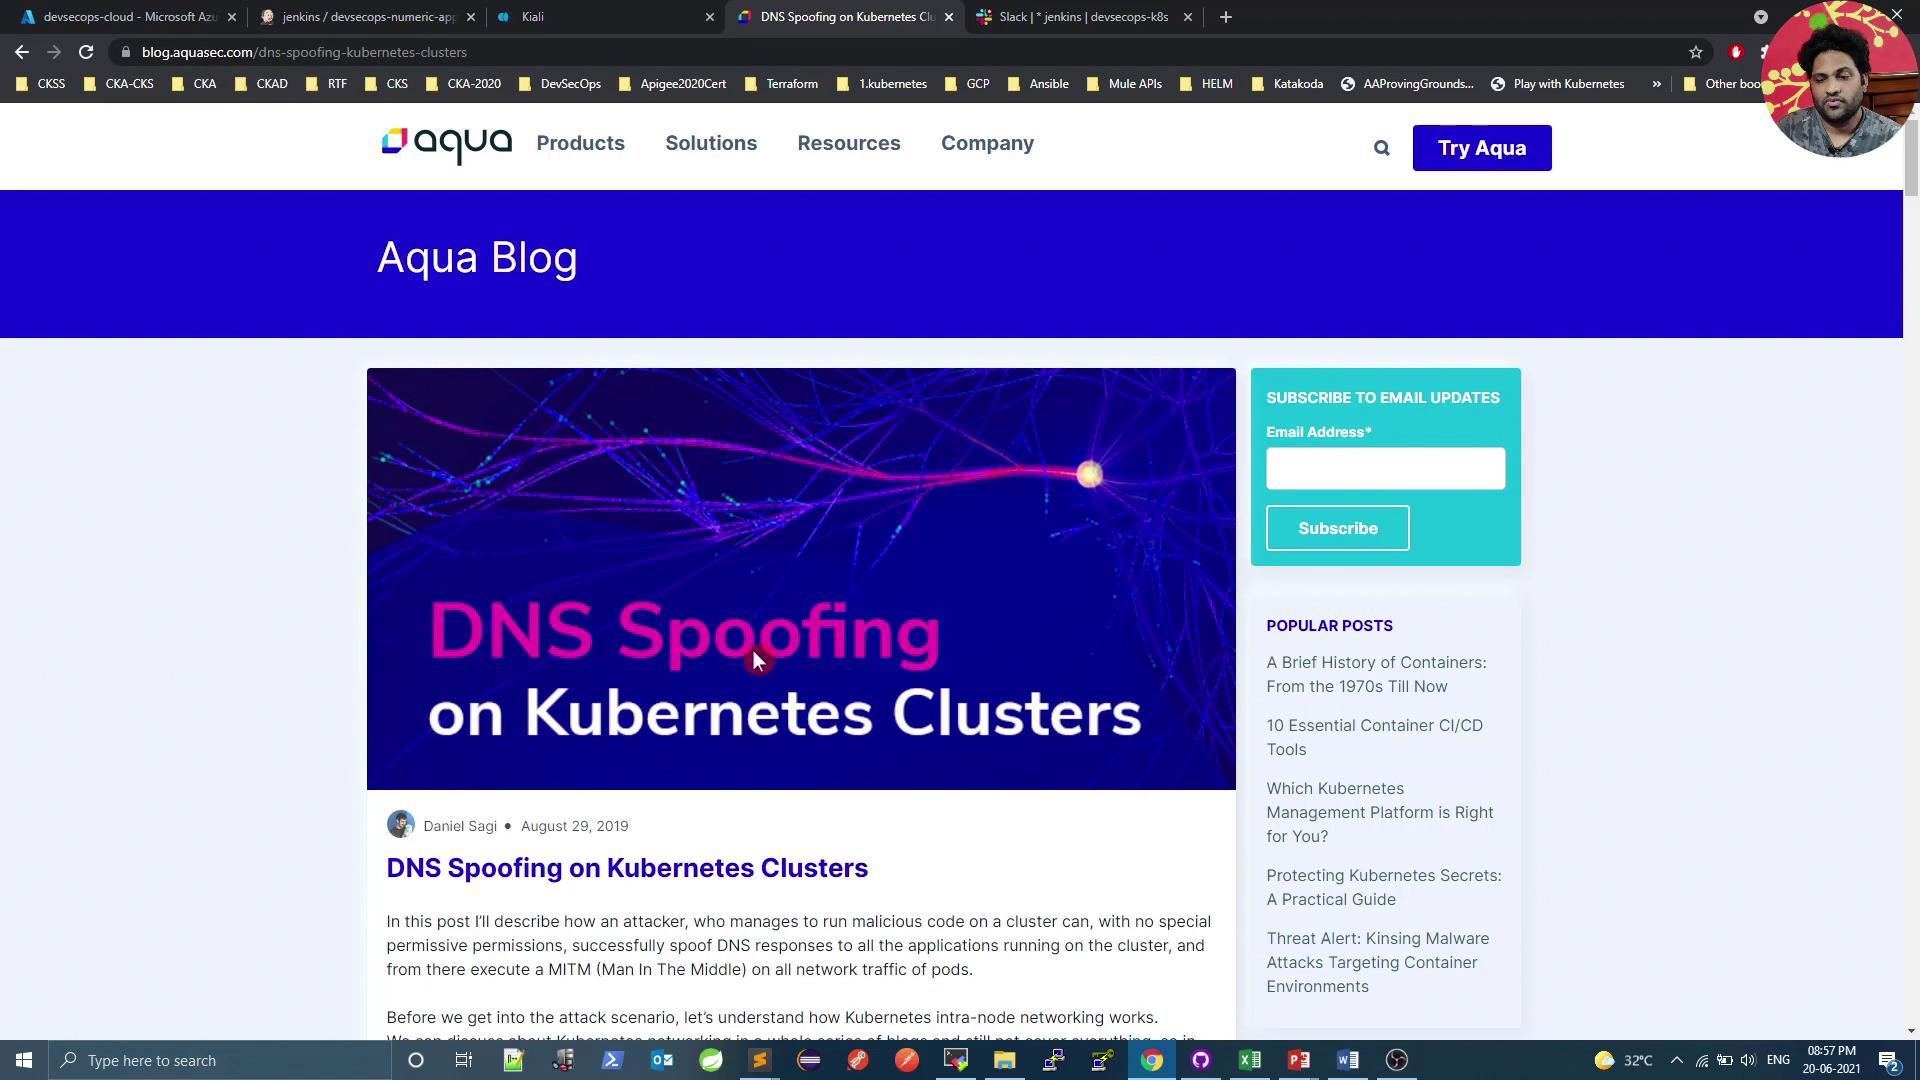
The image shows a blog post titled "DNS Spoofing on Kubernetes Clusters" on the Aqua Blog website, with a sidebar for subscribing to email updates and a list of popular posts.
Ensure no essential functionality relies on raw sockets before dropping NET_RAW.

Rollout Status Script

Save the following as k8s-PROD-deployment-rollout-status.sh in your repo. It waits for the deployment to roll out, then rolls back on failure:
Make the script executable:

Triggering the Deployment

  1. Commit and push both Jenkinsfile and YAML/script files to your Git repo.
  2. Start the Jenkins build.
  3. Approve the production deployment when prompted.
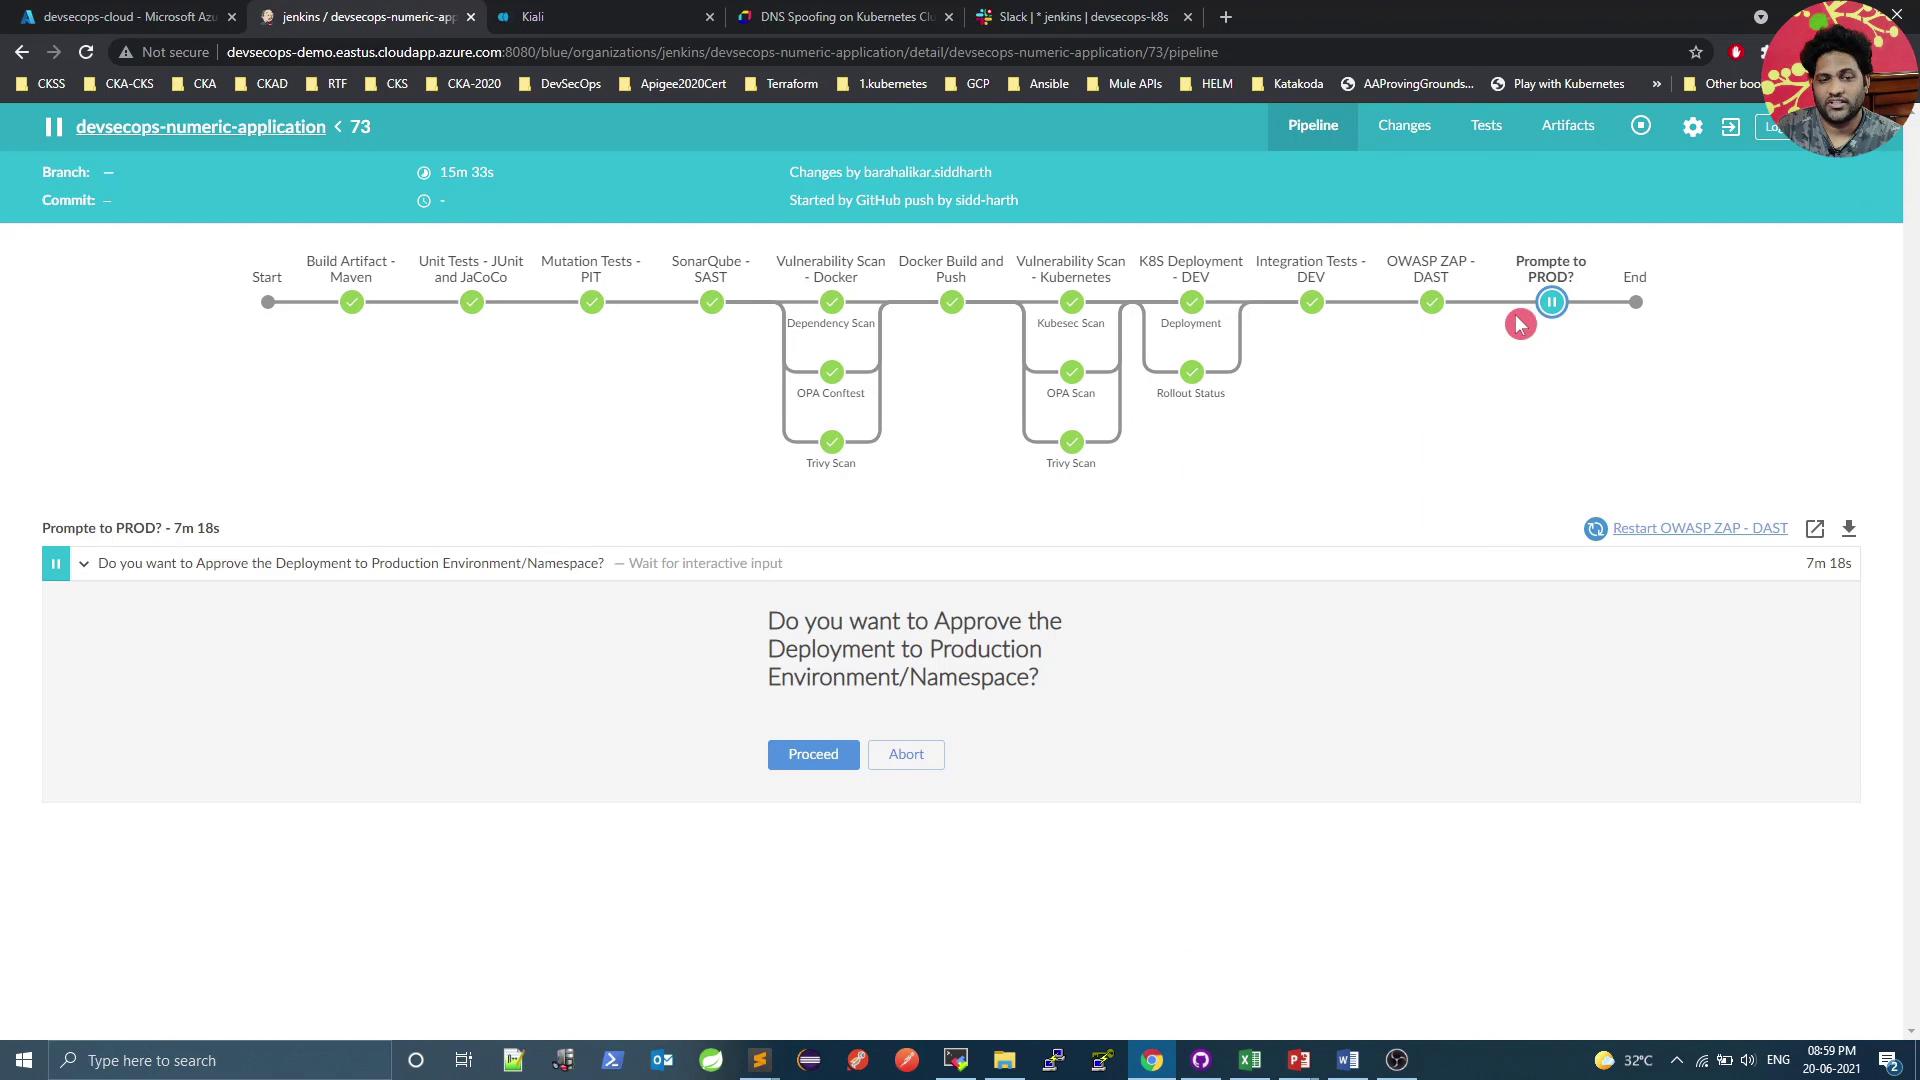
The image shows a Jenkins pipeline with various stages of a deployment process, including tests and scans. It also includes a prompt asking for approval to deploy to the production environment.

Verifying the Production Deployment

Validate pods in the prod namespace and confirm the Kiali service:
Example output:
The extra container in each pod is the Istio sidecar proxy.

Visualizing with Kiali

Kiali offers a comprehensive dashboard to monitor your service mesh. Below is a quick overview of key sections.

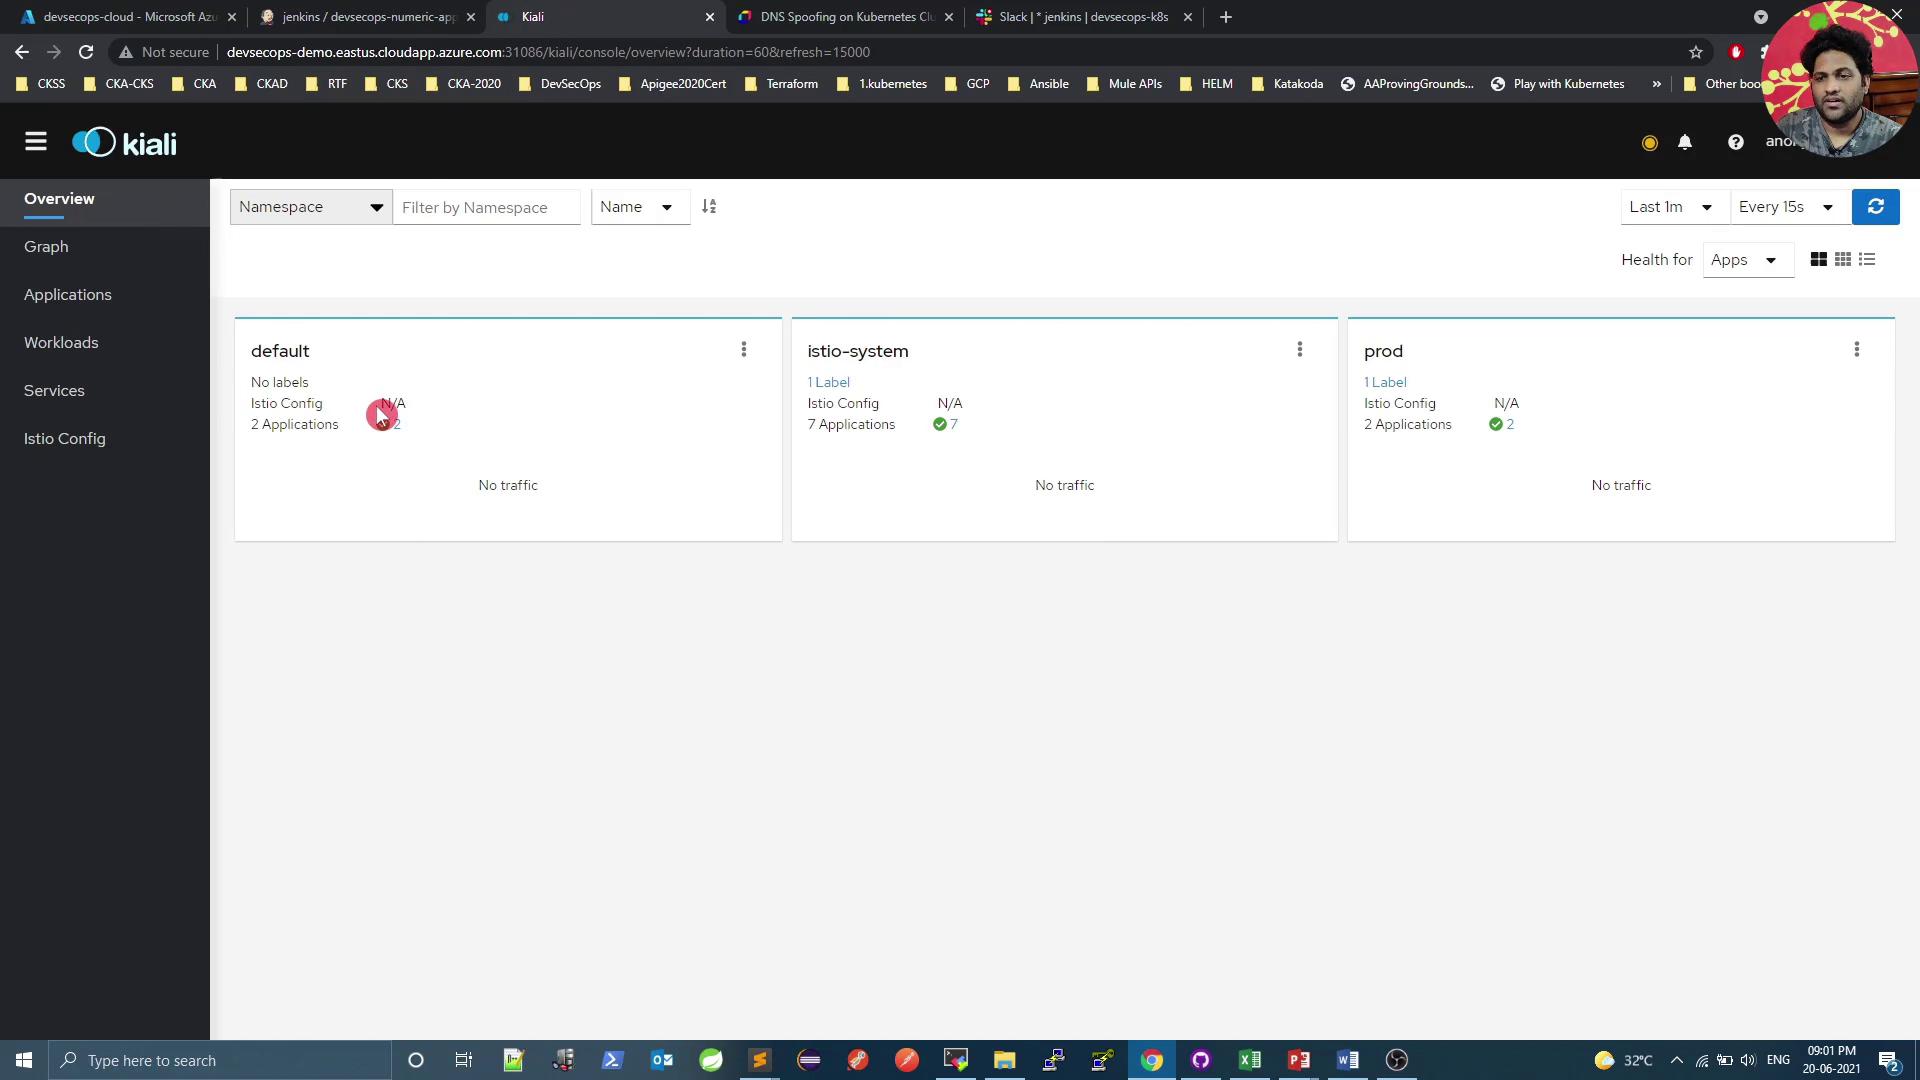
Namespaces Overview

The image shows a Kiali dashboard displaying an overview of namespaces with details about labels, Istio configuration, and applications. The screen also includes a browser with multiple tabs open.

Outbound & Inbound Metrics

Outbound Metrics
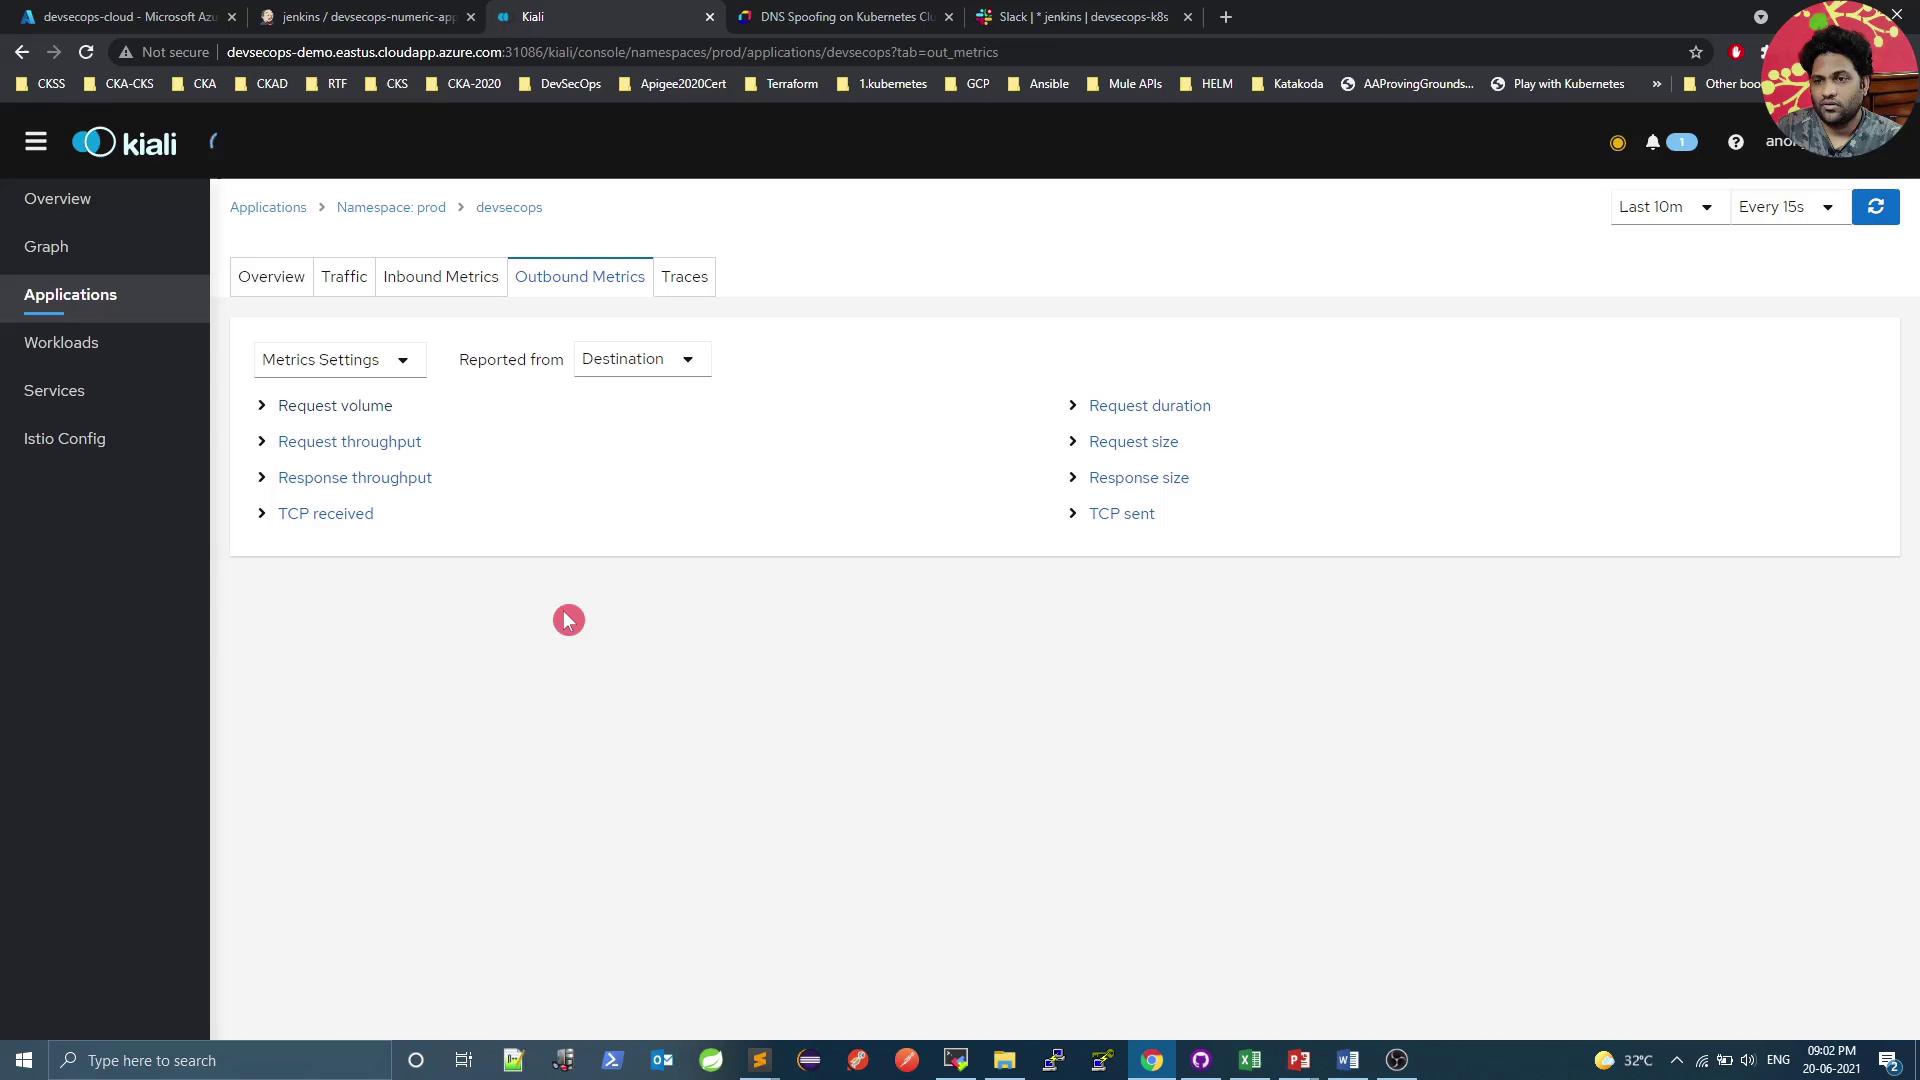
The image shows a Kiali dashboard interface displaying outbound metrics for a specific application namespace. It includes options for viewing request volume, throughput, and other network metrics.
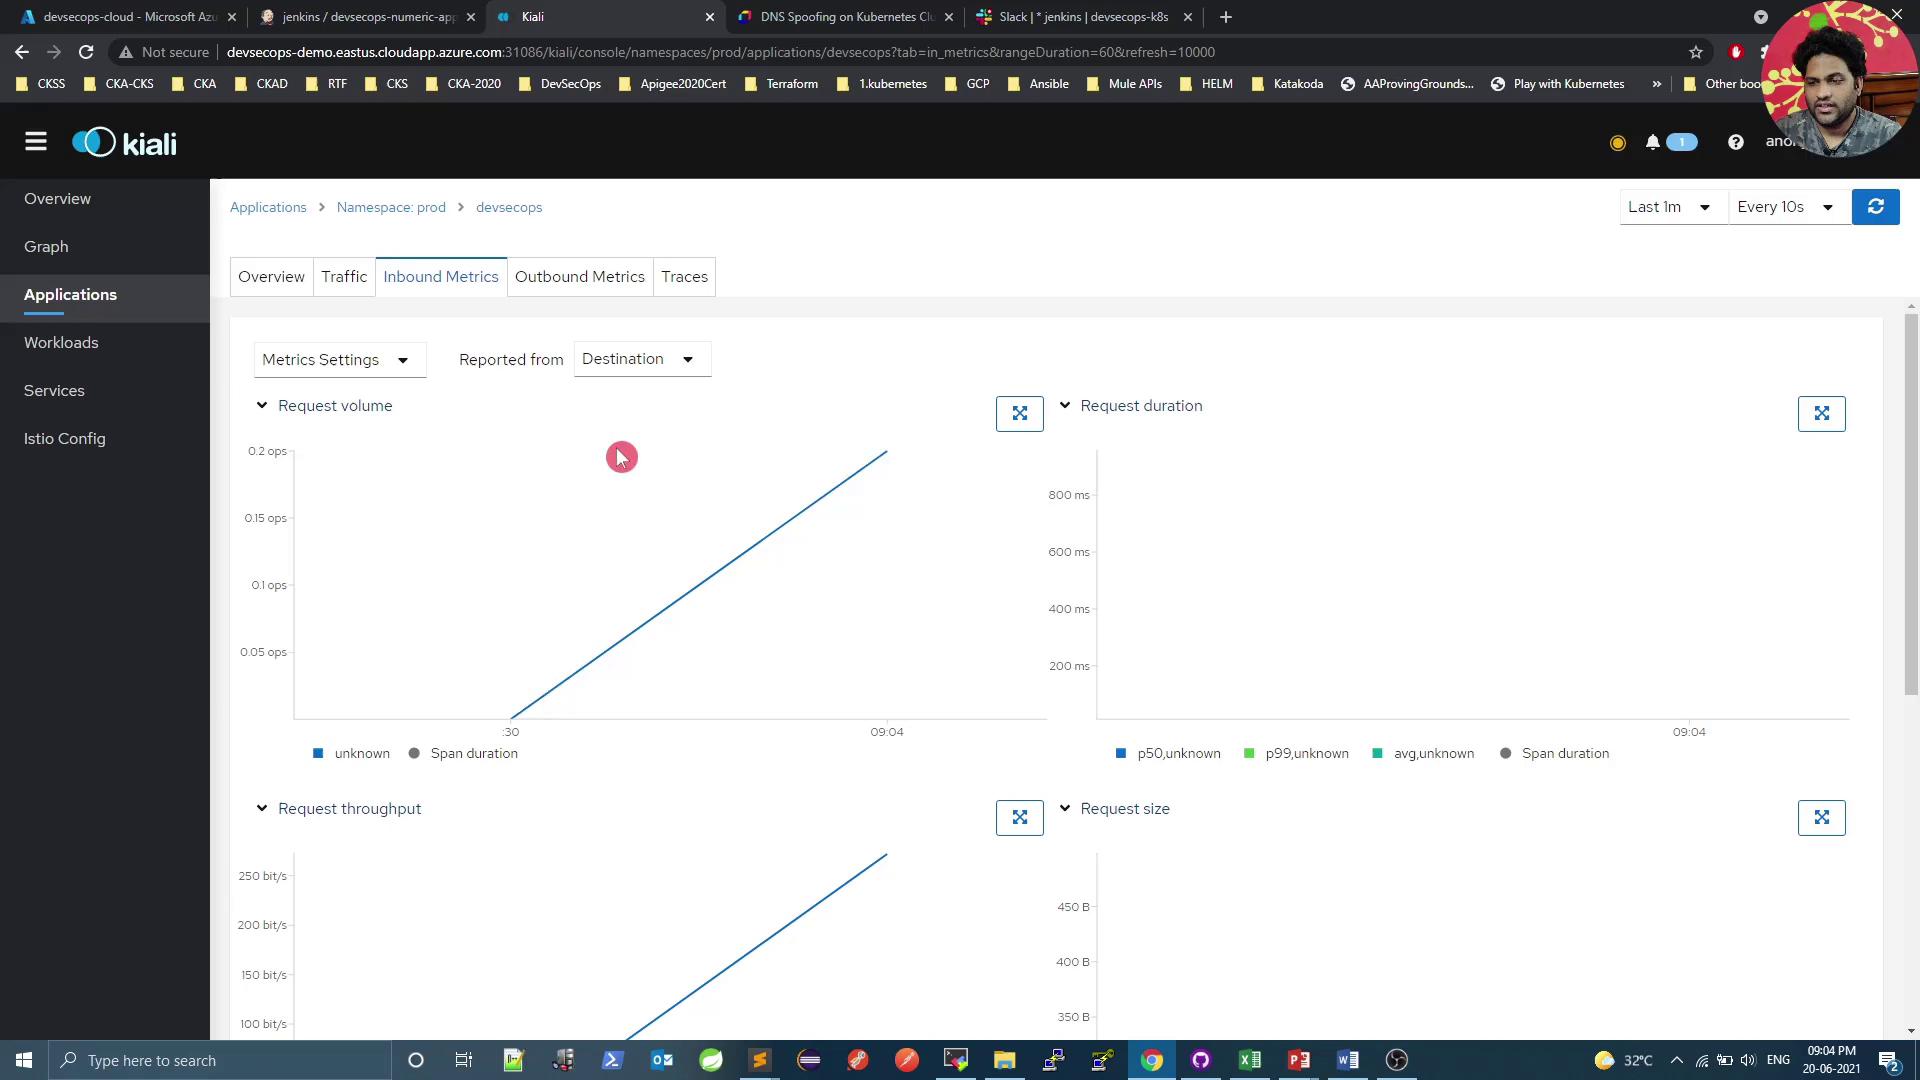
Inbound Metrics
The image shows a Kiali dashboard displaying inbound metrics for a specific application, with graphs for request volume, request duration, and request throughput. The interface includes navigation options and metric settings.

Generating Traffic

Use a simple curl loop to generate load and see real-time metrics:

Workload Health and Logs
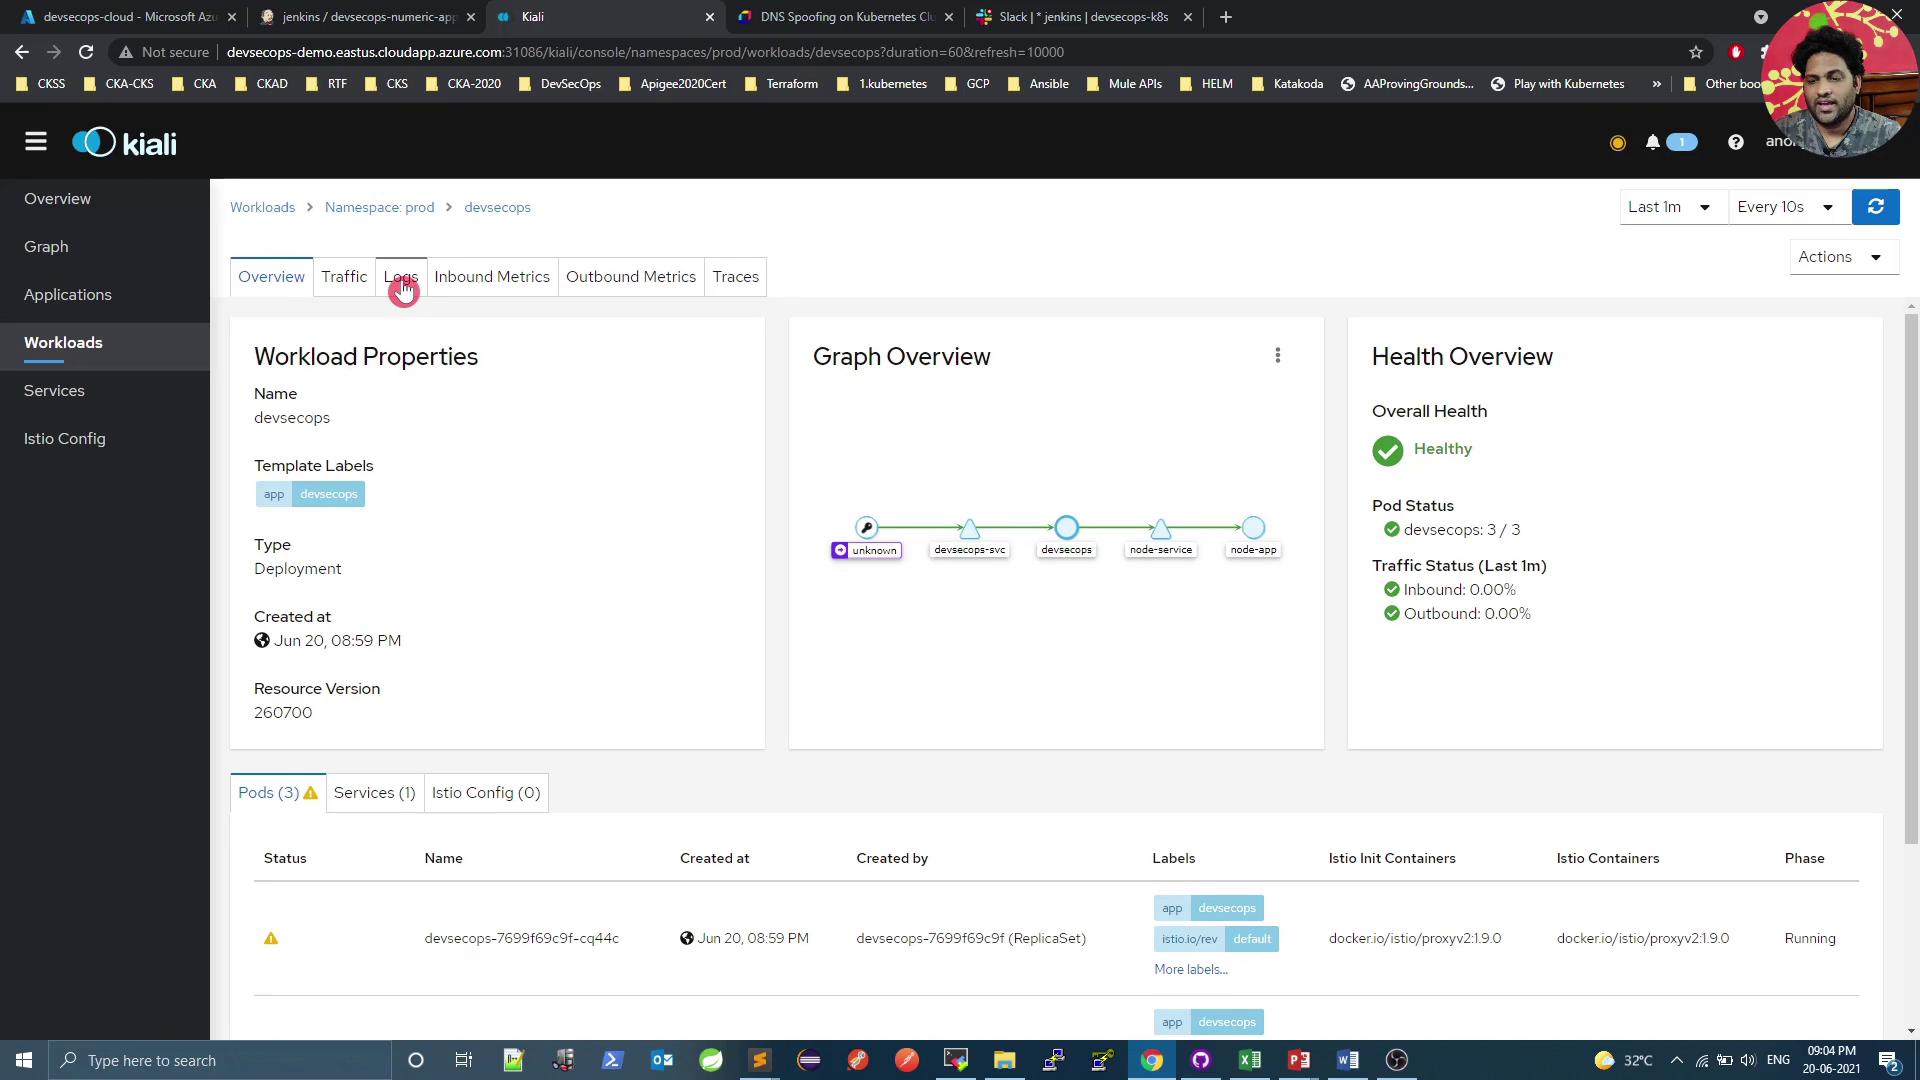
The image shows a Kiali dashboard displaying workload properties, a graph overview, and health status for a deployment named "devsecops." The dashboard indicates the overall health is "Healthy" with pod and traffic status details.
Access logs directly in Kiali:

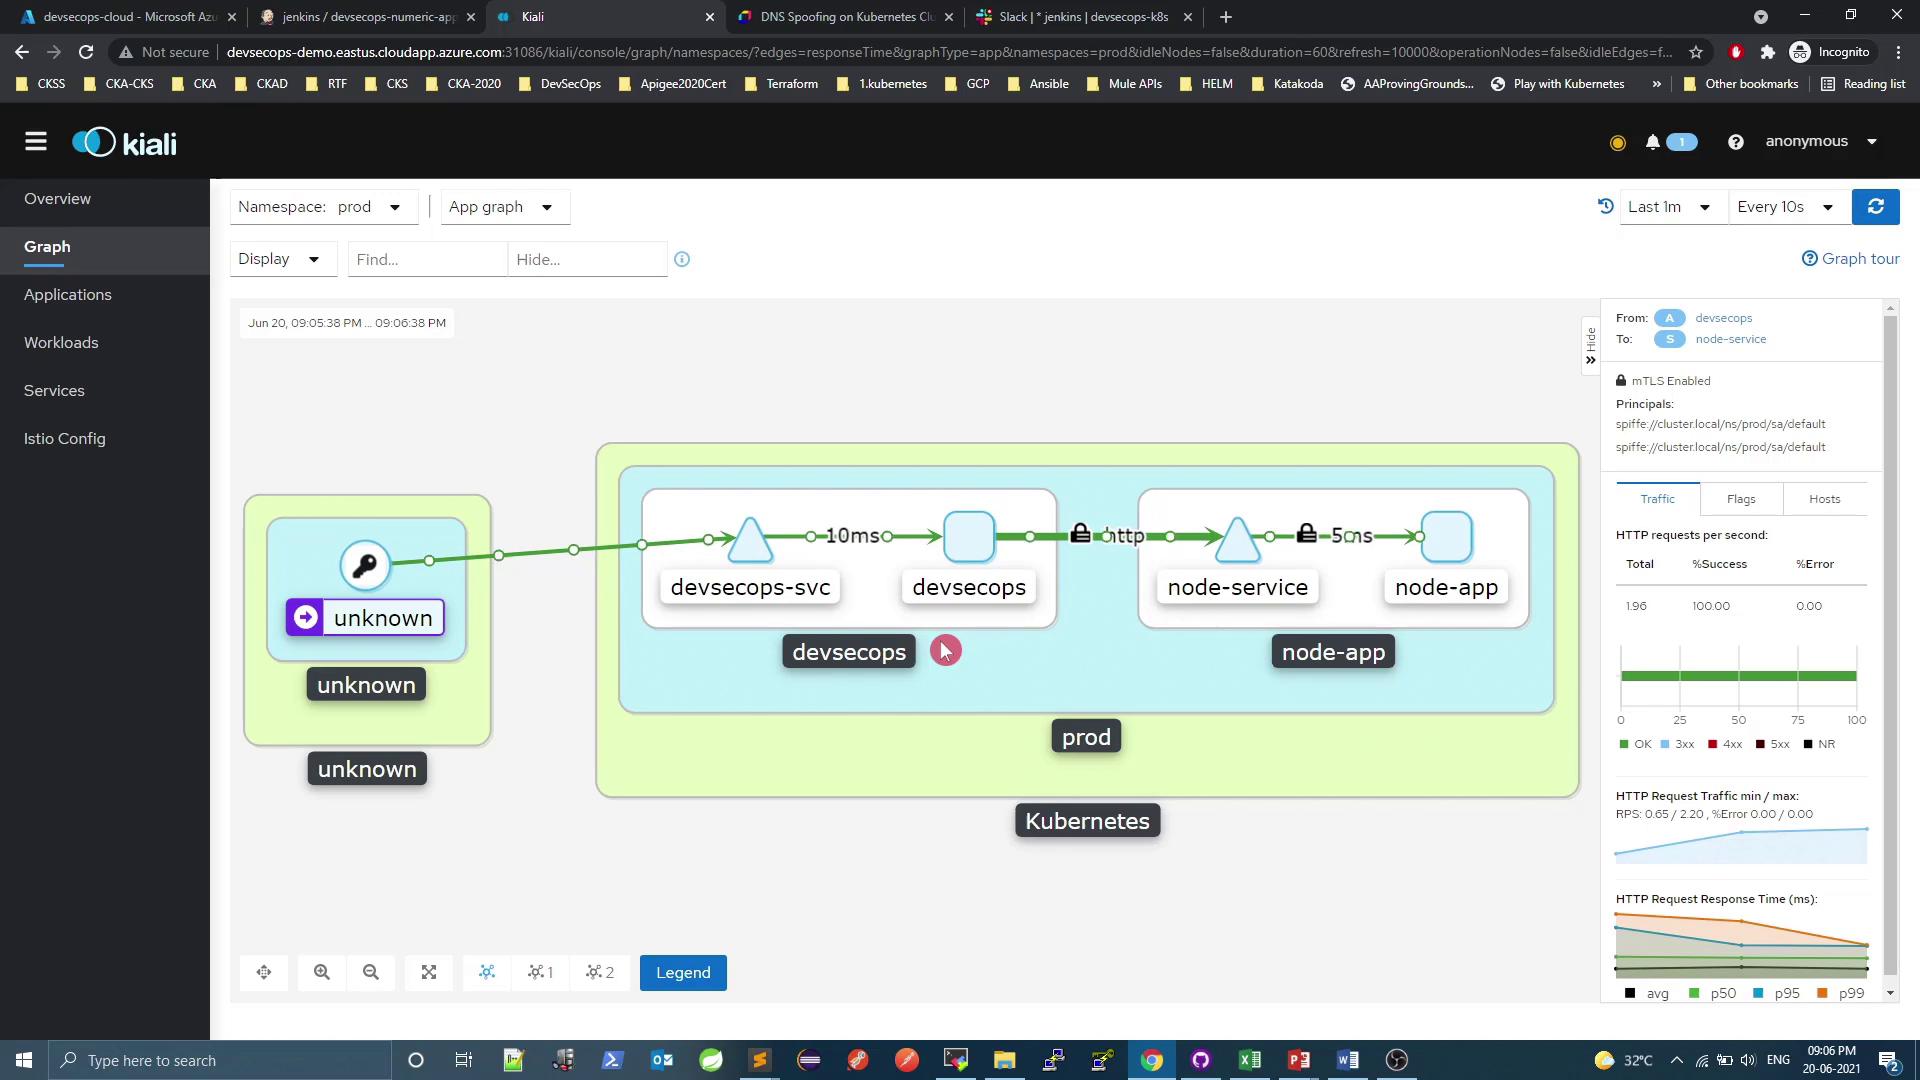
Service Mesh Graph

The image shows a Kiali dashboard displaying a service mesh graph with nodes representing services and their interactions, including response times and traffic details.
The lock icon indicates that mutual TLS (mTLS) is enforced between services.

References

Watch Video