

- Configure the Dependency-Check plugin in
pom.xml. - Verify documentation and install required Jenkins plugins.
- Update the
Jenkinsfileto run the scan and publish reports. - Analyze results, upgrade dependencies, or adjust CVSS thresholds.
1. Add the OWASP Dependency-Check Plugin
Open yourpom.xml and register the plugin alongside existing ones (JaCoCo, PIT, etc.):
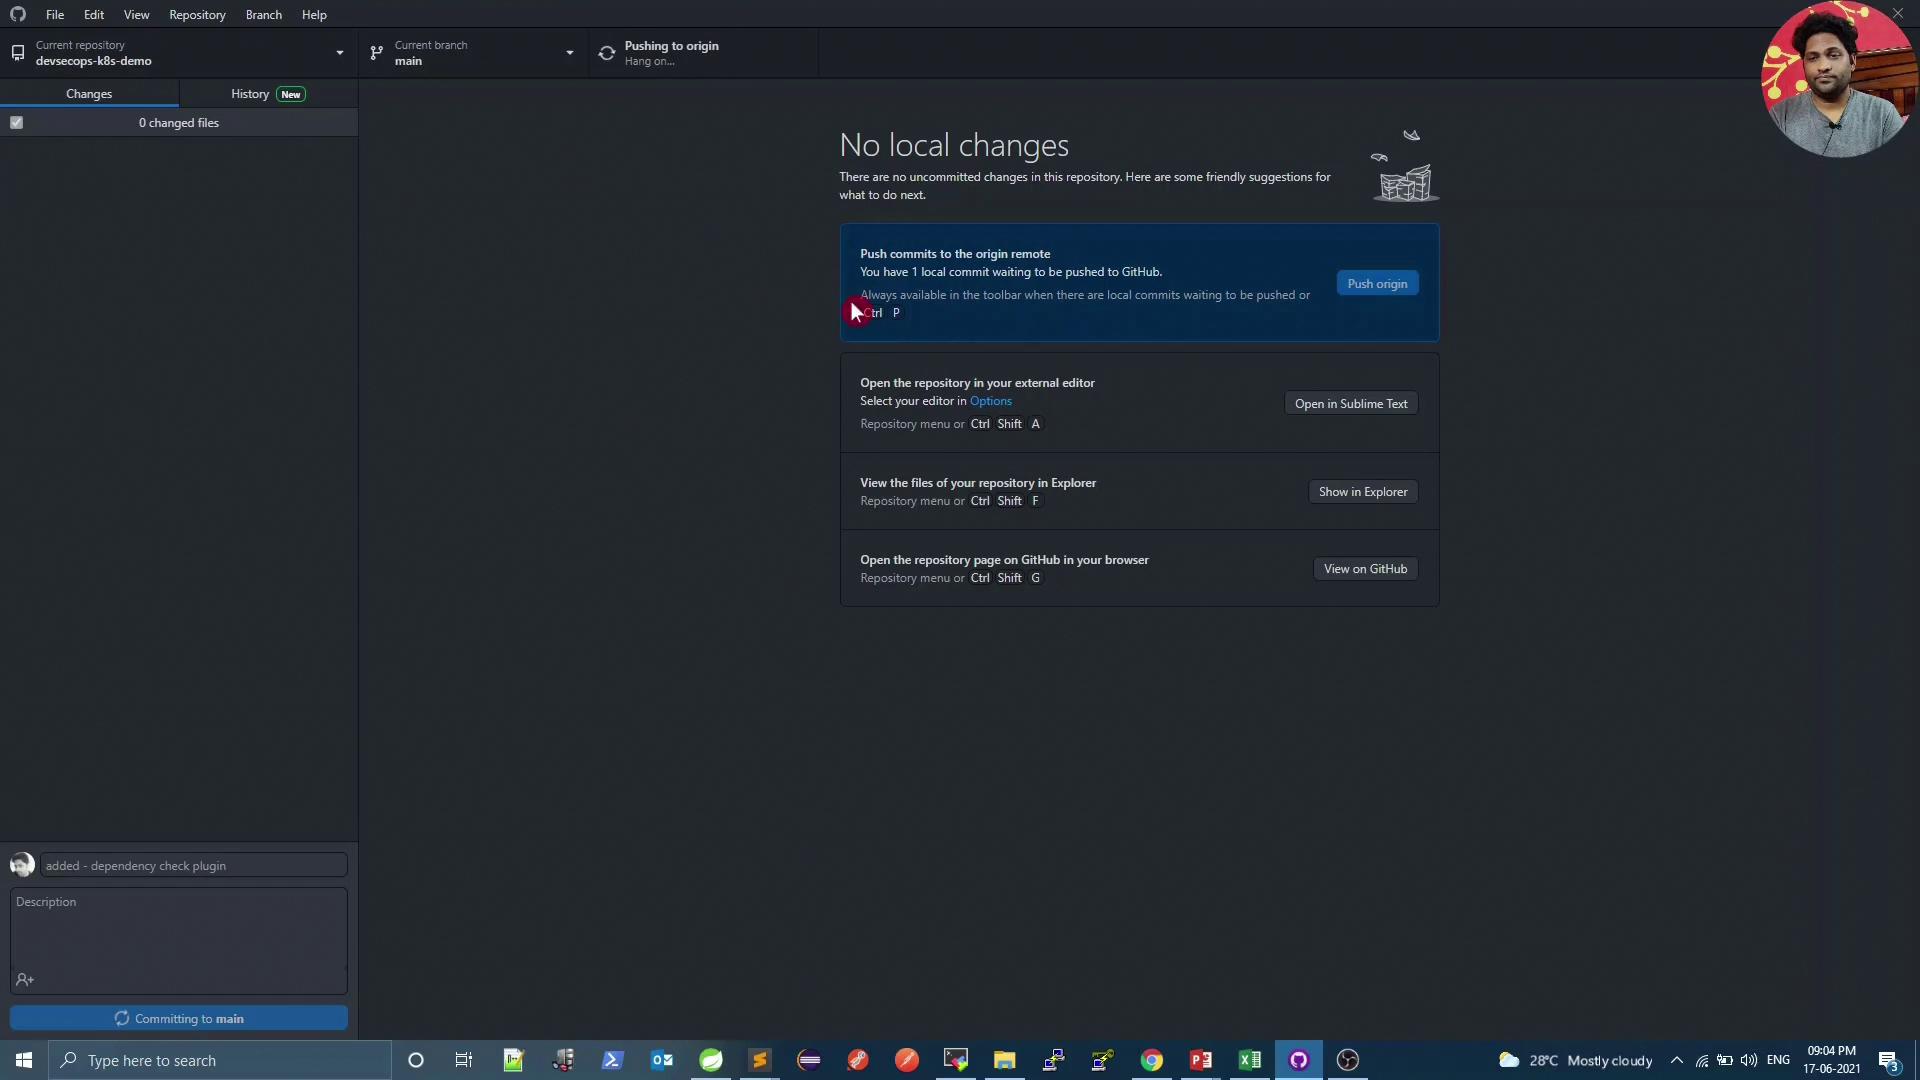
Always align the plugin version with the latest stable release. Check Maven Central for updates.
Report Formats at a Glance
2. Verify Plugin Docs & Jenkins Preparation
Refer to the official Dependency-Check Maven plugin guide for advanced configurations: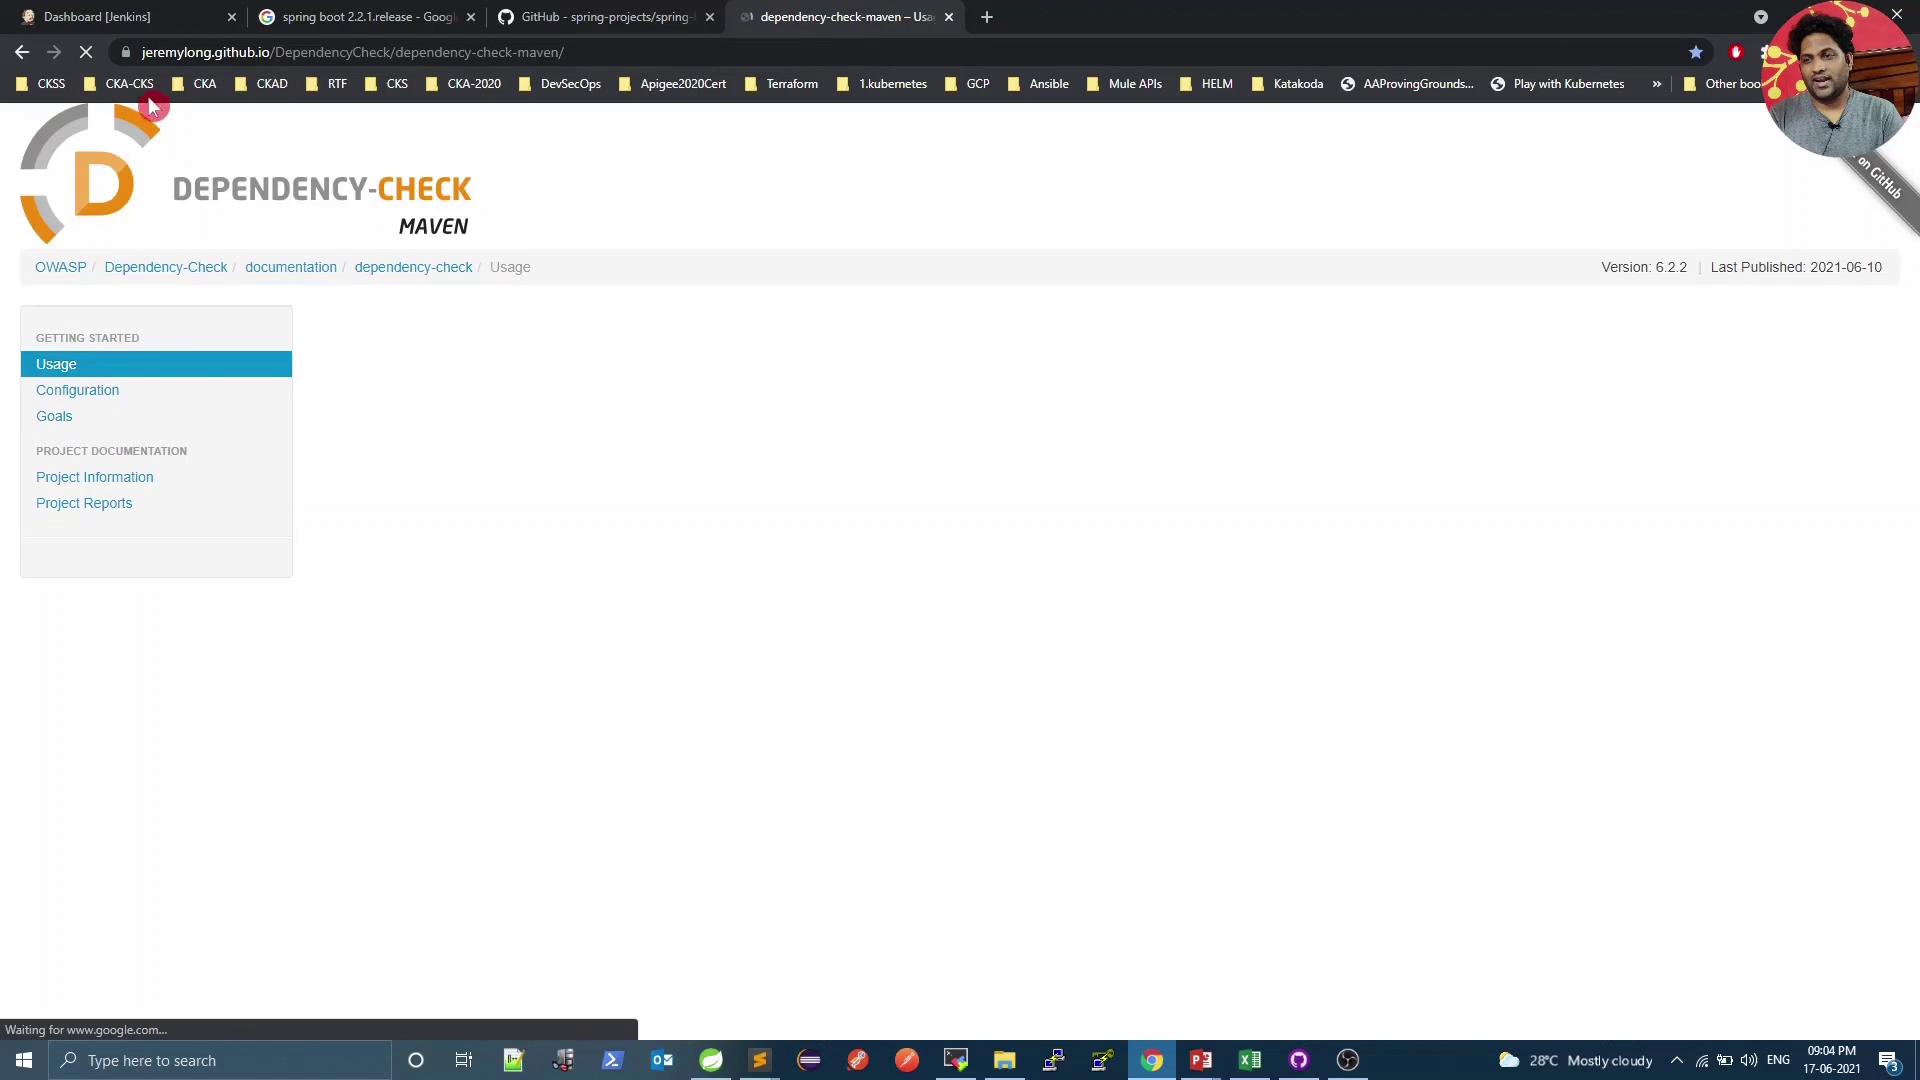
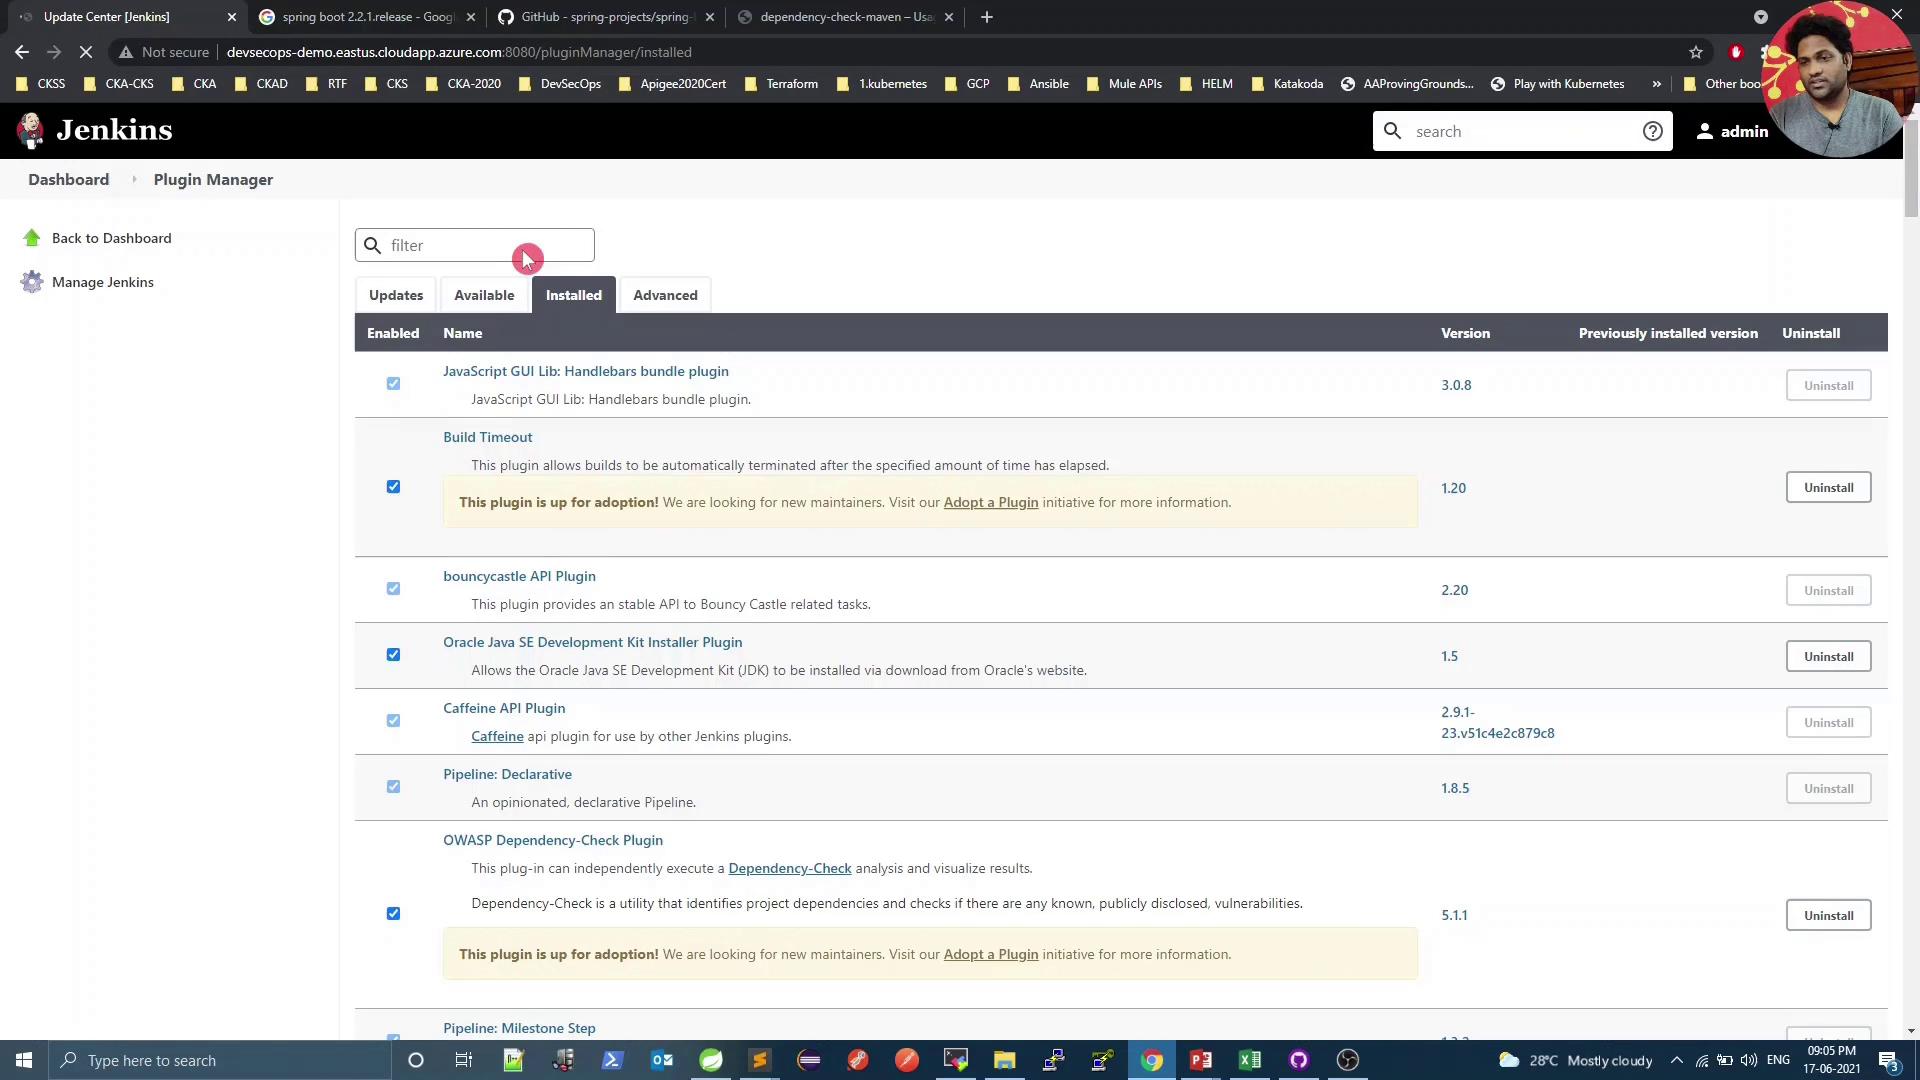
Without the Dependency-Check Publisher plugin, Jenkins cannot display the HTML or XML reports. Install or update it via Manage Jenkins → Plugin Manager.
3. Update Your Jenkins Pipeline
Insert a new stage inJenkinsfile before pushing Docker images:
4. Run the Pipeline and View Status
Kick off a new build in Jenkins. The scan downloads CVE data from NVD and examines all project dependencies.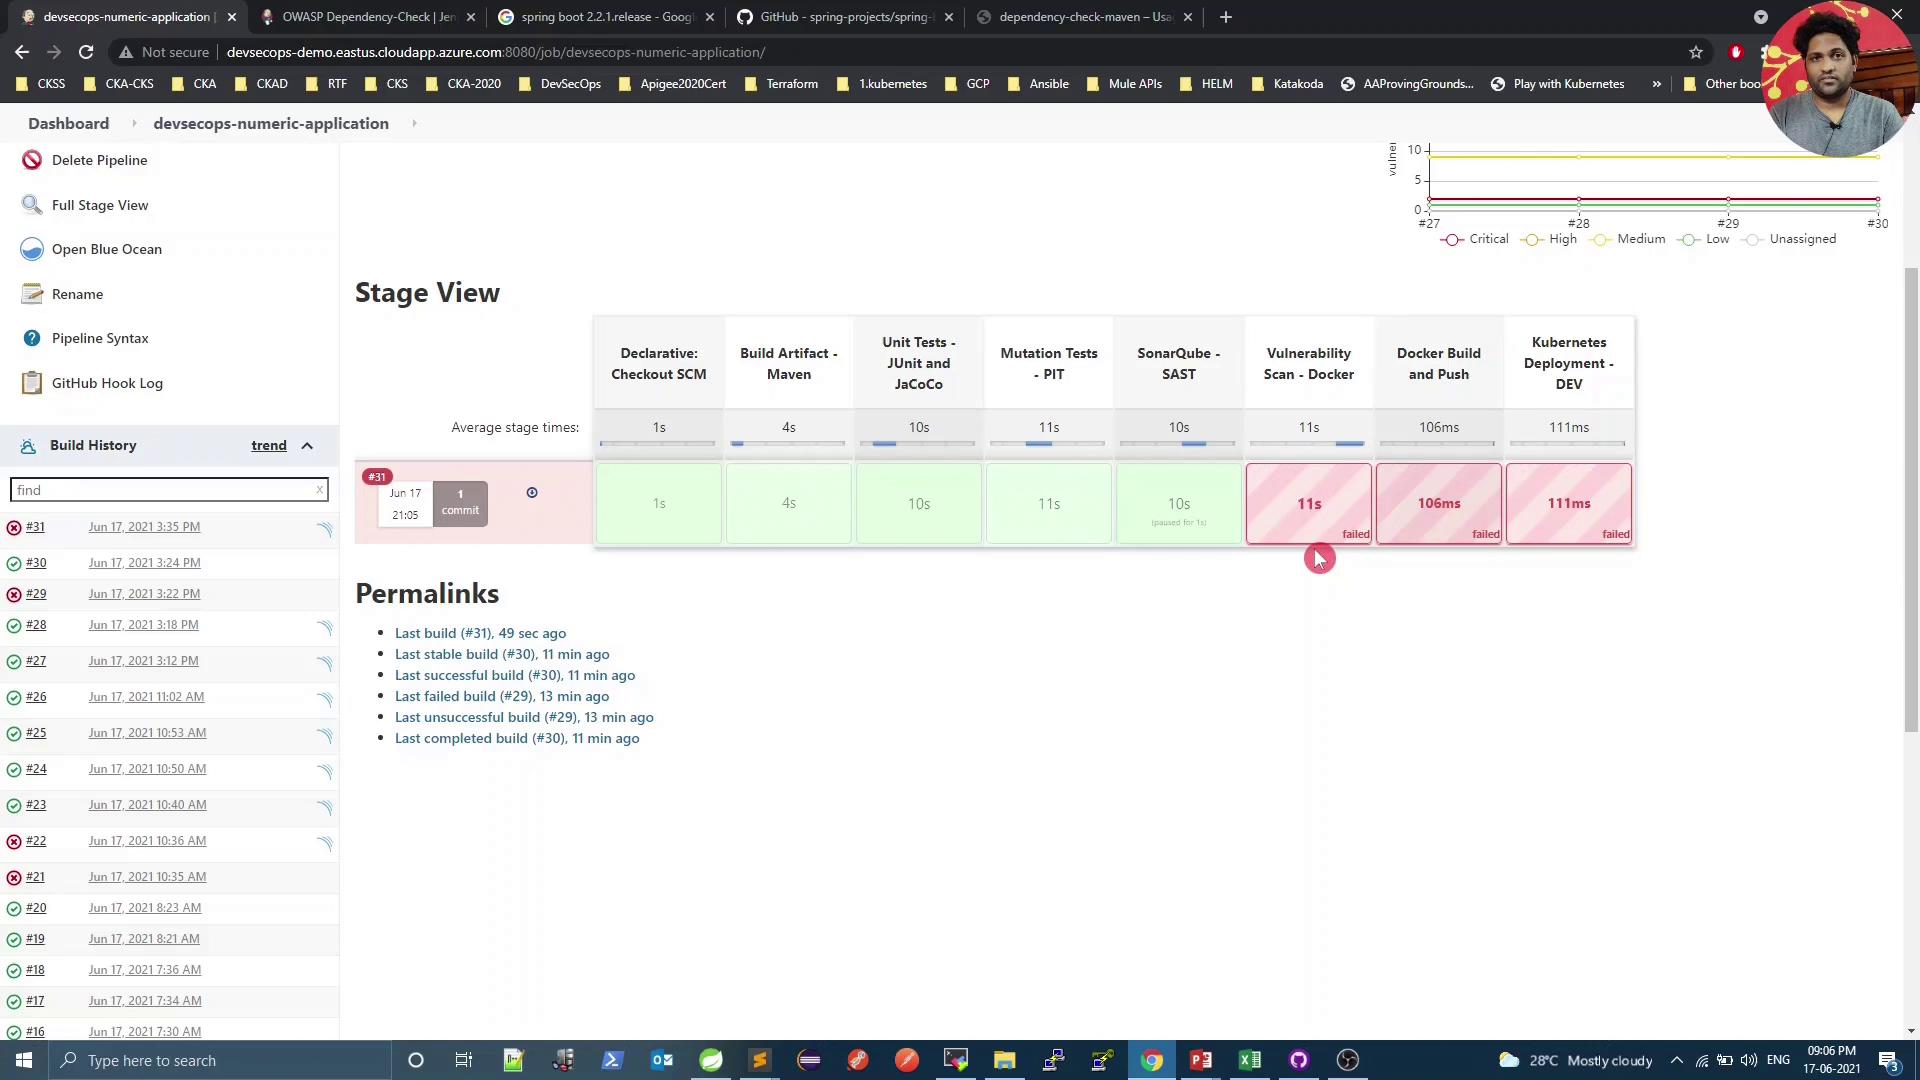
5. Analyze the Scan Output
In the console logs, you’ll see entries like: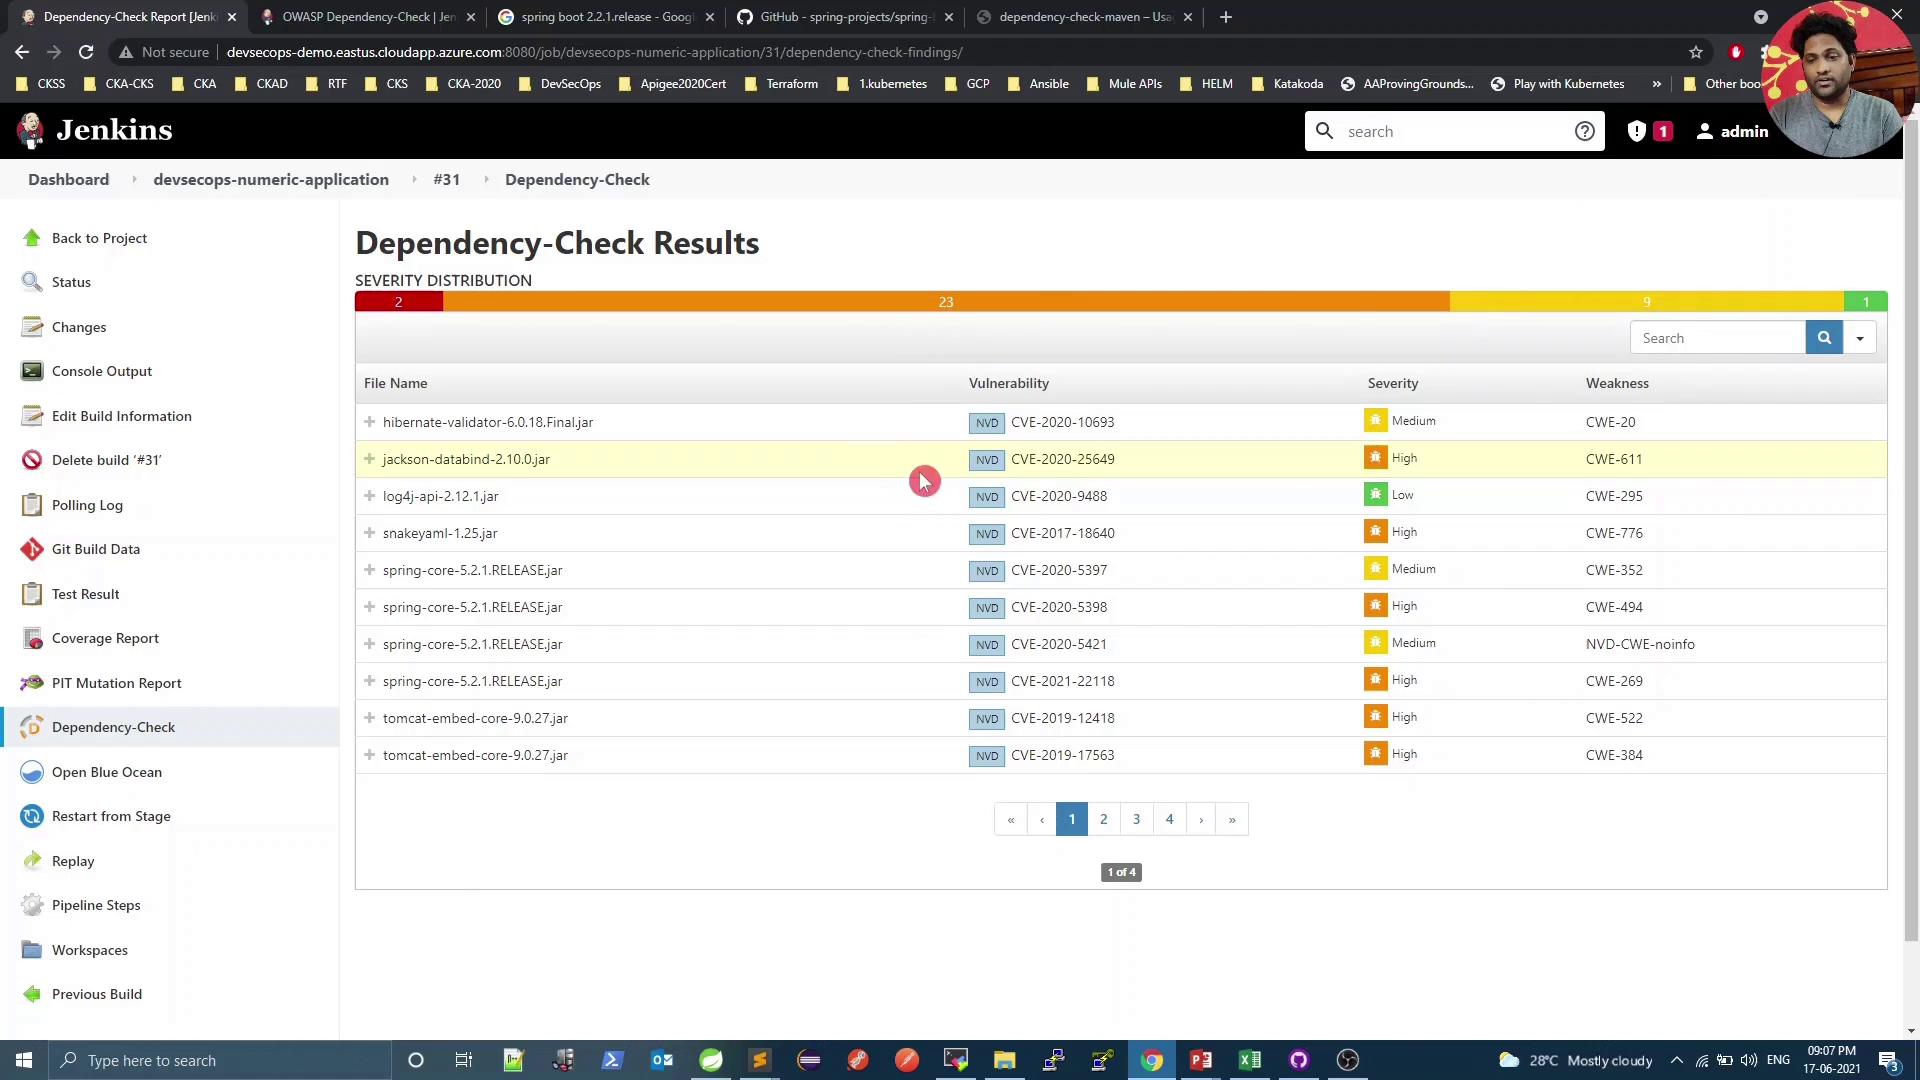
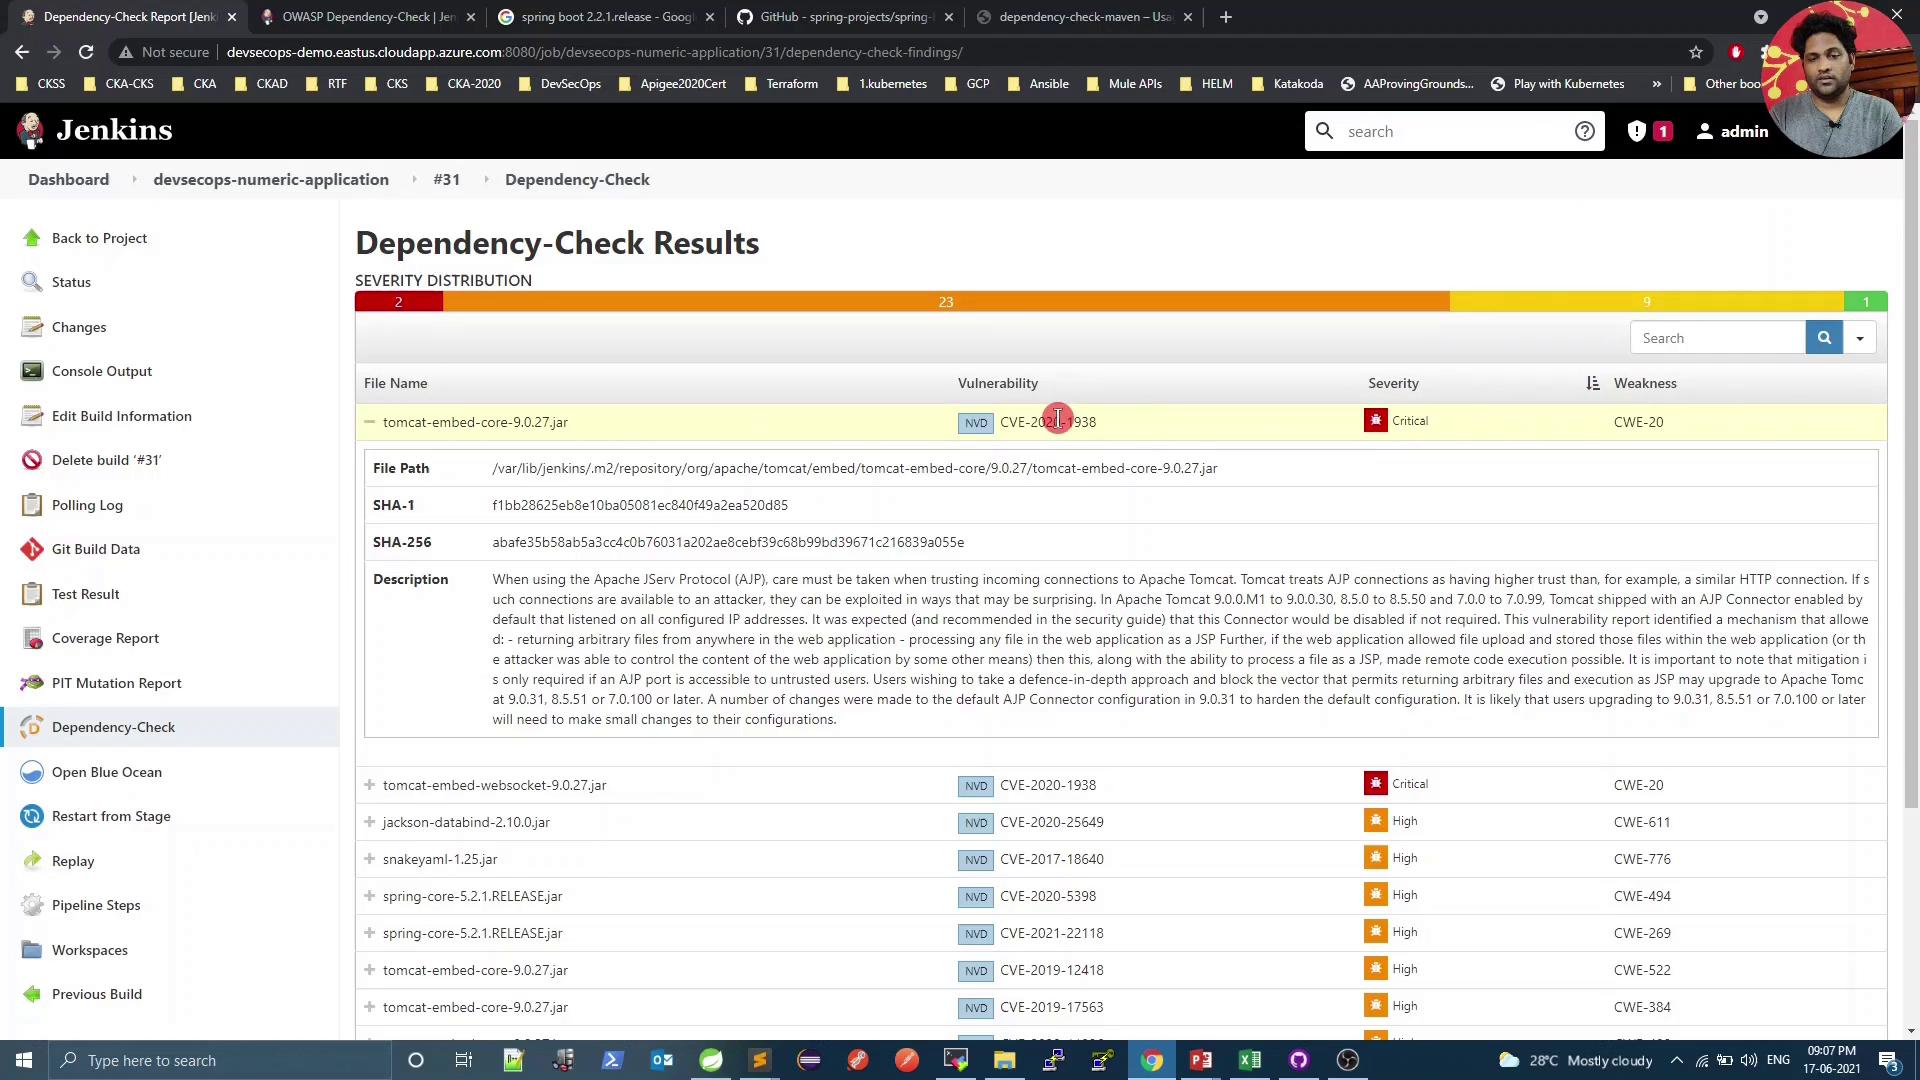
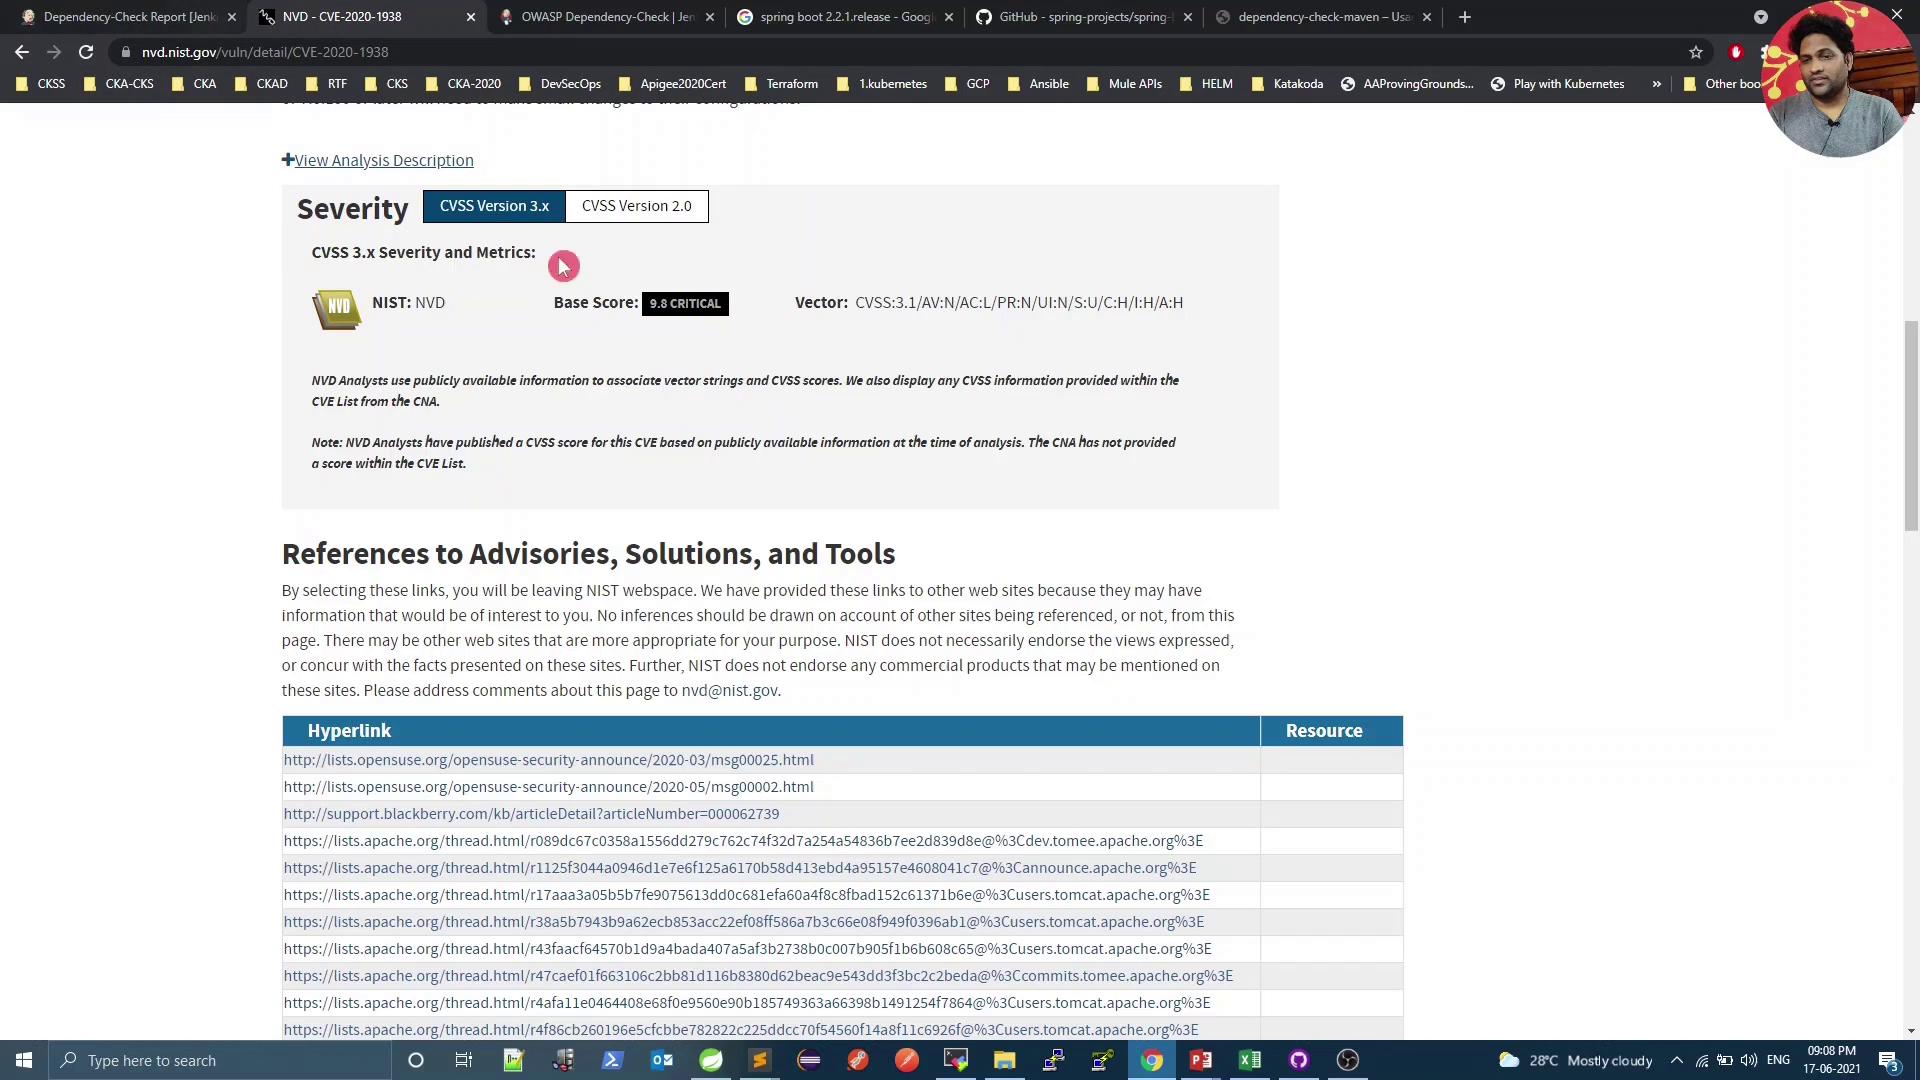
failBuildOnCVSS=9, the build fails on such high-severity findings. Next, we’ll explore mitigation.
6. Explore Transitive Dependencies
Spring Boot starters often introduce indirect (transitive) dependencies. Open your IDE’s dependency hierarchy to examine them:
7. Upgrade Spring Boot Version
Check the latest Spring Boot tags on GitHub to find patched releases:
8. Re-run the Scan & Inspect Reports
The build and tests should now pass, but the Vulnerability Scan may still detect lower-severity issues.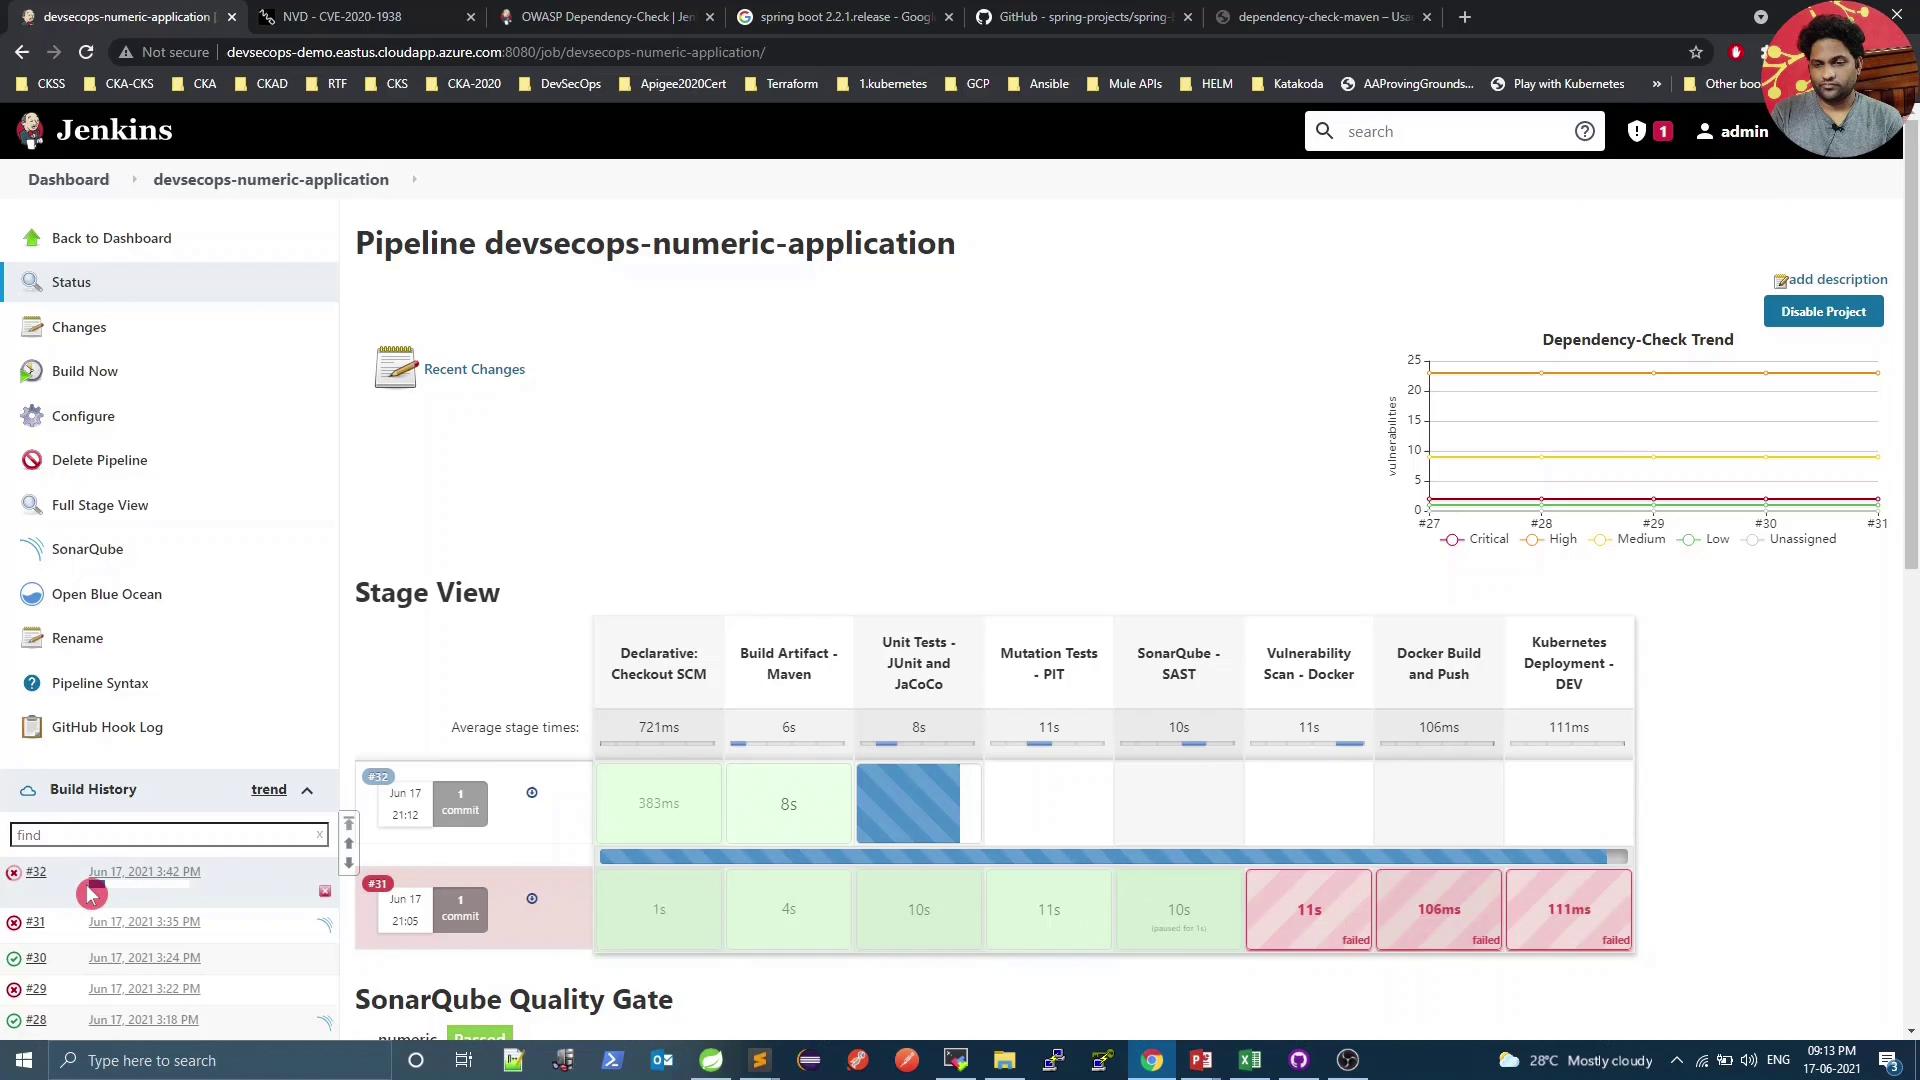
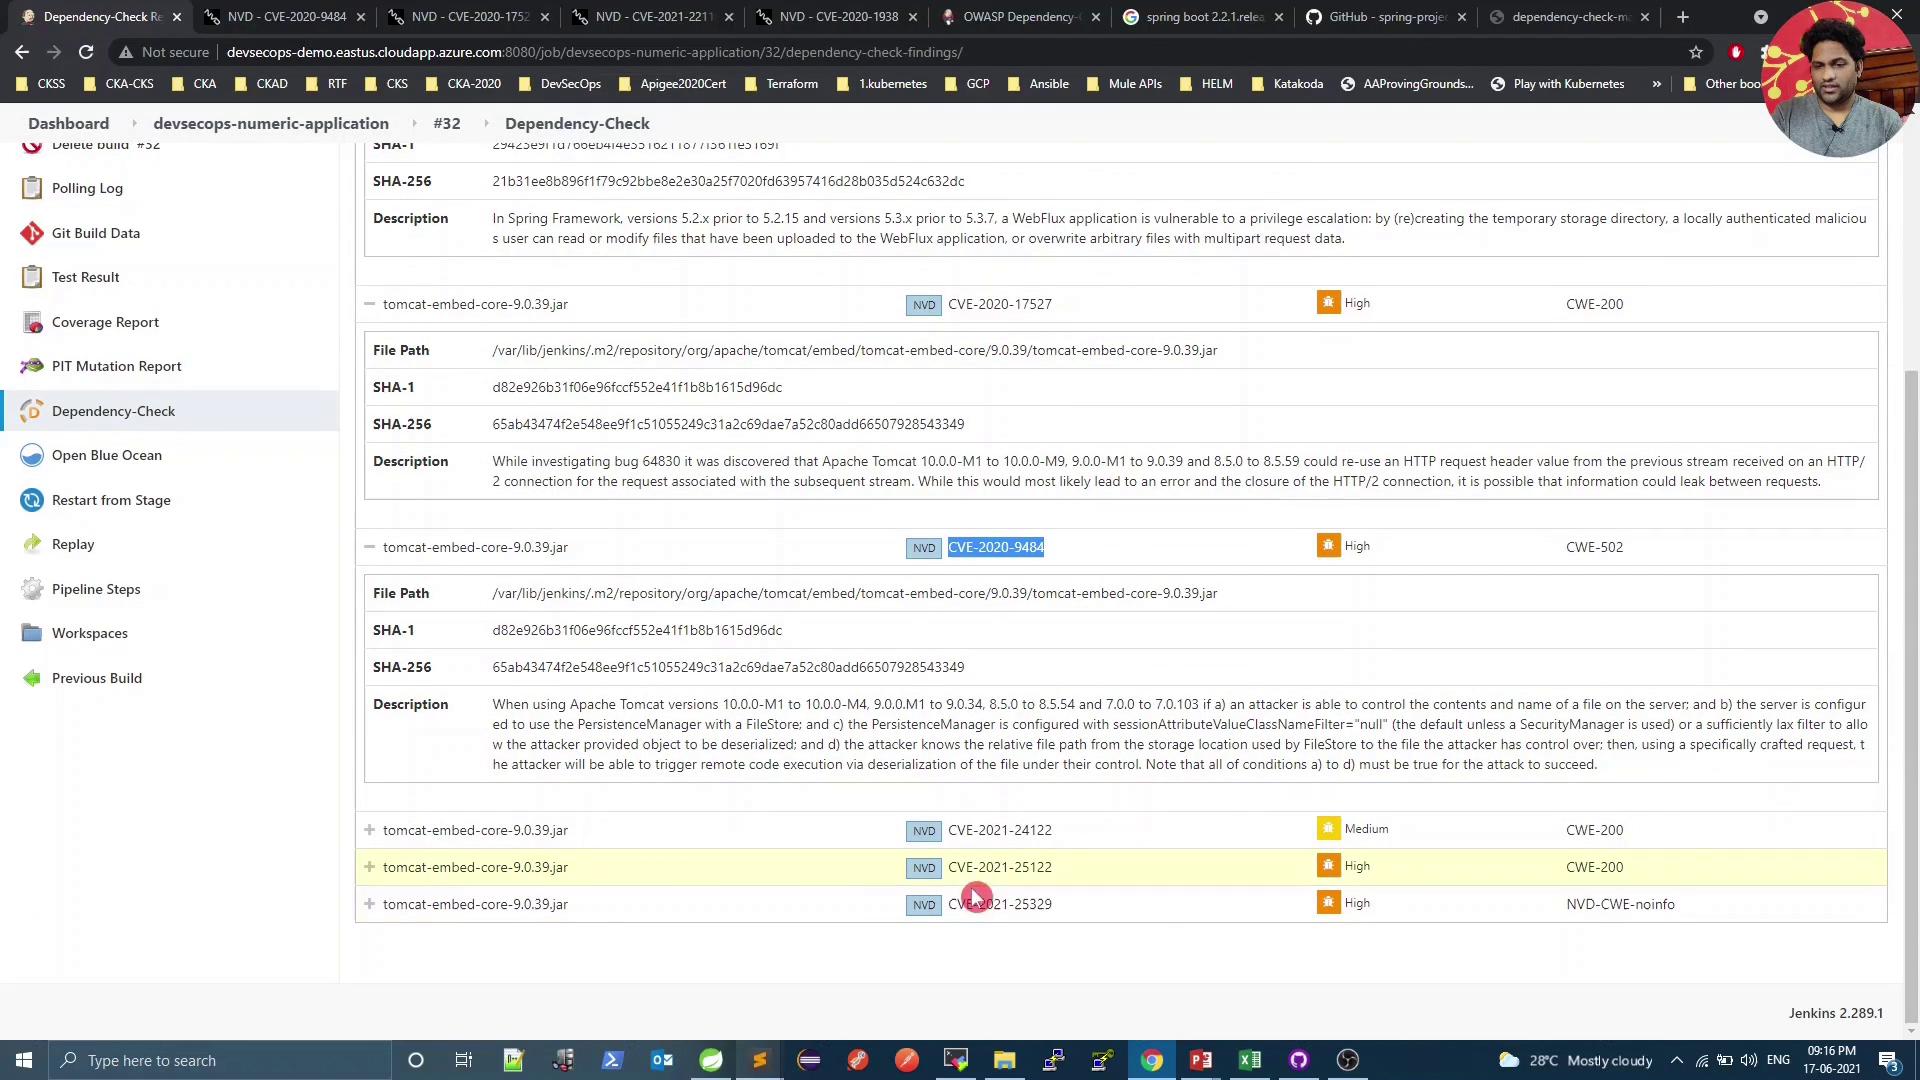
9. Adjust the CVSS Threshold
If you deem remaining vulnerabilities acceptable, lower the failure threshold inpom.xml:
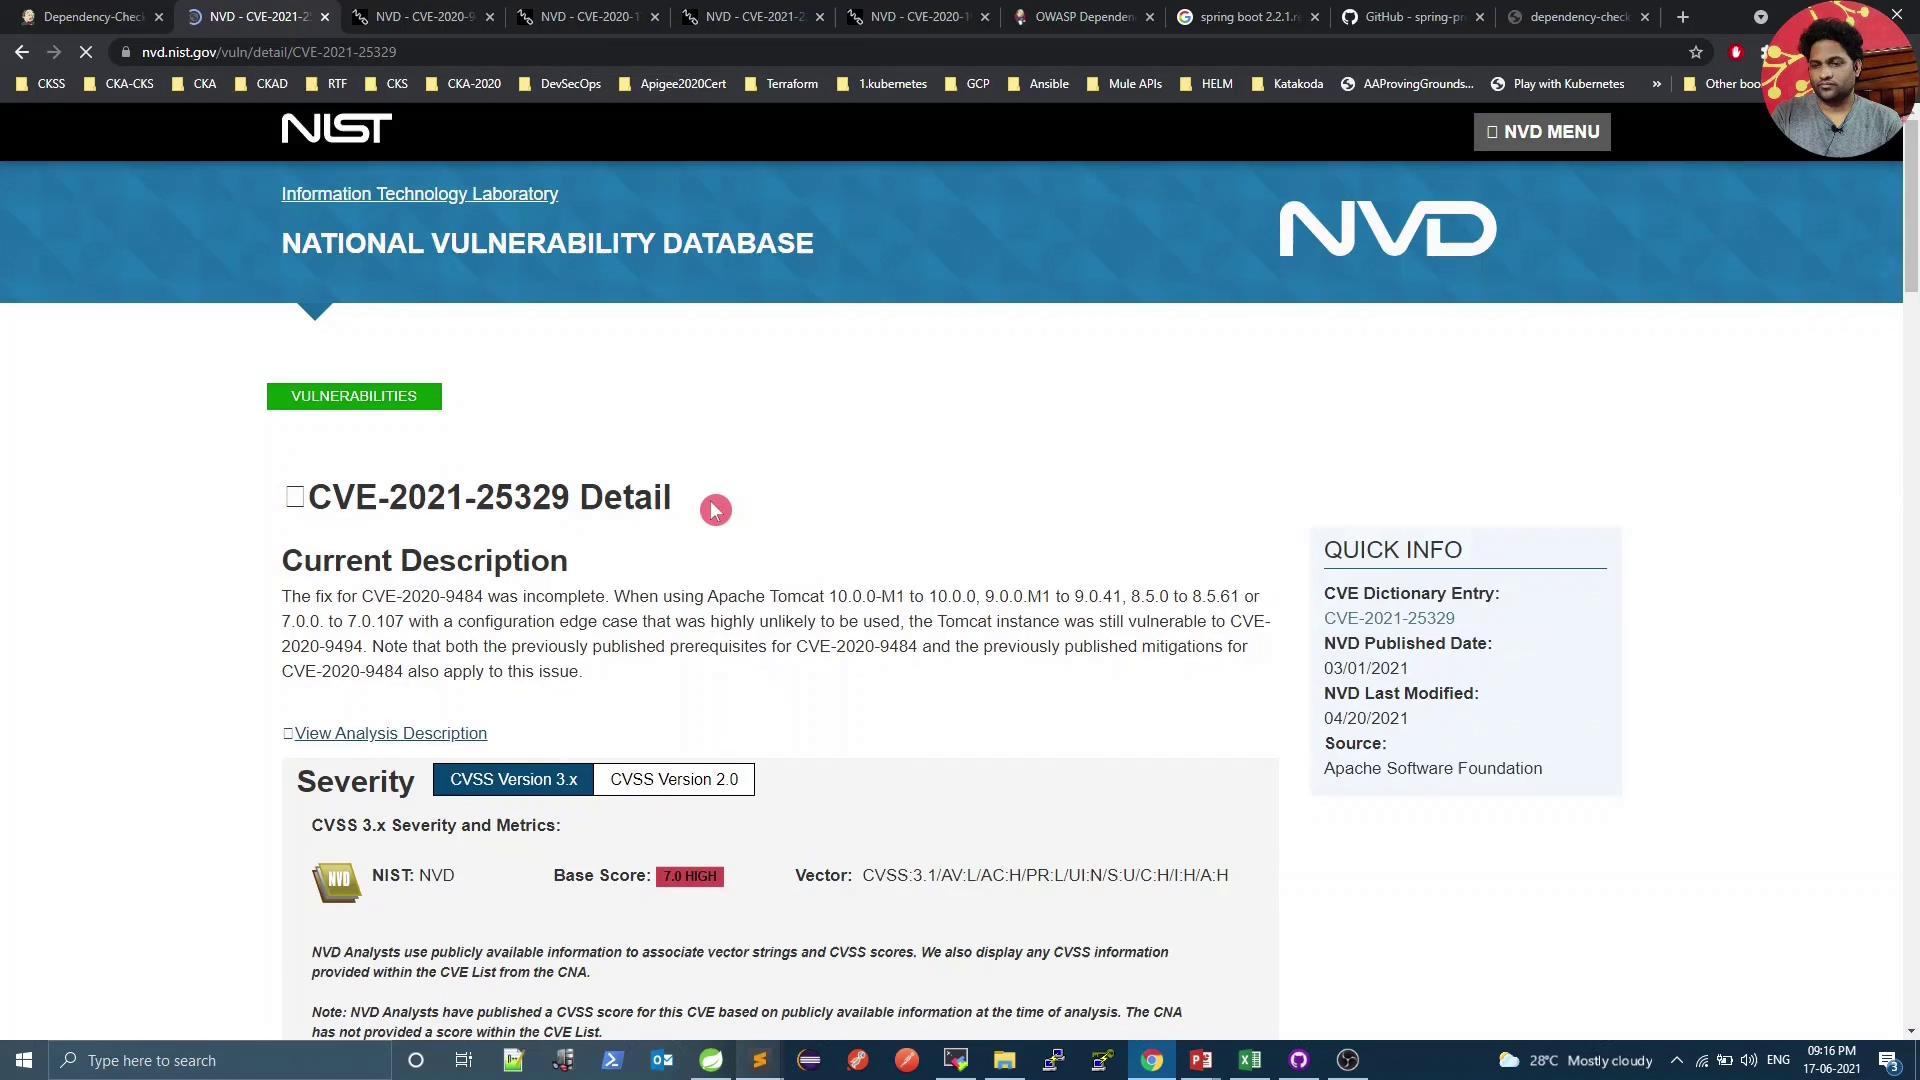
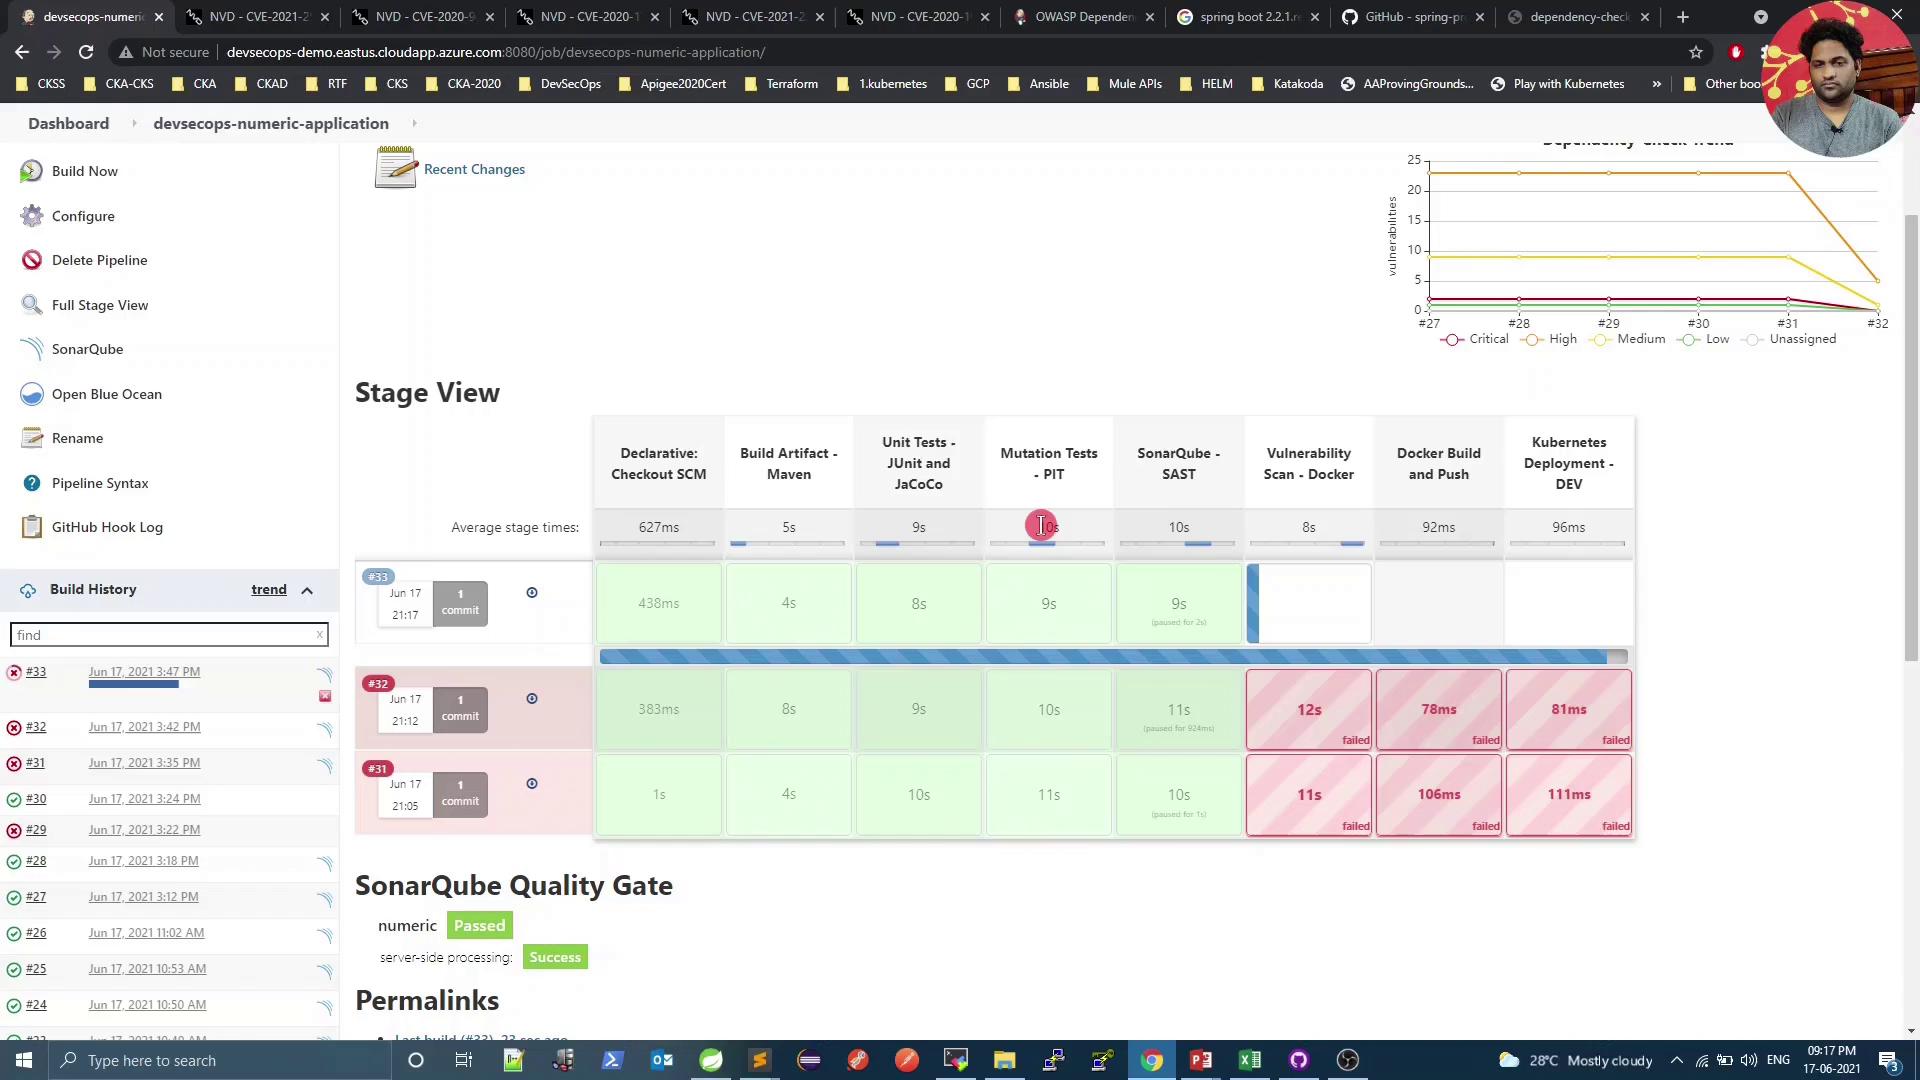
You’ve successfully integrated OWASP Dependency-Check into your CI pipeline. In our next lesson, we’ll explore container scanning with Trivy.