

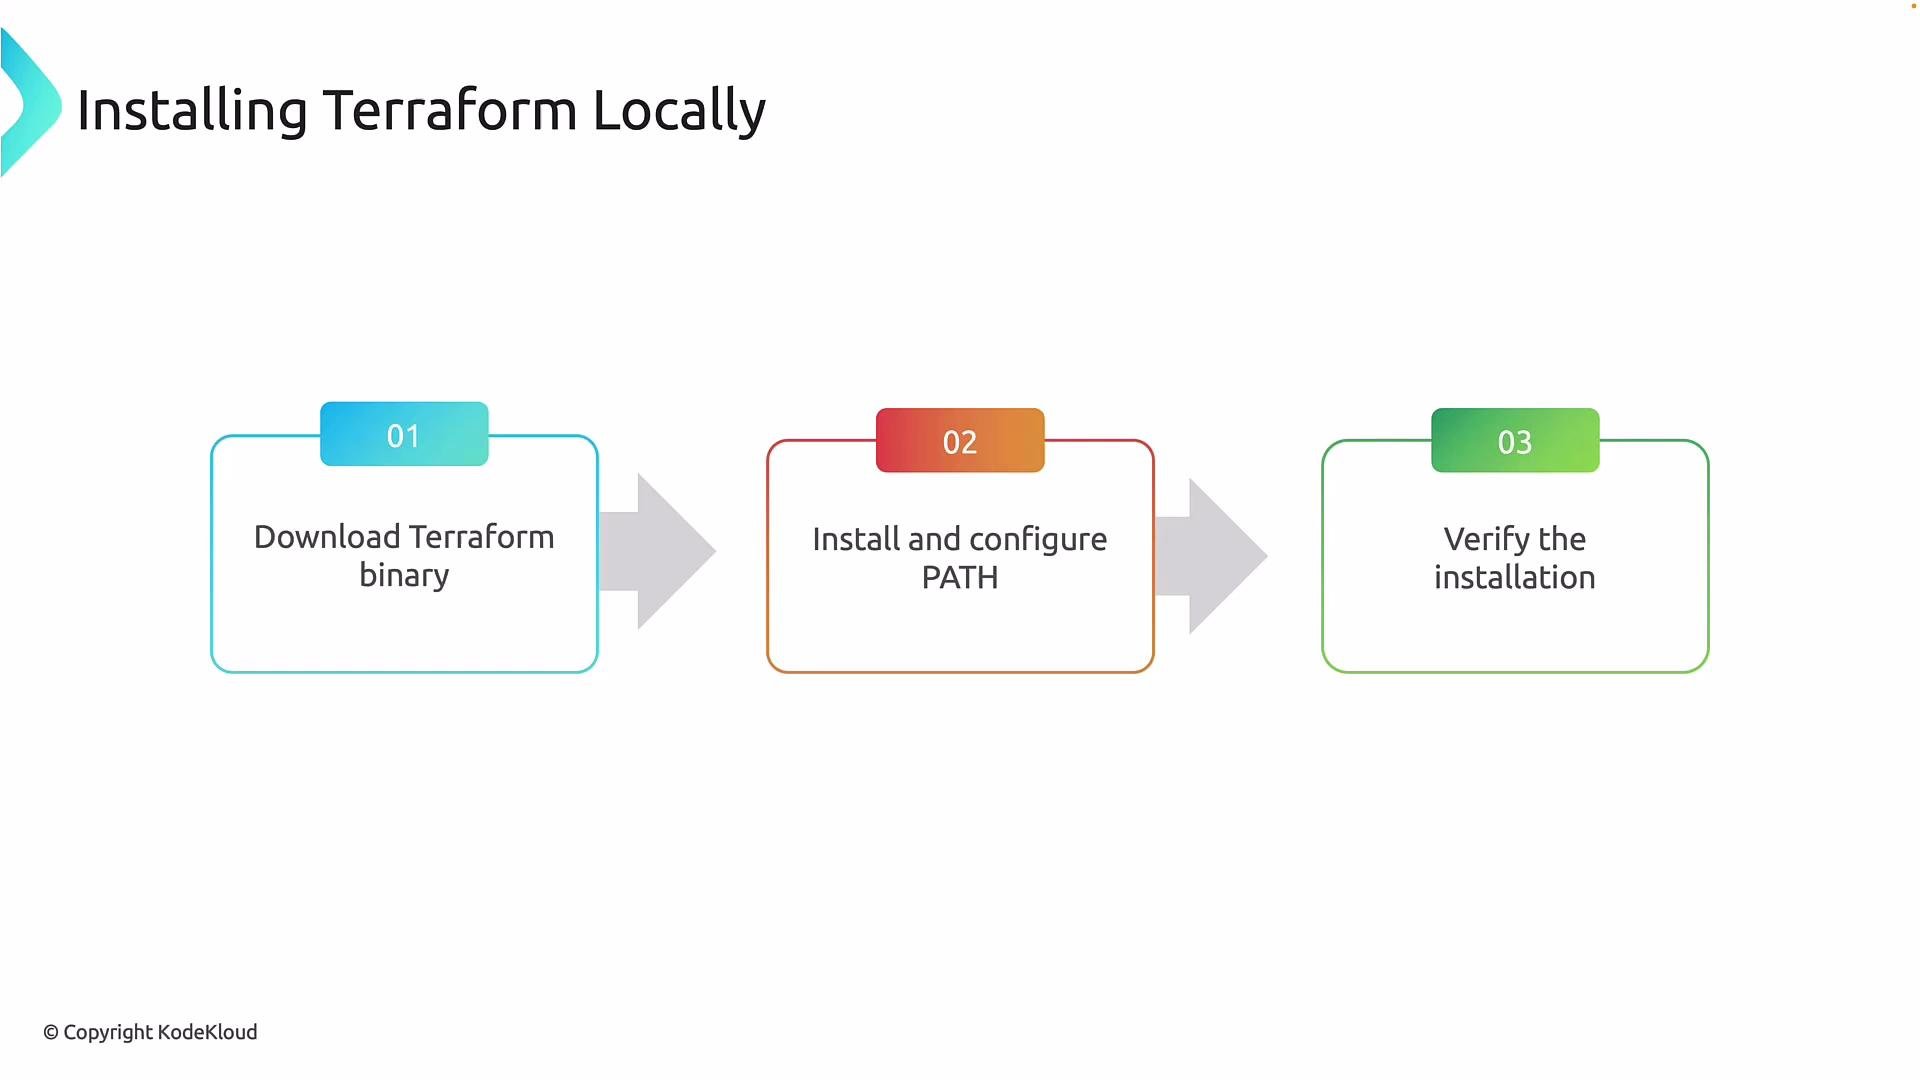
- Download the Terraform binary (or install via a package manager) for your operating system.
- Ensure Terraform is available on your system
PATH. - Verify the installation.
Windows
- Easiest approaches:
- Download and run the official MSI from HashiCorp: https://developer.hashicorp.com/terraform/downloads (this places
terraform.exeon the systemPATH). - Use Chocolatey for automated installs and updates.
- Download and run the official MSI from HashiCorp: https://developer.hashicorp.com/terraform/downloads (this places
terraform.exe and move it into a directory on the system PATH (for example C:\Program Files\Terraform), or add the directory to the system PATH.
macOS
- Recommended: Homebrew with the HashiCorp tap. This handles installation and updates for you.
terraform binary in a directory on your PATH (for example /usr/local/bin).
Linux (Debian / Ubuntu example)
- Use the official HashiCorp APT repository to get signed packages and automatic updates. Run these commands:
terraform on your PATH.
Verify installation (common to all platforms)
init, validate, plan, apply, and destroy.
Using Terraform from Azure Cloud Shell
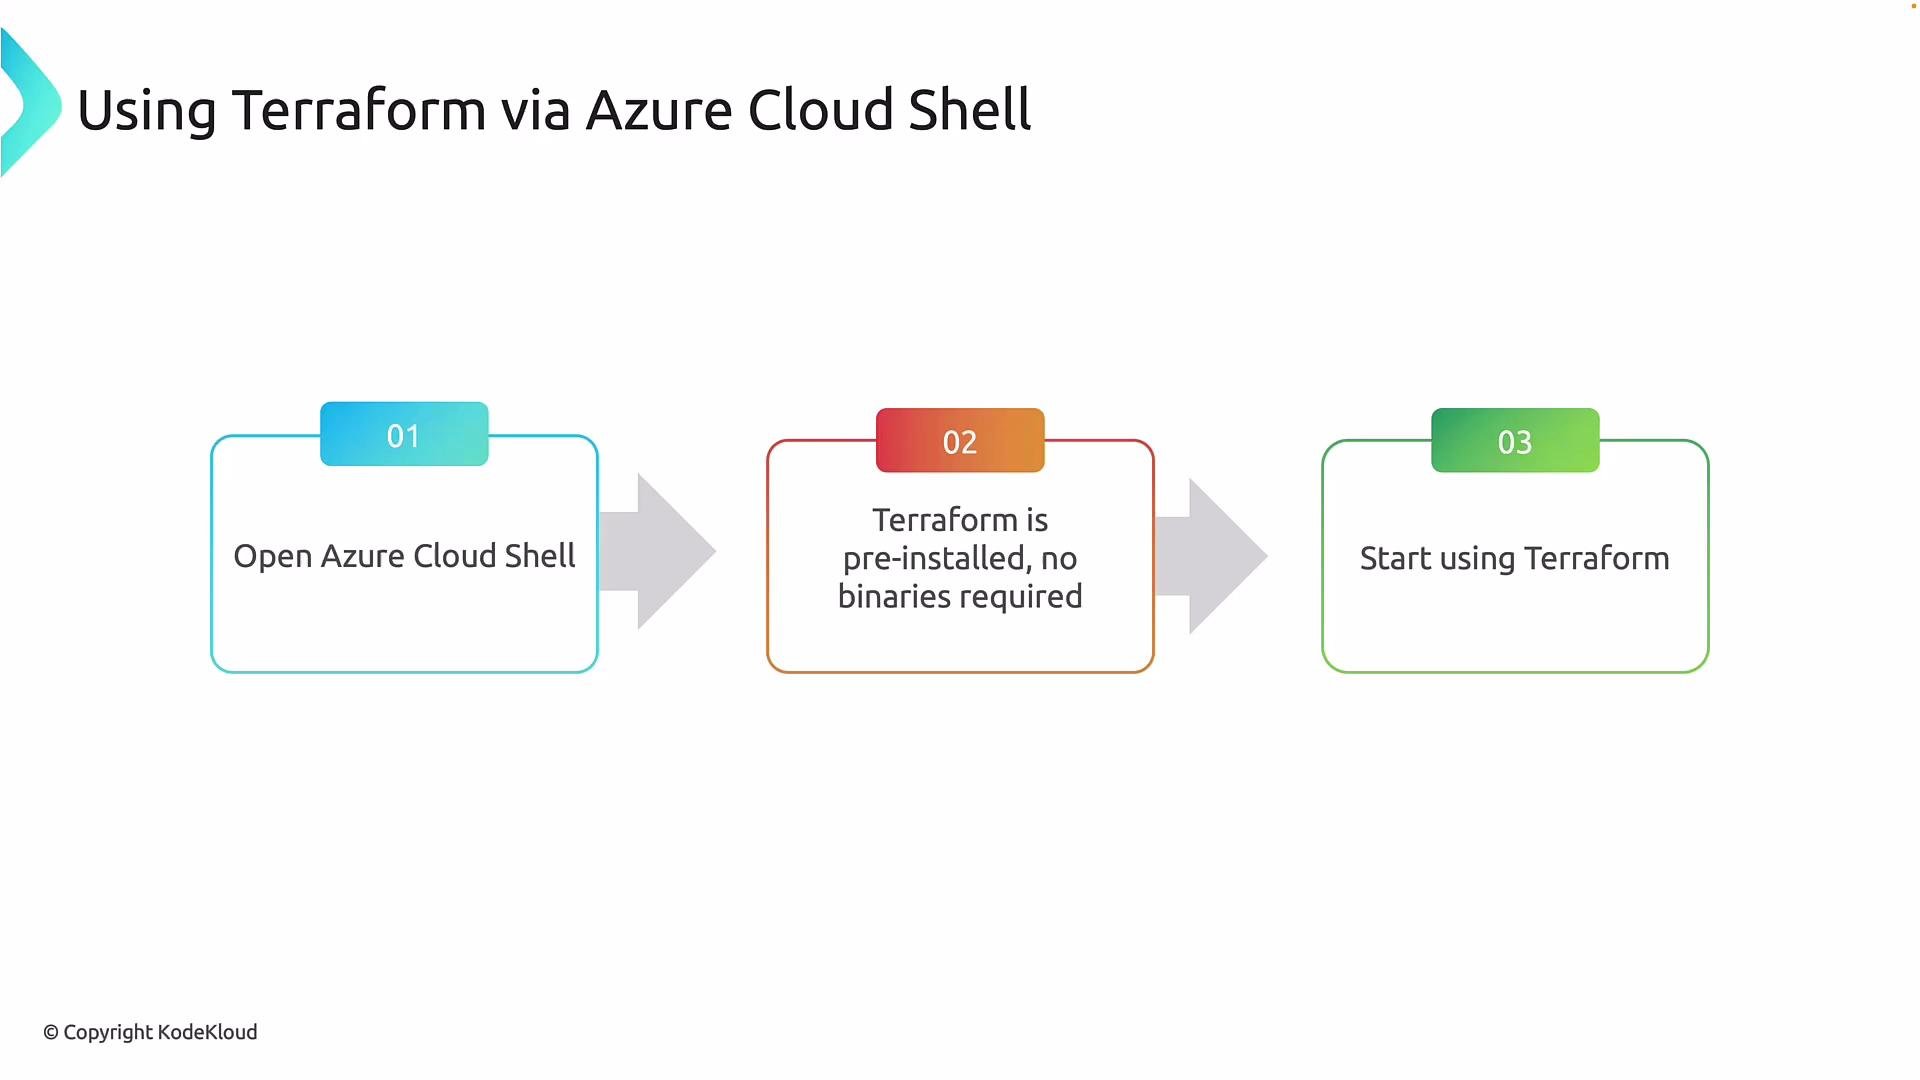
If you need a quick environment without local installation, use Terraform from Azure Cloud Shell. Cloud Shell is a browser-based shell with Terraform pre-installed—ideal for demos, learning, and quick experiments.
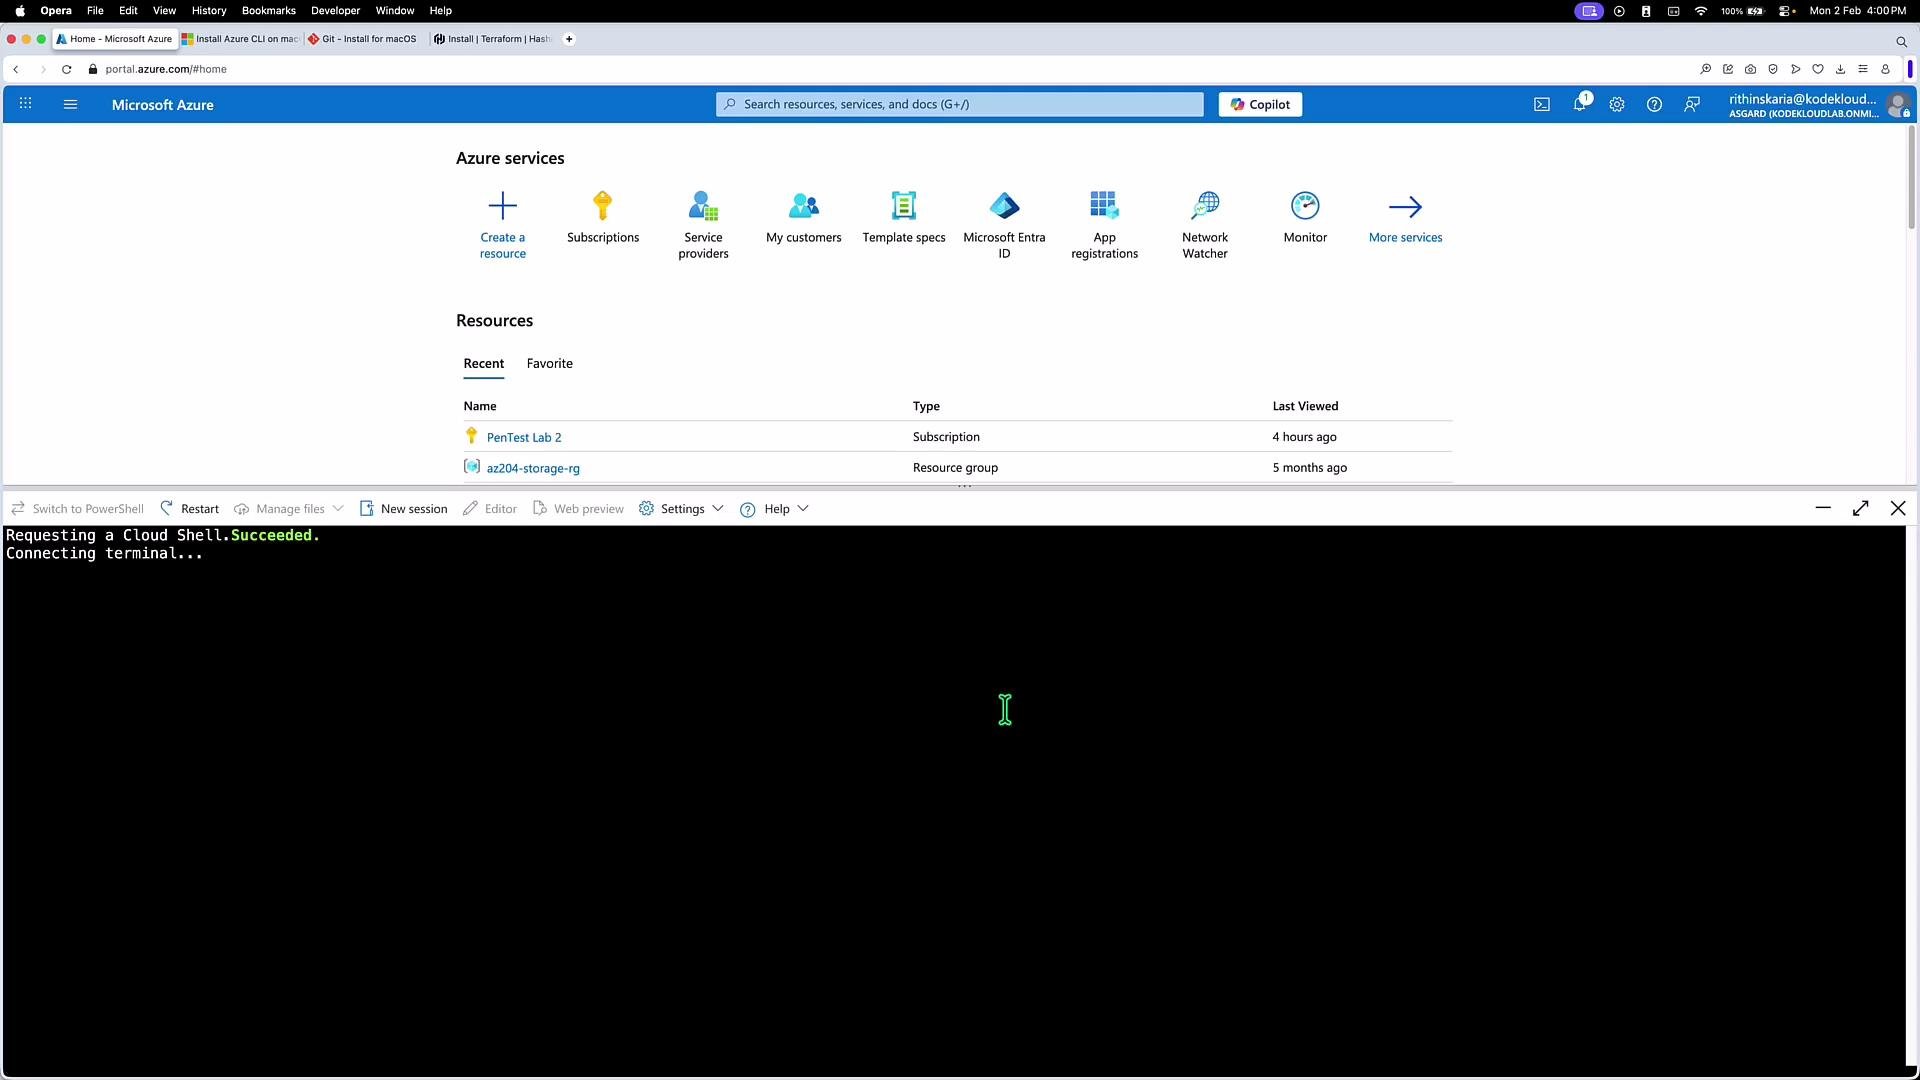
- Open the Azure portal and click the Cloud Shell icon in the top bar.
- If this is your first time, Cloud Shell prompts you to create or select a storage account (the portal can create one).
- When provisioned, a terminal session appears and Terraform is available immediately—no local install required.
Azure Cloud Shell is great for quick tests, demos, or when you’re away from your usual workstation. It is not recommended as the primary environment for production Terraform workflows—use CI/CD pipelines or local development environments for reproducible, auditable runs.
Where to find the official instructions
- Terraform installation guide (HashiCorp): https://developer.hashicorp.com/terraform/install
- Azure-specific Terraform docs: https://learn.microsoft.com/azure/developer/terraform
- After installing Terraform, authenticate Terraform to Azure so you can manage Azure resources. Common authentication methods include:
- Azure CLI (
az login) for interactive sessions - Service principals for automation
- Managed identities for Azure-hosted agents
- Azure CLI (
- Terraform documentation — Install Terraform
- Azure Cloud Shell documentation
- Azure Terraform Provider docs