1. VM Overview and Network Interfaces
Before you start, ensure that all required VMs are created. The cluster consists of one master and two worker nodes. Verify the network interfaces on each node by executing theip add command.
Master Node Network Configuration
Run the following command on the master node:Worker Node One Network Configuration
On the first worker node, run:Worker Node Two Network Configuration
On the second worker node, verify the network configuration: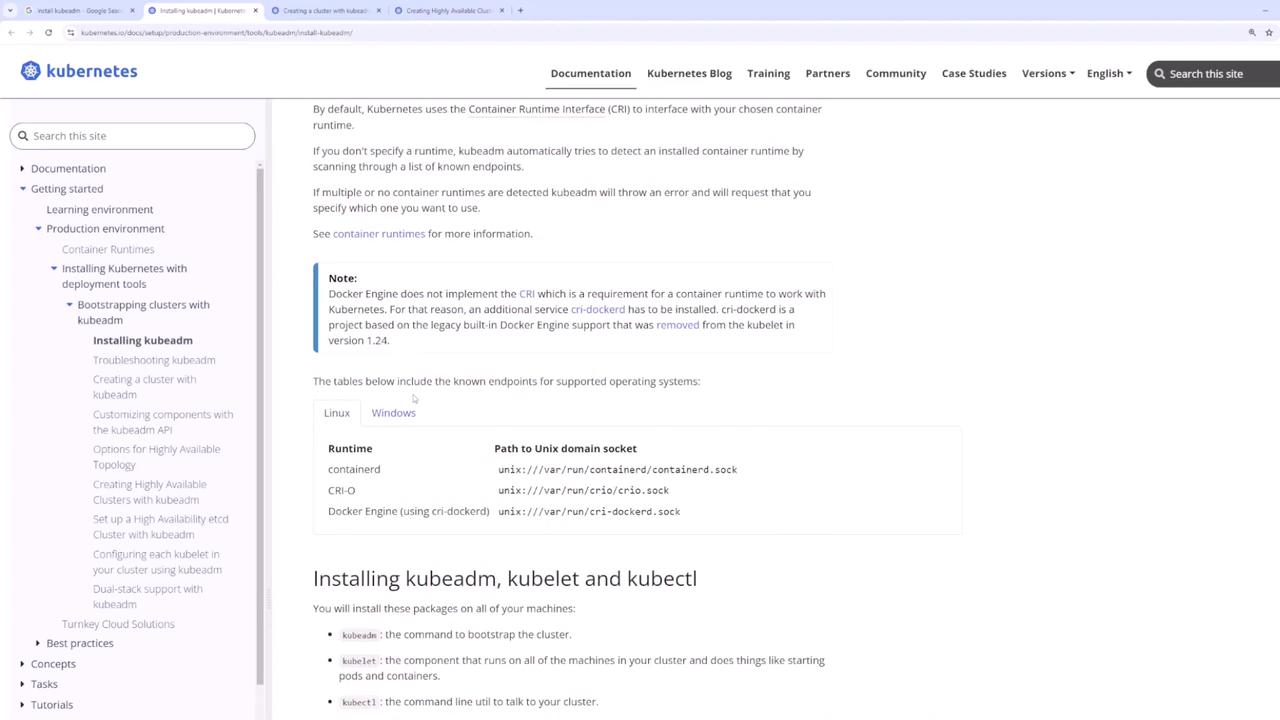
2. Reviewing Prerequisites
Before initializing your Kubernetes cluster, verify the following prerequisites:- A supported Linux distribution (e.g., Ubuntu).
- A minimum of 2 GB memory and at least two CPUs per node.
- Required kernel modules (BR, netfilter, overlay) are loaded.
Ensure that system variables are correctly set (to 1) so the network
interfaces function properly. For more details, refer to the official
Kubernetes
Documentation.
3. Installing the Container Runtime (ContainerD)
A container runtime is essential on every node. In this example, we will use ContainerD.Step 1: Add the Kubernetes Repository and GPG Key
Execute these commands on all nodes:Step 2: Install ContainerD
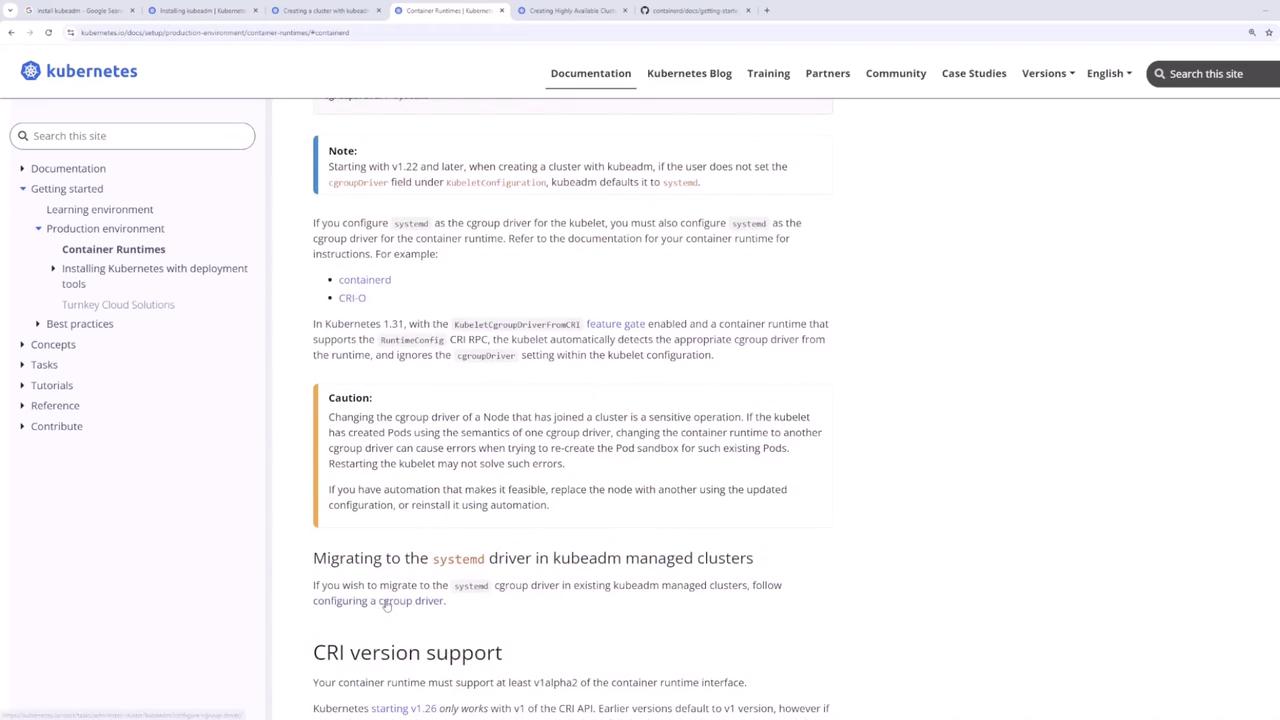
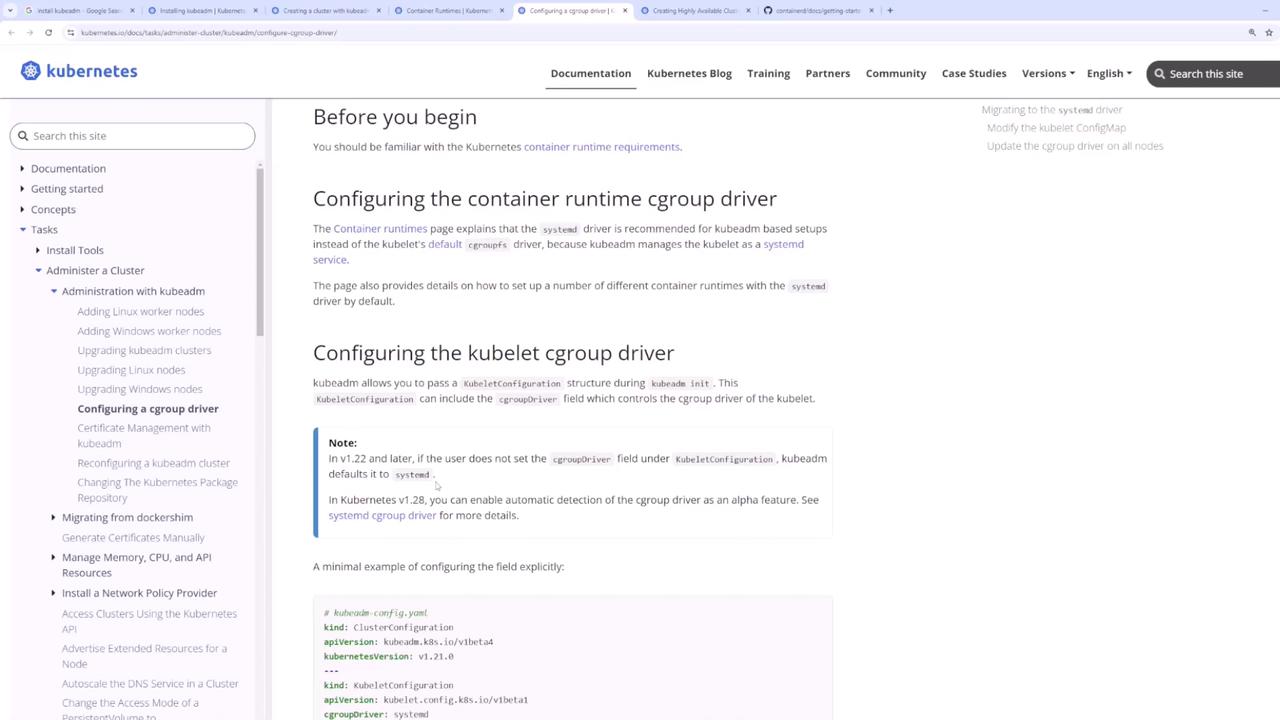
Run these commands on each node to install ContainerD:Step 3: Configure ContainerD for the systemd Cgroup Driver
It is critical that both ContainerD and kubelet use the same cgroup driver. Since systemd is the init system (check viaps -p 1), update the ContainerD configuration:
For further details on cgroup drivers, please review the container runtime
documentation.
4. Installing kubeadm, kubelet, and kubectl
After configuring the container runtime, install the Kubernetes components. Holding these packages prevents unintentional upgrades:- kubeadm: Bootstraps and manages the cluster initialization.
- kubelet: Manages pods and containers on every node.
- kubectl: Provides the command-line interface to interact with the cluster.
5. Initializing the Kubernetes Cluster
On the master node, initialize the control plane withkubeadm init, making sure to specify the following:
--pod-network-cidr: Sets the CIDR for pod networking (e.g., “10.244.0.0/16”).--apiserver-advertise-address: Uses the master node’s static IP.
admin.conf file is created. Configure kubectl by copying this file:
6. Deploying a Pod Network Add-on
To enable inter-pod communication, deploy a pod network add-on. In this demo, we use Weave Net. Run the following command on the master node:[podnetwork].yaml with the URL or local file path to the Weave Net configuration file. This command deploys a DaemonSet that ensures the network add-on is applied across the control plane and later propagates to worker nodes.
Verify the network add-on by checking the pods:
7. Joining Worker Nodes to the Cluster
Once the pod network is deployed, add your worker nodes to the cluster using thekubeadm join command printed by the kubeadm init process.
For example, run the following command on each worker node:
8. Verifying the Cluster
To ensure that your Kubernetes cluster is operational, deploy a test pod (for example, an nginx container):Conclusion
This guide covered the following steps to bootstrap your Kubernetes cluster using kubeadm:- Reviewed VM network configurations.
- Installed and configured ContainerD as the container runtime.
- Installed Kubernetes components (kubeadm, kubelet, and kubectl).
- Initialized the control plane with
kubeadm init(including specifying pod network CIDR and the API server advertise address). - Deployed a pod network add-on (Weave Net).
- Joined the worker nodes to the cluster.
- Verified cluster functionality with a test pod deployment.