In this lesson, we will walk through a hands-on lab demonstrating the process of upgrading a Kubernetes cluster running production applications. This upgrade covers inspecting the current cluster state, draining nodes, upgrading control plane and worker node components, and validating the new version—all while ensuring zero downtime during the migration of workloads.

Inspecting the Current Cluster

Before upgrading, we need to verify the existing cluster configuration. Start by checking the current version of the Kubernetes cluster and confirming the node status by running:
The output confirms that the cluster is running version v1.19.0 with one master and one worker node. Next, check for any node taints to determine if nodes are available to host applications:
Since no taints are present, both nodes can host workloads. Now, verify the deployed applications (deployments) in the cluster:
Here, we observe that a single application named “blue” is running. To further validate distribution, check which nodes the pods are scheduled on:
The output indicates that pods are running on both the control plane and node01.

Upgrade Strategy

Since application uptime is critical and no additional virtual machines are available, the recommended strategy is to upgrade one node at a time. This sequential approach allows workloads to be migrated safely between nodes, thus avoiding downtime. Upgrading all nodes simultaneously would disrupt active workloads, so a staged upgrade—first the control plane, then the worker node—is the optimal solution. !!! note “Important” Ensure that the upgrade is done following this strategy to prevent any service interruptions during the process.

Checking the Latest Stable Version with kubeadm

Before initiating the upgrade, determine the latest stable Kubernetes version available via kubeadm:
Although newer versions (for example, v1.23.5) may exist, this lab uses the upgrade path within the v1.19 series.

Upgrading the Control Plane Node

Draining the Control Plane

Start by draining the control plane node to safely migrate workloads. Because DaemonSet-managed pods are running, be sure to include the ignore flag:
Confirm that the node is now unschedulable:
Next, verify that the pods have migrated to node01:

Upgrading kubeadm and the Control Plane Components

The upgrade process involves updating the kubeadm tool, control plane components, and finally the kubelet. The goal is to upgrade from v1.19.0 to v1.20.0. Follow these steps:
  1. Update the Package Cache and Check Available Versions
  2. Upgrade kubeadm Depending on your environment, apply one of the methods below:
    Or:
    Verify the upgrade by running:
  3. Check the Upgrade Plan Again
  4. Apply the Upgrade to the Control Plane Upgrade the control plane components using:
    If successful, you will see confirmation messages such as:

Upgrading kubelet and kubectl

To synchronize the node components with the control plane, upgrade kubelet and kubectl:
If your apt-get version is 1.1 or higher, you may alternatively use:
Reload and restart the kubelet service:
After upgrading, uncordon the control plane node to allow it to schedule new workloads:
Finally, verify that the control plane node is back to a Ready state:

Upgrading the Worker Node

Draining the Worker Node

Before upgrading the worker node (node01), drain it to migrate its workloads:
Confirm that workloads have been rescheduled onto the control plane:

Upgrading kubeadm on the Worker Node

SSH into node01 using its IP or configured settings, then update the kubeadm tool:
Apply the kubeadm node upgrade:
This will update the local kubelet configuration.

Upgrading kubelet and kubectl on the Worker Node

Upgrade kubelet and kubectl on node01:
Reload and restart the kubelet service:
After completing the upgrades on the worker node, exit the session and verify from the control plane that both nodes are running the upgraded version:
Expected output:
Finally, mark node01 as schedulable again by uncordoning it:
Verify that node01 is now schedulable:

Reference to Kubernetes Documentation

For more detailed instructions on upgrading kubeadm clusters, refer to the official Kubernetes documentation. An example screenshot from the documentation is shown below:
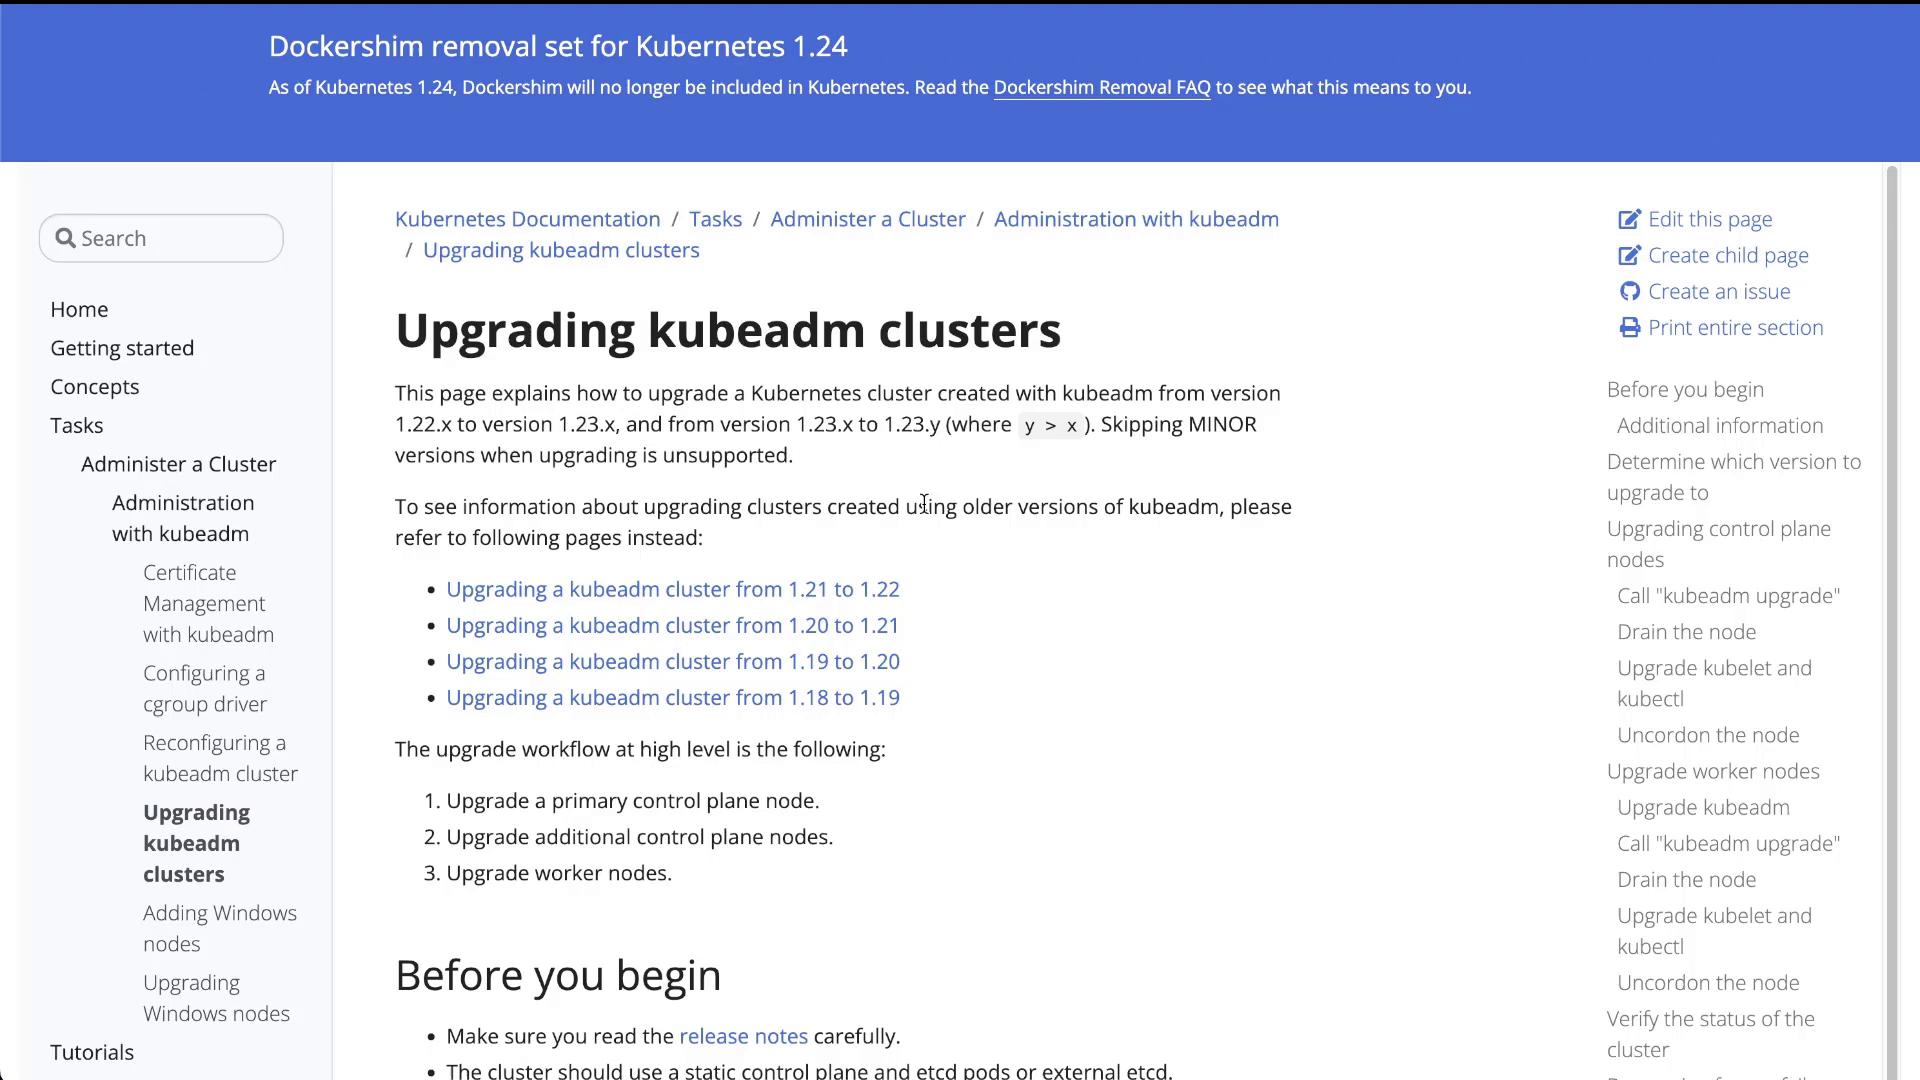
The image is a webpage from Kubernetes documentation detailing how to upgrade kubeadm clusters, including steps and links for different version upgrades.

Conclusion

In this lab, you successfully upgraded the Kubernetes control plane and worker node by executing a series of well-coordinated steps. Workloads were safely migrated between nodes to ensure service continuity throughout the process. Follow these step-by-step instructions, and refer to the Kubernetes Documentation for further details to achieve a smooth, no-downtime cluster upgrade. End of lesson.

Watch Video