

The scheduler selects the node for a Pod; the kubelet on that node instantiates the Pod and manages its containers.
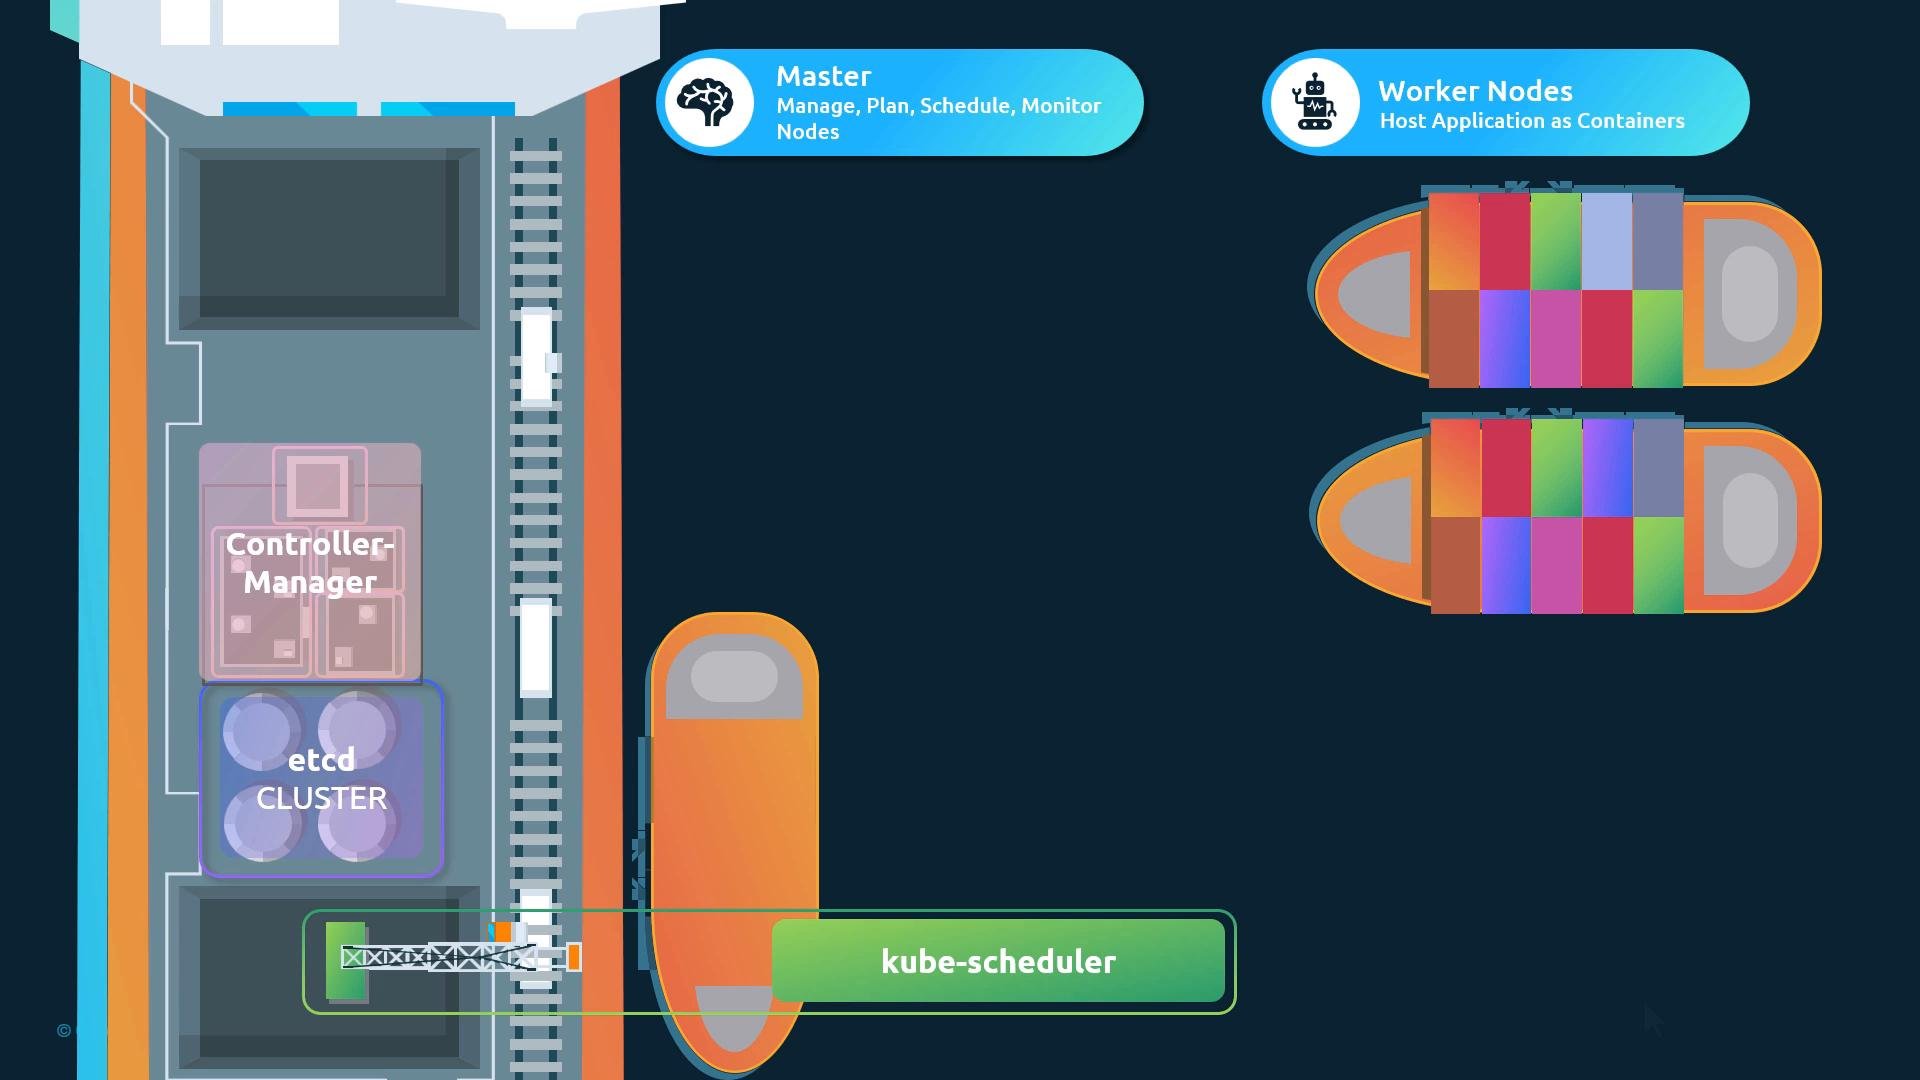
How the scheduler assigns Pods
The kube-scheduler evaluates each unscheduled Pod and selects a node using two primary phases:
- Filtering (predicate phase): remove nodes that cannot satisfy the Pod’s hard requirements — insufficient CPU/memory, failing nodeSelector or nodeAffinity, mismatched taints/tolerations, or unsatisfied topology constraints.
- Scoring (prioritization phase): score the remaining candidate nodes using priority functions to pick the best fit — e.g., spreading Pods evenly, preferring nodes with more spare capacity, honoring soft affinity/anti-affinity, or optimizing for data locality.
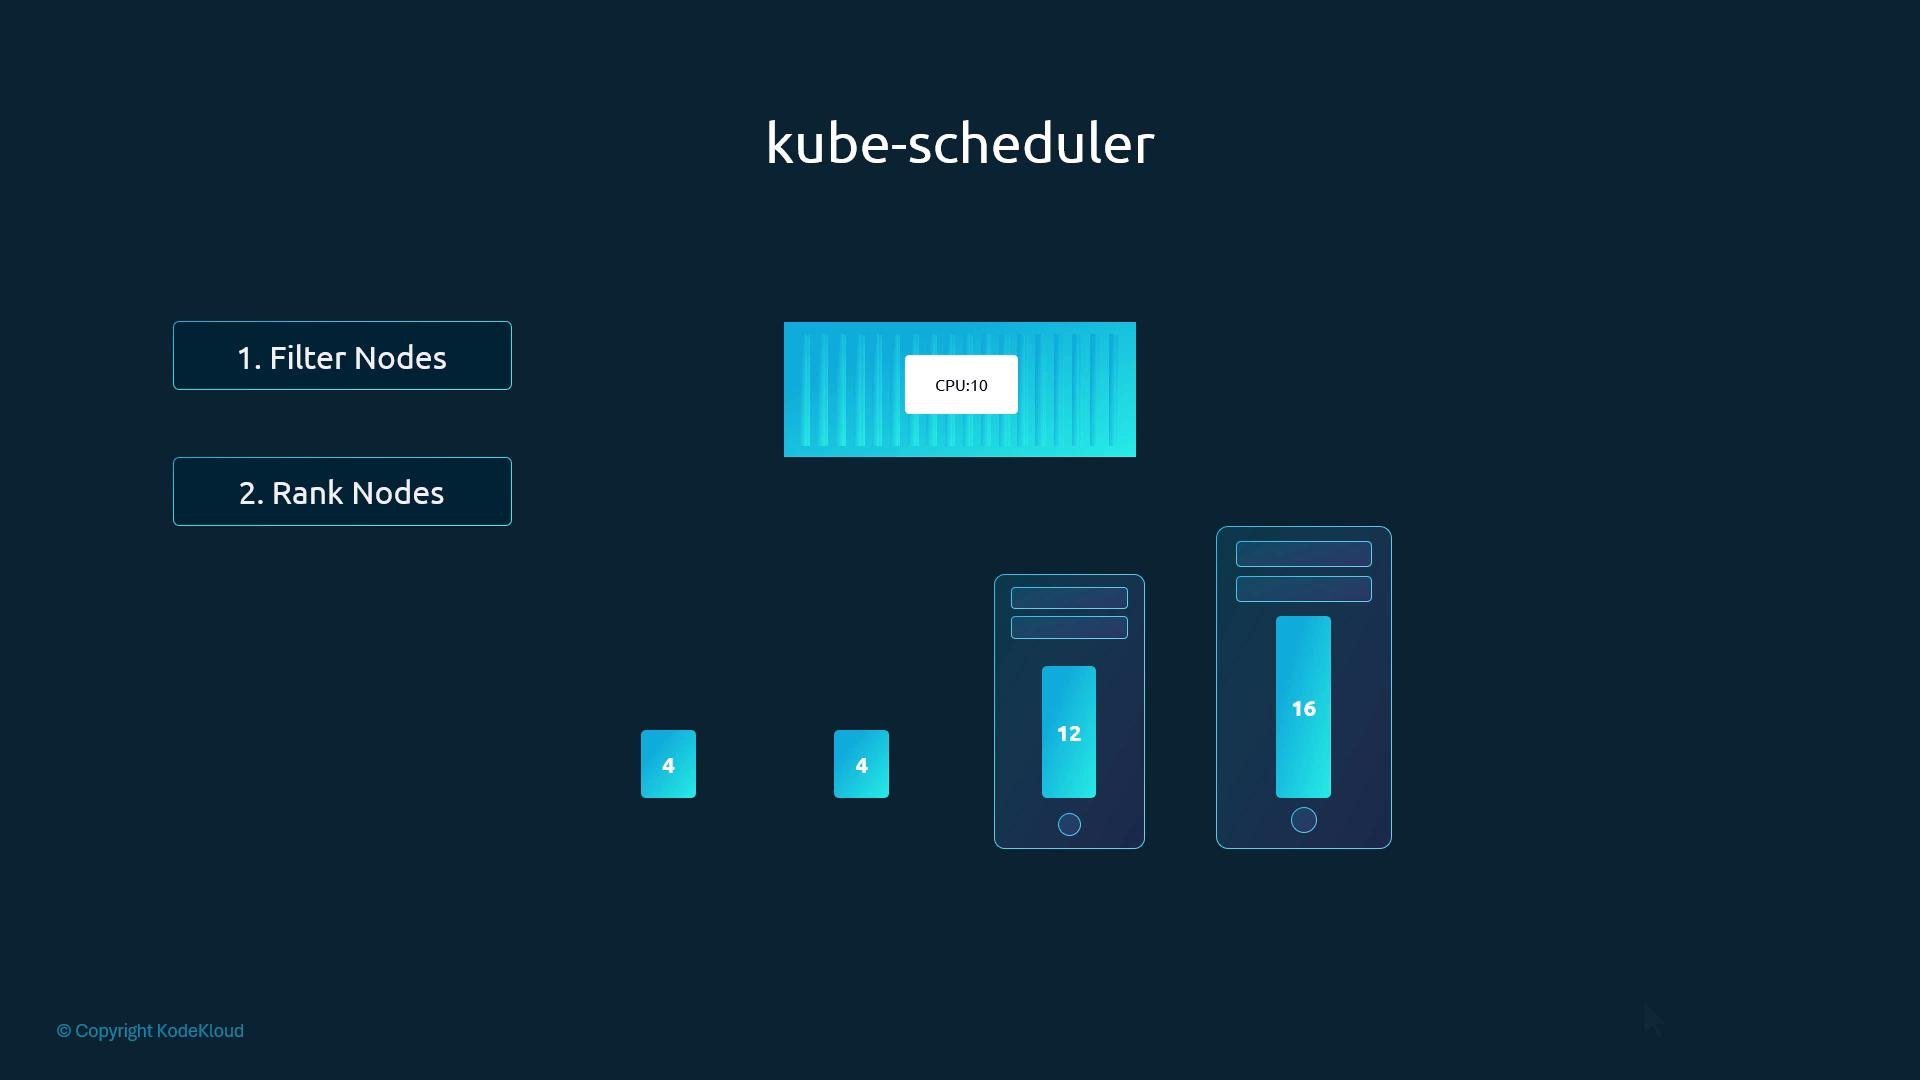
- Suppose a Pod requests 10 CPUs:
- Filtering removes nodes that cannot supply 10 CPUs.
- For each remaining node the scheduler computes the post-placement free CPU. A node that would have 6 CPUs free after placement scores higher than one that would have only 2 CPUs free.
- The scheduler aggregates scores from multiple priority functions, normalizes them, and selects the node with the highest overall score.
- After selecting a node, the scheduler issues a binding API call to make the Pod scheduled to the chosen node. The kubelet on that node then creates and runs the Pod.
- Filter out nodes that cannot satisfy the Pod’s hard constraints (resource requests, taints, nodeSelectors, nodeAffinity, etc.).
- Score the remaining nodes using priority/scoring functions (spreading, resource balancing, affinity, etc.).
- Choose the node with the highest score and bind the Pod to that node (scheduler issues the binding; kubelet on the node creates the Pod).
- You can configure the kube-scheduler via a config file to tune existing plugins or enable/disable scheduling behaviors.
- It is possible to run a custom scheduler (a different process) and select it in a Pod spec with
spec.schedulerName. - Scheduling is influenced by numerous other features: resource
requestsandlimits,taintsandtolerations,nodeSelector,nodeAffinityandpodAffinity/podAntiAffinity. Understanding these features helps control placement precisely.
kube-system namespace. The static Pod manifest lives at /etc/kubernetes/manifests/kube-scheduler.yaml. Example fragment:
- View the static Pod manifest:
- Check the running process and its arguments:
Or use
pgrep,pidof,ps -ef, etc., to locate the process and inspect command-line options.