

- VirtualBox — hypervisor for running the VMs.
- Vagrant — automation tool to define, create, and provision multiple VMs from a single
Vagrantfile.
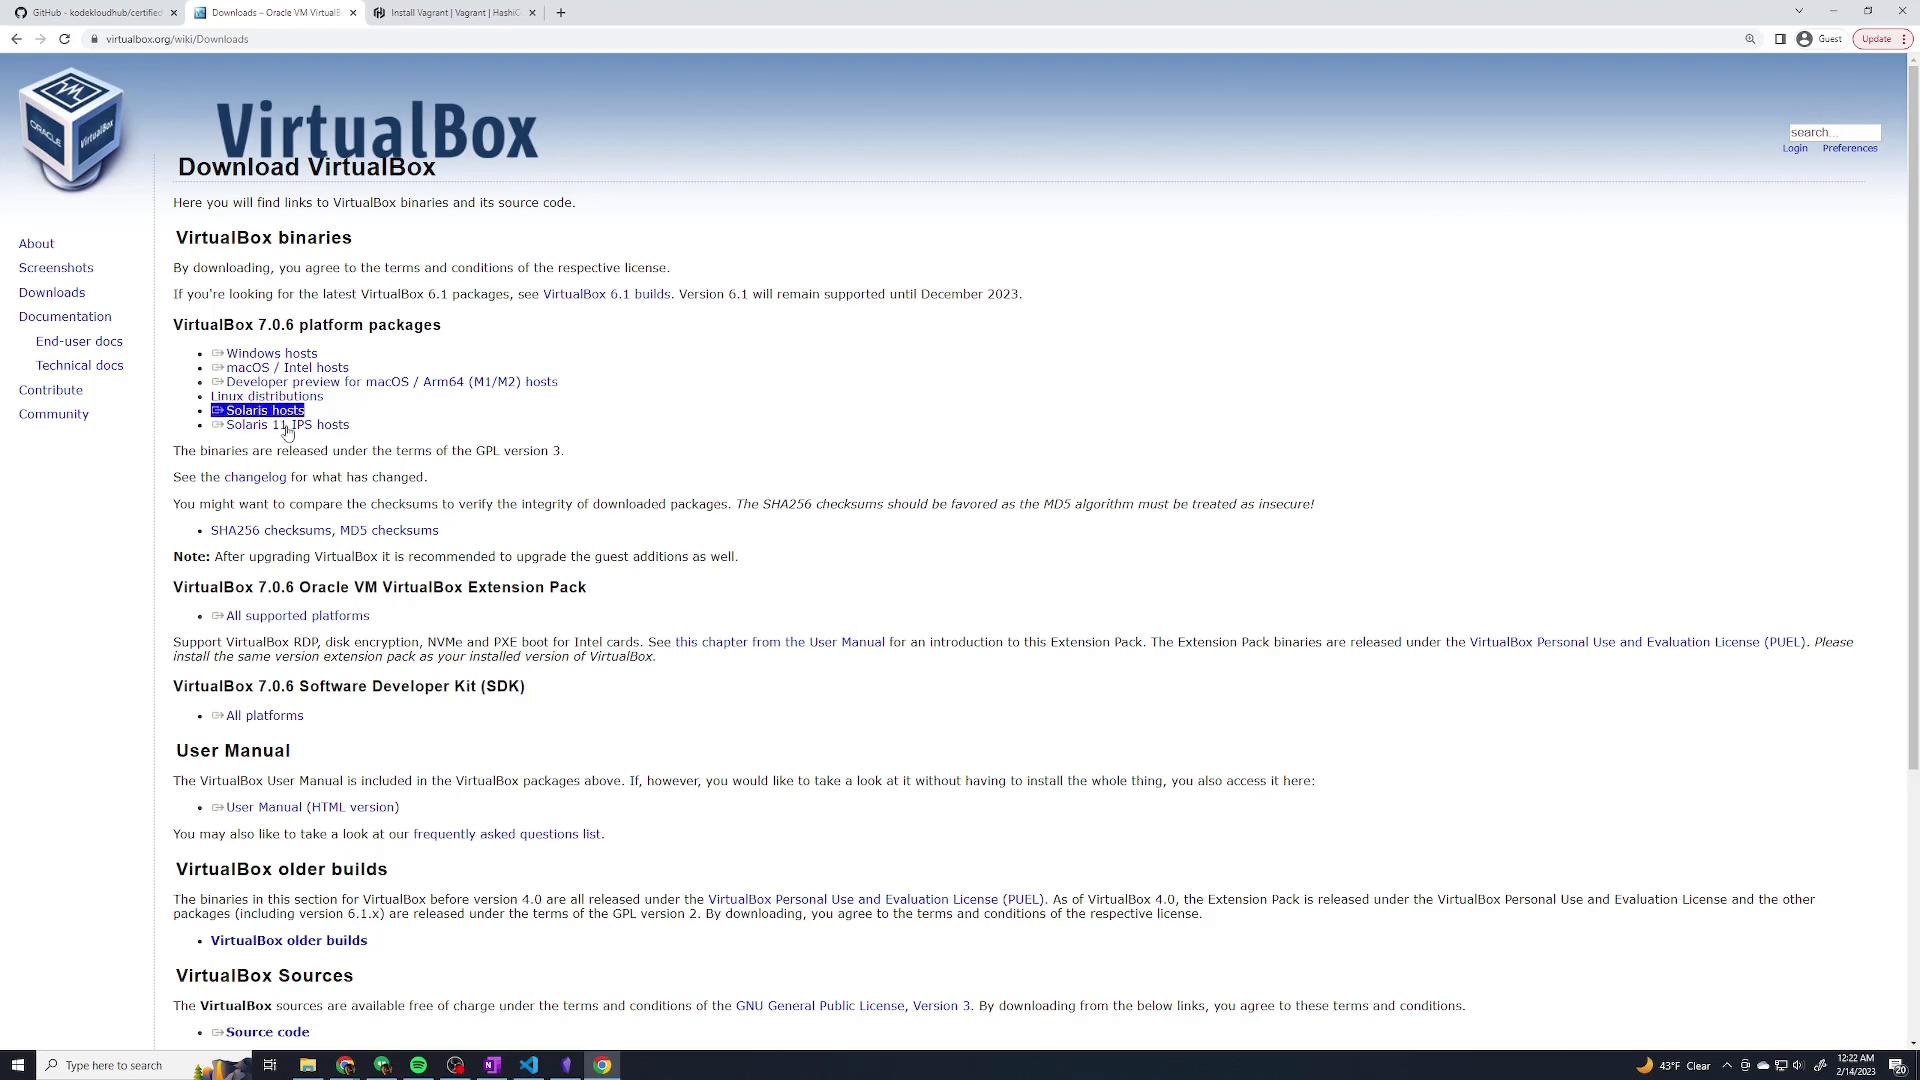
- Install VirtualBox for your OS: https://www.virtualbox.org
- Install Vagrant: https://www.vagrantup.com/docs
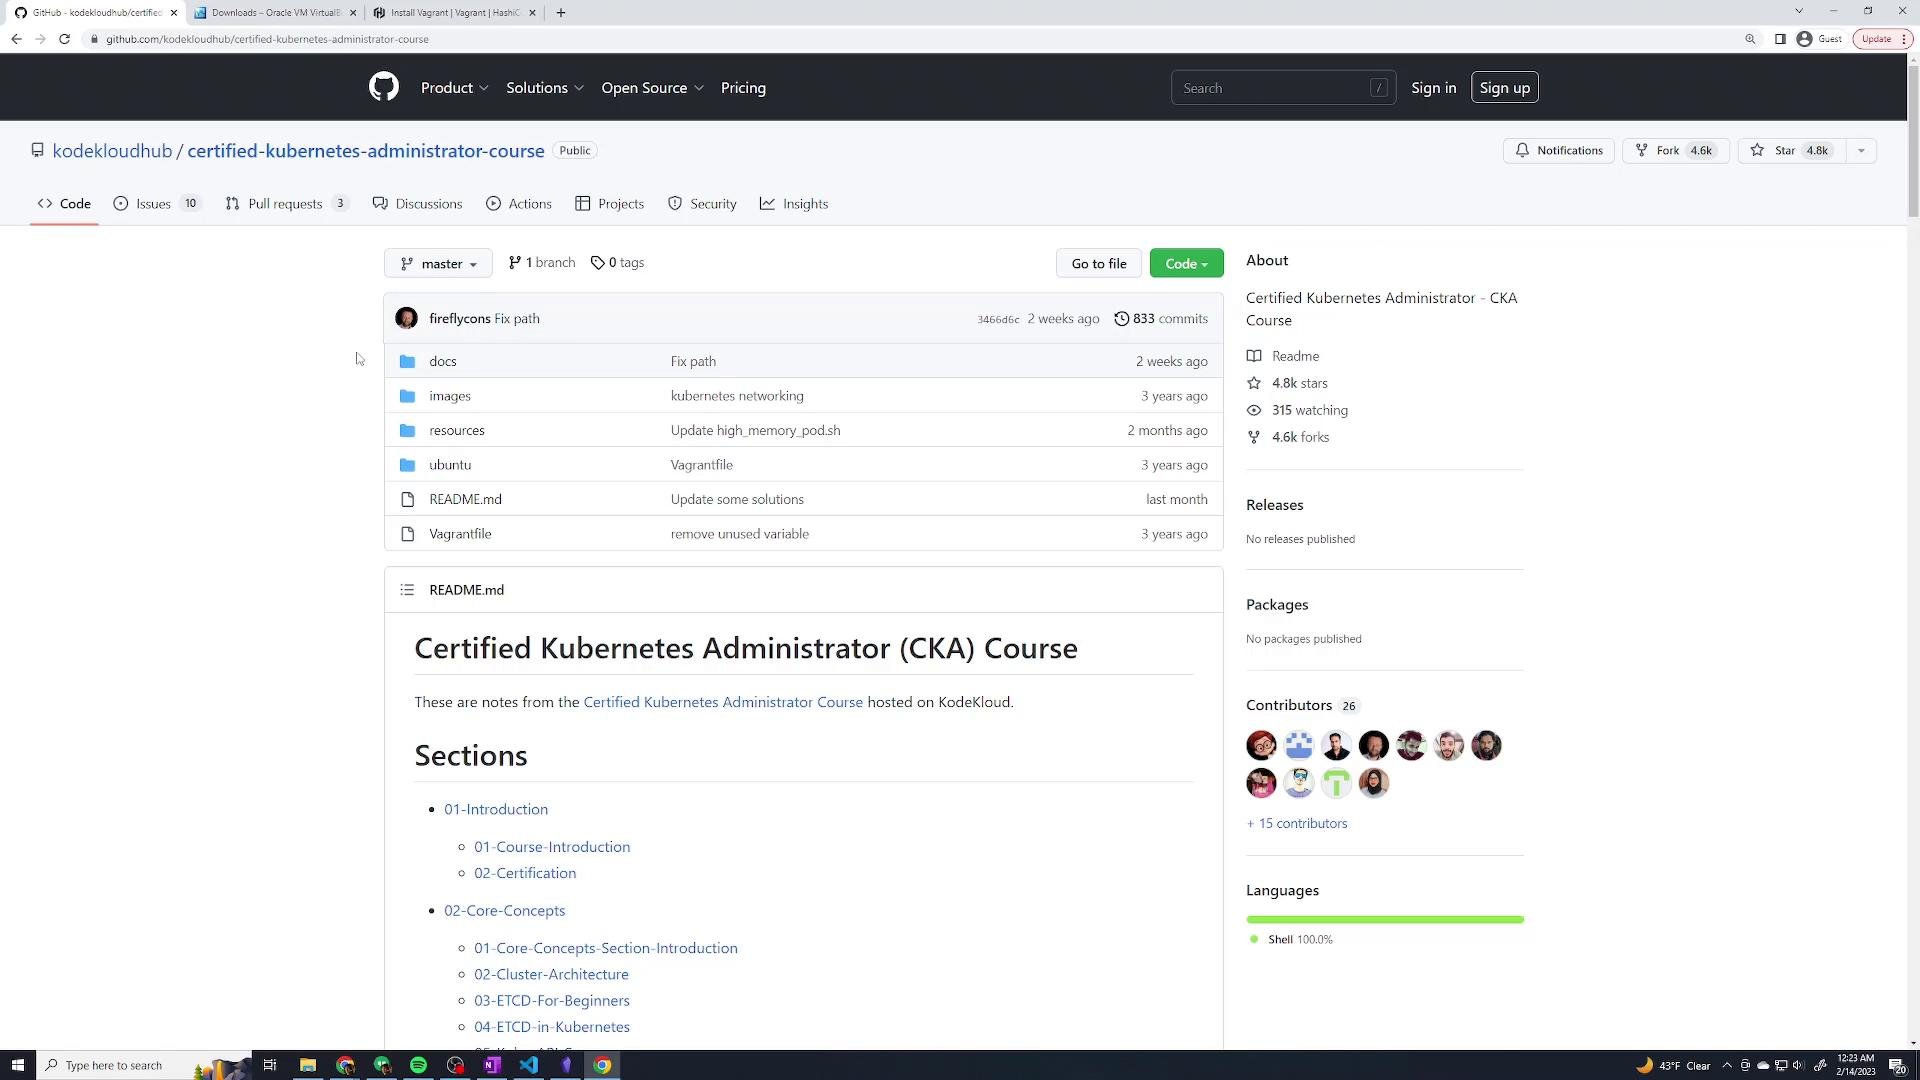
- Download or clone the lesson repository so the
Vagrantfileand provisioning scripts (theubuntu/directory) are available locally.
Vagrantfile and supporting folders exist:
Vagrantfile to review the VM configuration. The file below defines the base box and the provisioning for the master node; worker nodes are configured further down in the same file:
- The VMs use a host-only network in the
192.168.56.xrange. - Hostnames,
/etc/hostsentries, DNS, and additional configuration are applied by provisioning scripts underubuntu/. - SSH port forwarding uses the pattern
host_port = 2710 + ifor each defined VM.
Bringing up the VMs
First check the current Vagrant machine state:
ubuntu/bionic64 box if needed, create the VMs, set networking and resources, and run the provisioning scripts. This can take several minutes. Example provisioning output (abbreviated):
If you see VirtualBox Guest Additions mismatch warnings or shared folder issues during provisioning, they are common. To resolve these, either update the guest additions inside the VMs to match your host VirtualBox version or use the
vagrant-vbguest plugin to automate guest additions management: https://github.com/dotless-de/vagrant-vbguestvagrant up finishes, verify the VMs are running:
vagrant ssh with the VM name to open a shell on any VM:
exit or logout to return to your host.
Next steps
You now have three provisioned VMs (one master, two workers) reachable via vagrant ssh. Use these machines to follow the kubeadm-based Kubernetes installation and cluster configuration steps in the next lessons.
Useful references
- VirtualBox: https://www.virtualbox.org
- Vagrant documentation: https://www.vagrantup.com/docs
vagrant-vbguestplugin: https://github.com/dotless-de/vagrant-vbguest