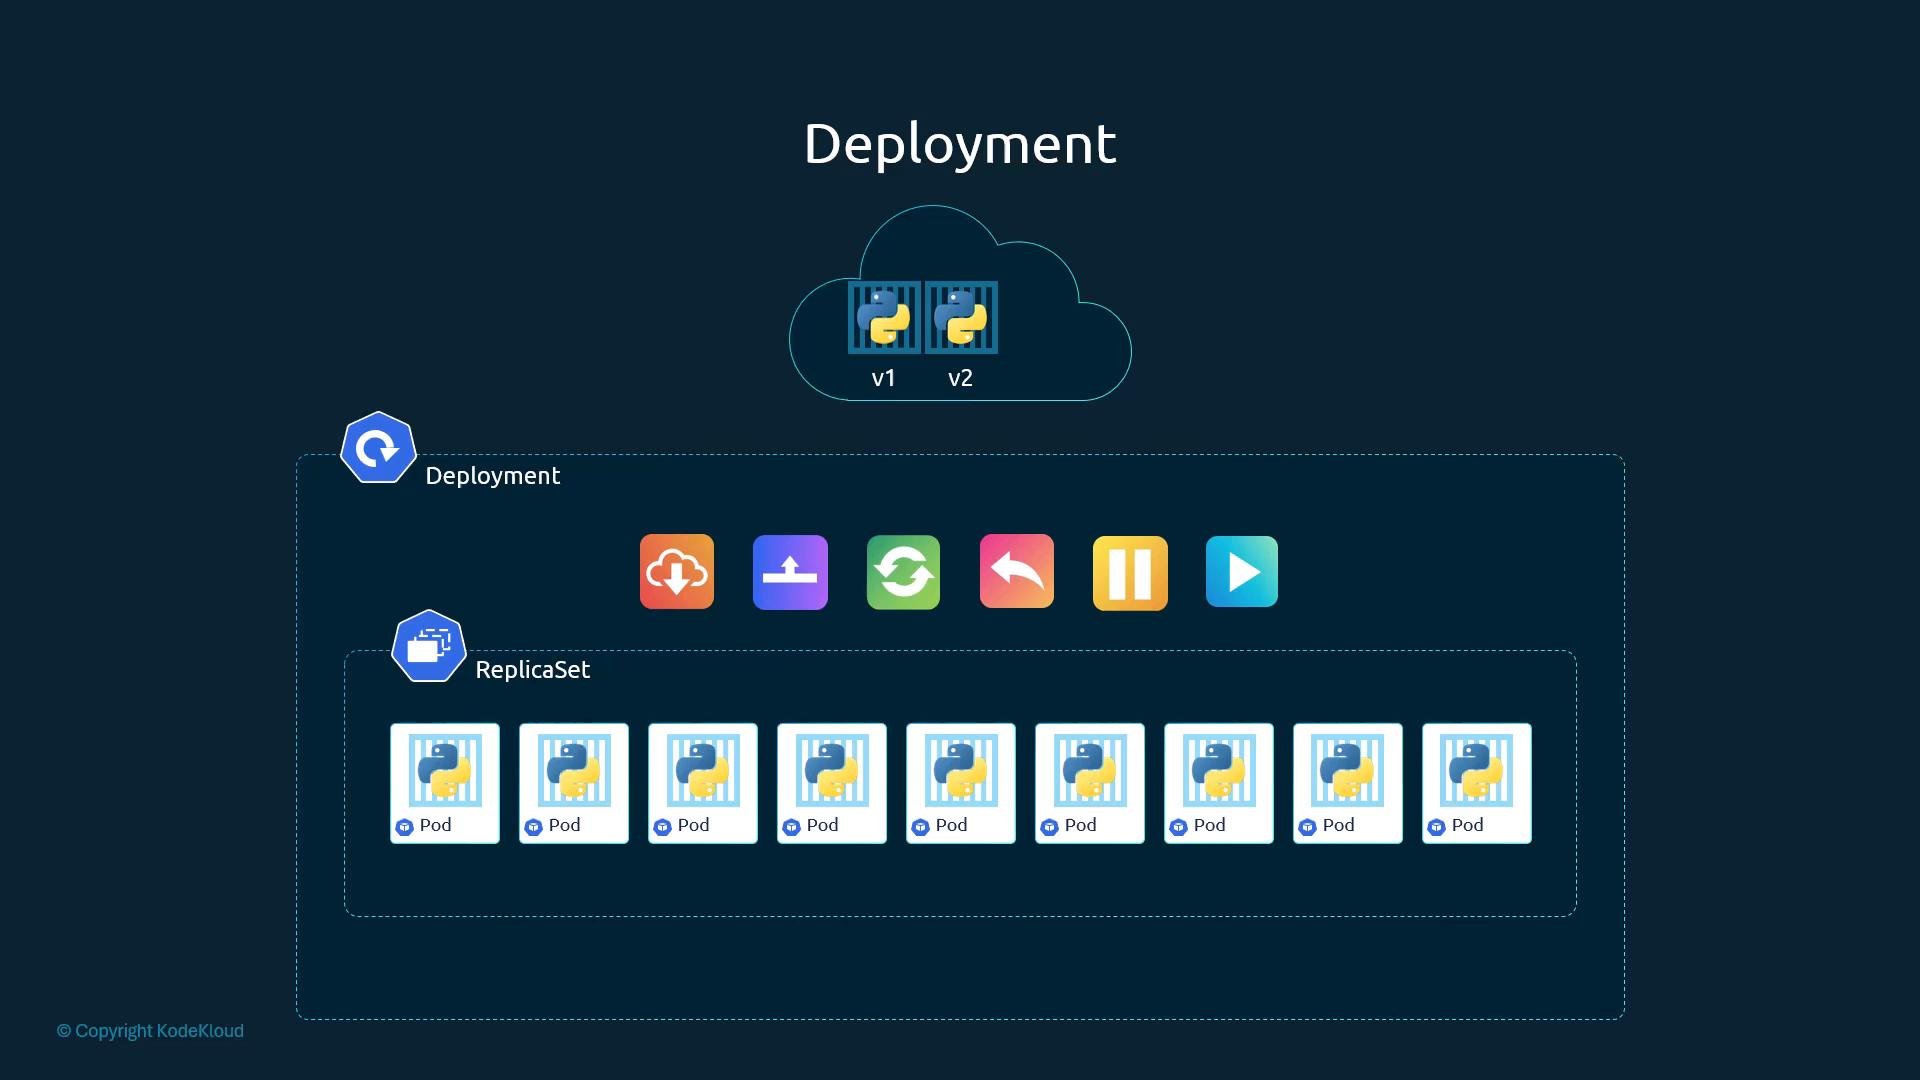
Hello and welcome! My name is Mumshad Mannambeth. In this guide, we dive into Kubernetes deployments—an abstraction that simplifies managing your applications in a production environment. Rather than interacting directly with pods and ReplicaSets, deployments offer advanced features that enable you to:
  • Deploy multiple instances of your application (like a web server) to ensure high availability and load balancing.
  • Seamlessly perform rolling updates for Docker images so that instances update gradually, reducing downtime.
  • Quickly roll back to a previous version if an upgrade fails unexpectedly.
  • Pause and resume deployments, allowing you to implement coordinated changes such as scaling, version updates, or resource modifications.
Previously, we discussed how individual pods encapsulate containers and how ReplicaSets maintain multiple pod copies. A deployment, however, sits at a higher level, automatically managing ReplicaSets and pods while providing enhanced features like rolling updates and rollbacks.

Creating a Deployment

To create a deployment, start by writing a deployment definition file. This file is similar to a ReplicaSet definition, with the key difference being that the kind is set to Deployment instead of ReplicaSet. Below is an example of a correct deployment definition file:
Once your deployment definition file (for example, named deployment-definition.yml) is ready, create the deployment with the following command:
The command output should confirm that the deployment has been created:
To verify the deployment, run:
The output will look similar to this:

Behind the Scenes: How Deployments Work

When you create a deployment, Kubernetes automatically creates an associated ReplicaSet. To see this in action, run:
You’ll notice a new ReplicaSet with a name derived from your deployment. This ReplicaSet oversees the creation and management of pods. To view the pods managed by the ReplicaSet, run:
While deployments and ReplicaSets work together seamlessly, deployments provide additional functionalities such as rolling updates, rollbacks, and the ability to pause/resume changes.
To view all the created Kubernetes objects—deployments, ReplicaSets, pods, and more—use the following command:
This gives you a comprehensive overview of your deployment’s components.
A sample output of the “kubectl get all” command might be:
In this output, you can clearly see the deployment, its associated ReplicaSet, and the managed pods.

Conclusion

This article has covered the fundamentals of creating a deployment in Kubernetes. By leveraging deployments, you gain powerful capabilities like rolling updates and rollbacks that make managing application updates and maintenance in production more efficient. Whether you are scaling your application or rolling out new features, Kubernetes deployments provide a robust solution for modern application management. Happy deploying!

Watch Video