

default-scheduler) that places Pods onto nodes while honoring constraints such as taints/tolerations and node affinity. For specialized placement logic—custom scoring, additional validation, or entirely different scheduling algorithms—you can run one or more additional scheduler processes (or Pods) with unique names. Applications request a specific scheduler by setting the schedulerName field in their Pod spec.
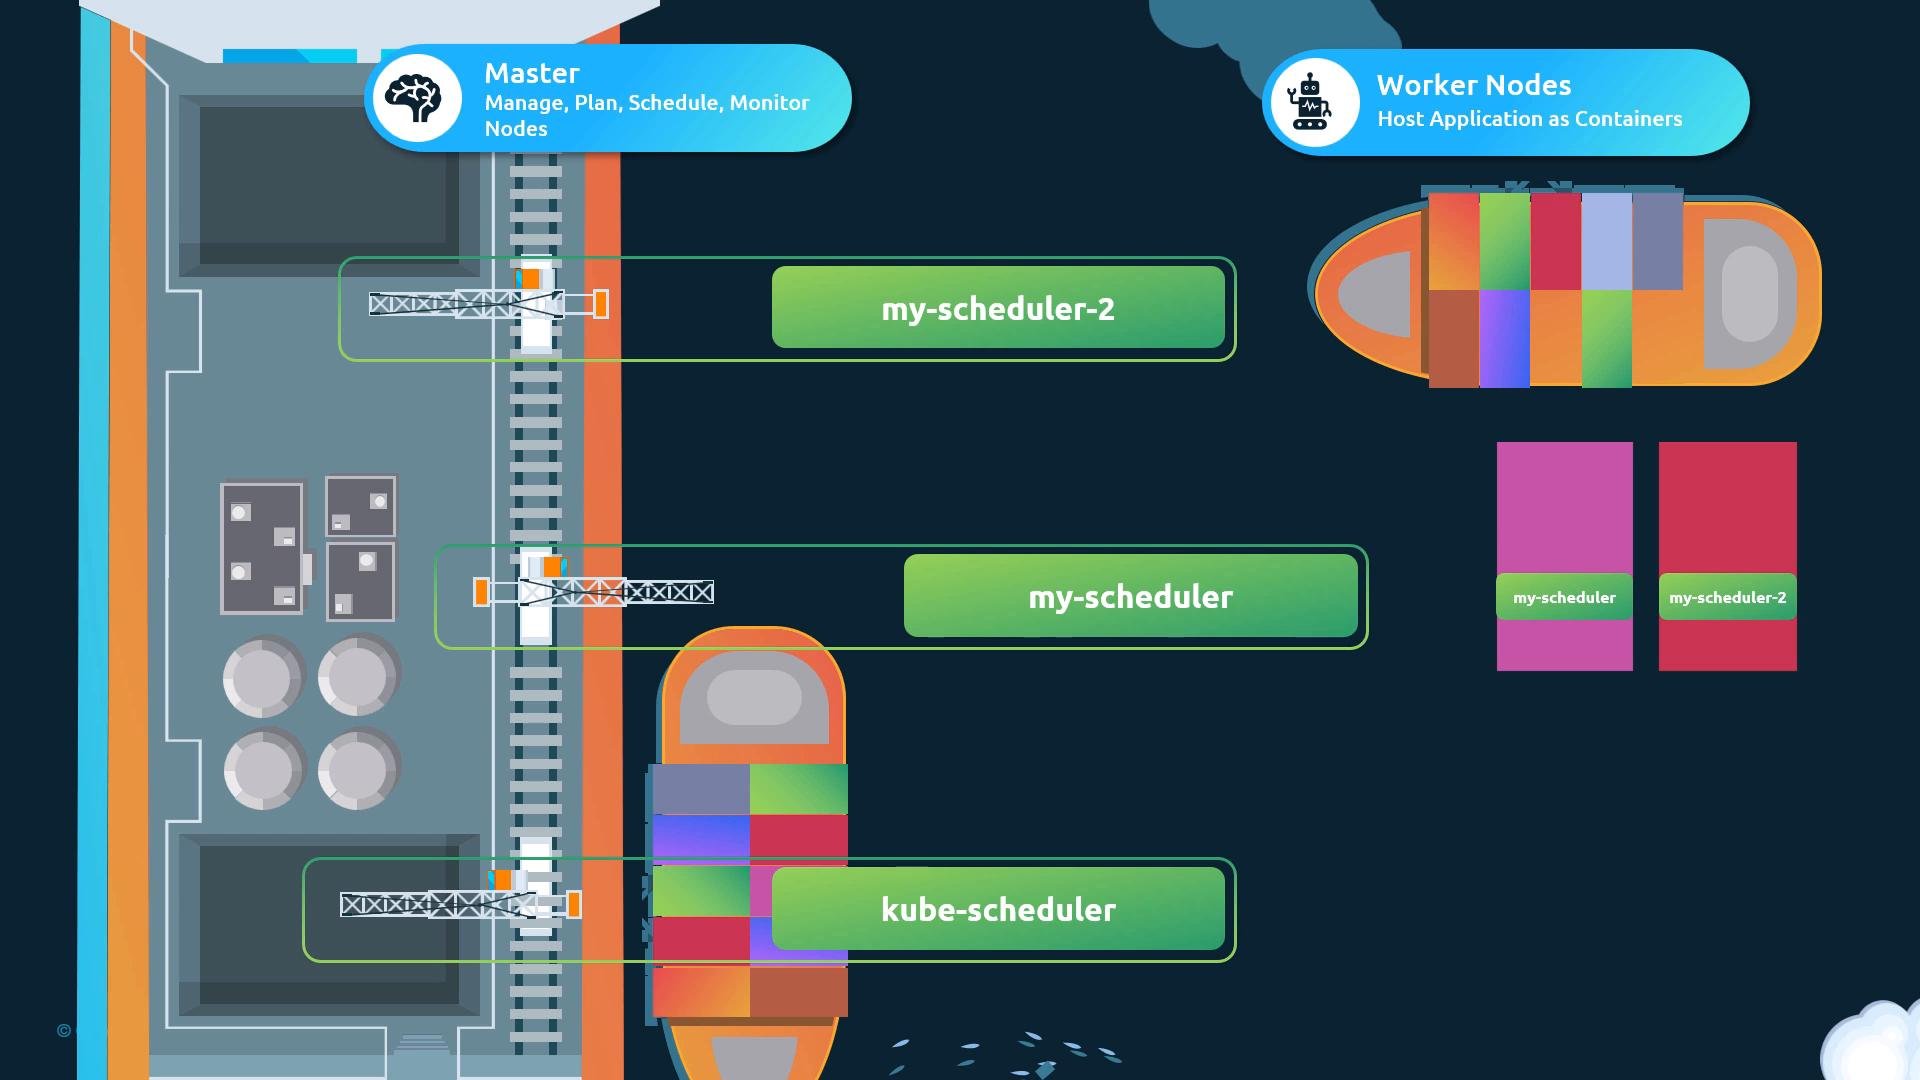
How Pods select a scheduler
Set the scheduler to use in the Pod spec withschedulerName:
schedulerName is omitted, the default scheduler (commonly default-scheduler) handles the Pod.
Scheduler configuration: minimal example
Each scheduler process needs a configuration with a uniqueschedulerName. A minimal kube-scheduler configuration:
schedulerName.
Deployment options
You can run an additional scheduler in several ways:- As a standalone Pod in
kube-system(simple, useful for testing). - As a Deployment (recommended for production—pack the scheduler binary into a container image).
- As a static Pod or system component if you manage control-plane manifests directly.
Run as a standalone Pod
Example Pod manifest that runs the upstreamkube-scheduler binary and points to a kubeconfig and scheduler config:
ConfigMap and kubeconfig before applying the Pod manifest.
Leader election (high availability)
When running multiple replicas of the same scheduler (for HA), enable leader election so only one replica makes scheduling decisions at any time. Configure leader election in the kube-scheduler configuration:If you deploy only a single replica of your custom scheduler, you may set
leaderElect: false. For HA deployments with multiple replicas, always enable leader election and give each scheduler deployment a unique resourceName so locks do not conflict.Run as a Deployment (recommended for production)
Typical steps:- Build or package the scheduler binary into a container image.
- Push the image to your registry (GCR, Docker Hub, etc.).
- Create a ServiceAccount and ClusterRoleBinding so the scheduler can access the API.
- Provide the scheduler configuration via a ConfigMap and mount it into the Deployment.
- Enable leader election for HA.
- Mount the ConfigMap into the Deployment and pass
--configto the scheduler command. - Use a ServiceAccount and ClusterRoleBinding so the scheduler can authenticate and perform scheduling operations.
Apply and verify
Create the Deployment/Pod and supporting resources:kube-system (names will vary based on whether you used a Pod or Deployment manifest).
Scheduling a Pod with the custom scheduler
Create a Pod that requests your scheduler:Pending, inspect it:
Events section.
Confirm which scheduler scheduled the Pod
Events show the scheduler that assigned the Pod. Example:SOURCE column shows the scheduler that created the Scheduled event.
Inspect scheduler logs
If scheduling does not behave as expected, view the scheduler Pod logs:Troubleshooting tips
- If your Pod never leaves
Pending, checkkubectl describe pod <pod>and events for reasons. - Confirm the scheduler Pod is healthy (readiness/liveness probes) and has the correct
--configand--kubeconfigflags. - Verify RBAC (the scheduler’s ServiceAccount must have
system:kube-schedulerprivileges or equivalent). - Ensure leader election settings use unique
resourceNamevalues if you run multiple distinct scheduler deployments.
Summary
- Kubernetes supports multiple schedulers; each must have a unique
schedulerName. - Run additional schedulers by starting kube-scheduler (or a custom scheduler) with its own configuration and kubeconfig.
- Request a specific scheduler in a Pod spec with
schedulerName. - For HA, enable leader election and use unique lock names per scheduler deployment.