

- Question 1 — Enable required sysctl settings for kubeadm
- Question 2 — Create ServiceAccount, ClusterRole, ClusterRoleBinding, and Pod
- Question 3 — Create StorageClass
rancher-sc - Question 4 — Create ConfigMap and mount as env vars in a Deployment
- Question 5 — Create PriorityClass and assign to Pod
- Question 6 — NetworkPolicy to allow incoming port 80 to np-test-1 / service
- Question 7 — Taint a node and create pods with/without tolerations
- Question 8 — PVC not binding to PV: fix accessMode mismatch
- Question 9 — Fix broken kubeconfig
- Question 10 — Scale Deployment and fix control-plane controller issue
- Question 11 — Create HPA based on custom pods metric
- Question 12 — HTTPRoute to split traffic 80/20 between services
- Question 13 — Helm: lint, install new chart, uninstall old release
- Question 14 — Output the cluster Pod CIDR to a file
Question 1 — Enable required sysctl settings for kubeadm
Goal: Ensure the following kernel parameters are enabled and persistent on all nodes:net.ipv4.ip_forward = 1net.bridge.bridge-nf-call-iptables = 1
net.bridge.* keys are missing, load the bridge netfilter module:
sysctl --system applies files and shows the two k8s settings. Some unrelated keys may show “permission denied” — these can be ignored if the k8s keys are set.
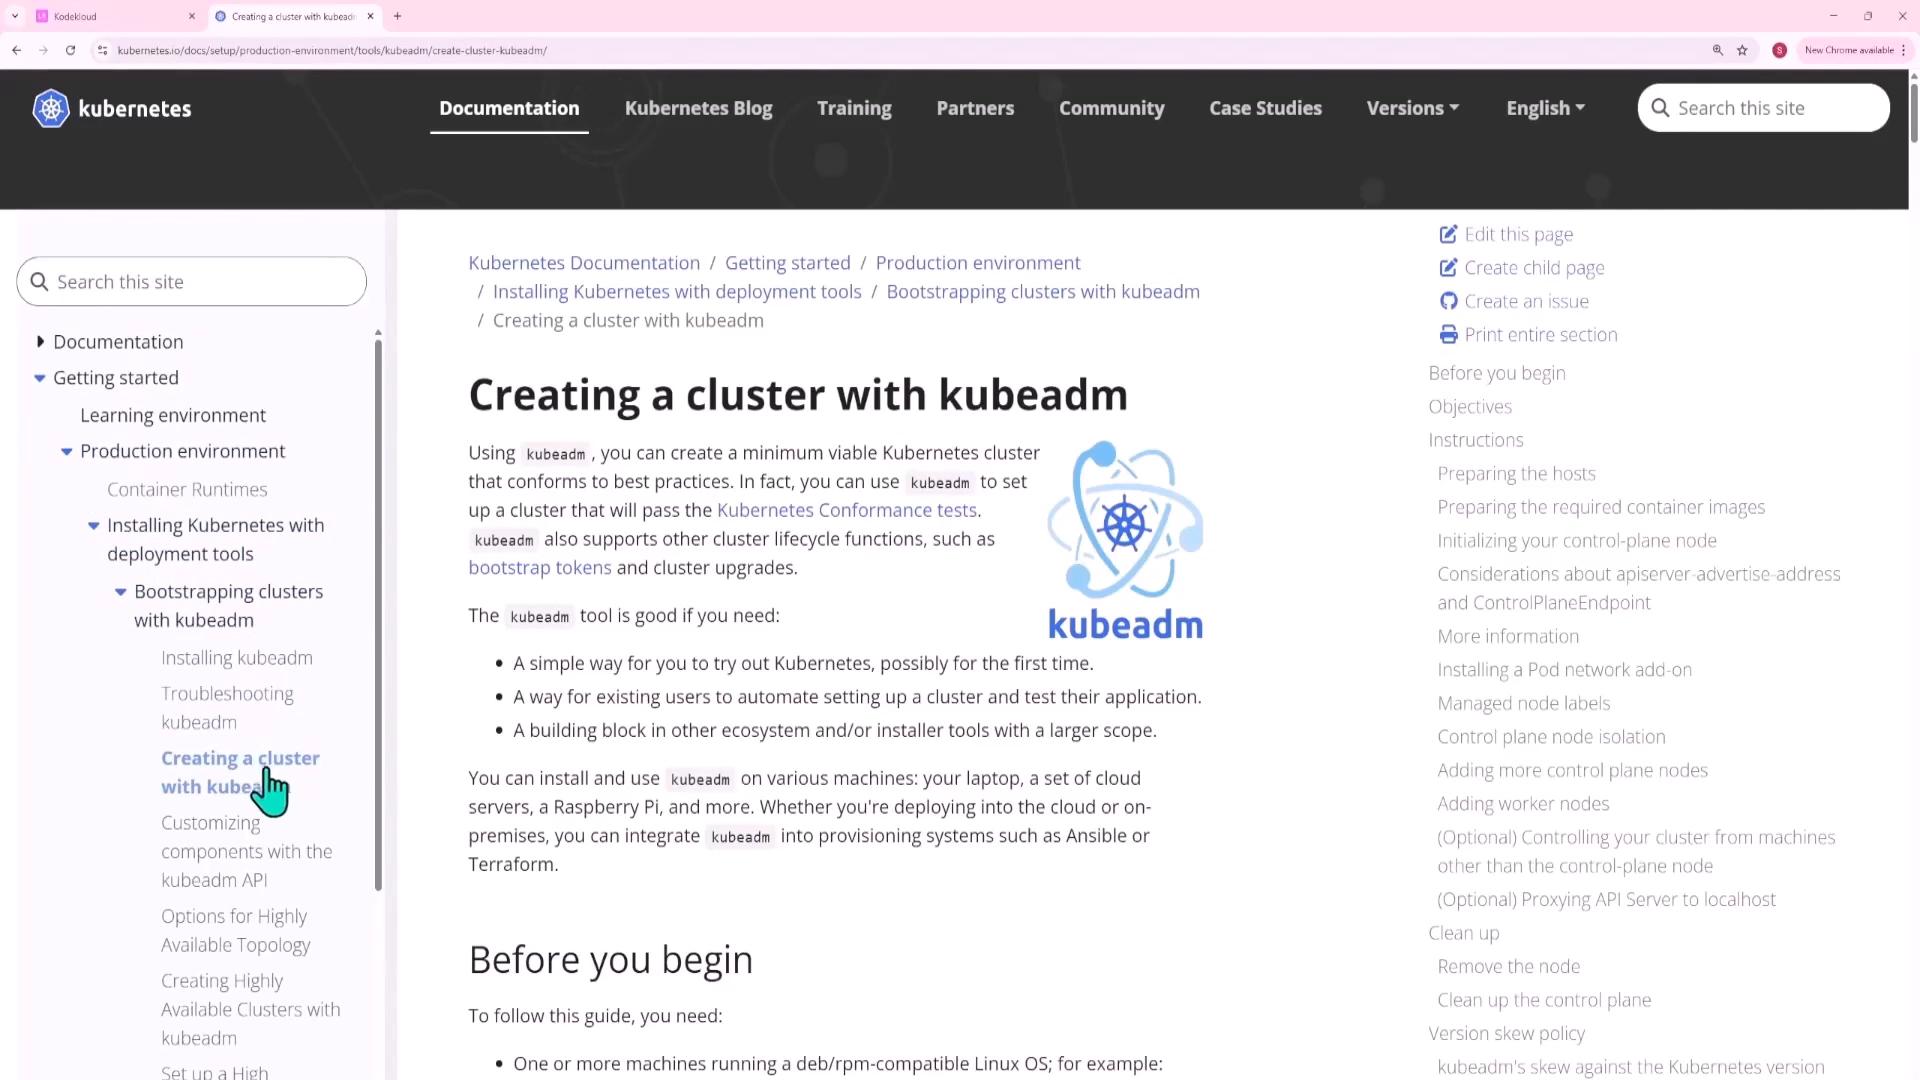
Always consult the kubeadm documentation during the exam — it’s allowed and very helpful for exact configuration examples.
Question 2 — Create a service account, ClusterRole, ClusterRoleBinding, and Pod
Goal: Provide a service accountpvviewer that can list persistentvolumes, then run a Pod using that service account.
Imperative commands:
question2.yaml):
Service Account set to pvviewer.
Question 3 — Create a StorageClass rancher-sc
Goal: Create a StorageClass named rancher-sc using the rancher.io/local-path provisioner with expansion allowed and delayed binding.
Manifest (question3.yaml):
Question 4 — Create ConfigMap and mount as env vars in a Deployment
Goal: Createapp-config ConfigMap in namespace cm-namespace with ENV and LOG_LEVEL keys, then make cm-webapp consume them as environment variables.
Create the ConfigMap:
cm-webapp to import all keys using envFrom. Example snippet to add under the container spec (replace <container-name> and <image> if needed):
Question 5 — Create PriorityClass and assign to Pod
Goal: Create aPriorityClass named low-priority (value 50000) and ensure Pod lp-pod in namespace low-priority uses it.
Create PriorityClass (question5.yaml):
If a Pod manifest contains an explicit numeric
priority: field and you add priorityClassName, the API server may reject it. Remove the numeric priority field—PriorityClass determines the numeric priority.Question 6 — NetworkPolicy to allow incoming port 80 to np-test-1 / service
Goal: Create a NetworkPolicyingress-np-test that allows ingress on TCP port 80 to pods labeled run=np-test-1.
Check pod labels:
question6.yaml):
run=np-test-1 on TCP port 80.
Question 7 — Taint a node and create pods with/without tolerations
Goal: Prevent normal pods from scheduling onnode01 by tainting it, then create a pod without toleration (dev-redis) and one with toleration (prod-redis) so it lands on node01.
Taint the node:
dev-redis (no toleration — will not schedule on node01):
prod-redis with toleration (question7.yaml):
Question 8 — PVC not binding to PV: fix accessMode mismatch
Goal: Fix a Pending PVC (app-pvc in storage-ns) when the PV (app-pv) is Available by resolving accessMode mismatch (without editing the PV).
Inspect:
ReadWriteOnce but PVC requests ReadWriteMany. Fix by changing the PVC to match the PV:
- Export PVC to file:
-
Edit
question8.yaml: setspec.accessModestoReadWriteOnce. Removestatus,resourceVersion,uid, and other cluster-managed fields. - Recreate PVC:
app-pvc should show STATUS: Bound to app-pv.
Question 9 — Fix broken kubeconfig
Goal: Fix/root/CKA/super.kubeconfig that points to the wrong API server address (e.g., https://controlplane:9999 causing connection refused).
Verify error:
server URL:
/root/CKA/super.kubeconfig) and update clusters[].cluster.server to the correct https://<hostname>:6443 or the appropriate host:port.
After editing:
Question 10 — Scale Deployment and fix control-plane controller issue
Goal: Scalenginx-deploy to 3 replicas; if ReplicaSet does not scale, ensure the controller manager is running properly.
Scale the Deployment:
kube-controller-manager static pod is ImagePullBackOff or CrashLoopBackOff, fix the static pod manifest (kubelet manages static pods via files in /etc/kubernetes/manifests/).
Example fix steps:
Question 11 — Create HPA based on custom pods metric
Goal: Create an HPAapi-hpa in namespace api targeting api-deployment, scaling between 1 and 20 pods using the pods metric requests_per_second with AverageValue 1000.
Manifest (question11.yaml):
requests_per_second; it may display unknown in that case.
Question 12 — HTTPRoute to split traffic 80/20 between services
Goal: Create an HTTPRoute that sends 80% of traffic toweb-service and 20% to web-service-v2, attached to web-gateway.
Manifest (question12.yaml):
Question 13 — Helm: lint, install new chart, uninstall old release
Goal: Lint the chart at/root/new-version, install it, and uninstall the old release webpage-server-01.
Lint and install:
Question 14 — Output the cluster Pod CIDR to a file
Goal: Identify the cluster Pod CIDR (used by the CNI) and write it to/root/pod-cidr.txt.
Get Pod CIDR from the node spec (example uses the first node in kubectl get node output):
References and further reading
- Kubernetes kubeadm create cluster guide: https://kubernetes.io/docs/setup/production-environment/tools/kubeadm/create-cluster-kubeadm/
- Kubernetes StorageClass docs: https://kubernetes.io/docs/concepts/storage/storage-classes/
- Kubernetes NetworkPolicy docs: https://kubernetes.io/docs/concepts/services-networking/network-policies/
- Kubernetes Priority and Preemption: https://kubernetes.io/docs/concepts/configuration/pod-priority-preemption/
- Helm documentation: https://helm.sh/docs/