

We use the
enp0s8 interface for inter-node cluster traffic. Example condensed outputs for the enp0s8 interface (shown here for reference):
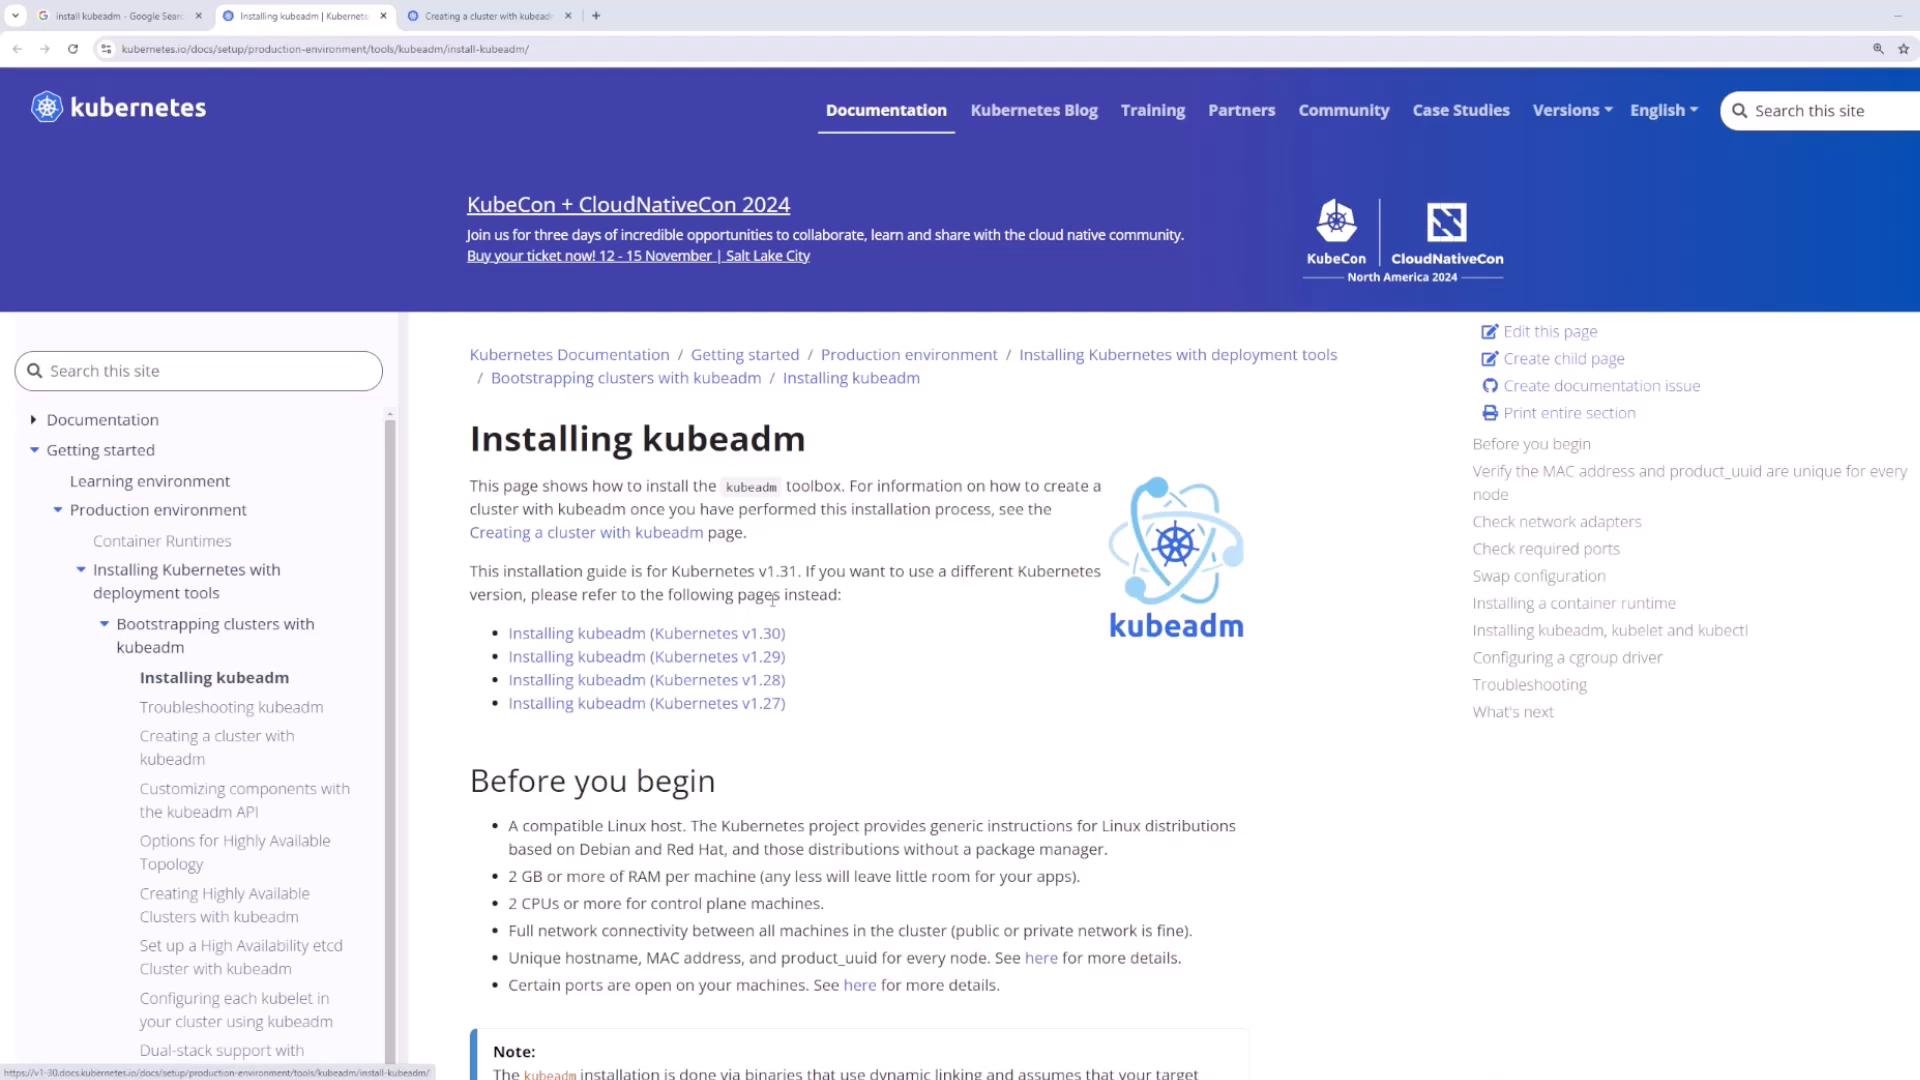
- Creating a cluster with kubeadm (for single control plane; see the HA guide below for multi-control-plane)
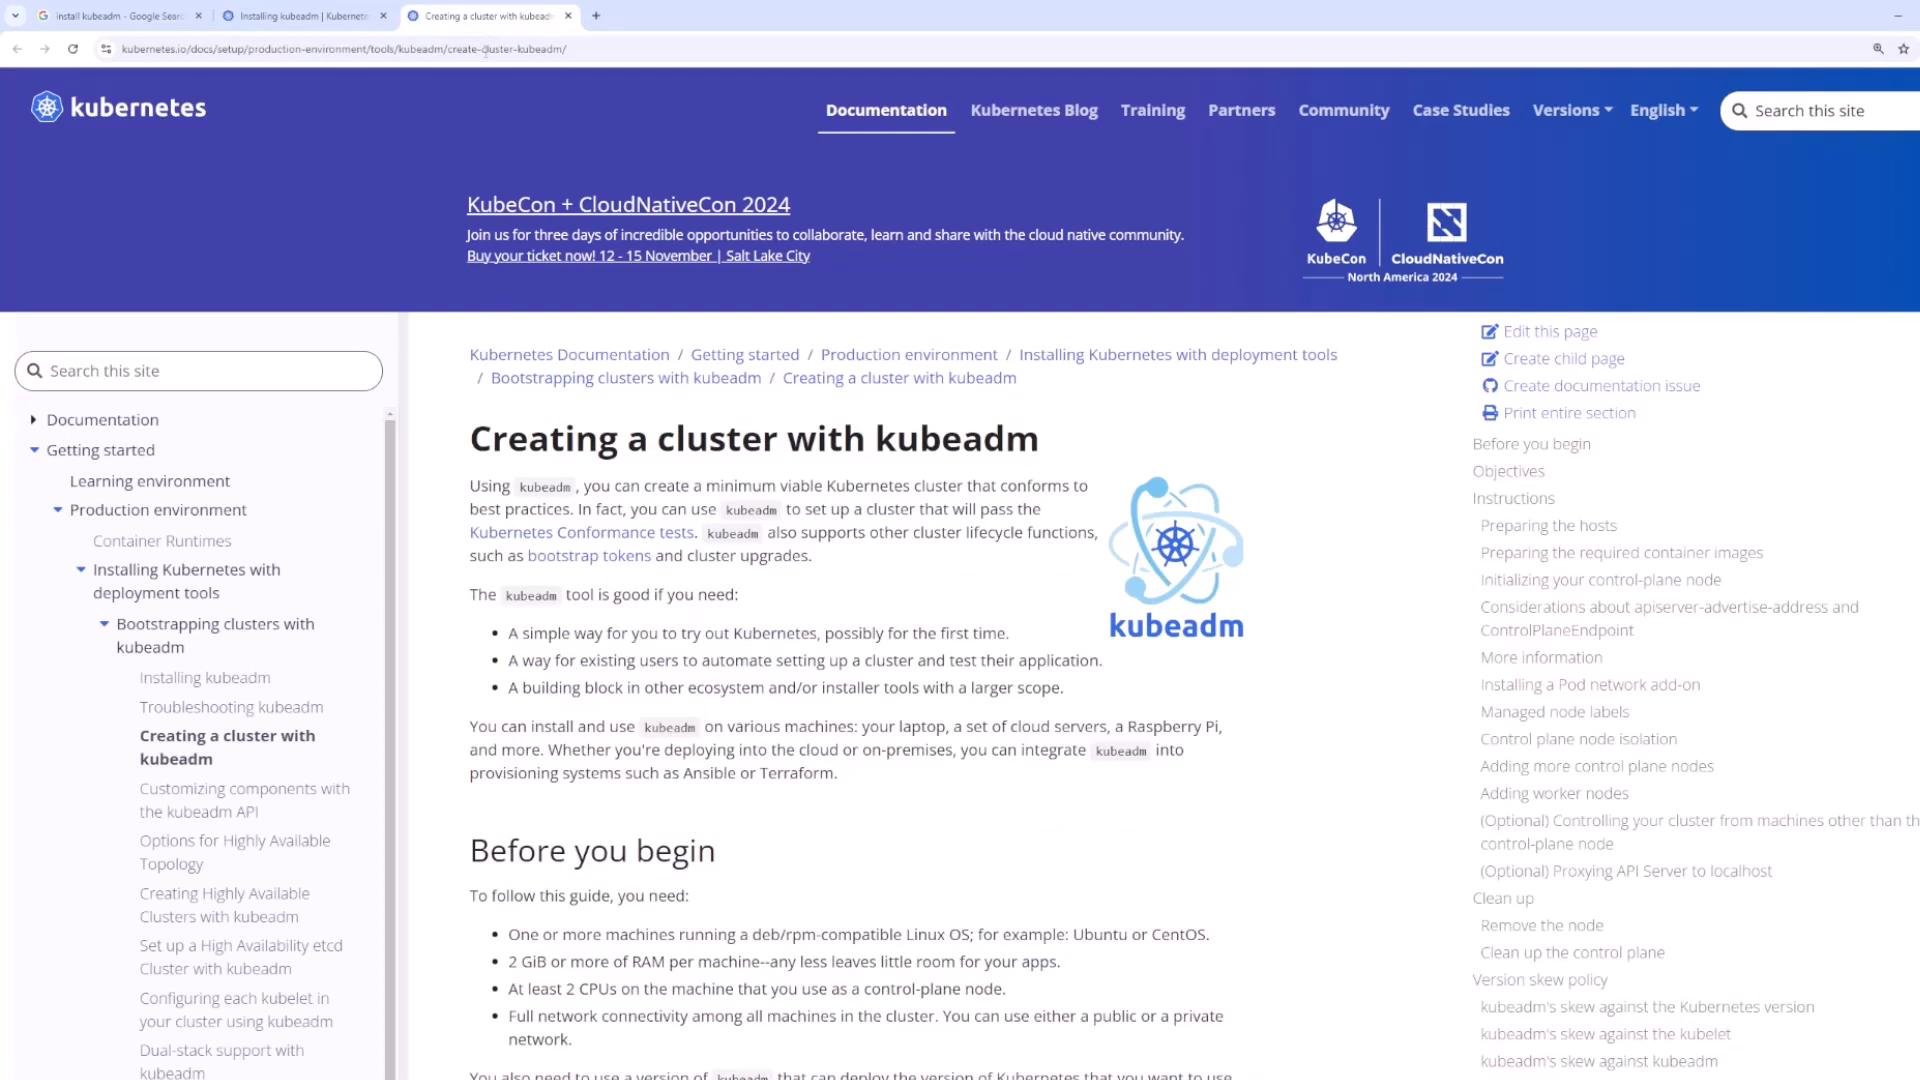
- Install kubeadm, kubelet, and kubectl on all nodes.
- Install and configure a container runtime (containerd in this demo).
- Ensure cgroup driver alignment between kubelet and container runtime.
- Initialize the control plane on the master with kubeadm.
- Install a Pod network (CNI) — Flannel in this example.
- Join worker nodes to the cluster.
- Validate cluster and run a test pod.
1) Install kubeadm, kubelet and kubectl on all nodes
Run the following on all three machines (control plane + both workers). This example targets Kubernetes v1.31:kubeadm requires swap to be disabled. Disable swap immediately and make the change persistent by removing or commenting out swap entries in
/etc/fstab before running kubeadm init or kubeadm join.2) Install and configure a container runtime (containerd)
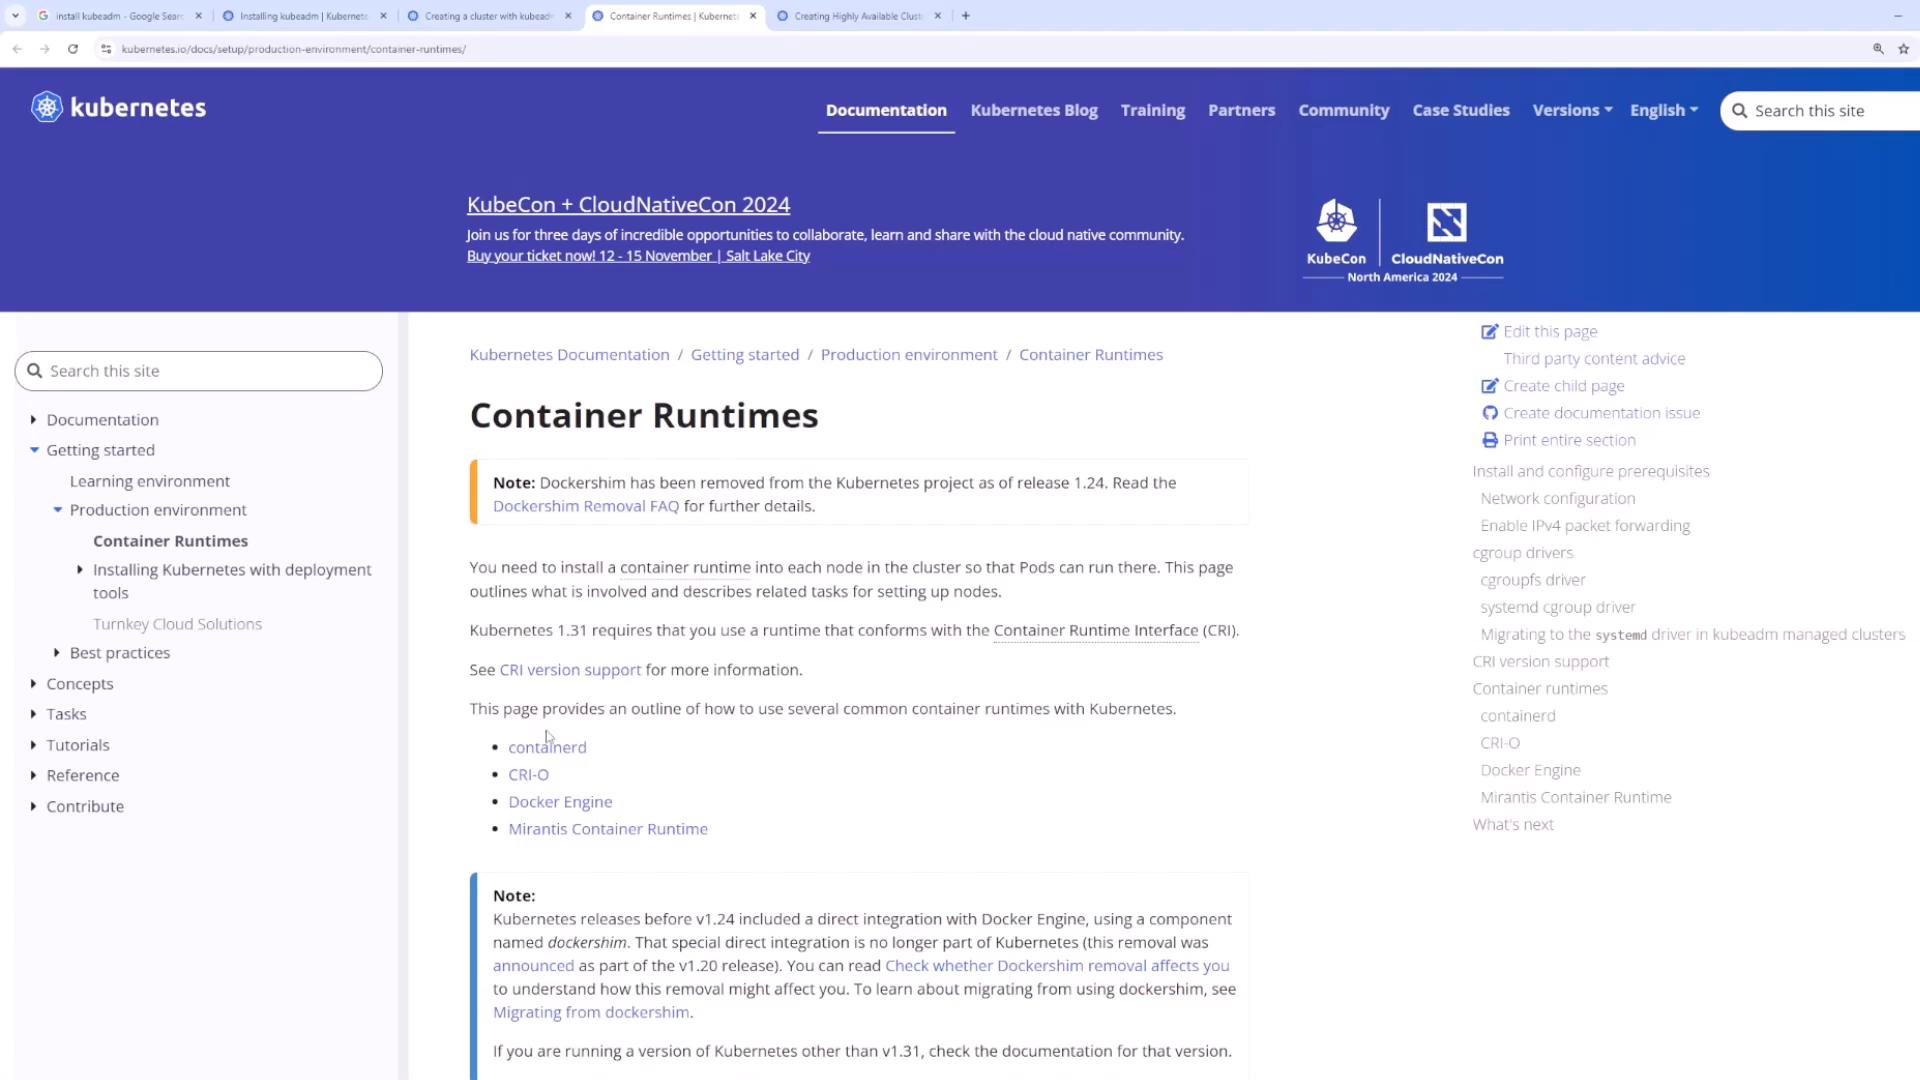
Kubernetes needs a CRI-compatible container runtime. This demo uses containerd.- Container runtime docs: Container runtimes
3) Ensure cgroup driver alignment
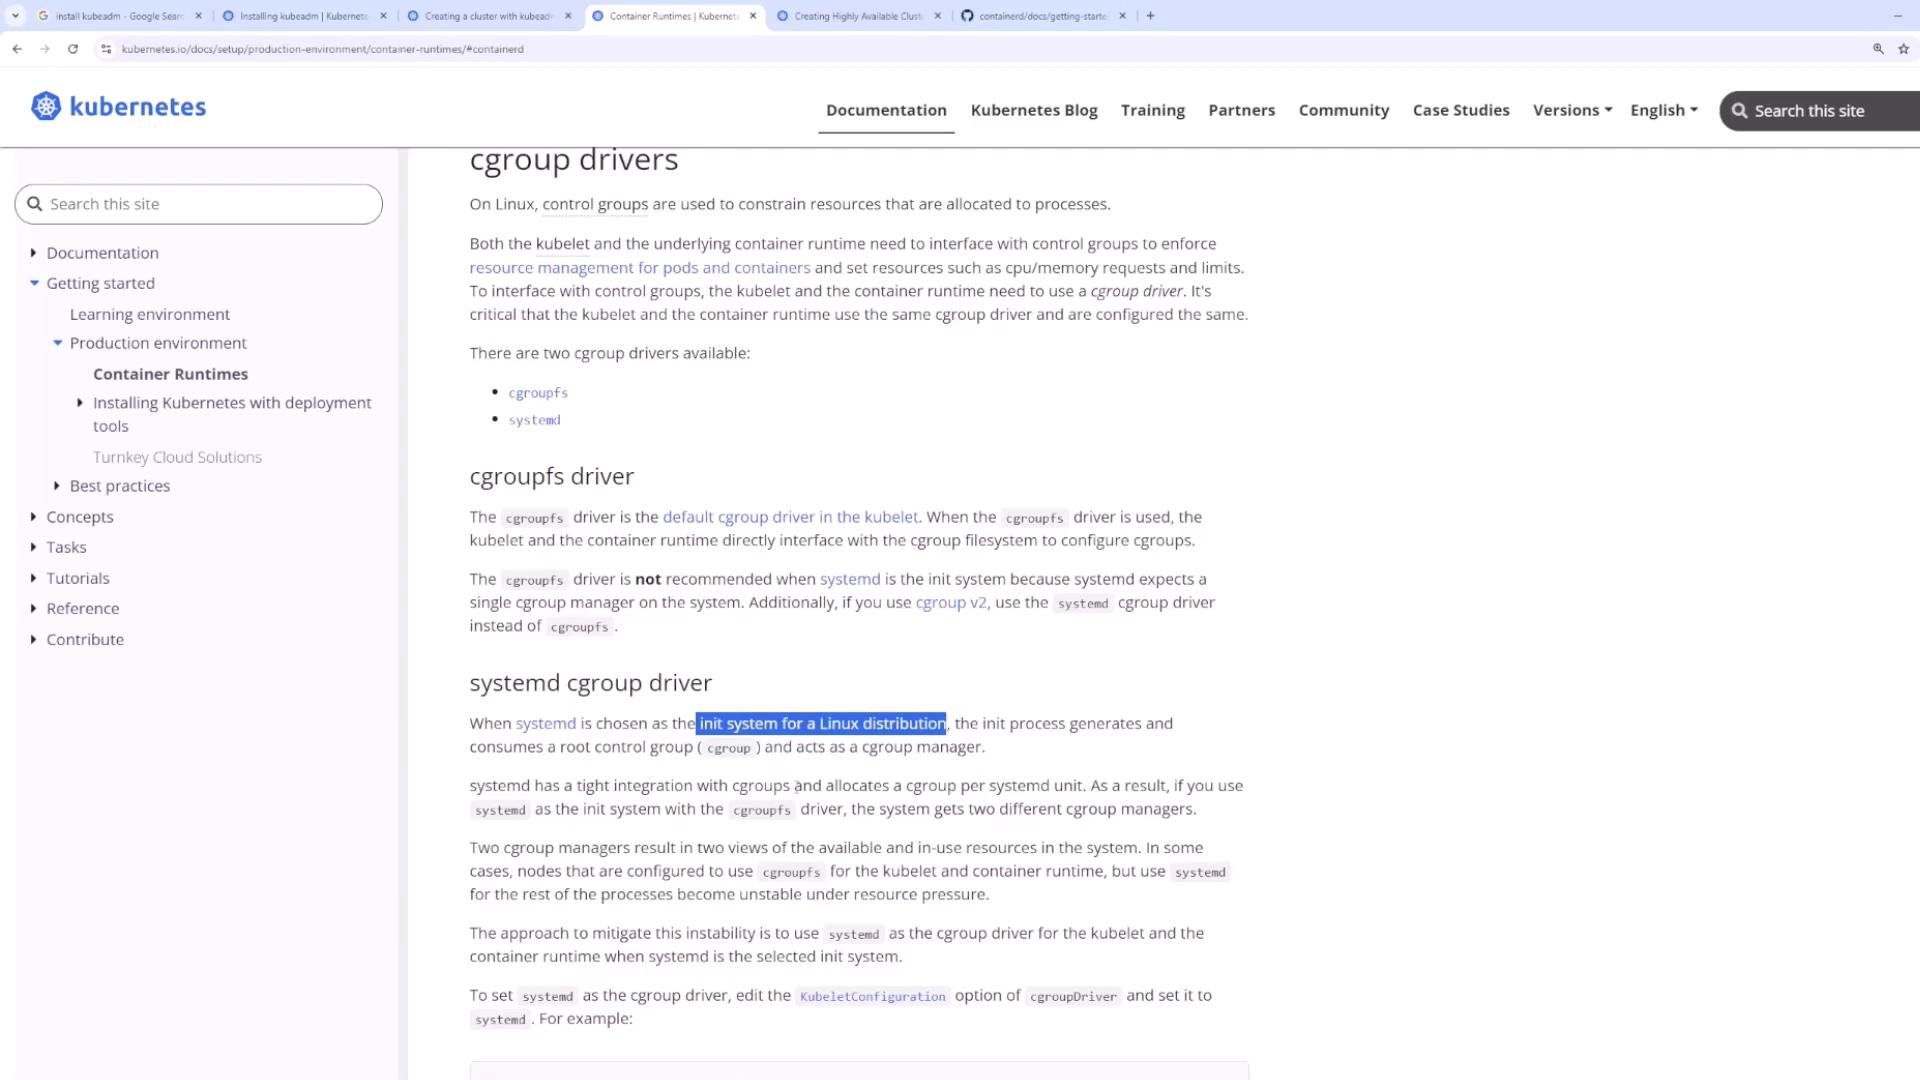
For modern Debian/Ubuntu systems using systemd, kubelet and containerd should both use the systemd cgroup driver. Check the init system and configure containerd accordingly.- Cgroup driver considerations: Cgroup driver considerations
4) Initialize the control plane with kubeadm
On the master node, run kubeadm init. Choose the API server advertise address (the master IP on the cluster network) and a pod network CIDR that matches your chosen CNI (Flannel typically uses10.244.0.0/16).
Example:
- How to configure your local kubeconfig.
- The
kubeadm joincommand for worker nodes (with token and discovery hash). - (If
--upload-certswas used) a certificate key for sharing control-plane certs.
5) Install a Pod network (CNI) — Flannel example
Pick a CNI that supports your pod CIDR. For a default Flannel setup with10.244.0.0/16:
6) Join worker nodes to the cluster
On each worker node, run thekubeadm join command that was printed by kubeadm init. If you lost it, you can create a new token or retrieve join info from the master:
7) Test the cluster by running a simple Pod
Run an example Pod to confirm workload scheduling and networking:Running state if networking and node readiness are correct.
Quick reference table: common commands
Tips:
- If you plan to migrate from a single-control-plane to an HA setup later, pass
--control-plane-endpointtokubeadm initto reference a stable virtual IP or load balancer. - For K8s >= 1.22 kubeadm defaults to systemd cgroup driver; ensure your container runtime is configured accordingly (e.g., containerd with
SystemdCgroup = true). - If kubeadm cannot find your CRI socket, use
--cri-socket(e.g.,unix:///var/run/containerd/containerd.sock) to point explicitly to the runtime.