

• Inspecting enabled admission plugins
• Enabling the NamespaceAutoProvision admission controller
• Disabling the DefaultStorageClass admission controller Let’s dive into each step.
Understanding Admission Controller Functions
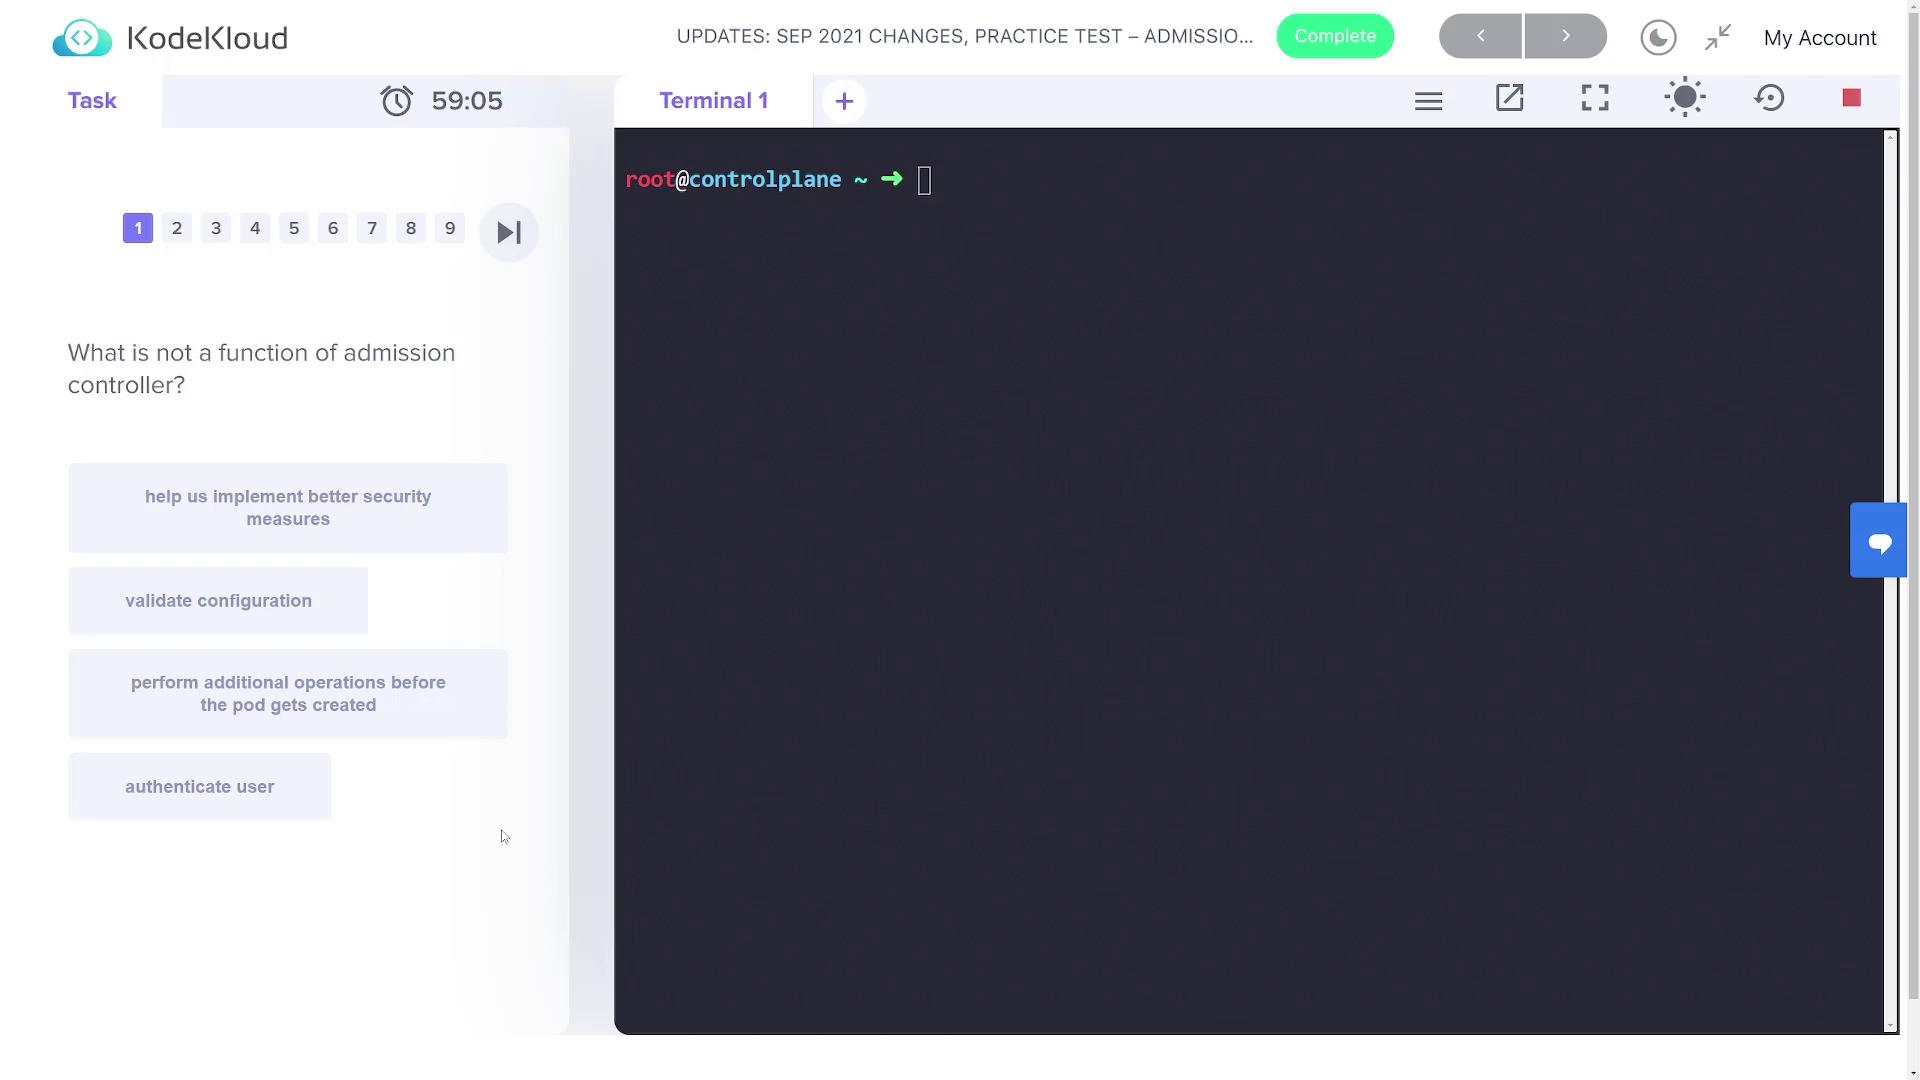
For the first question, the lab asks: “What is not a function of admission controllers?”The correct answer is that admission controllers do not handle user authentication; authentication occurs before admission controllers come into play.
Listing Enabled Admission Plugins
The next question asks which admission controller is not enabled by default. To determine this, inspect the enabled admission plugins using the kube-apiserver help options. Notice the diagram below: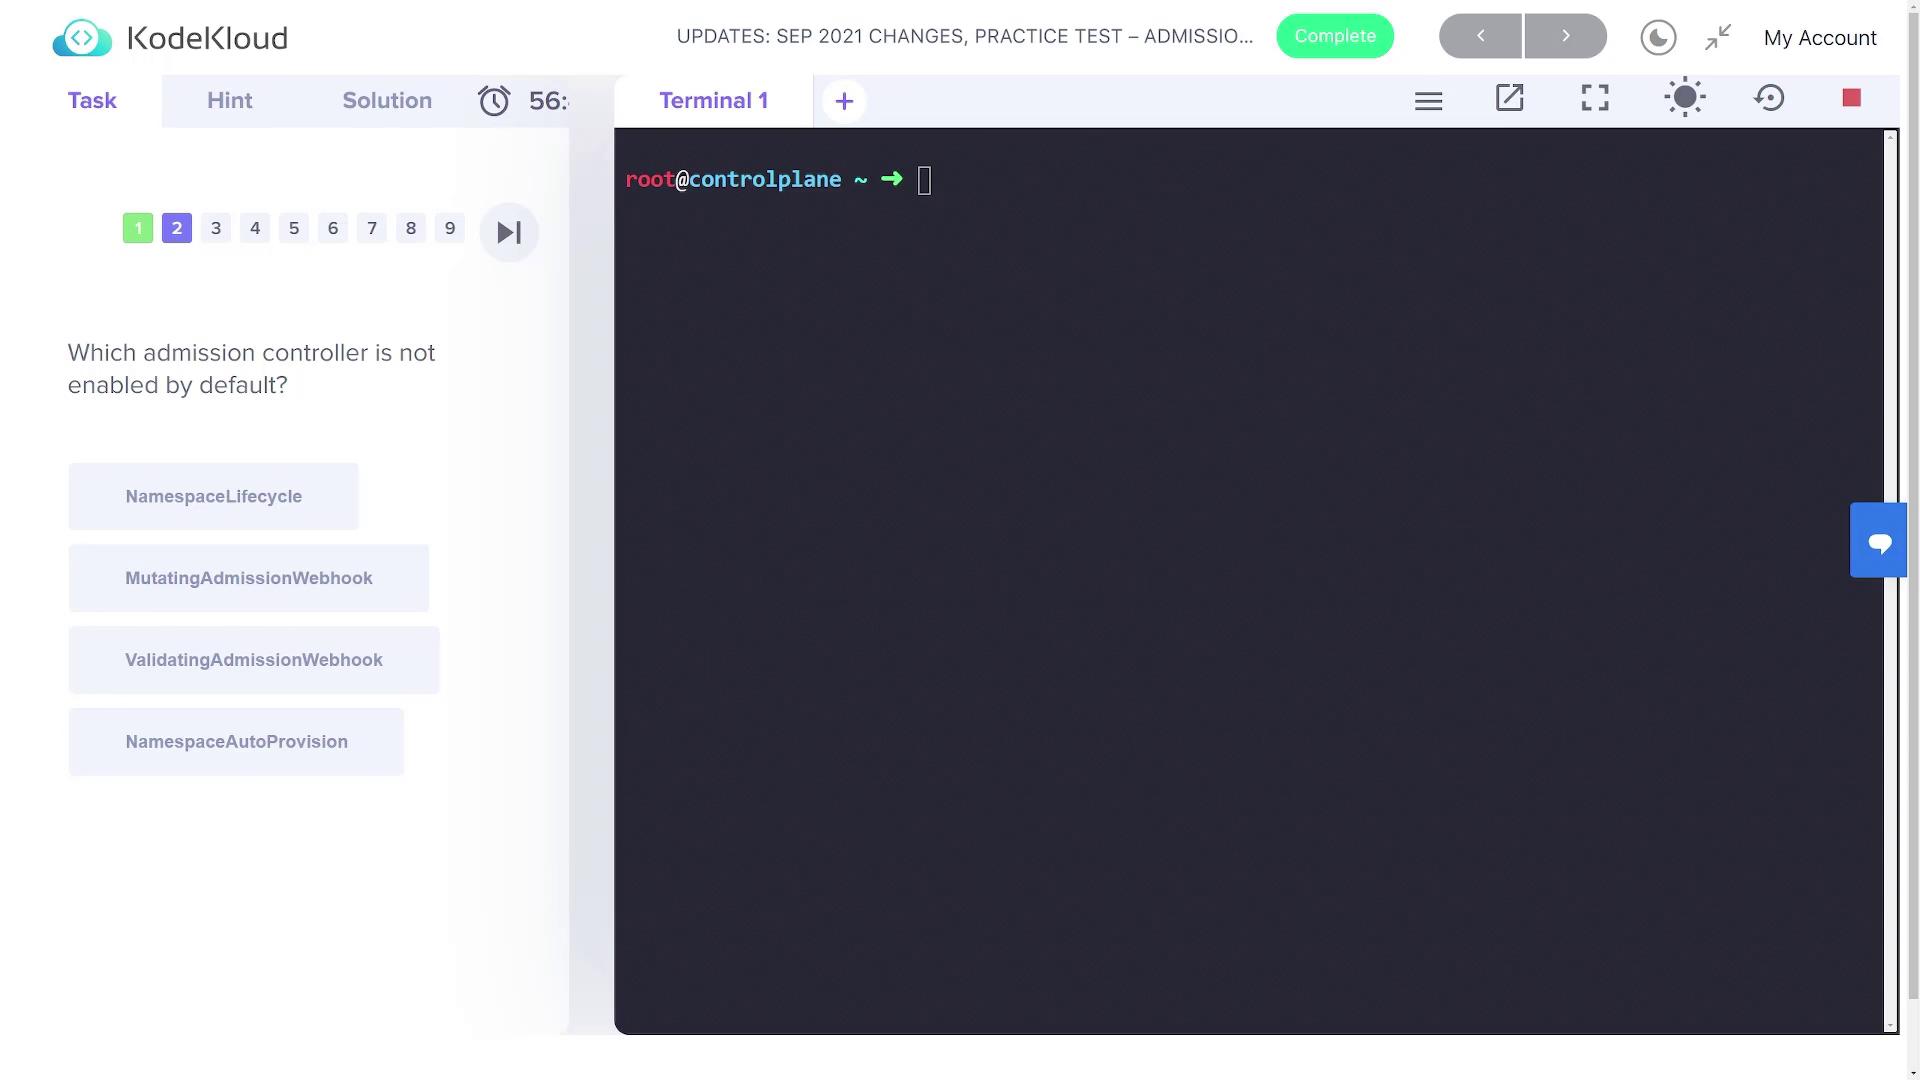
• LimitRanger
• ServiceAccount
• TaintNodesByCondition
• Priority
• DefaultTolerationSeconds
• DefaultStorageClass
• StorageObjectInUseProtection
• PersistentVolumeClaimResize
• RuntimeClass
• CertificateApproval
• CertificateSigning
• CertificateSubjectRestriction
• DefaultIngressClass
• MutatingAdmissionWebhook
• ValidatingAdmissionWebhook
• ResourceQuota For example, NamespaceLifecycle should be enabled by default. If you see both “mutating admission webhook” and “validating admission webhook” in the list, they are active. However, if “NamespaceAutoProvision” is missing, then that admission controller is not enabled by default.
Verifying Explicitly Enabled Admission Controllers
The following question focuses on an admission controller that is normally disabled but is enabled in this cluster. To verify which one it is, inspect the kube-apiserver configuration file located at/etc/kubernetes/manifests/kube-apiserver.yaml. Search for the --enable-admission-plugins parameter using your editor or grep. For example:
NodeRestriction is explicitly enabled. Since this controller is normally disabled by default, its presence indicates that it was deliberately activated.
Enabling NamespaceAutoProvision
The next task instructs you to create an NGINX pod in the “blue” namespace. However, note that the lab explicitly states not to create the namespace manually. Creating the pod with the following command produces an error because the “blue” namespace does not exist:To automatically handle namespace creation, modify the kube-apiserver manifest to include NamespaceAutoProvision in the enabled plugins list.
/etc/kubernetes/manifests/kube-apiserver.yaml. Locate the line with the enabled admission plugins:
NamespaceAutoProvision so that it reads:
Disabling the DefaultStorageClass Admission Controller
The final part of the lab requires you to disable the DefaultStorageClass admission controller. To do this, reopen the kube-apiserver manifest file:In this lab, you learned how to:
• Identify functionalities not handled by admission controllers
• Verify and inspect enabled admission plugins
• Enable the NamespaceAutoProvision admission controller for automatic namespace creation
• Disable the DefaultStorageClass admission controller via the kube-apiserver manifest
These adjustments help tailor your Kubernetes cluster’s behavior to specific requirements.
• Verify and inspect enabled admission plugins
• Enable the NamespaceAutoProvision admission controller for automatic namespace creation
• Disable the DefaultStorageClass admission controller via the kube-apiserver manifest
These adjustments help tailor your Kubernetes cluster’s behavior to specific requirements.