Hello, and welcome to this demo. This guide walks through setting up a local GitLab instance on a laptop using Oracle VirtualBox and a CentOS virtual machine. It covers:
  • Downloading a CentOS VDI and creating a VM template
  • Configuring a Host-only network adapter to assign a static IP
  • Installing Docker and running the GitLab CE container with persistent storage
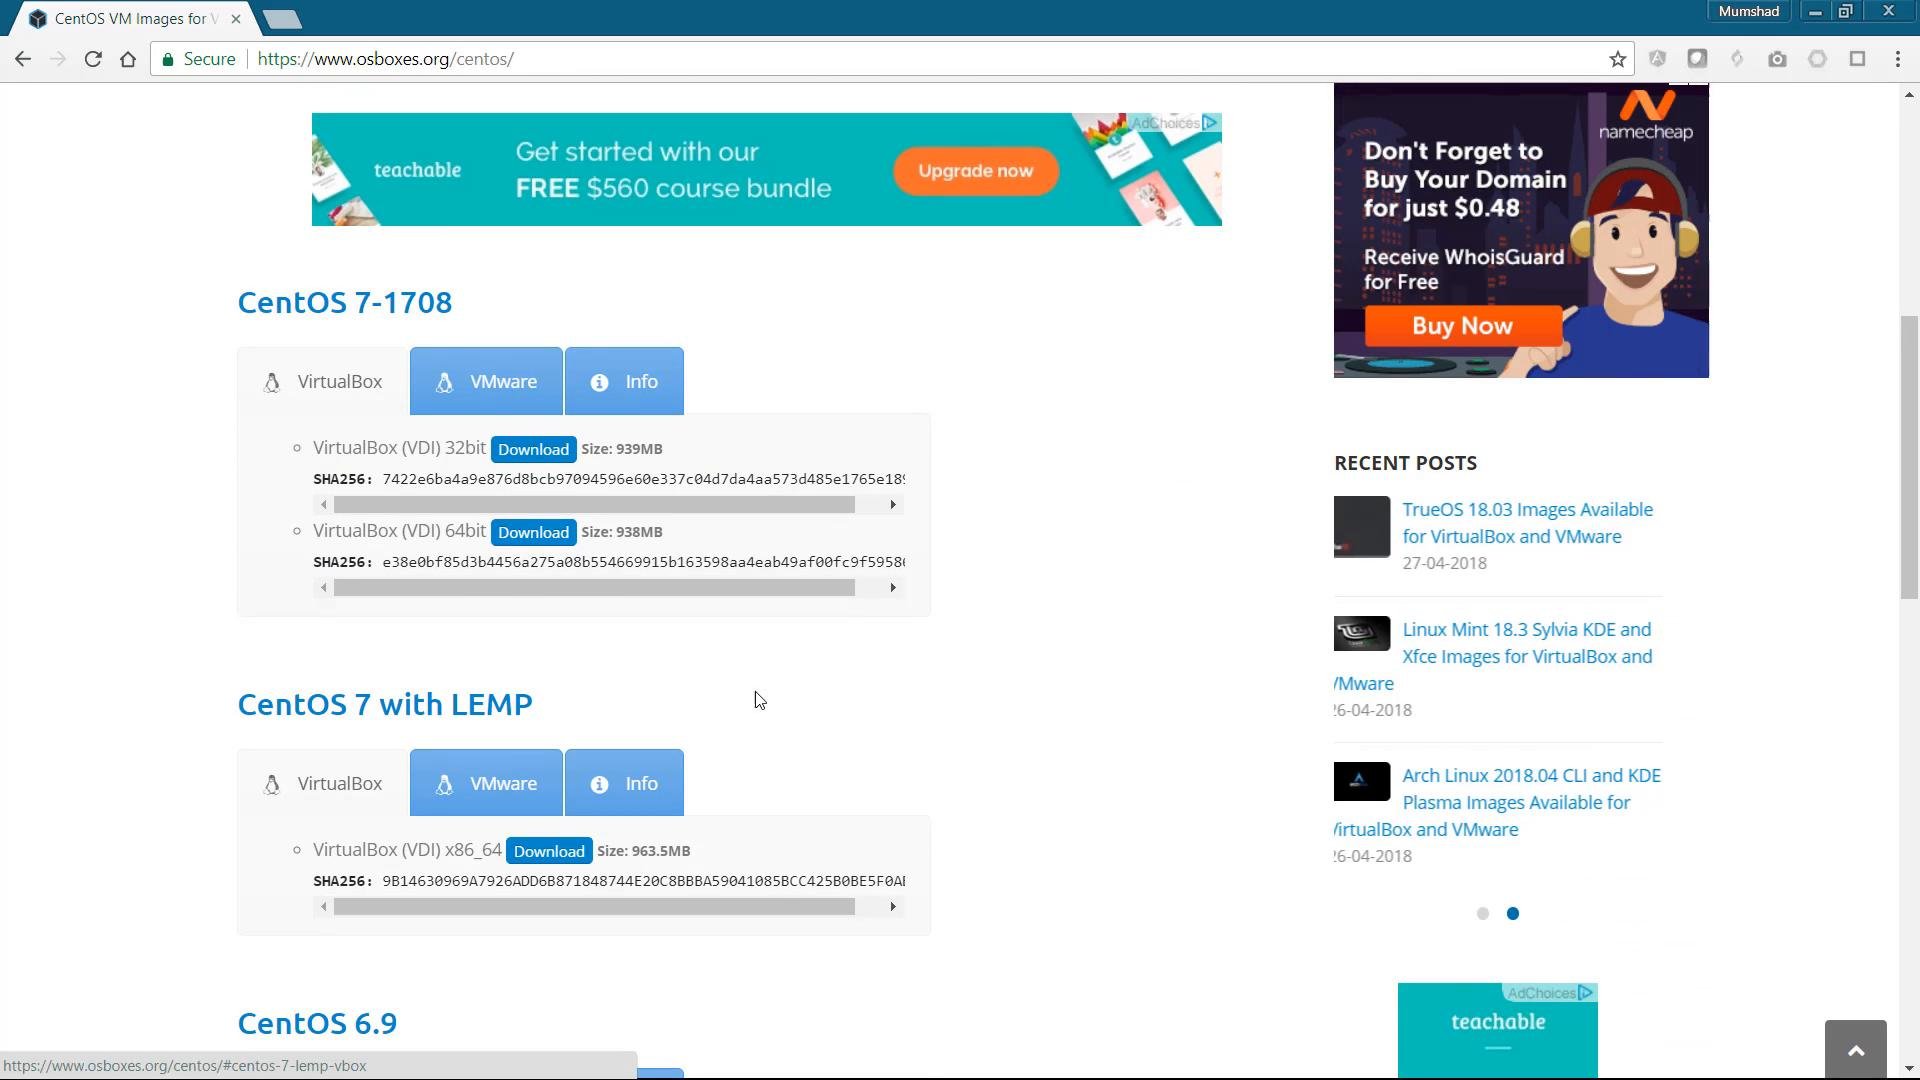
If you already have a CentOS VM template, skip the VM creation steps and start from the networking section. Download a CentOS VirtualBox image Select and download a CentOS VirtualBox image (64-bit) from osboxes.org. Extract the downloaded VDI to a convenient folder before creating the VM.
A webpage screenshot showing CentOS virtual machine images (e.g., CentOS 7-1708 and CentOS 7 with LEMP) with download buttons and SHA256 checksums. The browser chrome is visible at the top and a sidebar contains ads and recent posts.
Create a new VirtualBox VM from the VDI Steps to create the VM in VirtualBox:
  • Click New.
  • Choose the OS type (e.g., Other Linux (64-bit)).
  • Set memory to 2 GB (2048 MB).
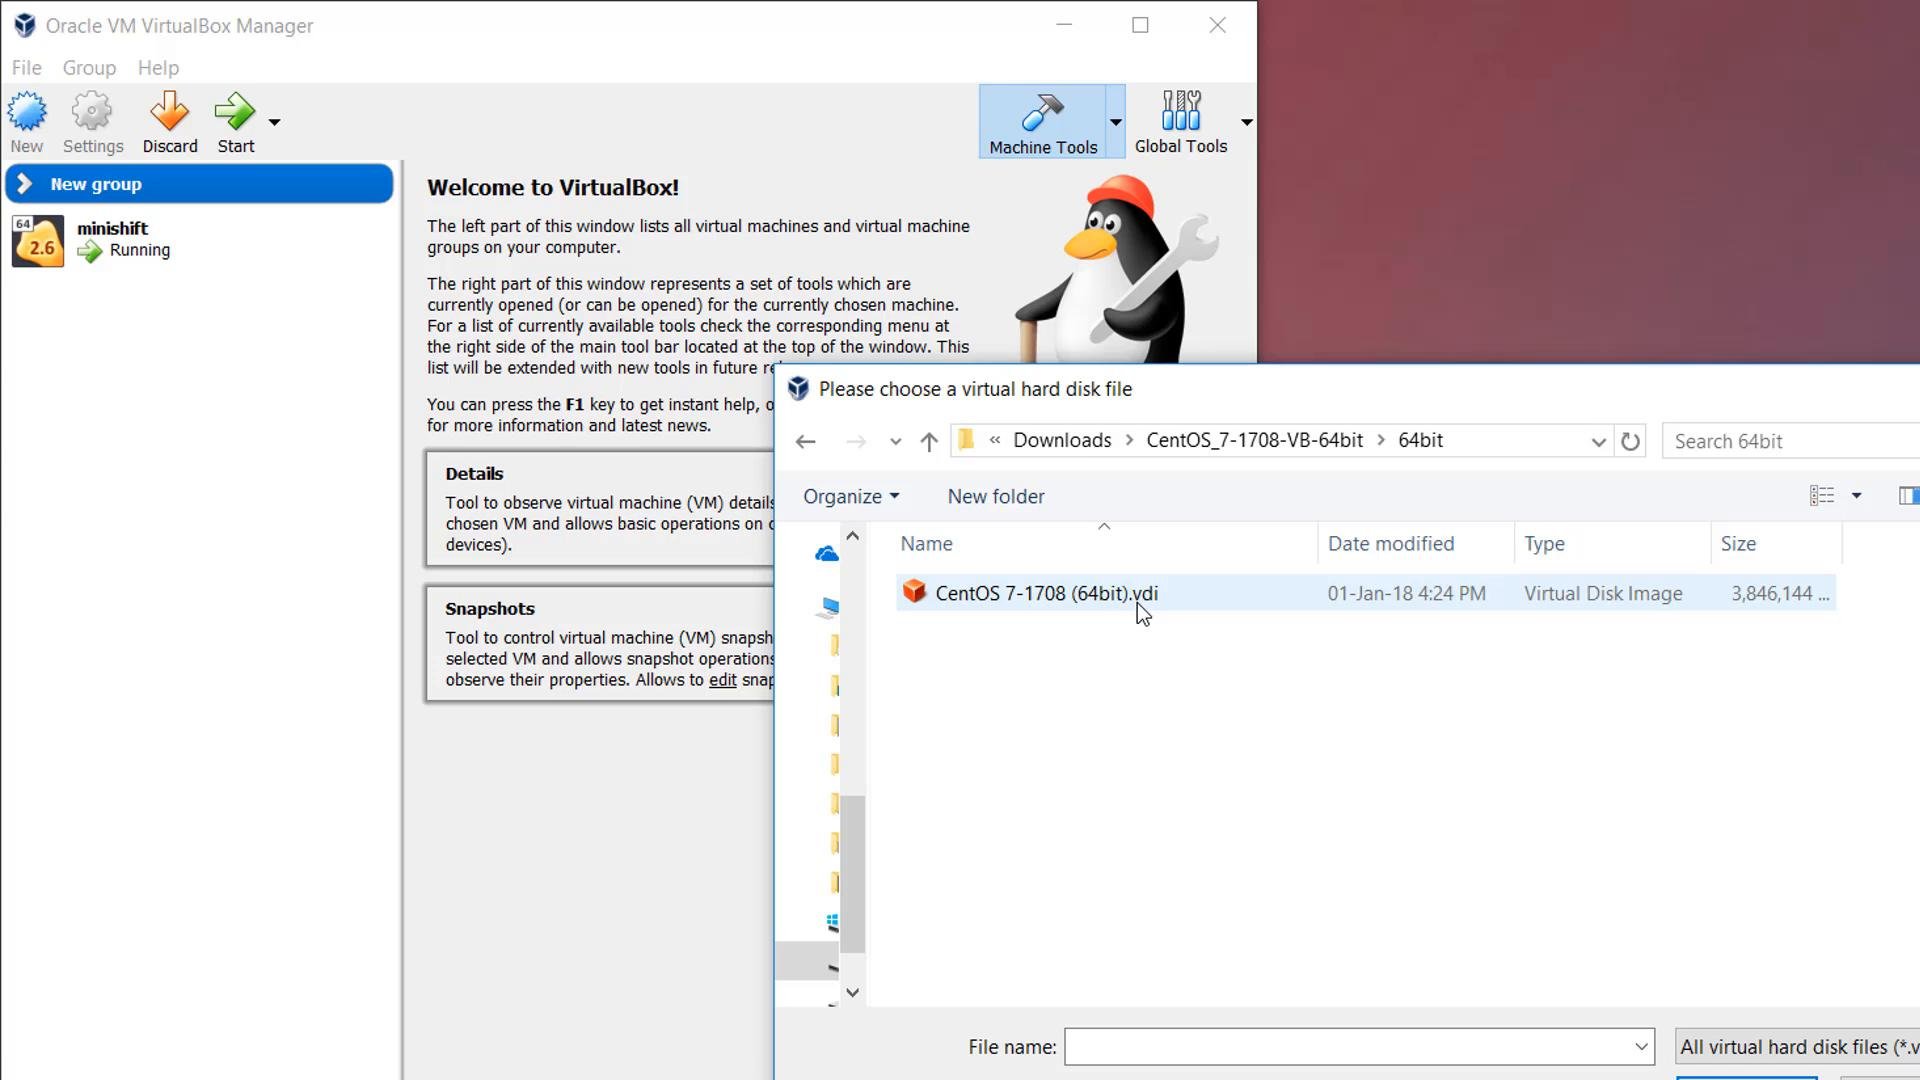
  • For the hard disk, choose “Use existing” and browse to the extracted .vdi file.
A screenshot of Oracle VM VirtualBox Manager showing a running "minishift" VM and an open file dialog with "CentOS 7-1708 (64bit).vdi" selected. The interface also shows a penguin mascot holding a wrench.
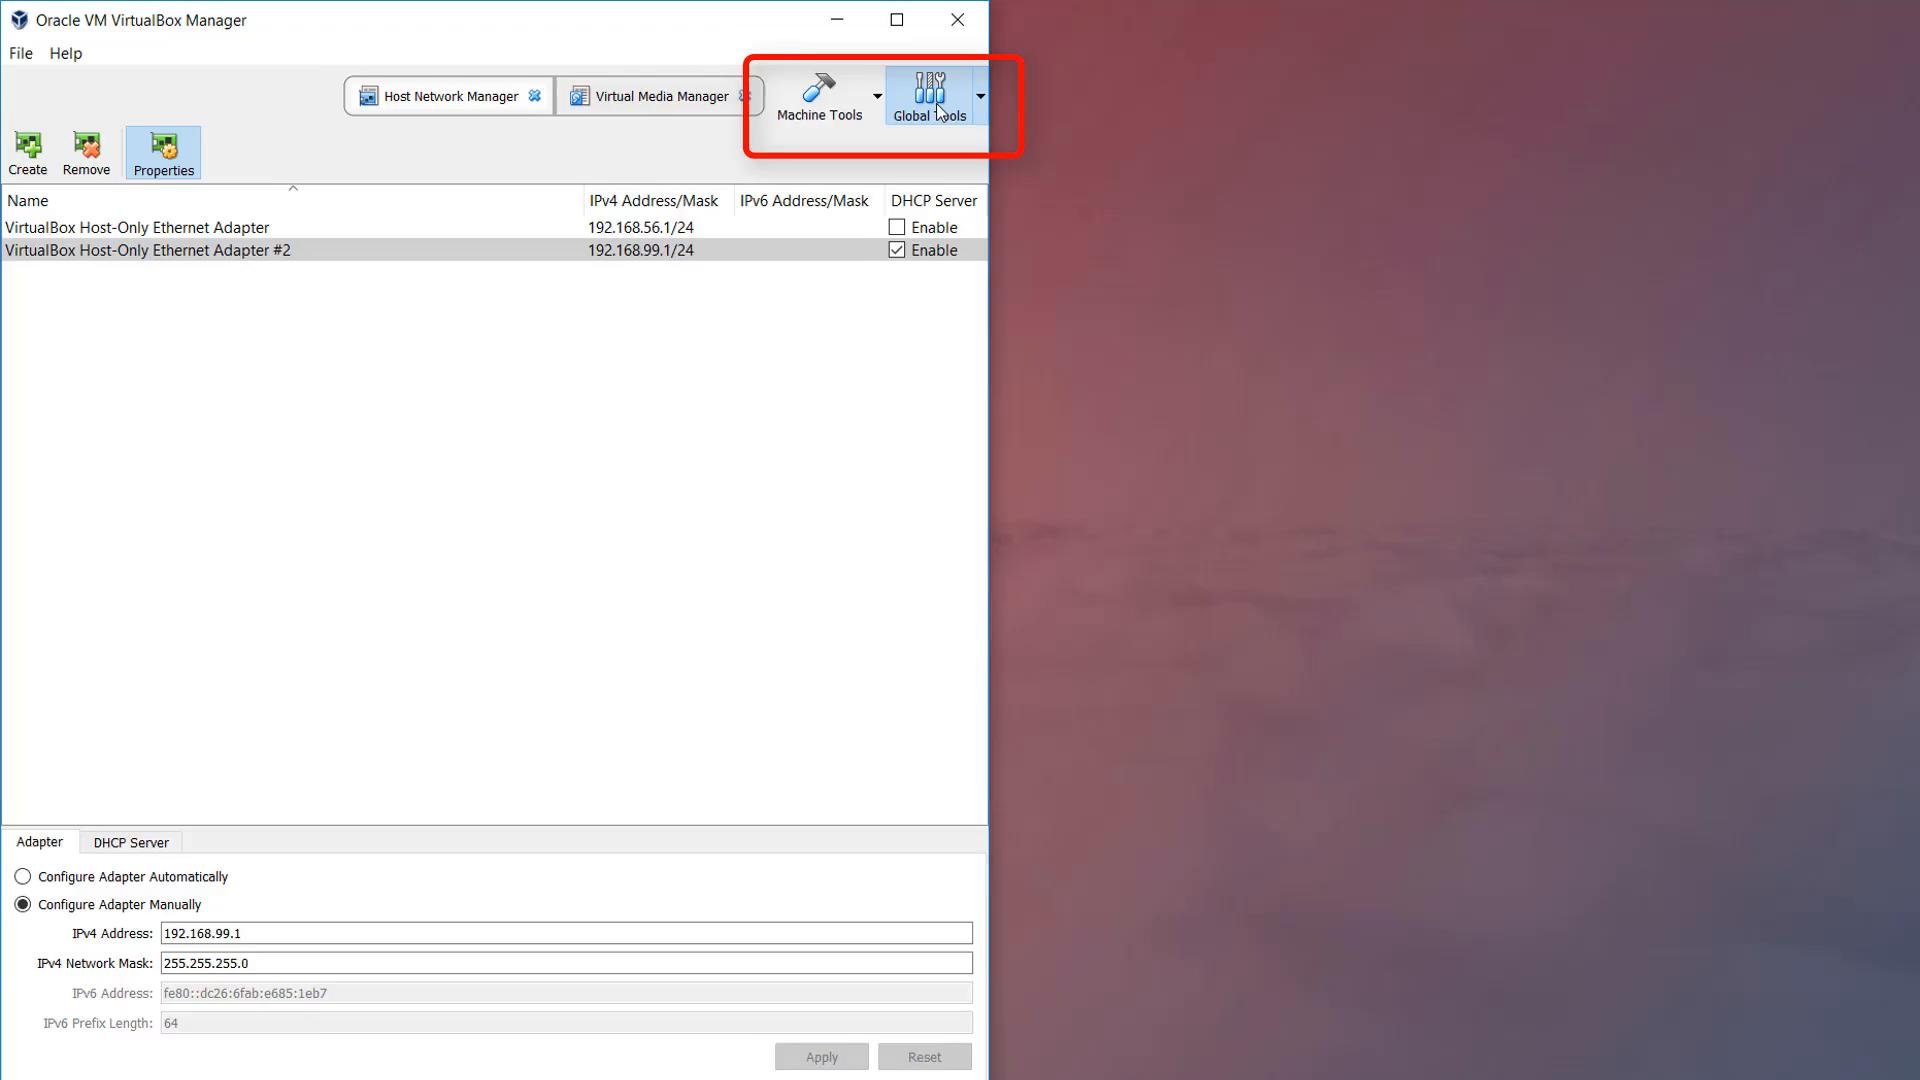
Networking — assign a static IP via a Host-only adapter For a reliable local GitLab server, give the VM a predictable, host-accessible IP. VirtualBox DHCP can change, so create a Host-only adapter and disable DHCP, then assign a static IP inside the guest. Open VirtualBox Global Tools → Host Network Manager and add a host-only adapter. Disable the DHCP server and note the adapter’s IPv4 range for use in the VM.
A screenshot of Oracle VM VirtualBox Manager's Host Network Manager showing two "VirtualBox Host-Only Ethernet Adapter" entries with their IPv4 addresses and DHCP settings, and manual adapter configuration fields visible at the bottom. The toolbar's Global Tools area is also highlighted.
Update VM network settings
  • Give the VM 2 CPUs (or at least 1–2 depending on host).
  • Set Adapter 1 to a Bridged Adapter (for Internet access from the VM).
  • Set Adapter 2 to the Host-only adapter you created (for local static IP access from your host).
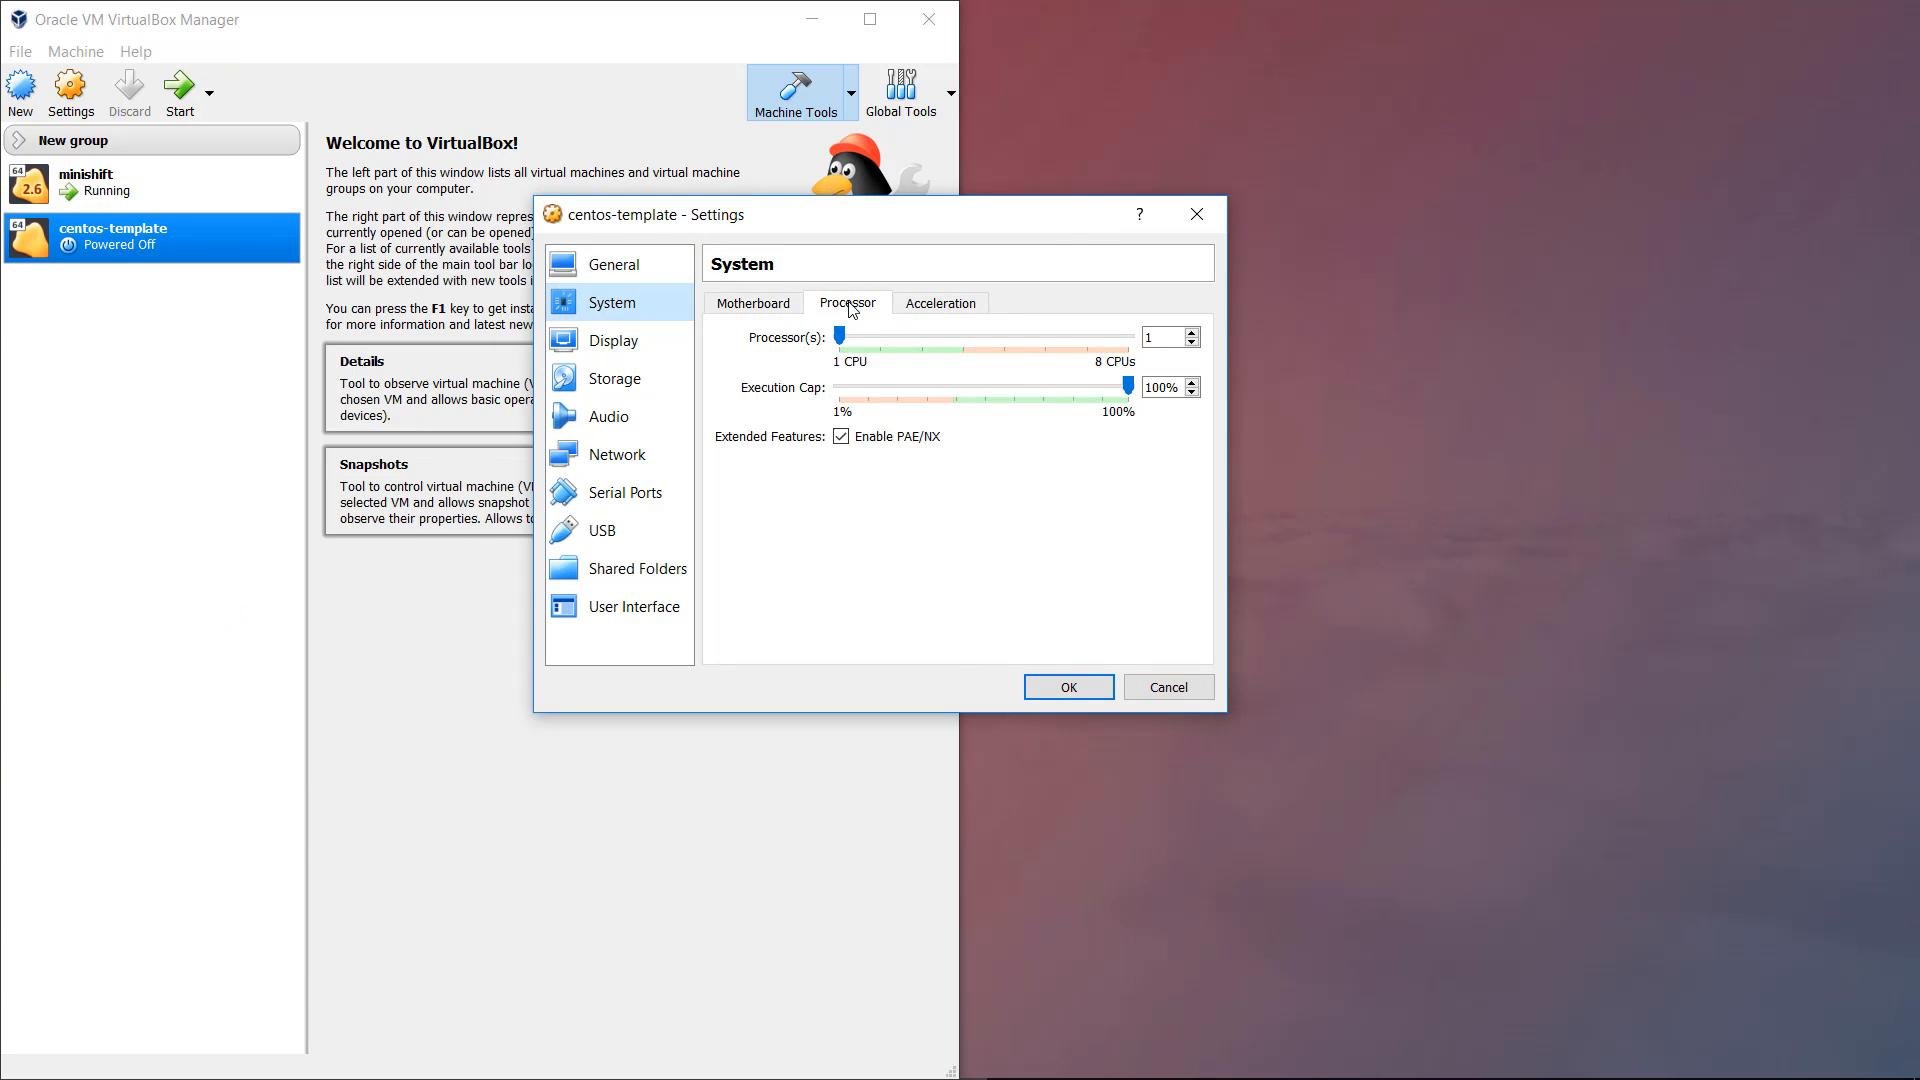
A screenshot of Oracle VM VirtualBox Manager with the settings dialog for a "centos-template" VM open to the System → Processor tab. It shows the VM assigned 1 CPU, 100% execution cap, and "Enable PAE/NX" checked.
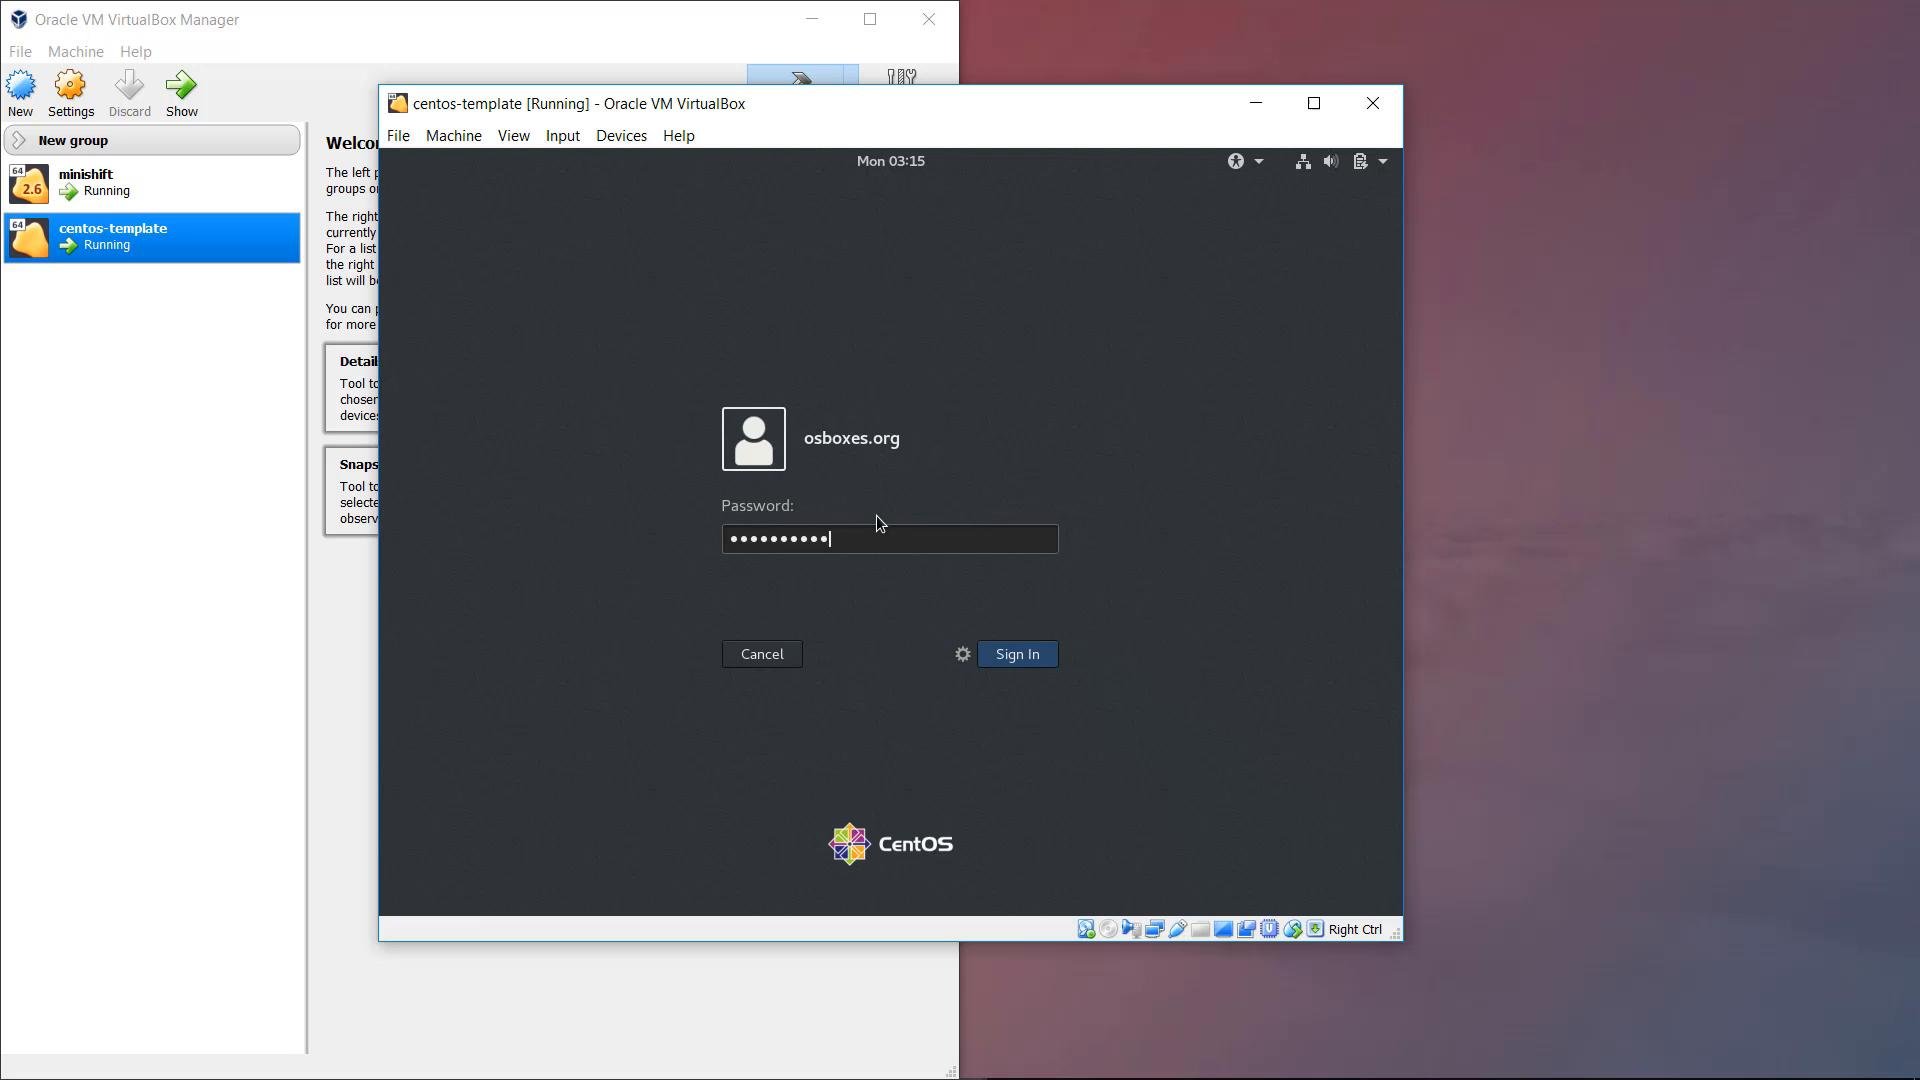
Boot the template image and complete first-time setup Power on the VM and accept the CentOS license, configure locales and user preferences. The osboxes image typically provides a default user and password; see the osboxes.info page for credentials (commonly osboxes.org for user and password).
A VirtualBox window displaying a CentOS VM login screen for user "osboxes.org" with a masked password entered and Sign In/Cancel buttons. The Oracle VM VirtualBox Manager interface is visible in the background.
Create a reusable template (clone) When the base VM is ready, shut it down and create a clone for your GitLab instance:
In VirtualBox: right-click the CentOS VM → Clone. Name it (for example GitLab), choose a linked clone to save space, and check “Reset MAC address” to ensure a new MAC for the cloned VM. Assign a static IP inside the CentOS guest Start the cloned VM and log in. Confirm the host-only interface is present (often enp0s8) with ifconfig or ip addr. If there is no IPv4 address, configure a static one. On CentOS 7, network interface scripts live in /etc/sysconfig/network-scripts/. A straightforward workflow is to copy an existing template and edit it:
Edit /etc/sysconfig/network-scripts/ifcfg-enp0s8 to include your static configuration:
Adjust IPADDR/GATEWAY to match the host-only adapter you created in VirtualBox. Restart network services and verify:
You should see the static IPv4 address assigned to enp0s8 (for example 192.168.56.150).
Assigning a host-only static IP keeps your GitLab server address predictable. If you later change the VM’s IP you must update GitLab’s external_url and any host file or DNS entries used to reach the instance.
Prepare the CentOS VM for GitLab GitLab can be installed from packages or run in a container. If you plan to install packages, consult the official GitLab install docs for required packages and firewall settings: Common prerequisites for package installs include curl, policycoreutils, and openssh-server. Enable and start sshd and open HTTP/HTTPS in the firewall. Example installation and service commands:
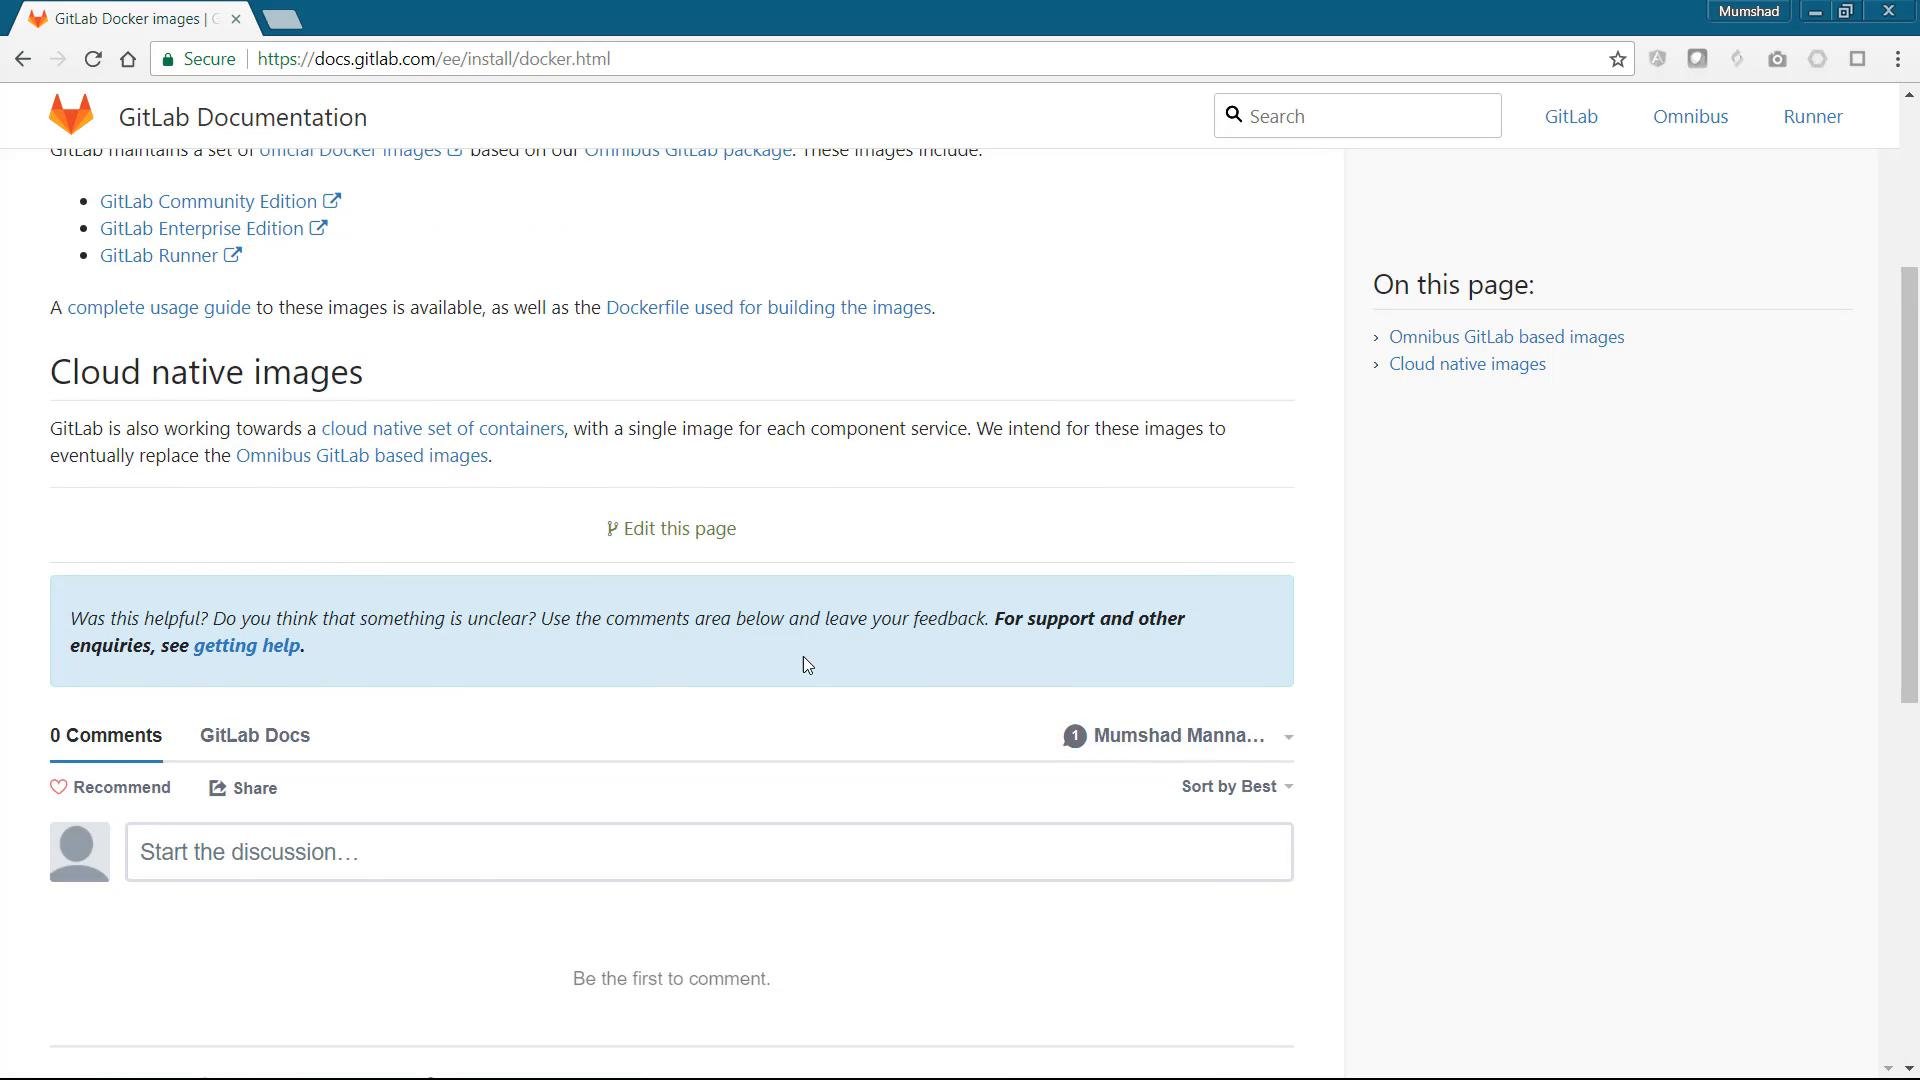
If you prefer containers, running GitLab inside Docker is straightforward.
A browser screenshot of the GitLab Documentation site showing the "Cloud native images" section and related links. The page also shows a comments/discussion box and a right-hand "On this page" navigation.
Install Docker on CentOS Install Docker using the official convenience script or the distro packages. Example using the convenience script:
Run GitLab in Docker (Omnibus image) GitLab provides an official Omnibus image on Docker Hub (gitlab/gitlab-ce). Prepare persistent directories on the host and set external_url through GITLAB_OMNIBUS_CONFIG. If SELinux is enabled on the host, append :Z to the volume mounts to set proper labels. Create persistent directories:
Example docker run command (replace IPs and paths to match your environment):
Table — common ports used by GitLab in this setup Important tips and firewall rules
  • Using an IP for external_url is fine for a local lab, but some features expect a resolvable FQDN. Add an entry to your host’s /etc/hosts if you want to reach GitLab by name without DNS.
  • Ensure the host firewall allows the published ports:
If SELinux is enabled and you omit :Z on volume mounts, the container may be unable to write to the mounted directories. Use :Z or set proper SELinux labels and permissions on /srv/gitlab/* before starting the container.
Monitor initialization and access GitLab GitLab Omnibus can take several minutes to initialize the first time. Watch the container logs:
Confirm the container is running:
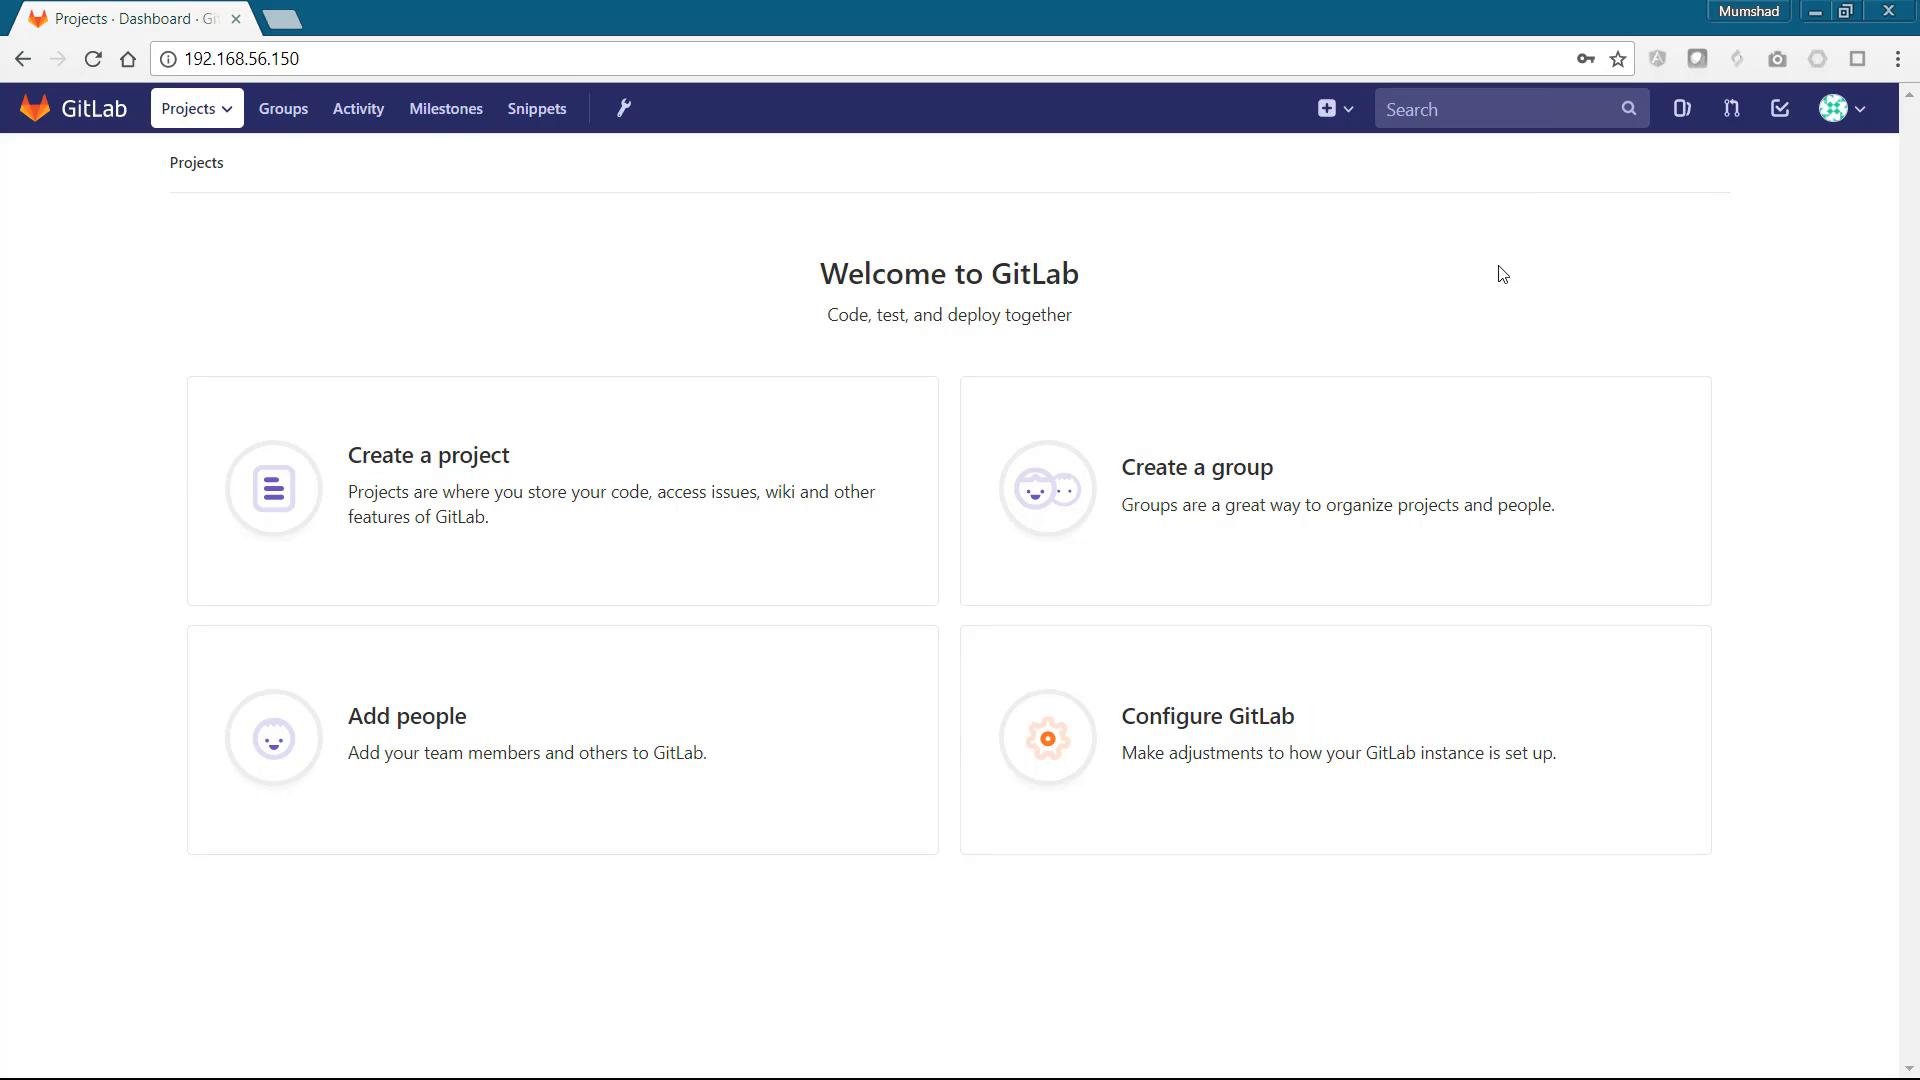
When initialization completes, open a browser to the IP used as the hostname (for example http://192.168.56.150). On first access you will be prompted to set the root password. After resetting the password, sign in with root and the password you chose.
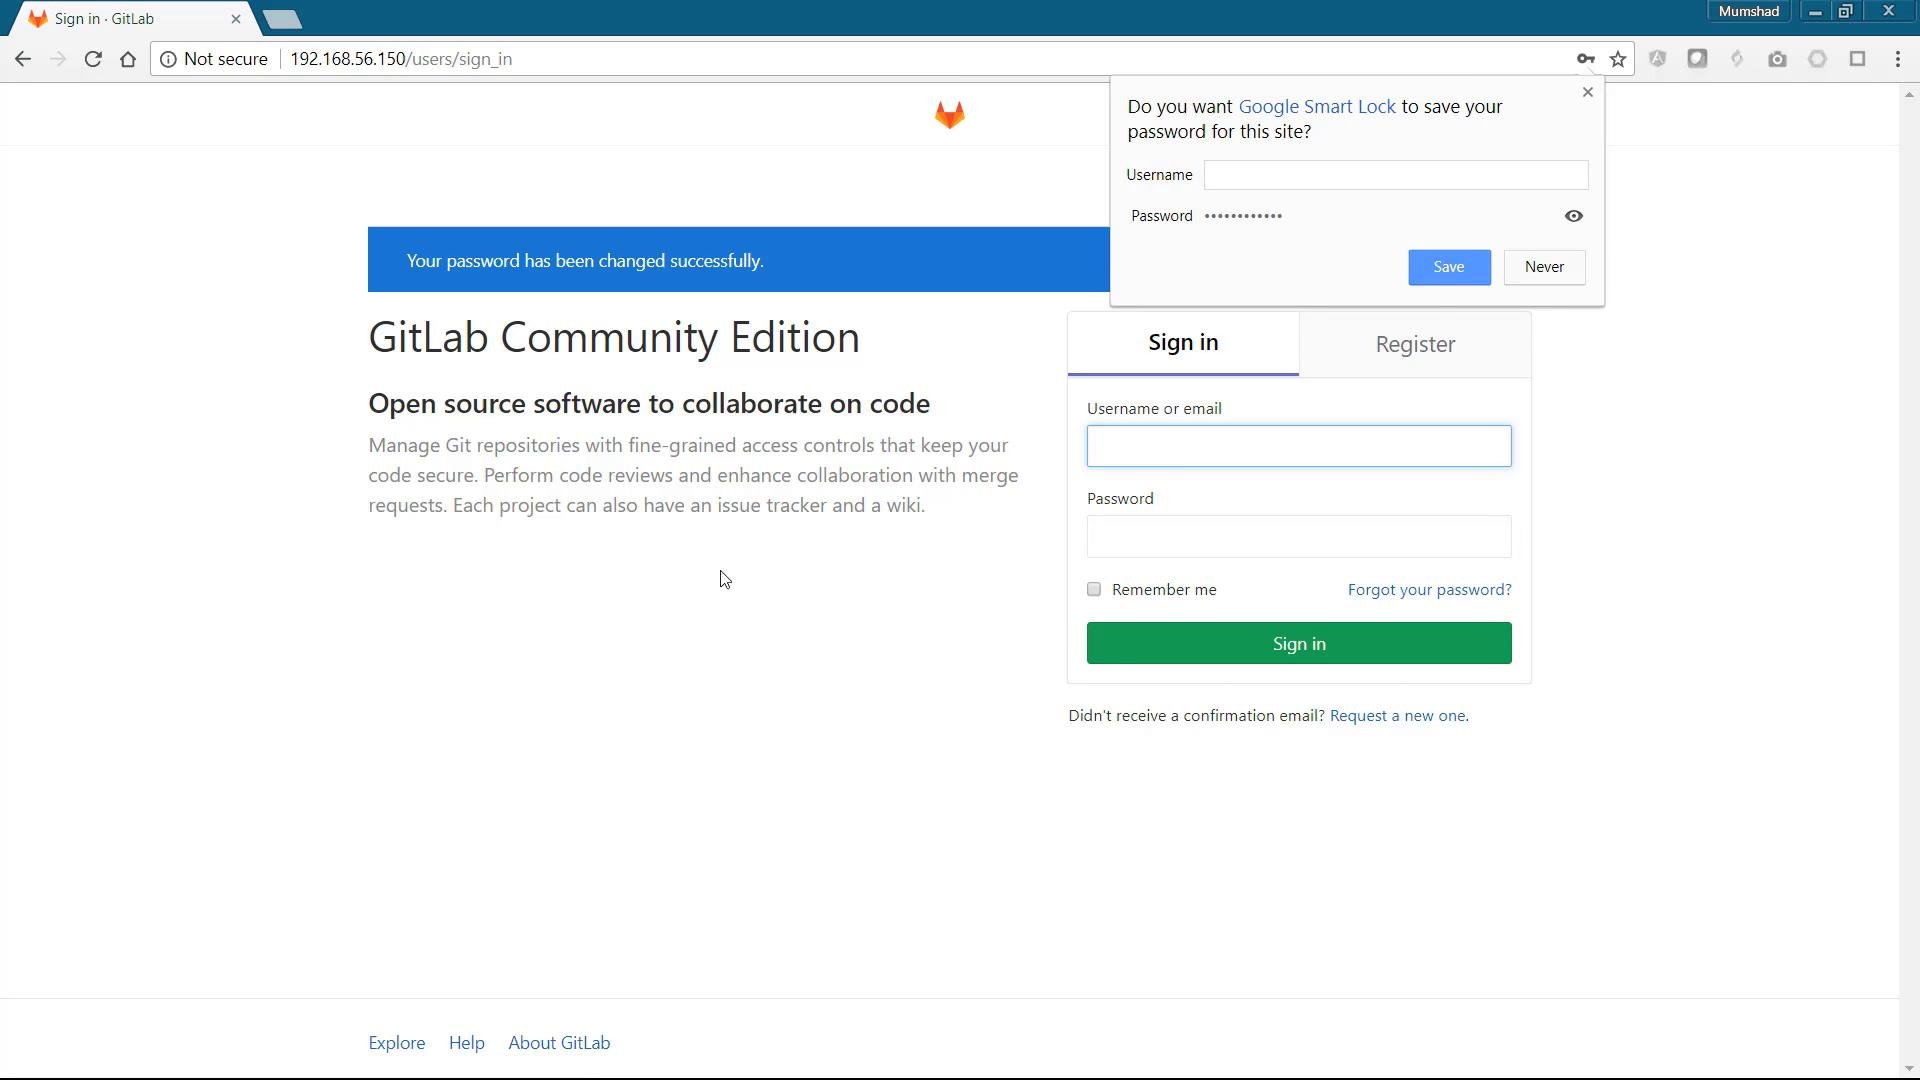
A screenshot of the GitLab Community Edition sign-in page with a blue banner saying "Your password has been changed successfully." A Google Smart Lock popup is visible, offering to save the username and password over the sign-in form.
After signing in you can create projects, groups, and users — your local GitLab instance is ready.
A screenshot of the GitLab web dashboard showing "Welcome to GitLab" and large tiles for actions like Create a project, Create a group, Add people, and Configure GitLab. The page is open in a browser with an internal IP address (192.168.56.150) visible in the address bar.
References and further reading That’s it for this lesson.

Watch Video