

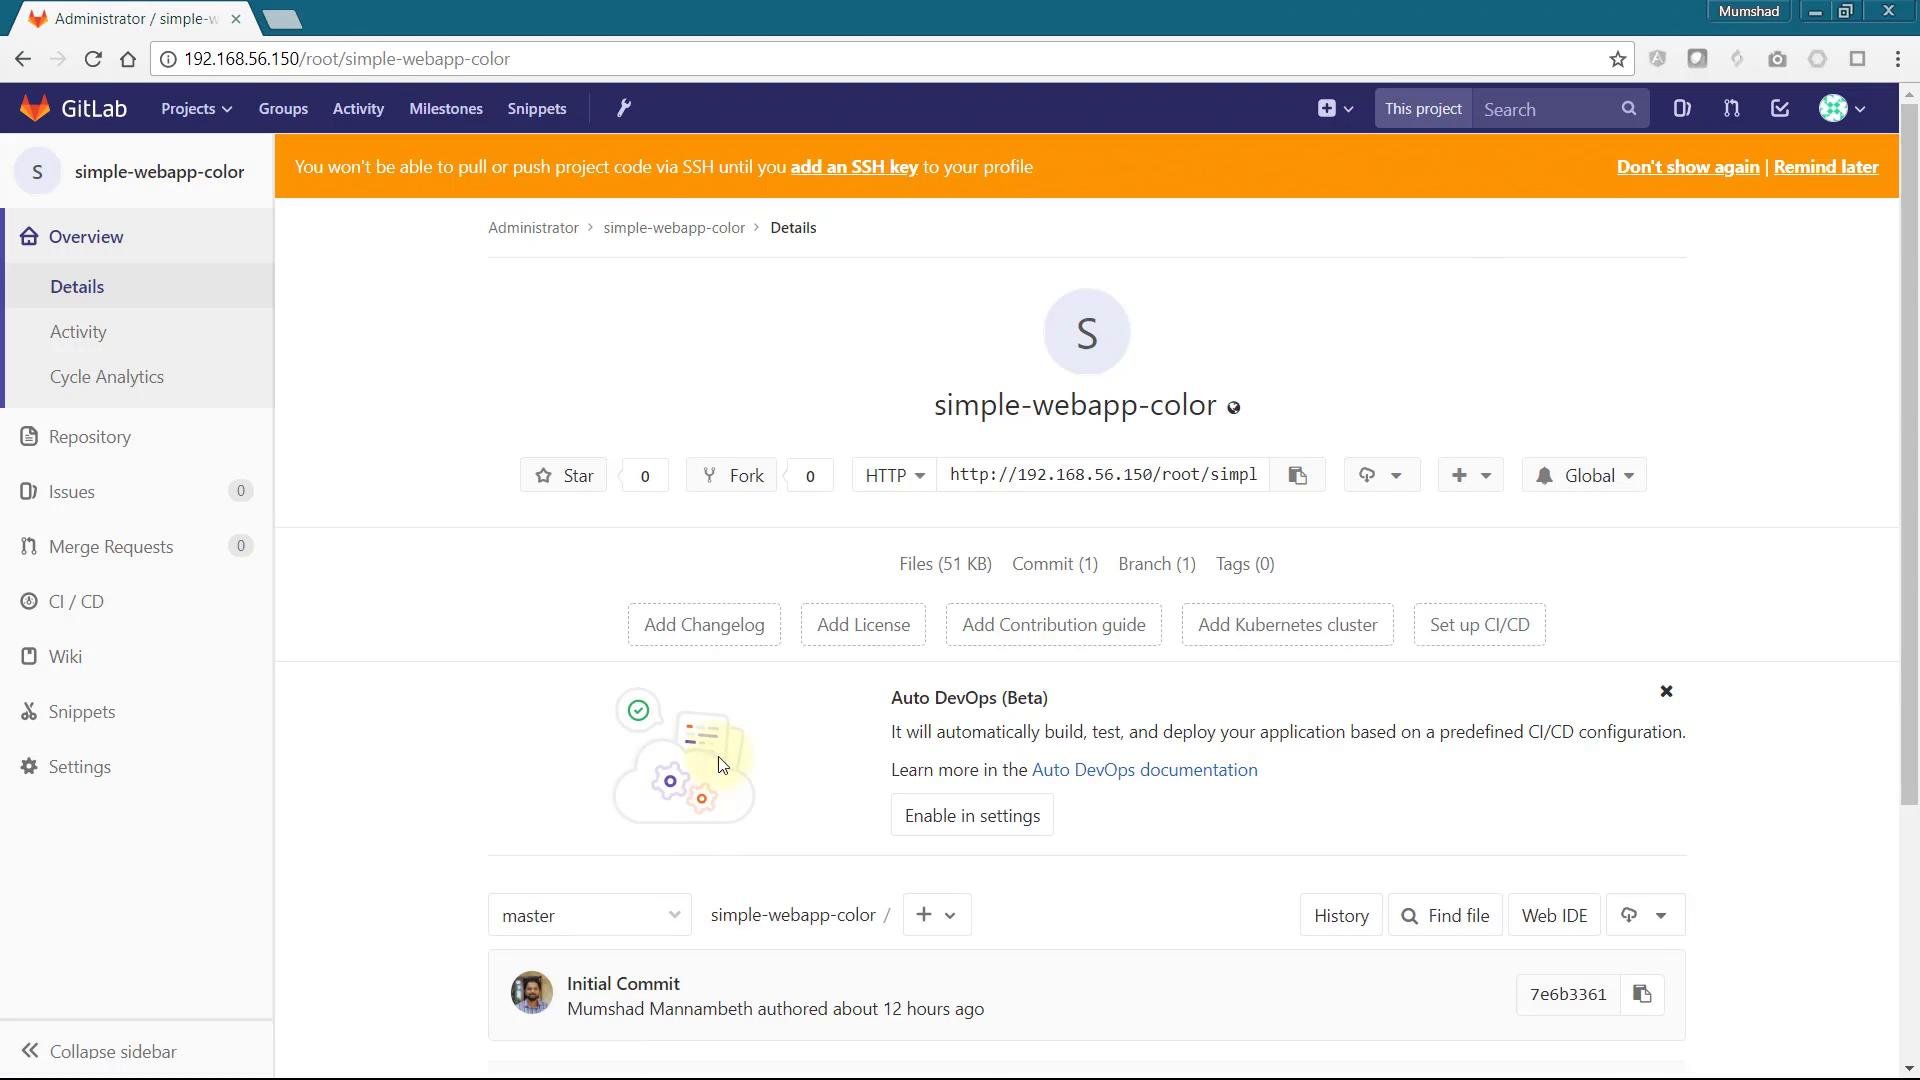
- Create a new project (namespace) in OpenShift.
- Add the application by pointing the console to the Git repository.
- Build and deploy the image (watch the push progress).
- Access the app via the Route URL.
- Scale replicas from the web console and observe traffic distribution.
- Optionally change the router balancing annotations to alter session affinity.
APP_COLOR is set.
- The OpenShift Build will create an image and push it to the internal registry. During the push you might see progress lines like:
- OpenShift creates a Deployment (or DeploymentConfig), Pods, a Service that selects those Pods, and a Route that exposes the Service externally.
- The Route provides the external URL you use to access the app. Each request to that Route will be forwarded to one of the Service endpoints (pods) according to the router’s load-balancing behavior.
- In the web console you can increase or decrease the replica count using the up/down arrows on the application’s Deployment card.
- Scaling updates the Deployment’s replica count and the OpenShift controller creates or removes pods to match the desired replicas.
- Because the Service selector targets the Deployment’s pods, newly created pods automatically become endpoints and receive traffic.
- Each pod may choose a different color at startup, so multiple replicas can show different background colors.
- When you scale to 2+ replicas and access the Route URL from different browser sessions (or incognito windows), you will likely hit different pods and see different colors.
- If you refresh the same browser tab repeatedly and keep getting the same pod, that indicates session affinity on the router (sticky sessions) or a load-balancing algorithm that consistently maps your client to the same backend.
After you save the Route with
balance: "roundrobin" and disable_cookies: "true", subsequent requests from the same browser tab will be more evenly distributed across pods instead of being pinned to one.
Scaling via CLI (optional)
You can also scale from the command line using oc. Example:
- Scale to 3 replicas:
oc scale deployment/simple-webapp-color --replicas=3 -n your-project - Check pods and endpoints:
oc get pods -n your-projectoc get endpoints -n your-project
If you need session affinity for application-level sessions, consider using a dedicated session store (for example, Redis, a database, or another central store) instead of relying on router stickiness. Router annotations for sticky sessions can help but are not a replacement for centralized session management.
Links and references
That’s it — a short demo showing how to deploy, scale, and control route behavior in OpenShift.