

carts-db Deployment (part of the Sock Shop demo) so the container has guaranteed CPU/memory and a capped memory usage. Below is a complete Deployment manifest that shows where to add resources.requests and resources.limits, along with the container image, ports, environment variables, and an in-memory emptyDir volume.
- Requests:
cpu: "250m",memory: "64Mi"— guaranteed resources used by the scheduler when placing the Pod. - Limits:
memory: "128Mi"— maximum memory the container may use. (No CPU limit specified here, so the container can burst CPU beyond250mif node capacity allows.)
How to apply this in the OpenShift web console
- Open the OpenShift console in your course environment: https://learn.kodekloud.com/user/courses/openshift-4.
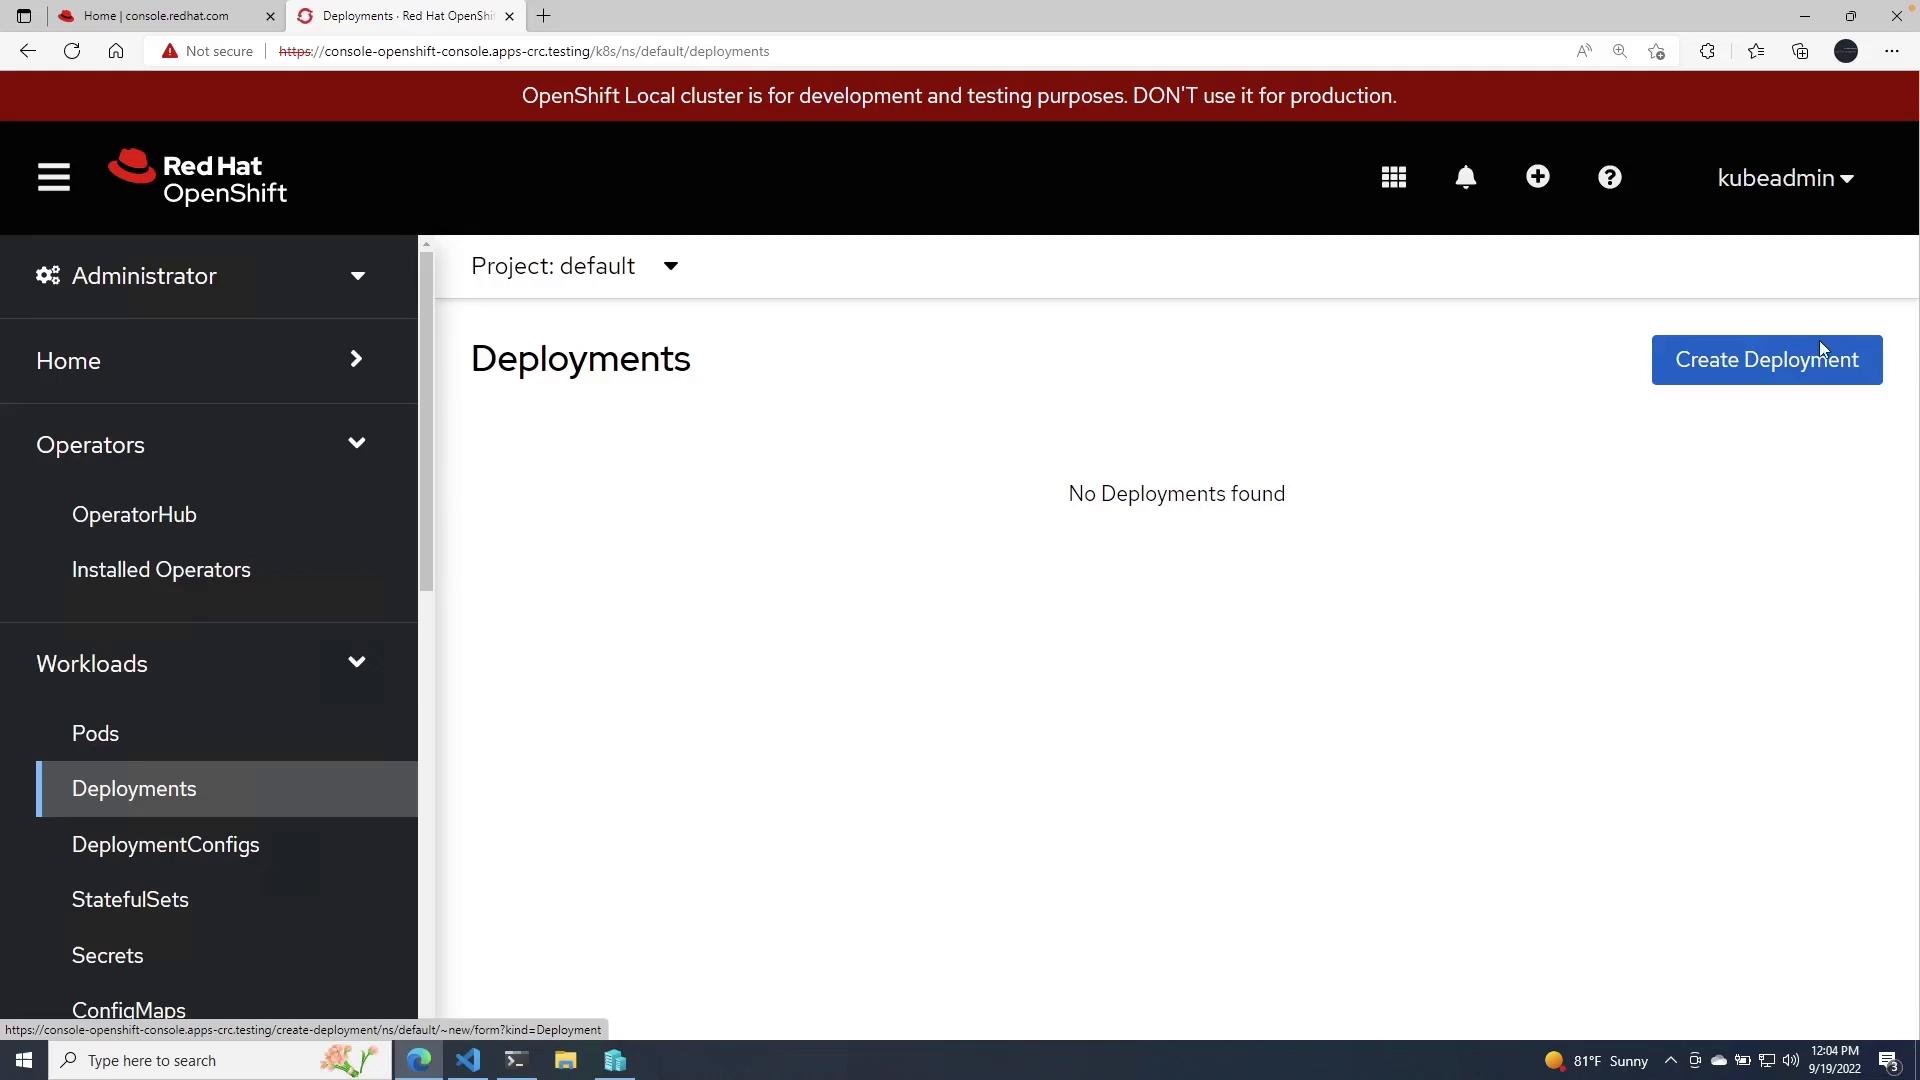
- In the Administrator view navigate to Workloads → Deployments.
- Click Create Deployment and switch to the YAML editor.
- Paste the manifest above and create the Deployment.
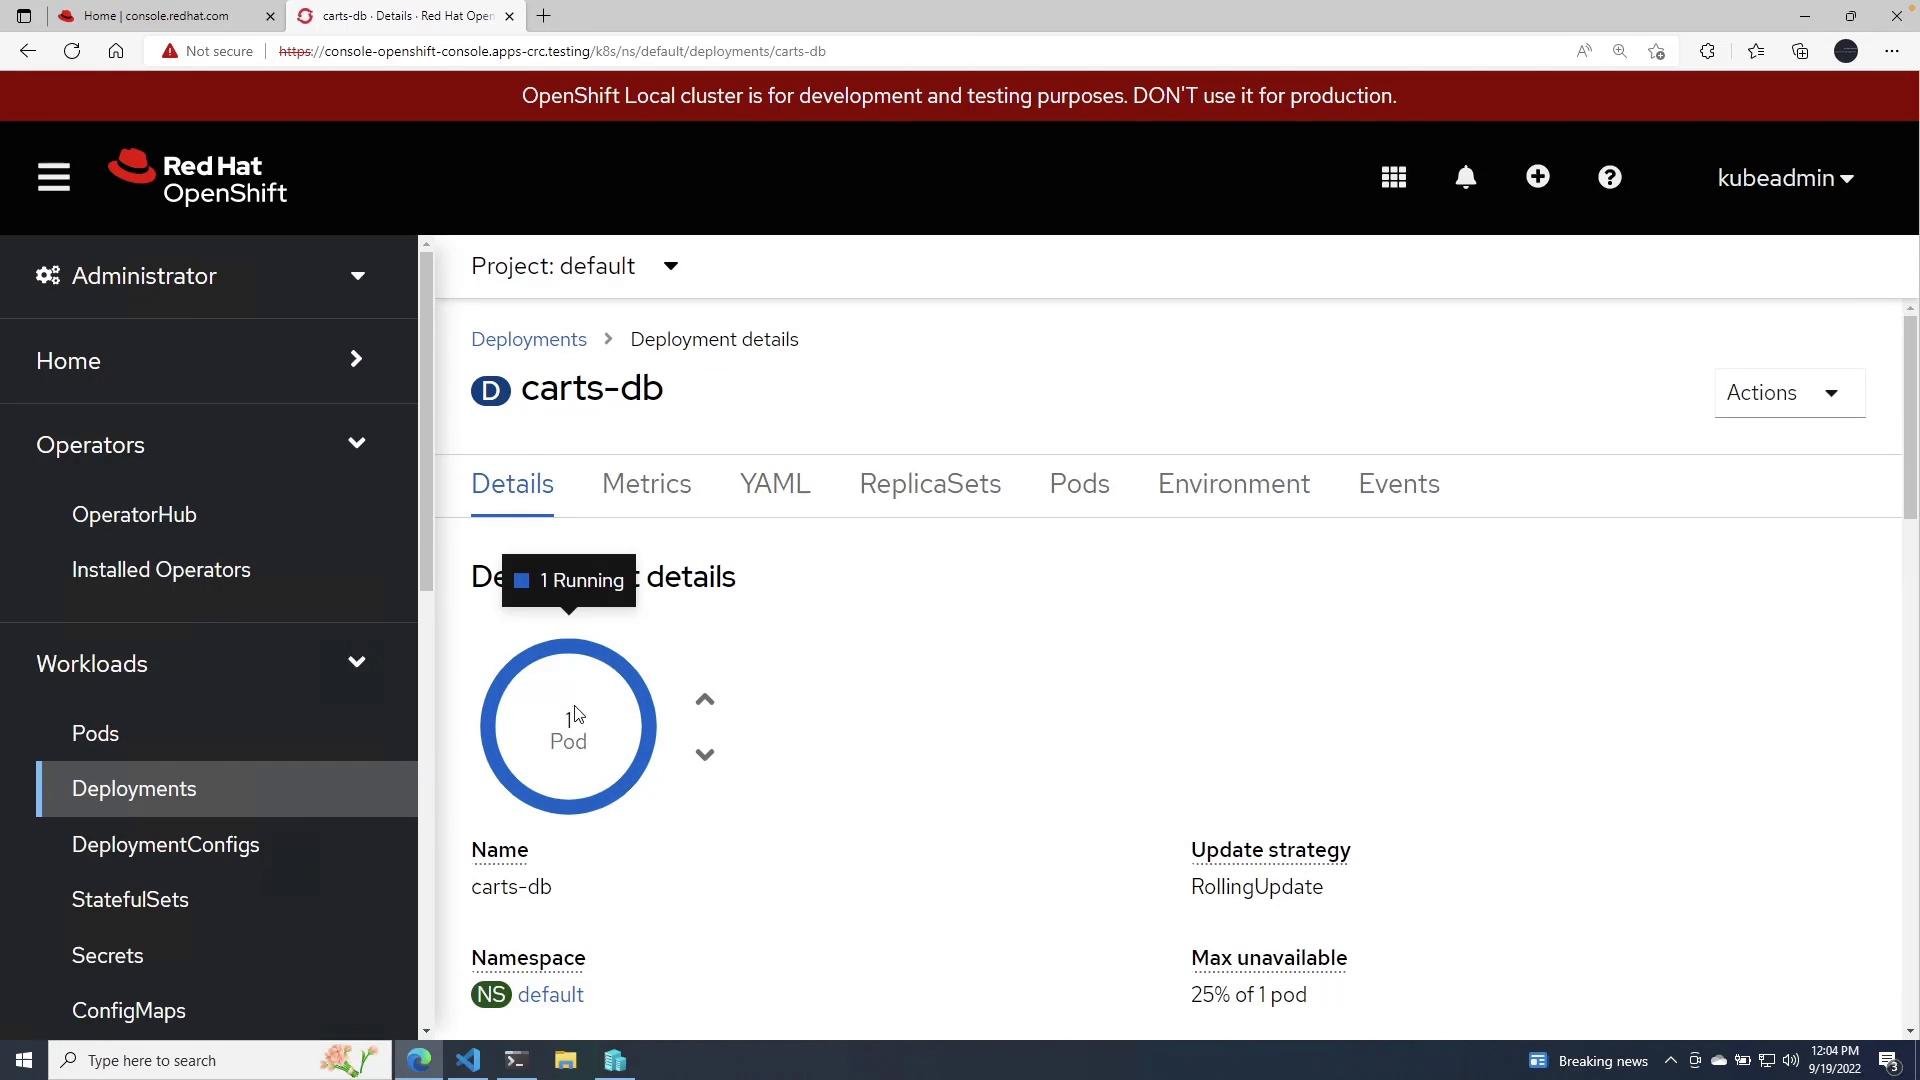
resources block is present.
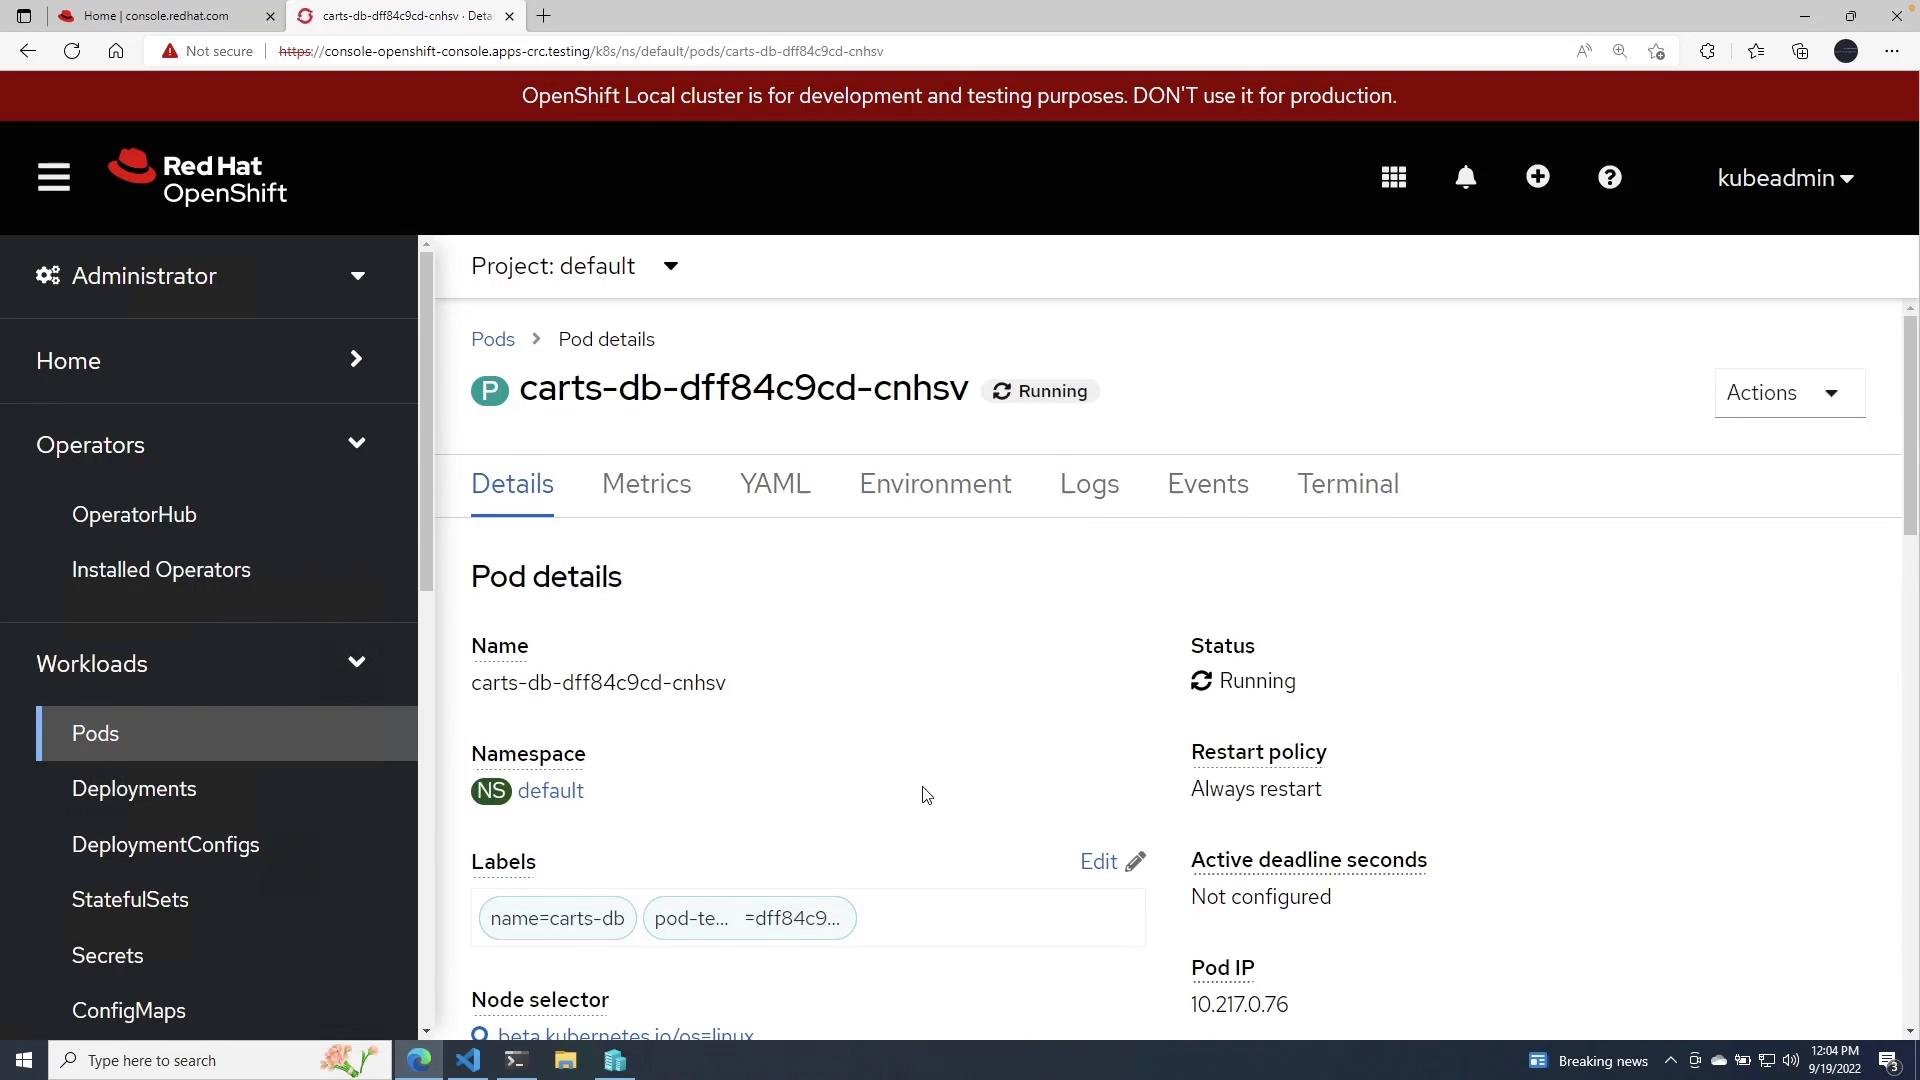
- Requests ensure the scheduler reserves node capacity for your Pod.
- Limits prevent containers from consuming excessive resources and impacting other workloads.
- Omitting CPU limits allows CPU bursting, but scheduling still uses the request value.
- Kubernetes ResourceQuotas: https://kubernetes.io/docs/concepts/policy/resource-quotas/
- OpenShift documentation: https://docs.openshift.com/
Resource requests reserve capacity on a node and influence scheduling; limits cap the maximum usage. Setting sensible requests and limits helps cluster stability and prevents noisy neighbors. If you omit a CPU limit, the container may burst CPU usage (subject to the node’s available CPU) but the scheduler will use the request value when placing the Pod.