Prerequisites
- A running Docker UCP cluster (v3.2+ recommended)
- Administrator credentials for UCP
- LDAP/AD server details (URL, Bind DN, Base DN, certificates)
1. Log In to the UCP Console
- Open your browser and go to your UCP console URL (e.g., https://ucp.example.com).
- Enter your administrator Username and Password, then click Login.
Make sure your browser can resolve the UCP hostname and that port 443 is accessible.
2. Navigate to Authentication Settings
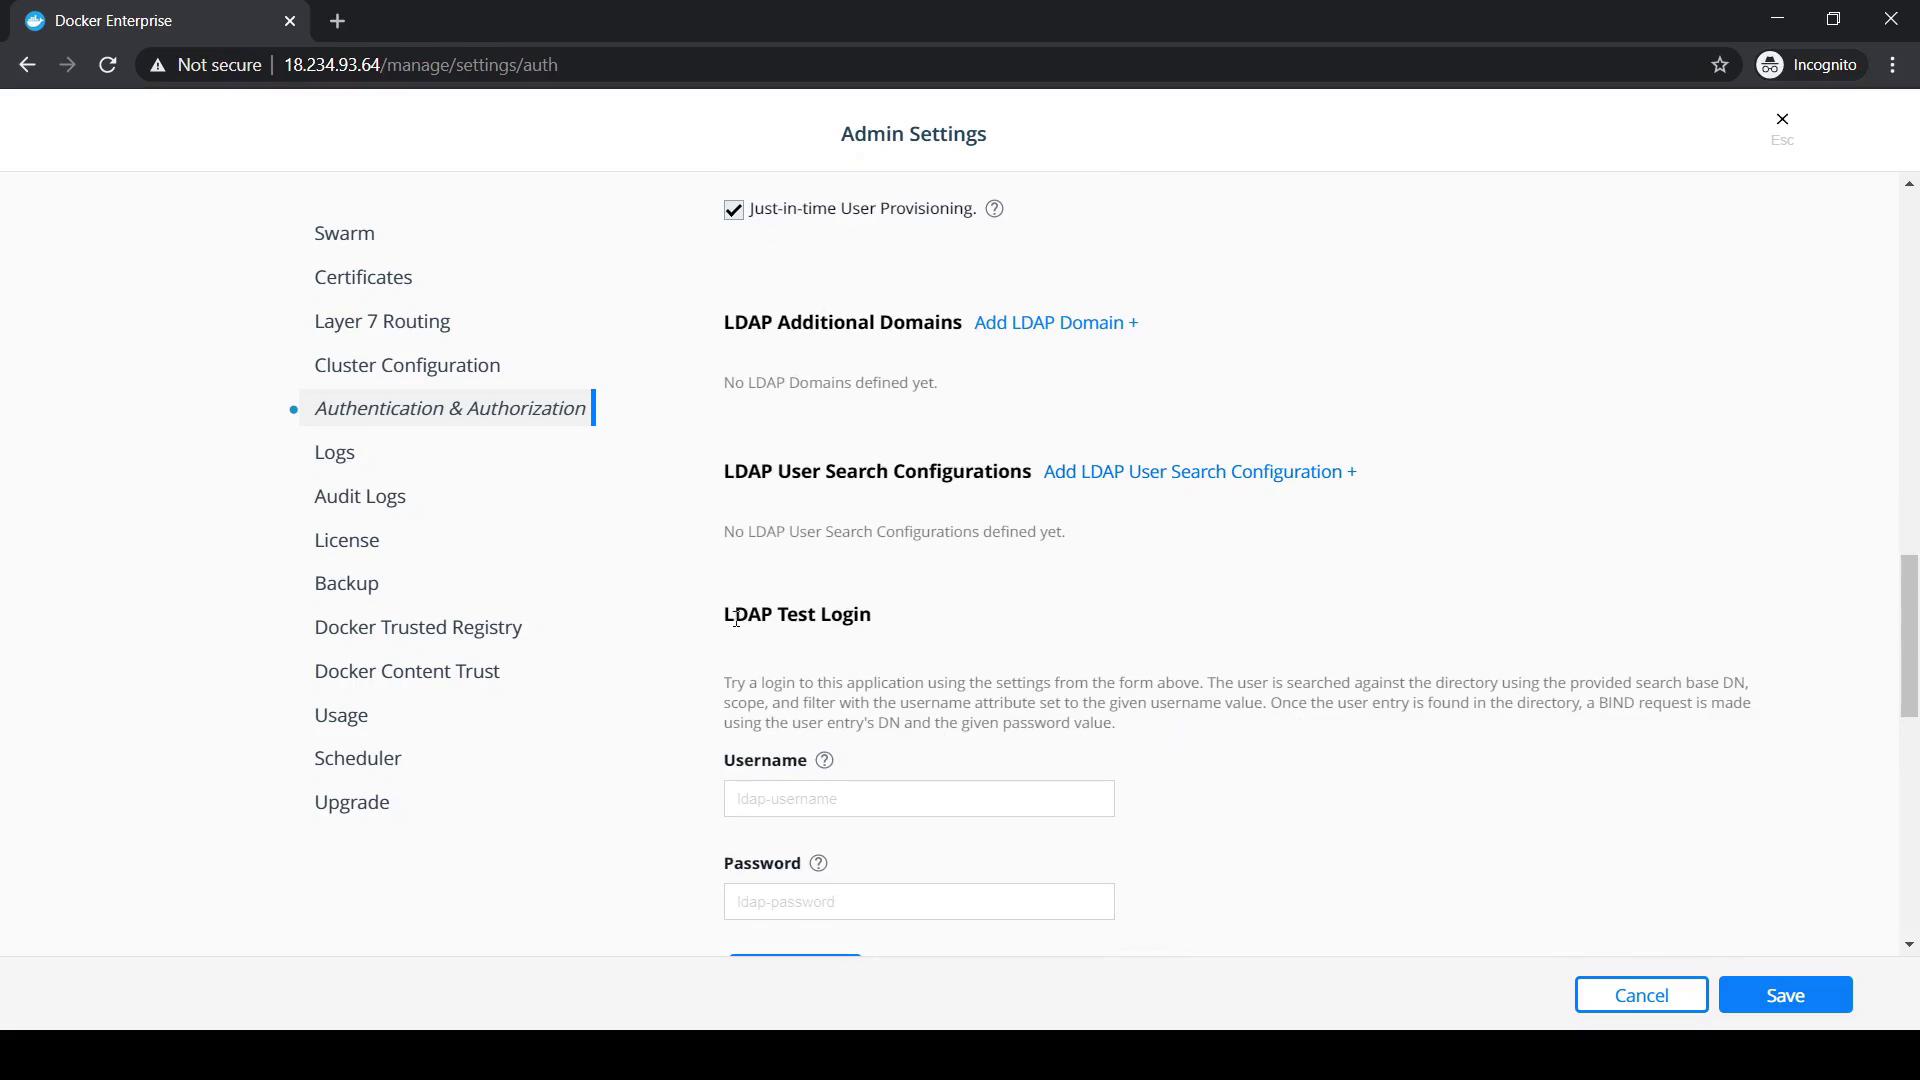
- From the top-right menu, click Admin Settings.
- Select Authentication & Authorization to reveal UCP’s identity management options.
3. Enable LDAP Integration
- Scroll to the LDAP section.
- Toggle LDAP Enabled to Yes.
If your LDAP server requires encryption, ensure you use an
ldaps:// URL or provide a CA certificate for TLS.4. Configure LDAP Directory Details
Once you enable LDAP, the configuration form expands. Complete these fields as provided by your LDAP administrator:| Field | Description |
|---|---|
| LDAP Server URL | URL of your LDAP service (e.g., ldap://ad.example.com or ldaps://ad.example.com). |
| Bind DN | Distinguished Name for the LDAP reader account (e.g., cn=read-back,ou=ServiceAccounts,dc=corp). |
| Bind Password | Password for the Bind DN account. |
| Base DN | Root of your directory tree (e.g., dc=corp,dc=example,dc=com). |
| User Search Filter | LDAP filter to locate users (e.g., (objectClass=person)). |
| Group Search Filter (optional) | Filter to discover groups (e.g., (objectClass=group)). |
| Additional Domains (optional) | Comma-separated Base DNs if you have multiple OUs. |
Note: Consult your LDAP/AD administrators for the exact values and any custom search scopes.
5. Test Connection and Synchronize Accounts
- Under Test Login, enter a sample LDAP username and password, then click Test to verify connectivity.
- Once the test succeeds, click Manual Synchronization to import users and groups into UCP.
- Review the synchronization results to confirm that expected accounts appear.