1. Exploring Docker Hub
Open your browser and go to hub.docker.com.If you don’t have a Docker Hub account yet, sign up now—you’ll need it to push images later.
| Resource Type | Description | Identifier Example |
|---|---|---|
| Official images | Maintained by Docker; carries an official badge | httpd |
| Verified publisher images | Provided by ecosystem partners; marked verified | puppet/puppet-agent |
| Community (user) images | Uploaded by users; named with username/imagename | yogeshraheja/wordpress |
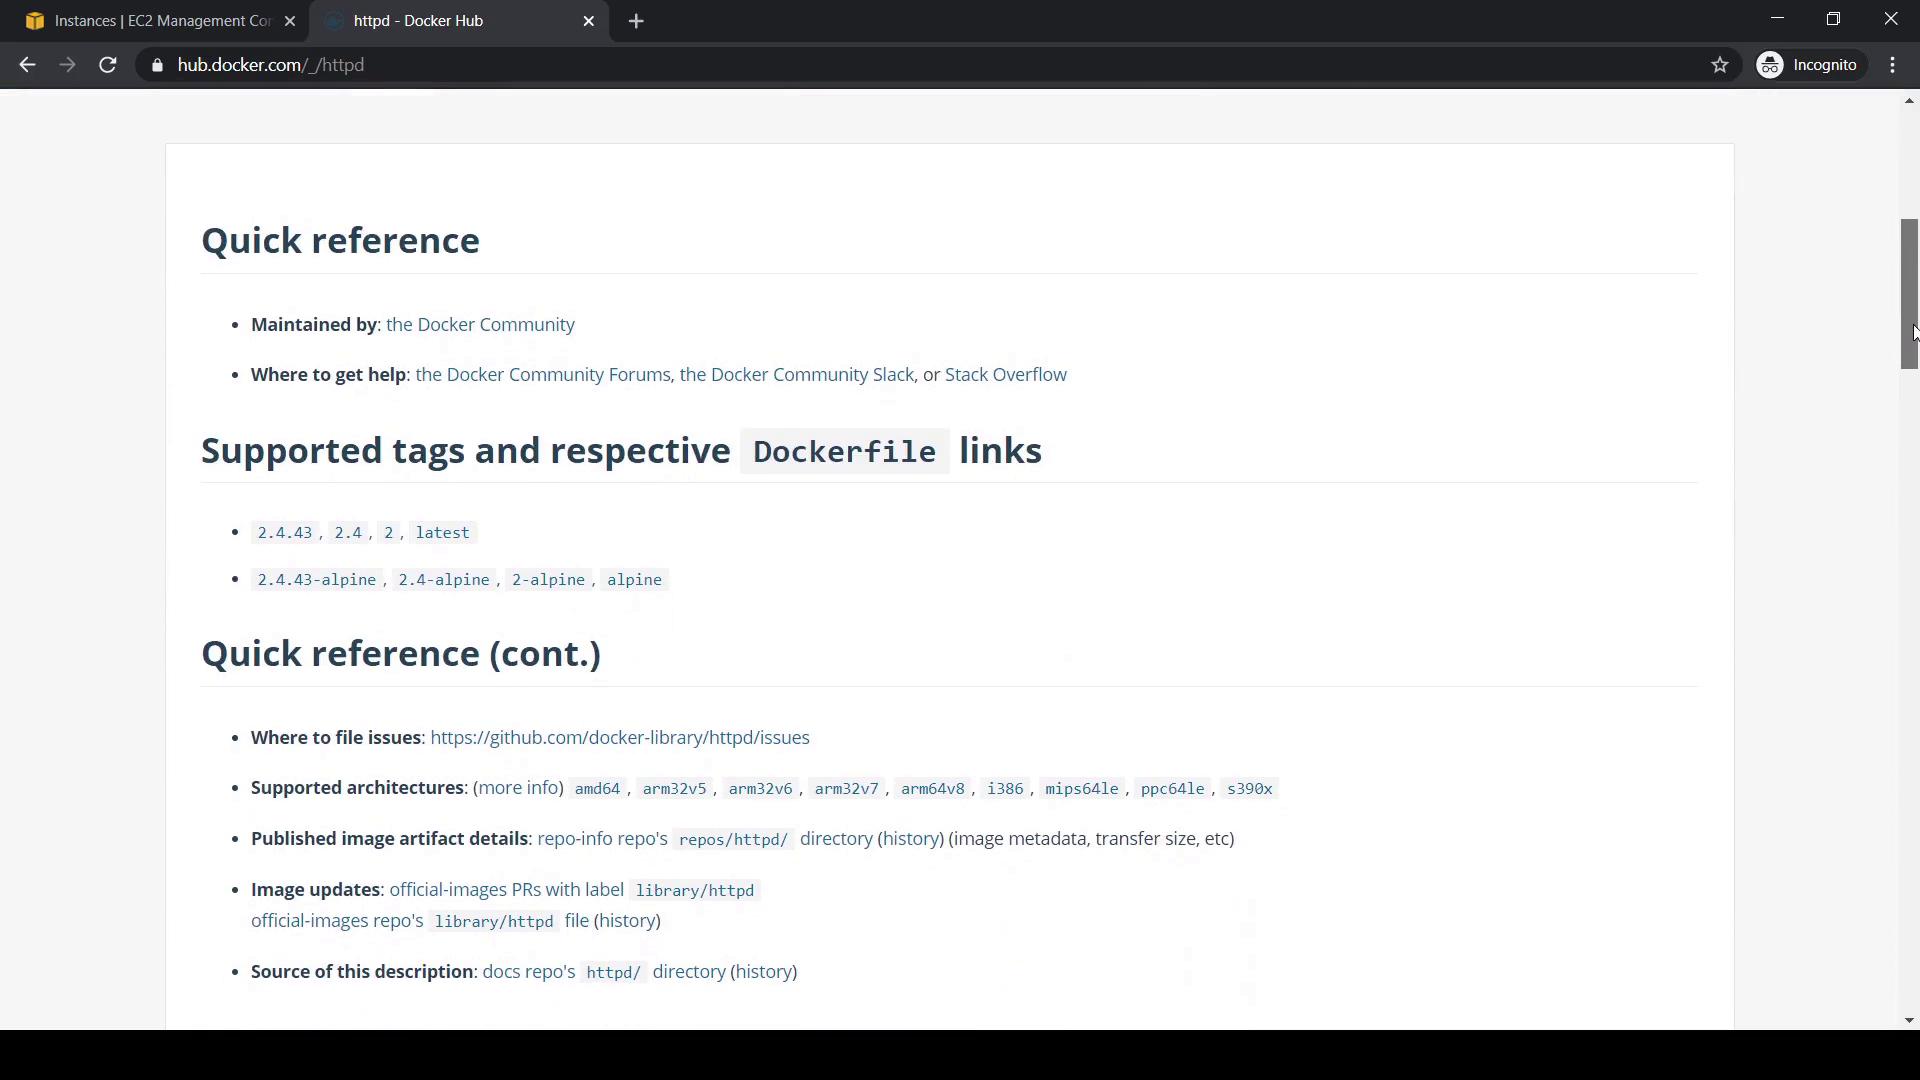
httpd) and click httpd. You’ll see:
- Supported Tags: Available versions (e.g.,
latest,alpine). - Dockerfile links: How the image is built.
- Quick info on architectures, update history, and help resources.
2. Listing and Pulling Images Locally
First, see which images are already on your host:httpd:latest):
3. Searching Images via CLI
Instead of the web UI, search Docker Hub from your terminal:4. Pulling Specific Tags and Tagging Images
Grab the Alpine-based HTTPD variant:httpd:alpine locally:
5. Checking Disk Usage
Assess disk space consumed by images, containers, and volumes:6. Pushing Images to Docker Hub
-
Log in to Docker Hub:
-
Retag your image with your Docker Hub username (replace
<username>): -
Push the image:
If you try
docker push httpd:kodekloudv1 without your username, you’ll get an “access denied” error. Always retag with your Docker Hub namespace.7. Removing Images
Locally
Remove a single tag:On Docker Hub
- Sign in to Docker Hub and go to your account.
- Select the repository to delete.
- Click Settings → Delete Repository.
- Type the repository name to confirm.
8. Inspecting and Exploring Images
- View an image’s layer history:
- Inspect detailed metadata:
9. Saving and Loading Images
Export an image to a tarball:10. Exporting and Importing a Container Filesystem
- Run a container:
- Export its filesystem:
- Import as a new image:
- Verify:
That covers image registry and operations with Docker Hub and CLI. Happy Dockering!