- Pulling unsigned images without Content Trust
- Enabling Content Trust on an individual host
- Enforcing Content Trust across a UCP cluster
- Pushing unsigned images to Docker Trusted Registry (DTR)
- Managing Notary keys and signing images
- Verifying and pulling signed images
Step 1: Pulling an Unsigned Image (without Content Trust)
On a UCP worker node, list existing images and pull the unsigned imageyogeshraheja/tomcatone:v1 from Docker Hub:
By default, Docker allows pulling unsigned images from public registries.
Step 2: Enabling Docker Content Trust on a Single Host
To require signed images, set theDOCKER_CONTENT_TRUST environment variable:
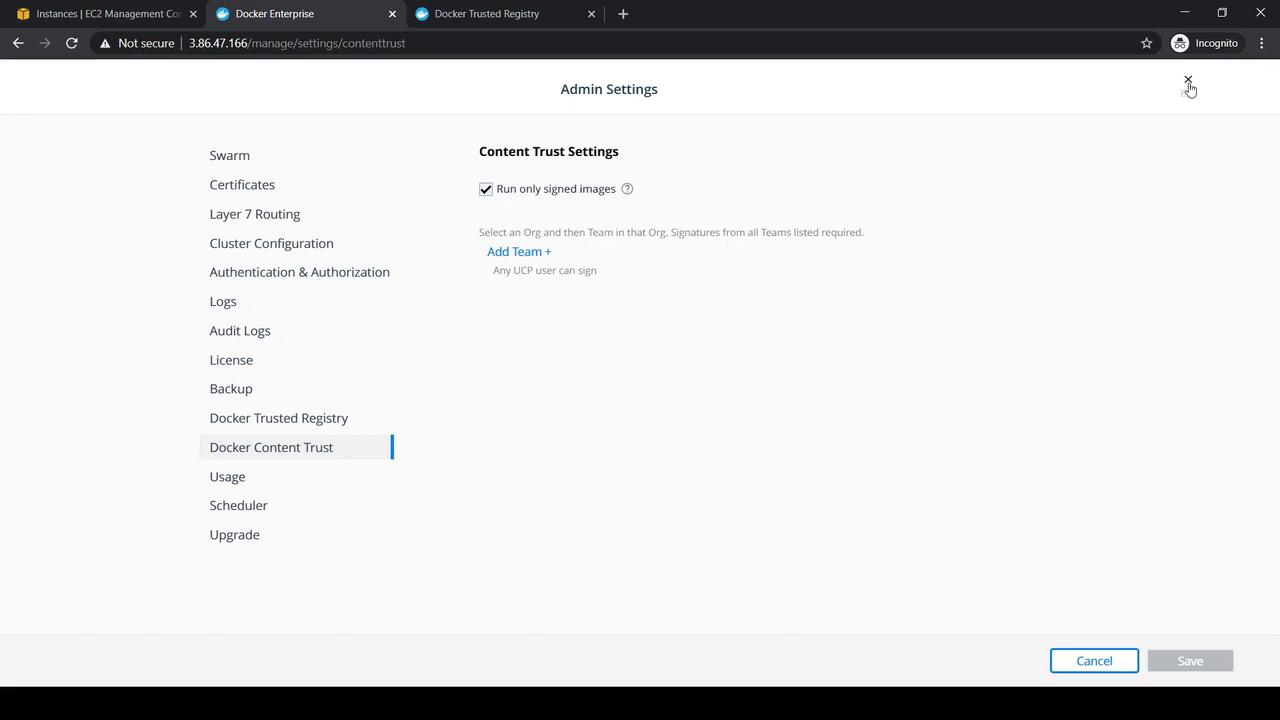
Step 3: Enforcing Content Trust Cluster-Wide via UCP
Manually exporting an environment variable on each node is tedious. Instead, enforce Content Trust across your Docker Universal Control Plane (UCP) cluster:- Log in to UCP as an administrator.
- Navigate to Admin Settings → Account Settings.
- Enable Docker Content Trust (Only Signed Images).
- Save your changes.
DOCKER_CONTENT_TRUST=1 to all cluster nodes.
Step 4: Pulling an Unsigned Image from a Client with Content Trust Enabled
On your local workstation using the UCP client bundle, Content Trust is now enforced:Disabling Content Trust exposes your environment to unsigned and potentially unverified images. Only unset if absolutely necessary.
Step 5: Pushing the Unsigned Image to Docker Trusted Registry (DTR)
- In DTR, create a repository named
yogeshraheja/testimagesigning. - Tag and push the image from your local host:
Step 6: Signing the Image with Docker Content Trust
Docker Content Trust uses Notary to manage trust metadata. Below are the steps to import your keys, initialize trust for a repository, and sign an image.6.1 Import Your Notary Private Key
Copy the private key into Docker’s trust directory and load it:6.2 Initialize Trust Metadata and Add a Signer
Authorize your user as a signer and initialize the repository’s trust data:6.3 Sign the Image Tag
Sign thev1 tag:
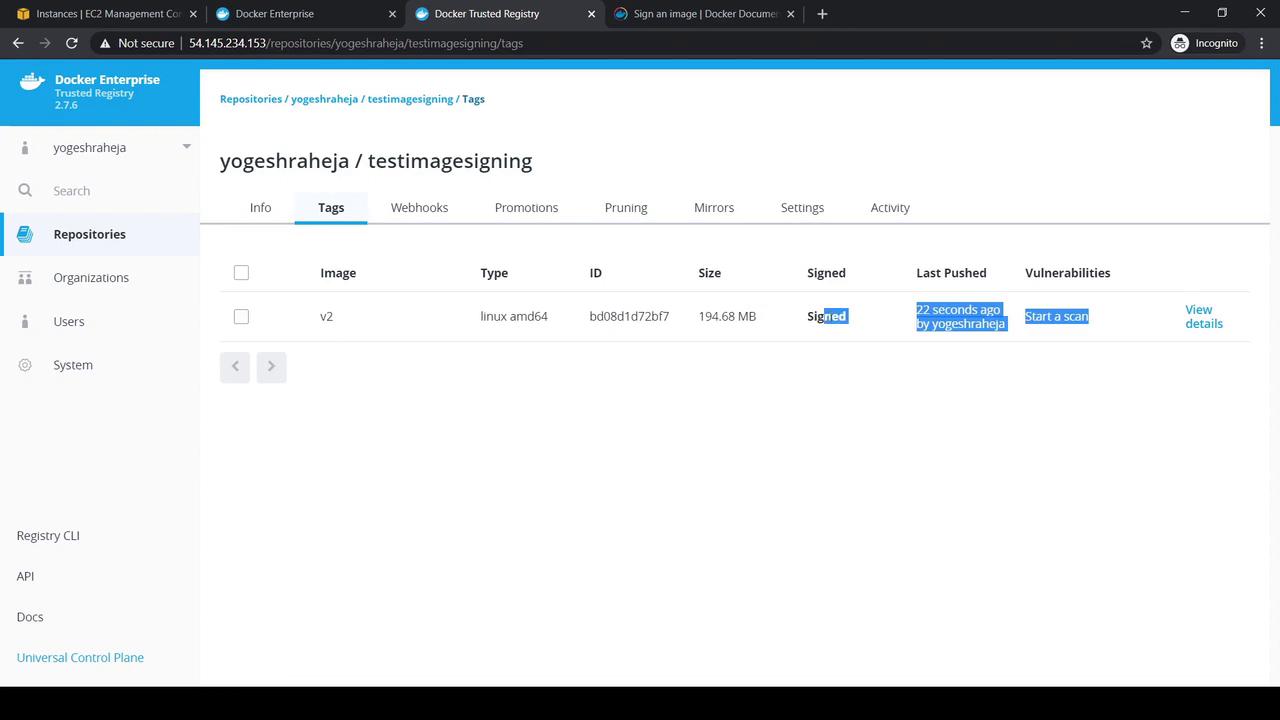
Step 7: Pushing Signed Images and New Tags
After signing, push yourv1 image and optionally tag and sign a new version v2: