

kubectl.
Why Use a Deployment?
- Rolling Updates: Replace pods one by one to avoid service interruption.
- Rollbacks: Instantly revert to a previous version if something goes wrong.
- Pause & Resume: Apply several changes as a batch and resume when ready.
- Declarative Scaling: Increase or decrease replicas in your manifest.
How Deployments Work
A Deployment sits above ReplicaSets and Pods:- Pod: The basic execution unit (one or more containers).
- ReplicaSet: Ensures a specified number of pod replicas run at any time.
- Deployment: Manages ReplicaSets and orchestrates updates, rollbacks, and scaling.
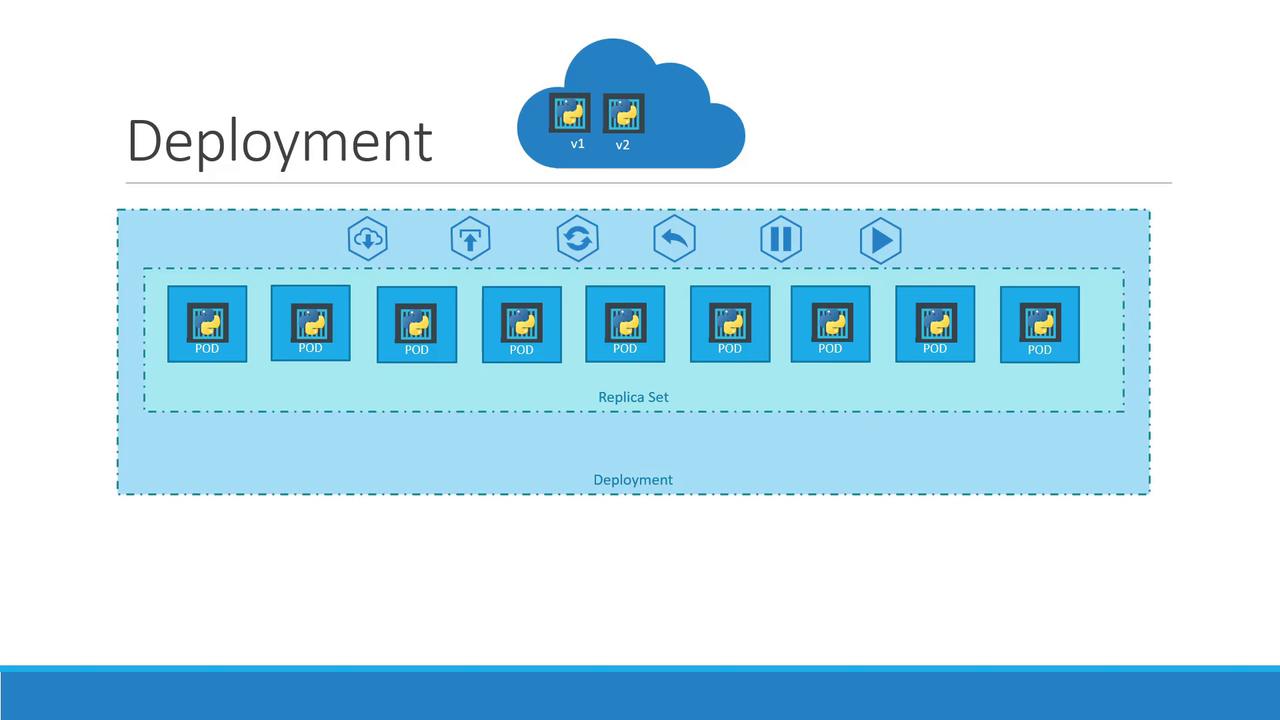
Resource Comparison
Writing a Deployment Manifest
Create a YAML file (deployment-definition.yml) to declare your desired state:
- apiVersion: The API group (
apps/v1). - kind: Must be
Deployment. - metadata: Identifies the Deployment (
nameandlabels). - spec.replicas: Desired number of pods.
- spec.selector: Matches labels on pods.
- spec.template: Defines the pod spec, just like a ReplicaSet.
Using
kubectl apply -f is recommended for idempotent updates. It creates or updates resources based on your manifest.Deploying and Inspecting Resources
- Create or update the Deployment
- View Deployments
Example output:
- List ReplicaSets
- Check Pods
- See All Resources
If an update fails, rollback immediately:
Next Steps & References
- Learn more about Kubernetes Deployments
- Explore the kubectl Cheat Sheet
- Official Kubernetes Documentation