

- Prepare the project structure
- Create the Deployment manifest
- Apply the Deployment
- Verify the rollout and inspect resources
1. Prepare the directories and files
- From your project root, create a folder named
deployments. - Inside
deployments, create a file calleddeployment.yaml.
2. Create the Deployment manifest
Copy the spec from the ReplicaSet intodeployments/deployment.yaml, then:
- Change
kindtoDeployment - Set
metadata.nameand labels to match your application - Adjust
replicasto 3 (or your desired count)
The
selector.matchLabels field must exactly match the labels on the Pod template. Otherwise, Kubernetes won’t know which Pods belong to this Deployment.3. Apply the Deployment
Run:create:
4. Verify the rollout and inspect resources
You can quickly see the status of your Deployment and its Pods:-
Check the Deployment status
Example output:
-
List the Pods
Example output:
-
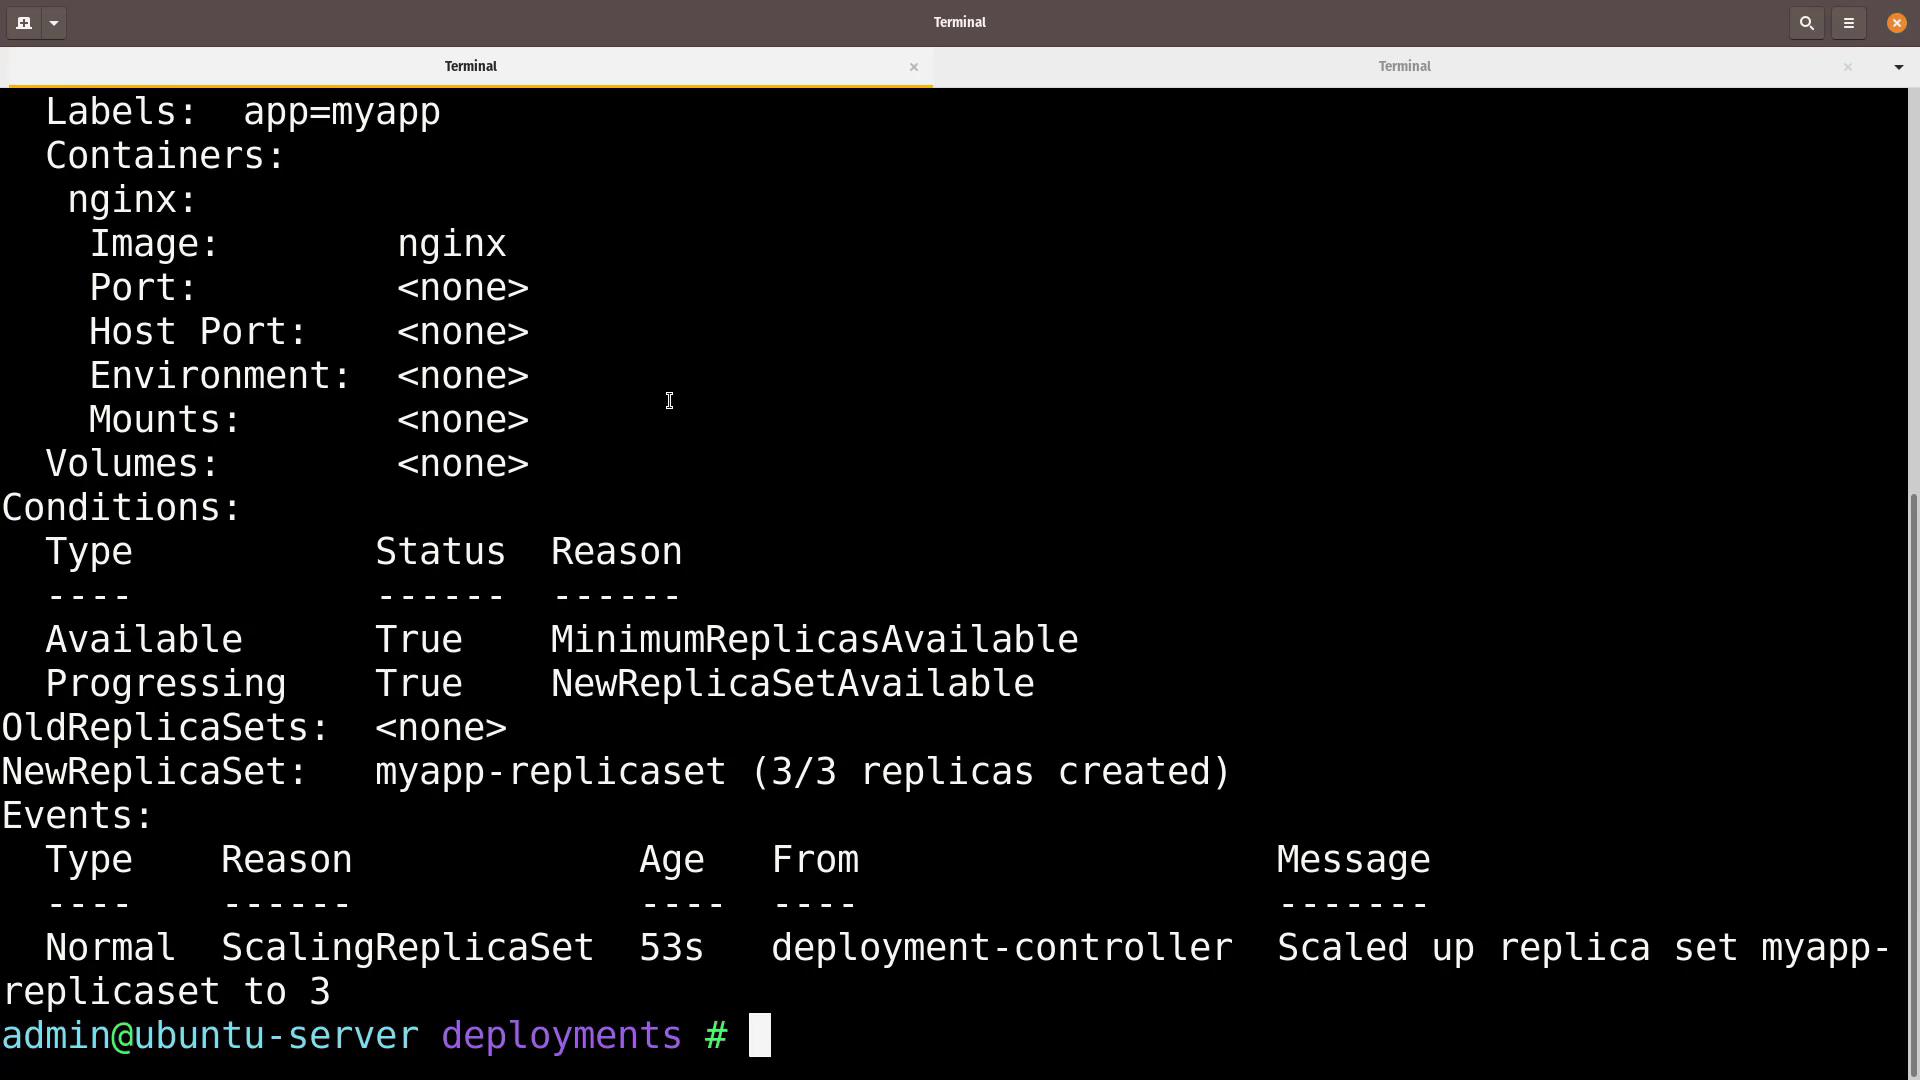
Describe the Deployment
You’ll see details such as desired vs. available replicas, rollout strategy, and recent events:
- View all objects in the namespace
Example output:
To roll out updates, modify Then track progress with:
spec.template.spec.containers[].image and run: