- Execute deployments on a fixed timetable
- Run maintenance or data sync scripts without manual intervention
- Inject environment-specific variables for each run
Prerequisites
Before you begin:- A GitLab project with a
.gitlab-ci.ymlfile - At least one job defined in your pipeline (e.g.,
deploy-job) - Maintainer or Owner permissions to manage CI/CD settings
1. Define the Deployment Job
In your.gitlab-ci.yml, create a job that references a CI/CD variable. This example echoes deployment steps using a custom variable, $DEPLOY_VARIABLE:
2. Configure a Pipeline Schedule
- In your GitLab project, navigate to CI/CD > Schedules.
- Click New schedule to open the scheduling form.
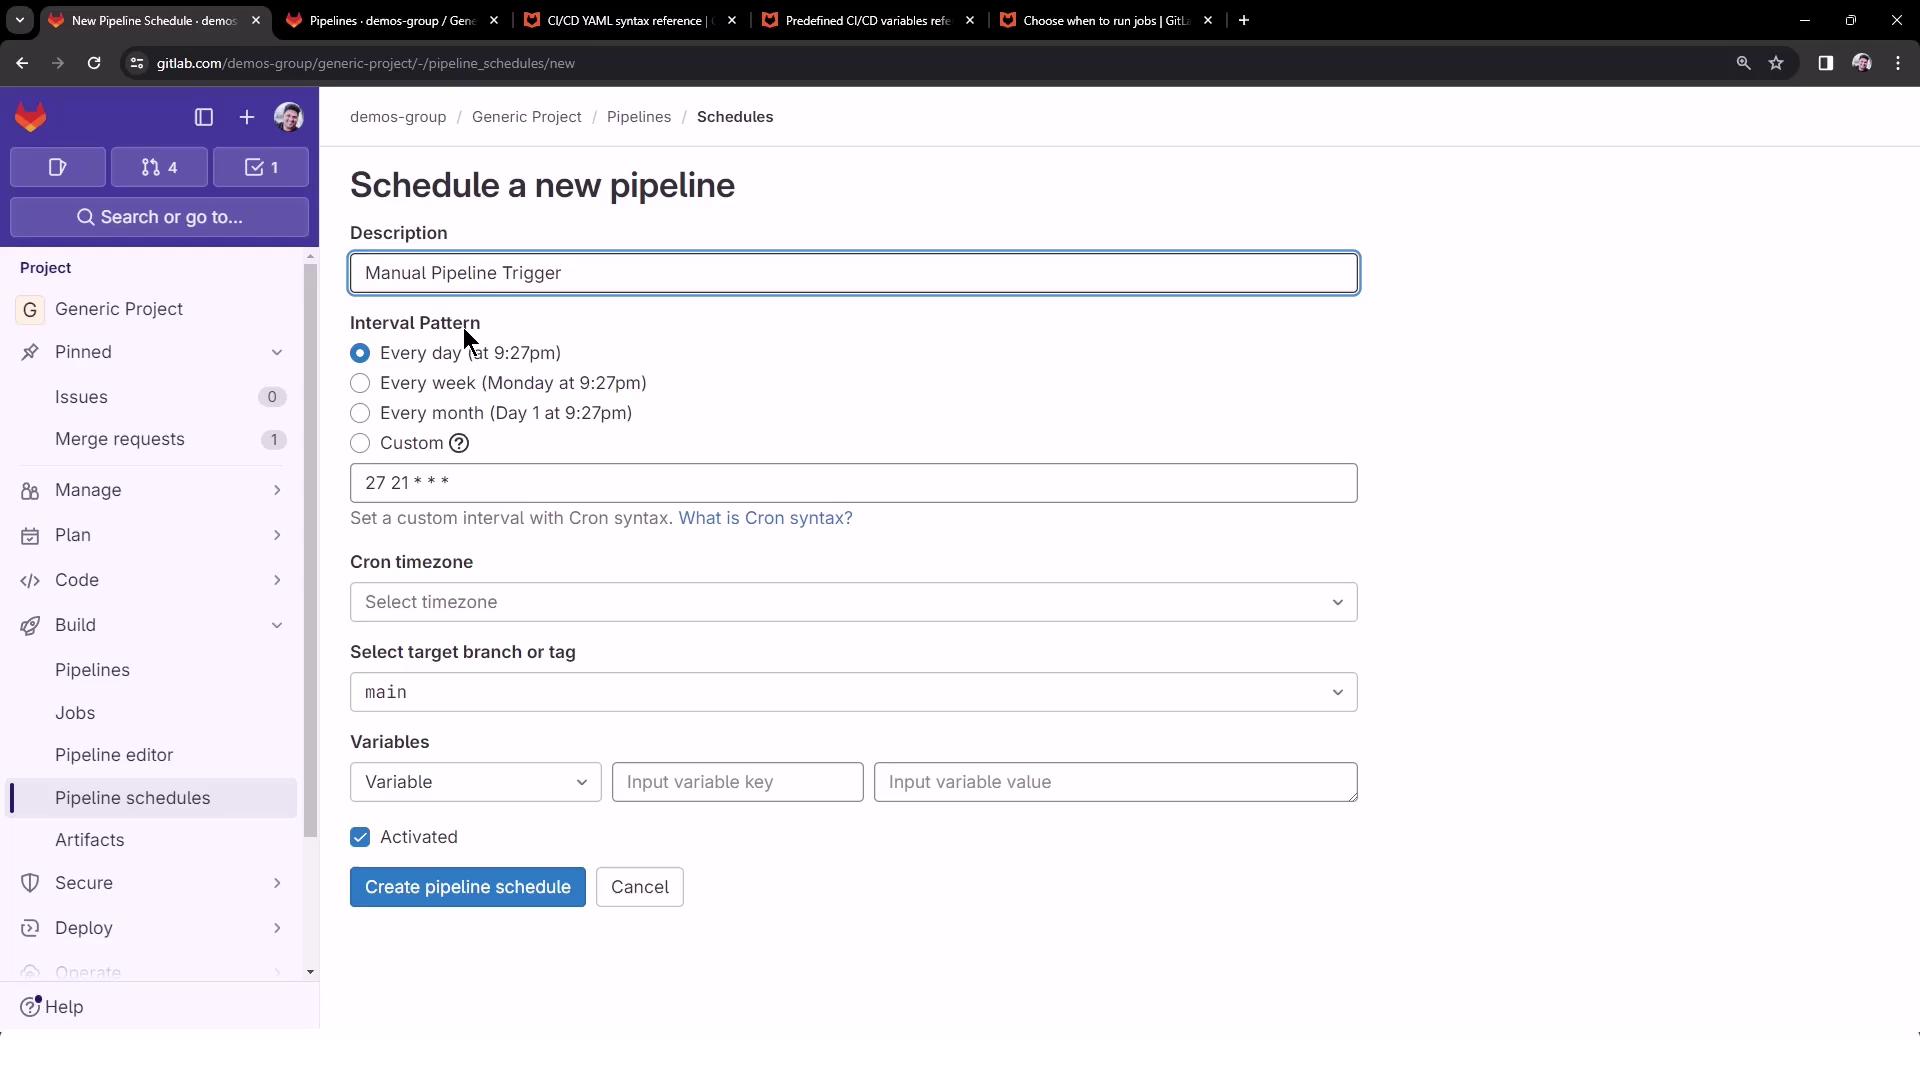
Select an Interval
Choose from presets (e.g., daily at 21:27) or specify a custom cron expression:Cron expressions must follow the format
minute hour day-of-month month day-of-week. For a full reference, see the Cron Descriptor Guide.| Parameter | Description | Example |
|---|---|---|
| Interval | Preset or custom cron | 0 0 1 1 * |
| Timezone | Region-specific timezone | Asia/Kolkata (Mumbai) |
| Target branch | Branch or tag for the schedule | main |
| CI/CD variables | Key-value pairs for this schedule | DEPLOY_VARIABLE=manual deployment |
3. Add Variables and Create the Schedule
Specify any CI/CD variables needed by your job. For ourdeploy-job, define:
| Key | Value |
|---|---|
| DEPLOY_VARIABLE | manual deployment |
Ensure variable names match exactly what your
.gitlab-ci.yml references. A typo will cause the job to fail.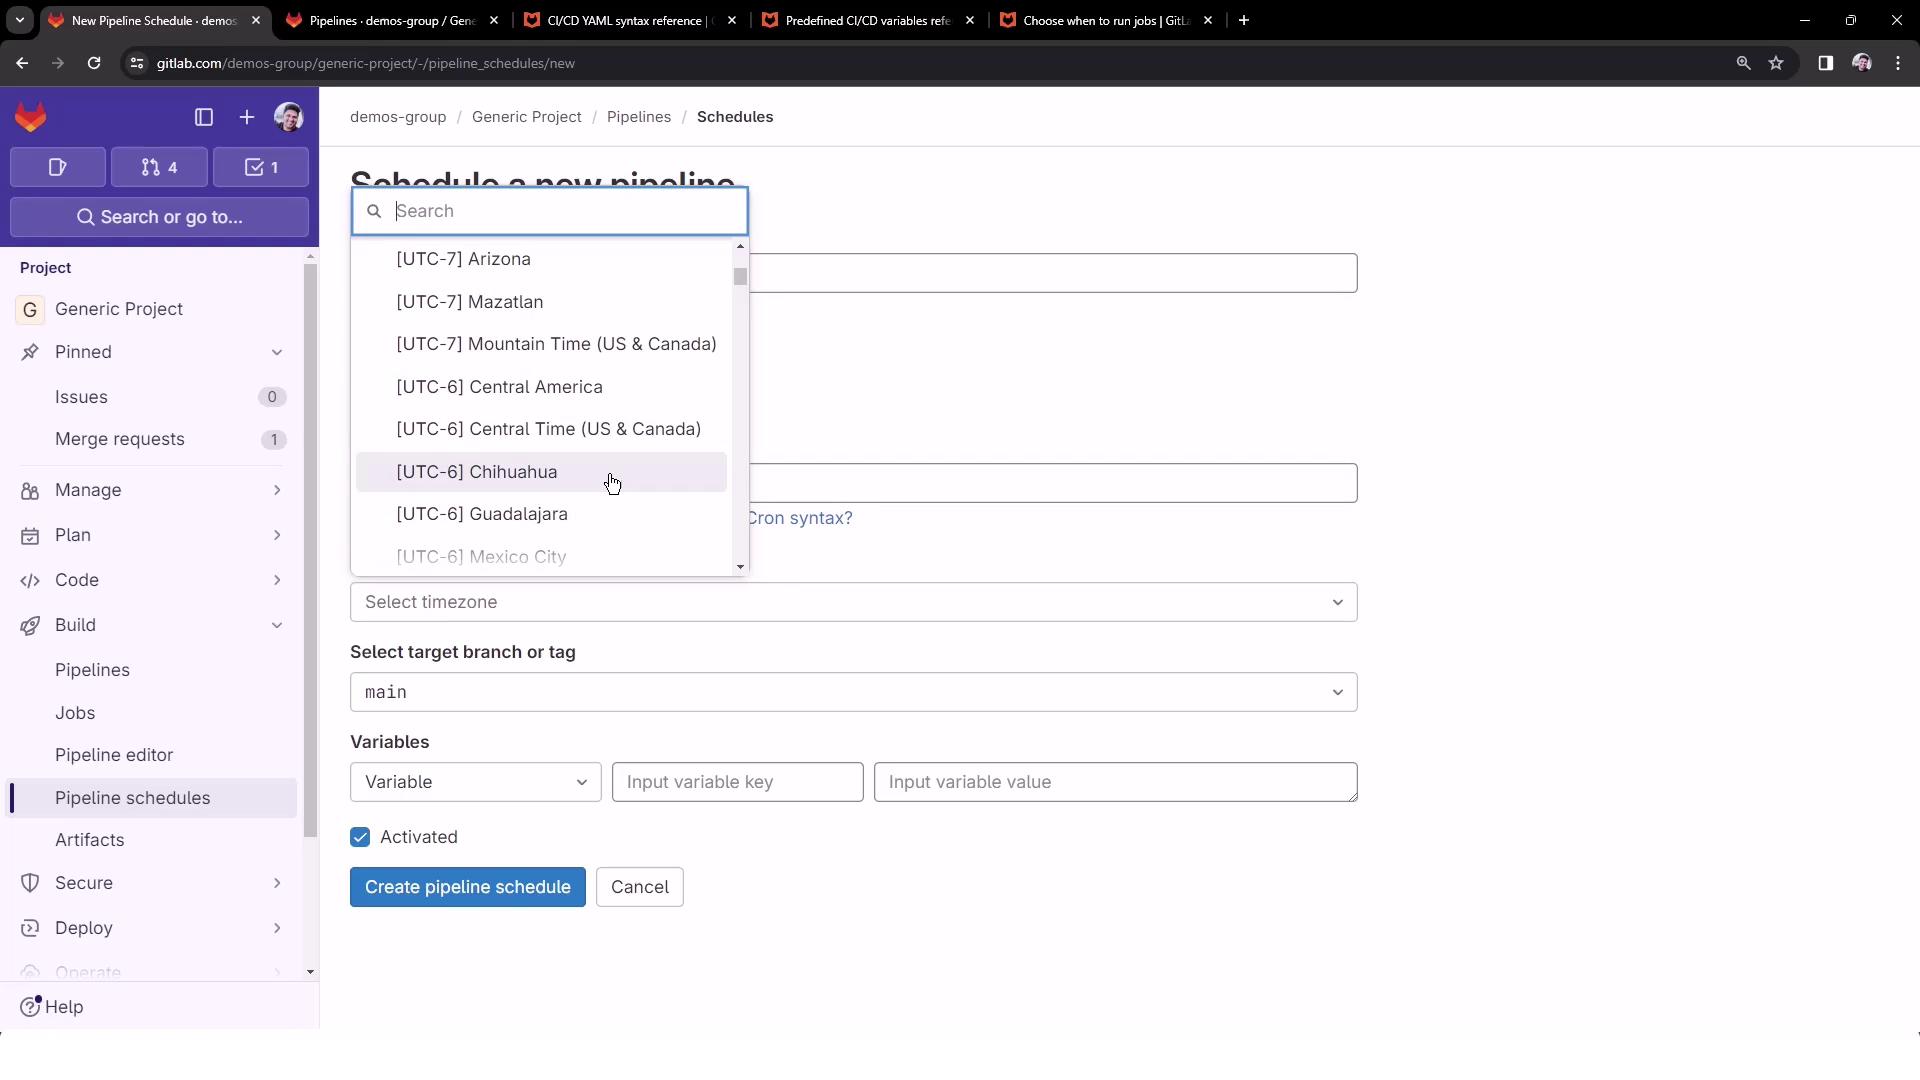
4. View and Manage Schedules
All pipeline schedules are listed with details like next run time, cron expression, and target branch. Use the Play button to trigger any schedule on demand.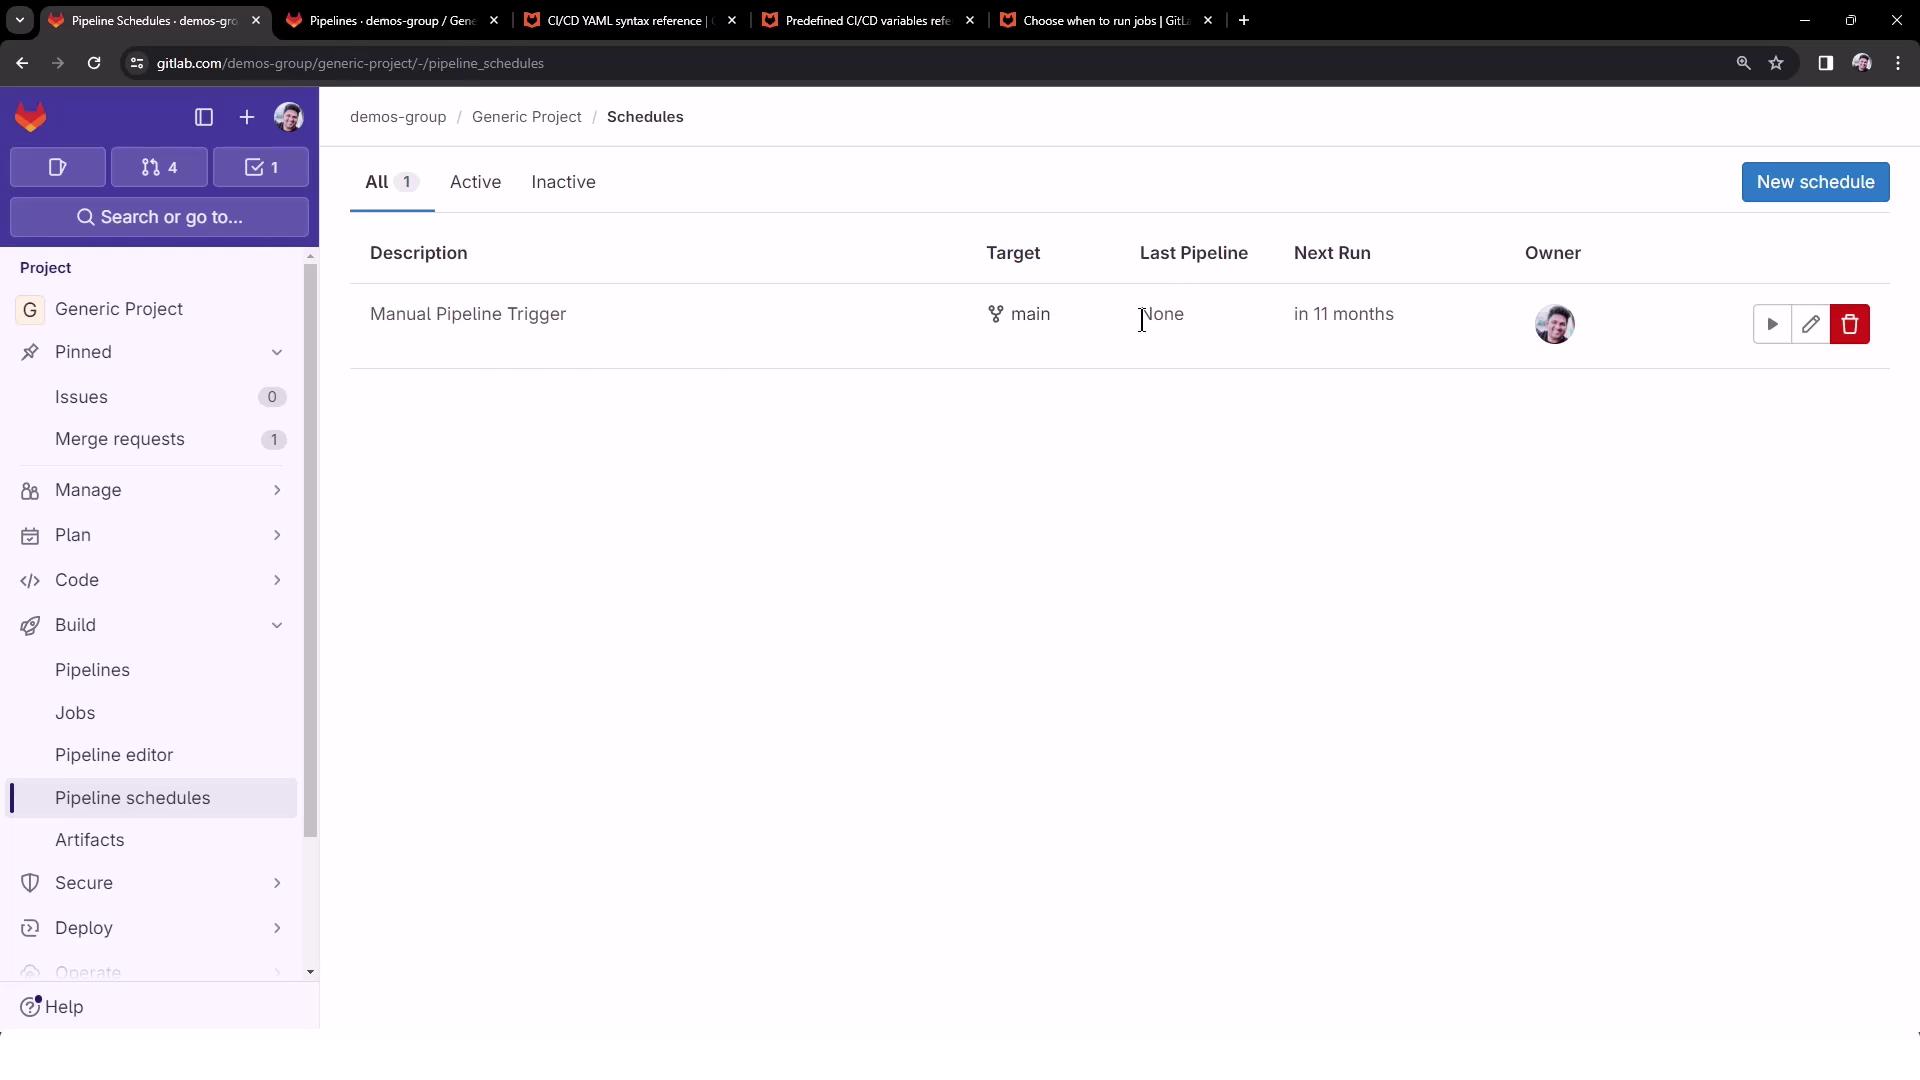
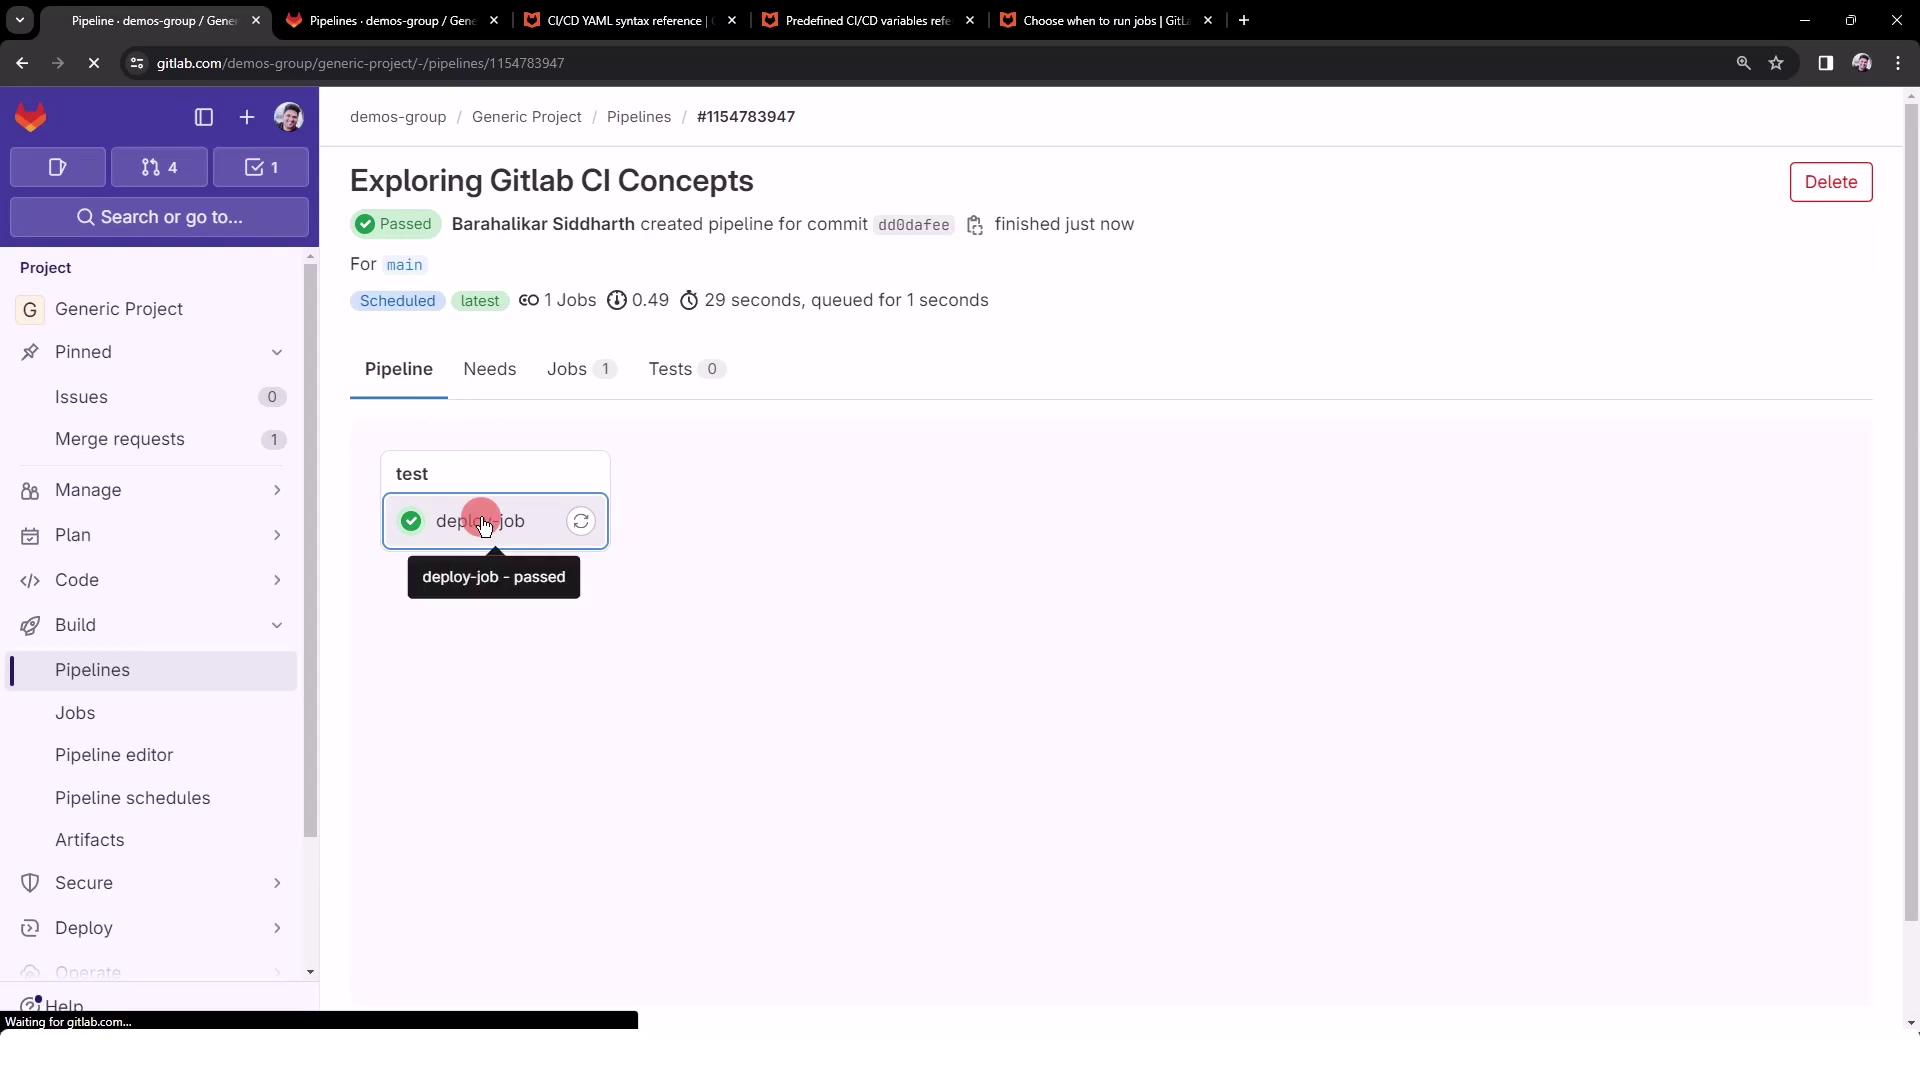
5. Trigger and Verify the Scheduled Pipeline
- Click the Play icon to start a run immediately.
- Go to CI/CD > Pipelines and look for a pipeline tagged scheduled.
- Open the pipeline, then click the job (
deploy-job) to review logs.