

.gitlab-ci.yml, manage sensitive MongoDB credentials via CI/CD variables, and ensure your NodeJS tests run reliably.
1. Initialize GitLab CI/CD Configuration
Start by creating a new file named.gitlab-ci.yml at your repository root. Define the pipeline stages and add a placeholder build job:
Explicit stages improve readability and make it easier to extend the pipeline with additional jobs.
2. Define Workflow Rules
Specify when the pipeline should trigger by adding aworkflow section with conditional rules:
3. Add the Unit Testing Job
Next, define theunit_testing job in the test stage. This job uses the official NodeJS Docker image, installs dependencies, and runs tests with Mocha:
feature/* will trigger a pipeline run.
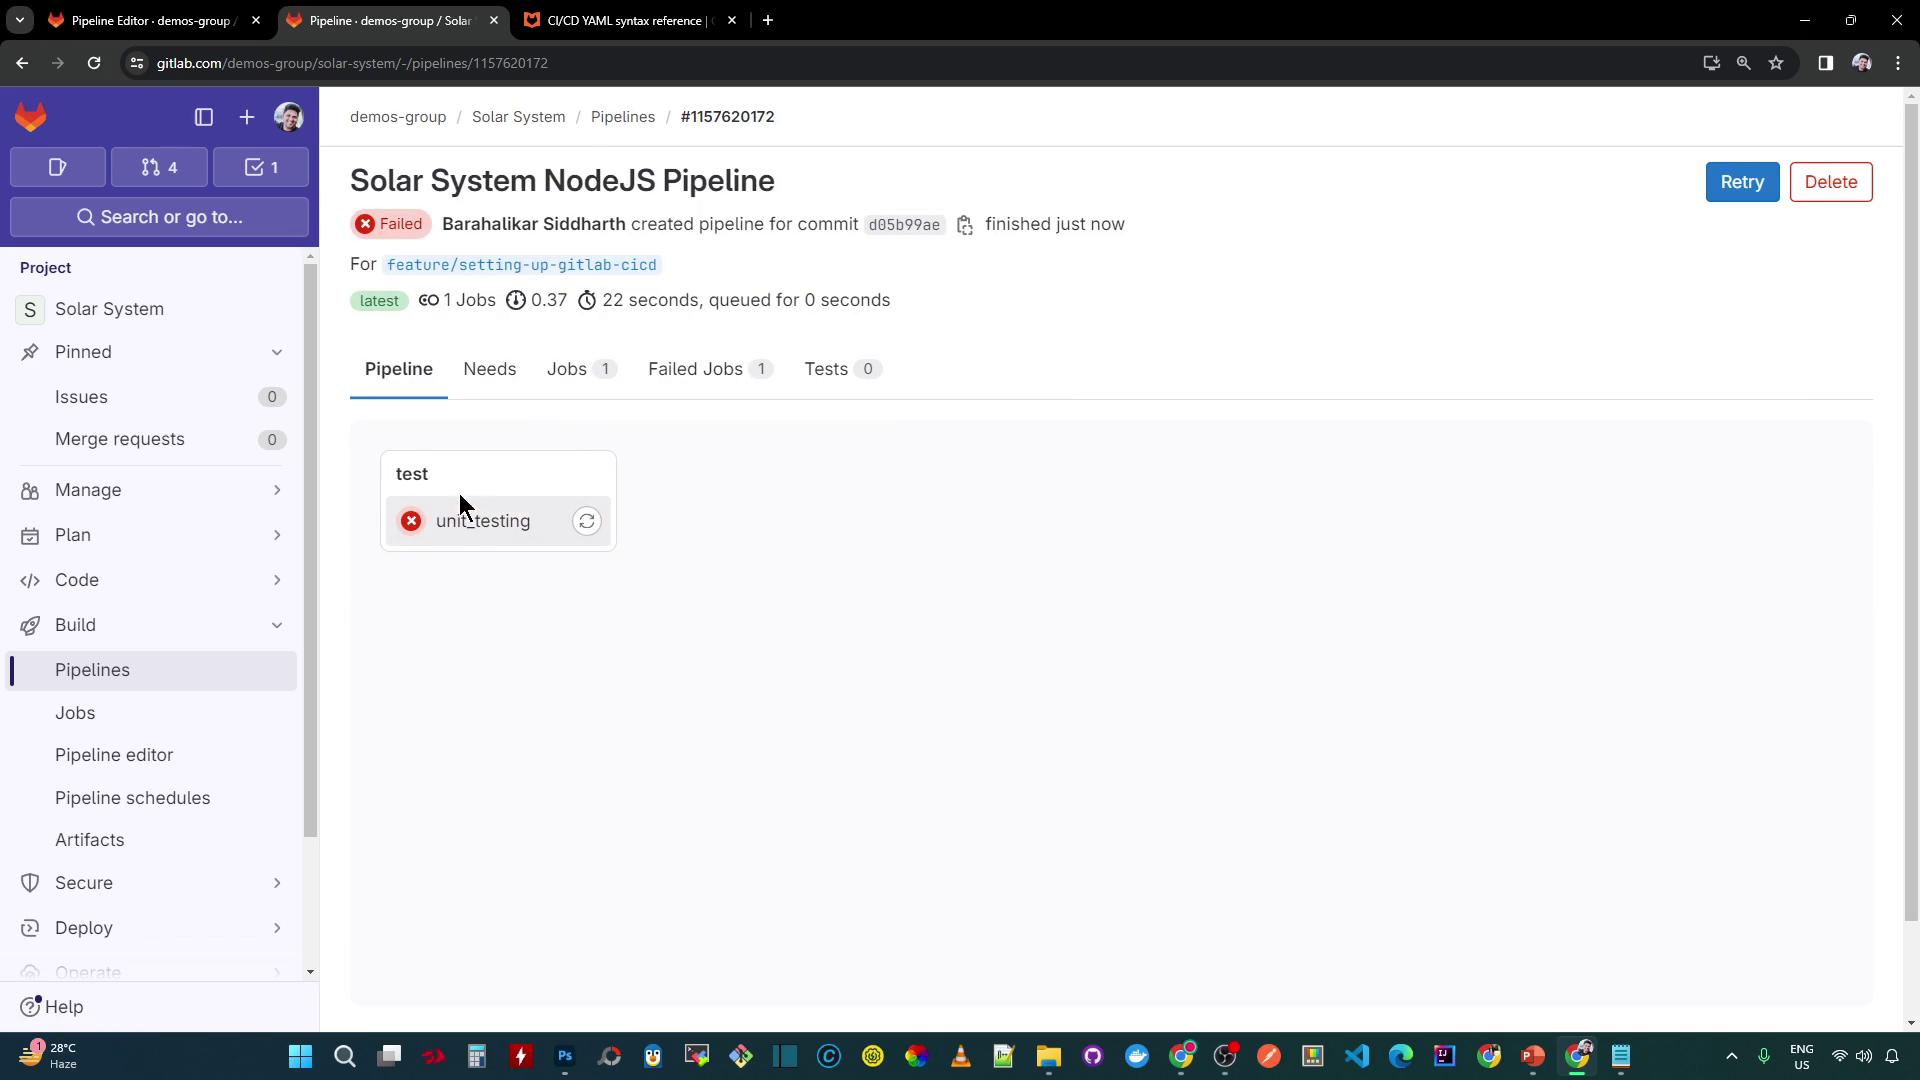
4. Diagnose the Test Failure
Inspect the job logs. The runner pulls the NodeJS image and installs packages, butnpm test fails with a Mongoose connection error. Our application code in app.js relies on environment variables:
5. Supply Environment Variables
Add avariables section at the top of your .gitlab-ci.yml to inject the connection details:
Never expose plain-text passwords in your repository. Always use masked CI/CD variables for credentials.
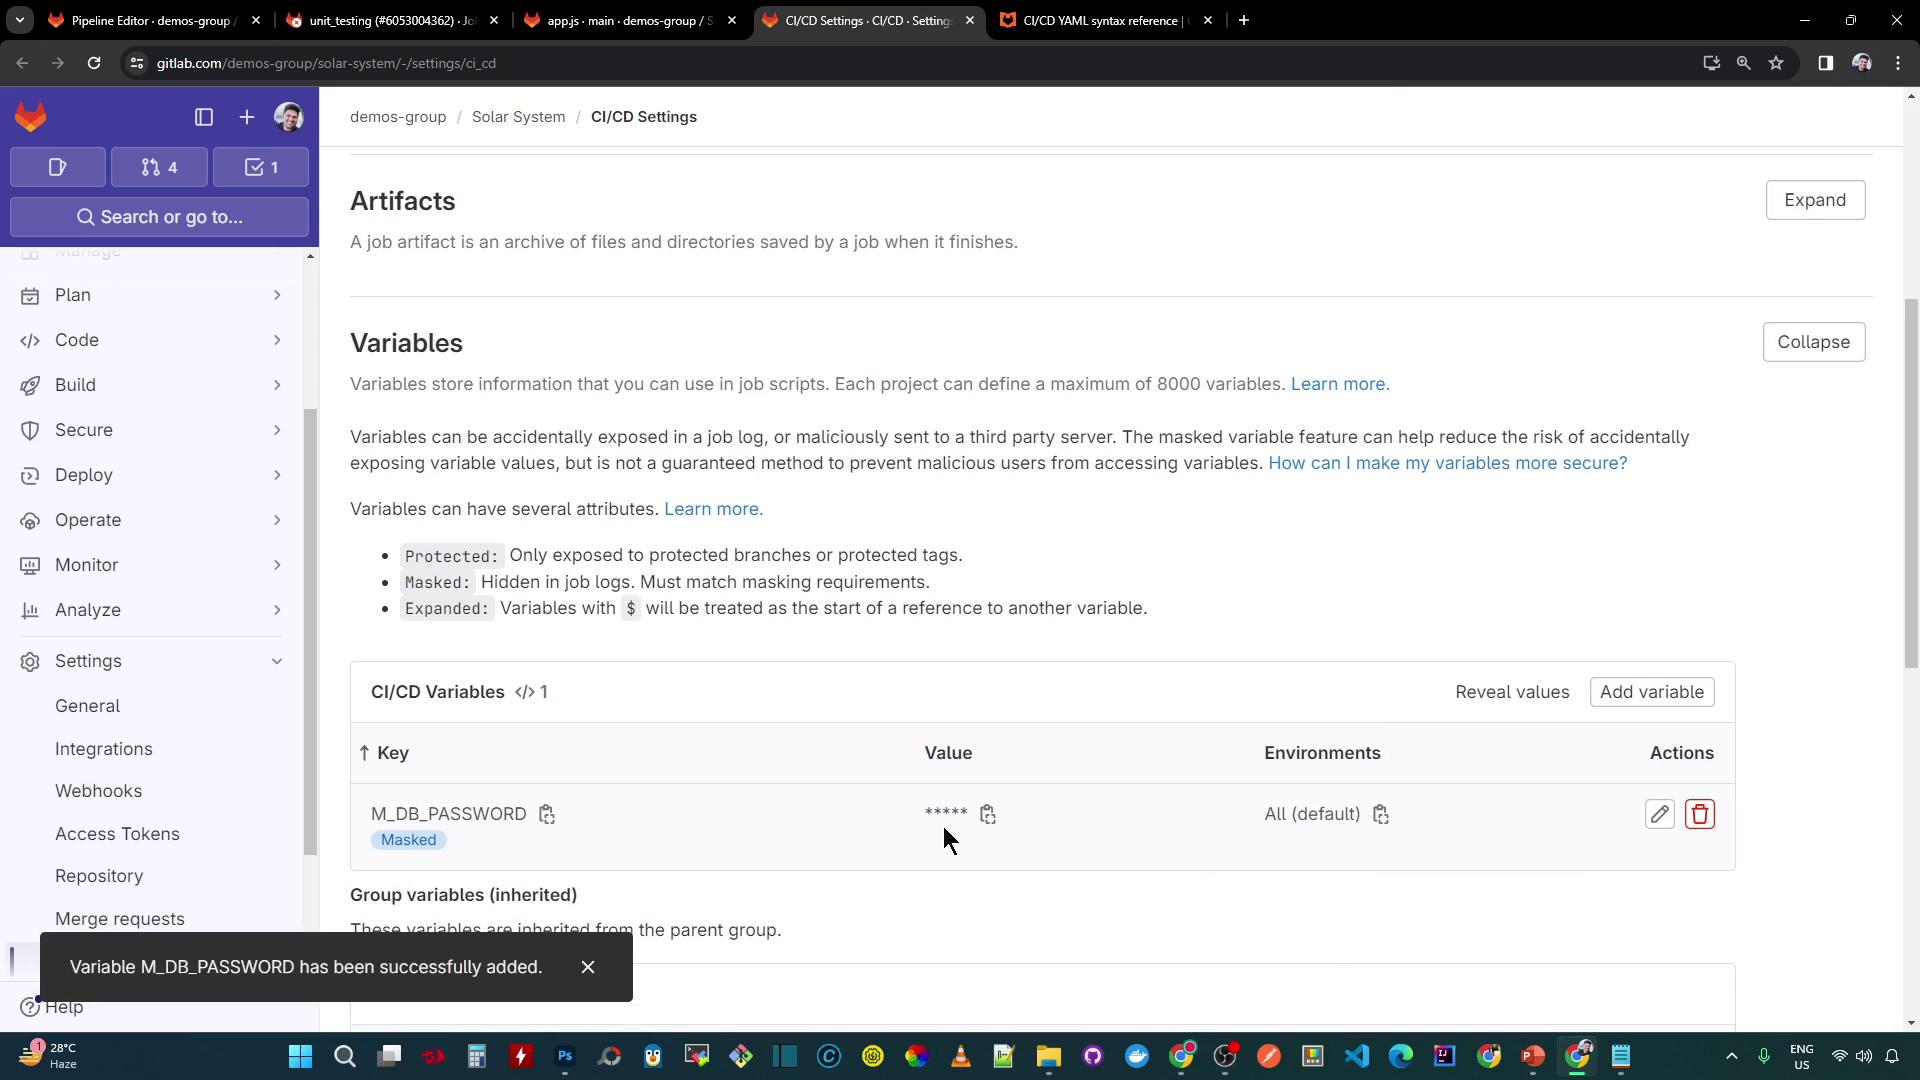
6. Configure Masked Variables in GitLab
In your GitLab project, navigate to Settings > CI/CD > Variables. Create a new variable:- Key:
M_DB_PASSWORD - Value: (your database password)
- Masked: ✔
- Protected: as required
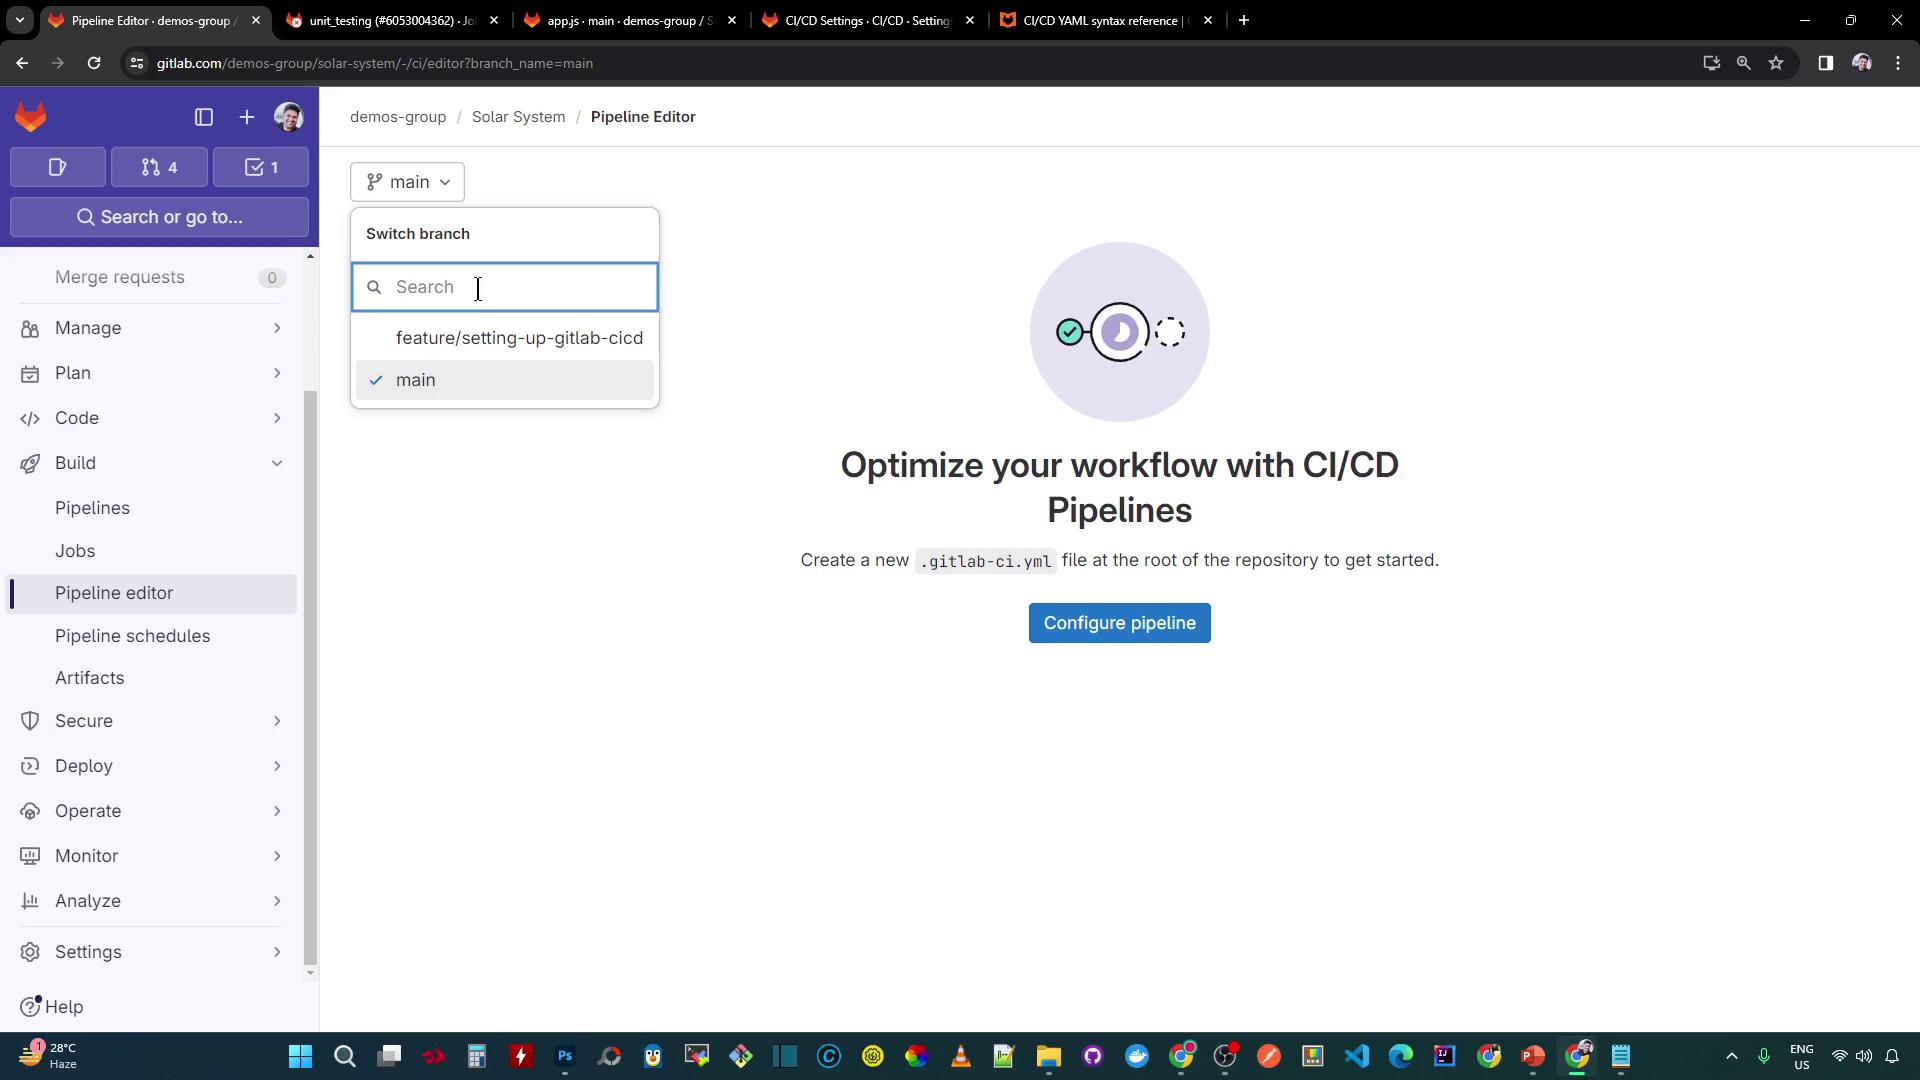
.gitlab-ci.yml:
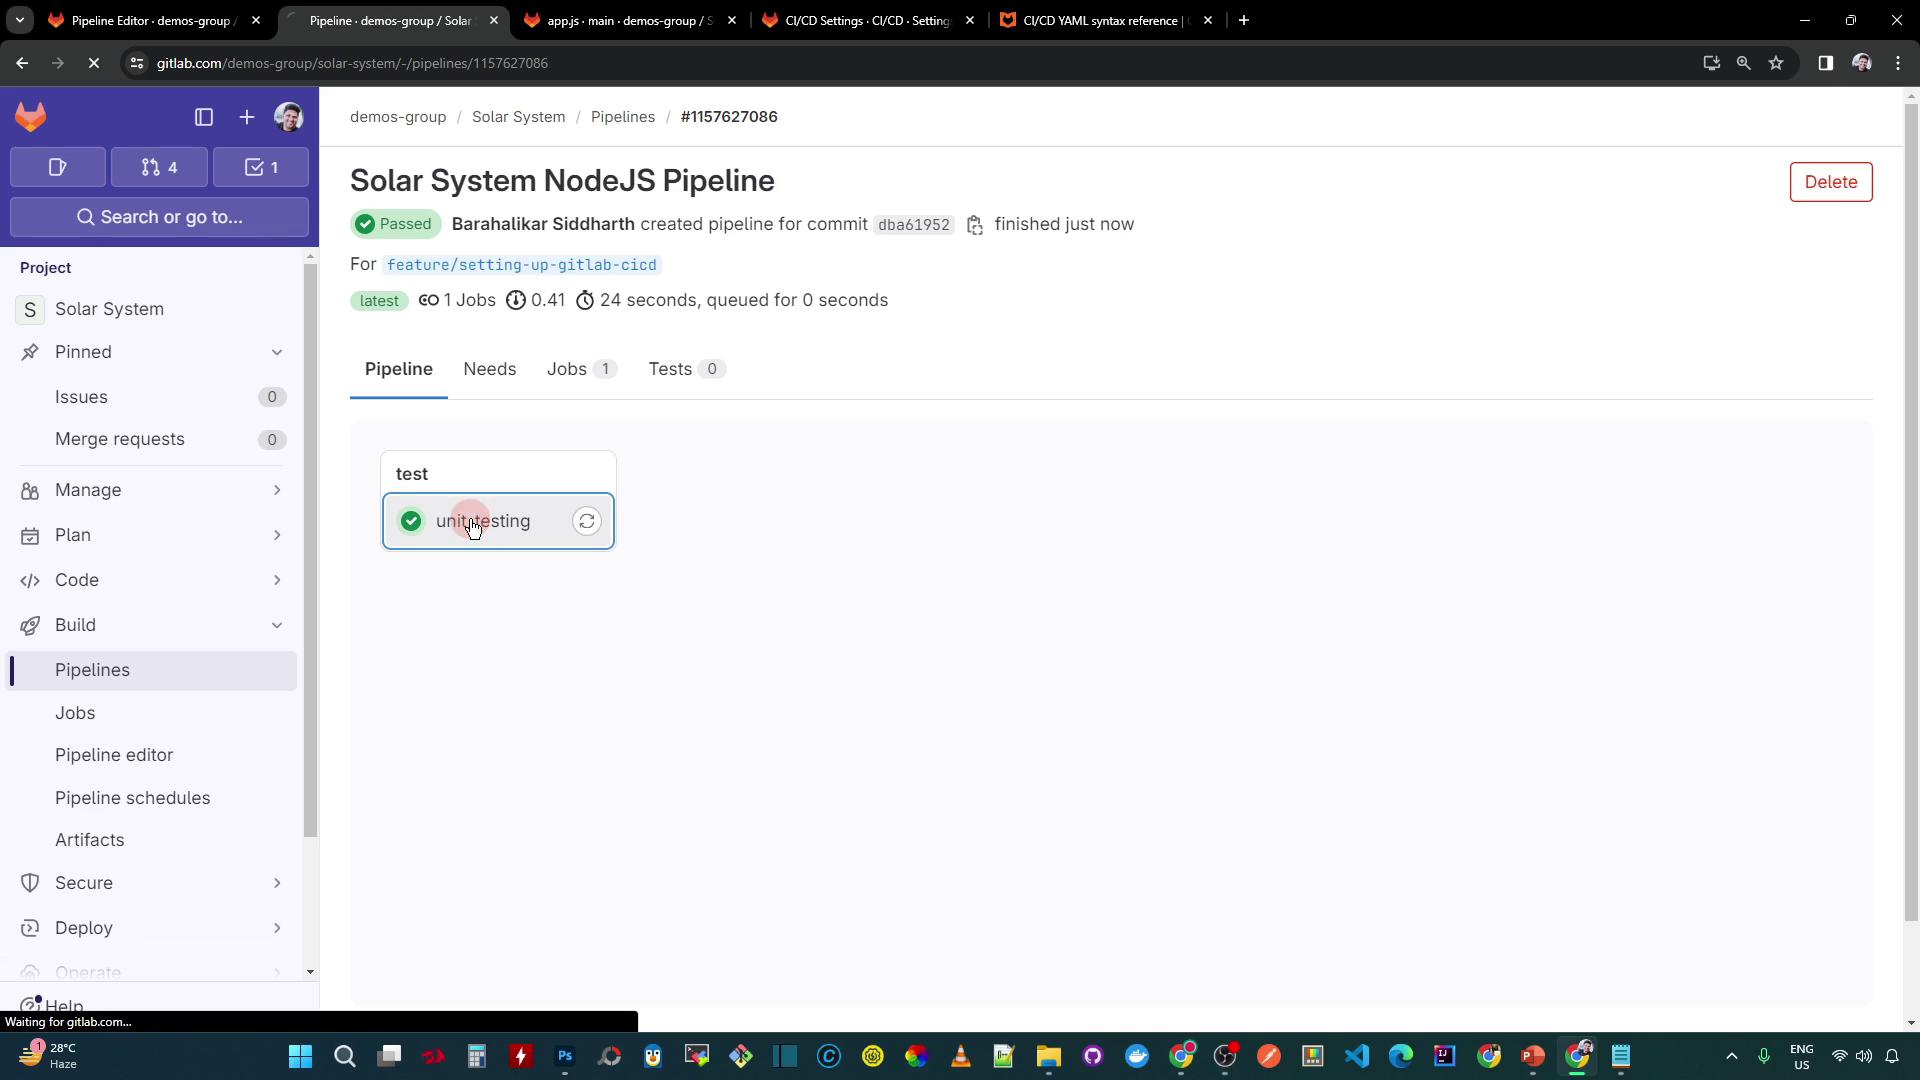
7. Verify the Successful Pipeline
A new pipeline should start automatically. This time, theunit_testing job completes successfully:
8. Review the Test Logs
The job log confirms the install and test steps:artifacts keyword.
References
- GitLab CI/CD Documentation
- Node.js Docker Images
- Mocha Test Framework
- Environment Variables in GitLab CI/CD