

- Restoring an existing cache
- Updating dependencies locally
- Detecting a cache miss in the pipeline
- Rebuilding and saving a new cache
- Manually clearing the cache via the GitLab UI
1. Restoring the Existing Cache
When you run your pipeline without modifying dependencies, GitLab CI restores the cache using a key derived from the SHA ofpackage-lock.json.
npm install step.
GitLab CI uses the contents of
package-lock.json to generate a unique cache key. Any modification to this file produces a new key.2. Updating Dependencies Locally
To demonstrate cache invalidation, we’ll add nodemon as a dev dependency. Nodemon automatically restarts your Node.js server on file changes.-
Switch to your feature branch
-
Install
nodemonand update lockfiles -
Verify changes in
package.json -
Commit and push
3. Observing Cache Invalidation in the Pipeline
After pushing, the pipeline’s unit testing job will attempt to restore the cache with a newly generated key. Becausepackage-lock.json changed, GitLab cannot find the old cache.
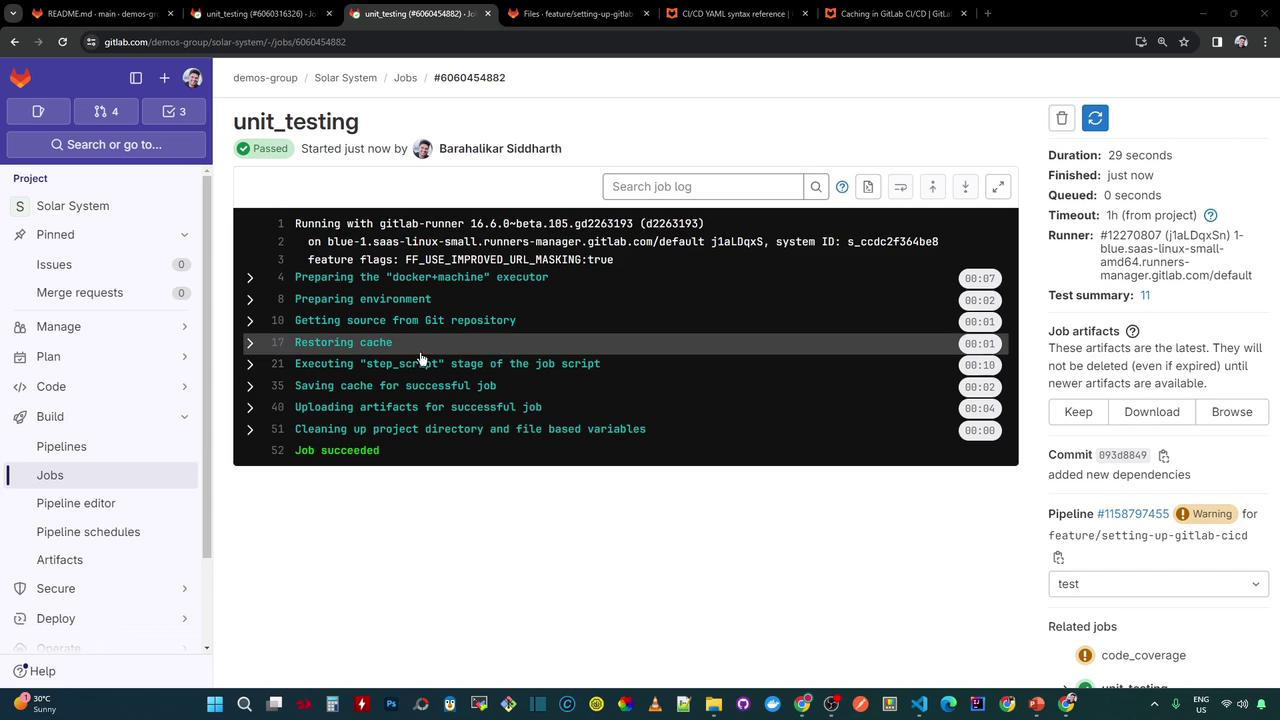
Because the key changed, GitLab reports a cache miss and proceeds to install dependencies from scratch.
4. Rebuilding and Saving the New Cache
On cache miss, the job runsnpm install again:
nodemon.
5. Manually Clearing the Cache
You can also clear all runner caches for your project via the GitLab UI:- Go to CI/CD > Pipelines
- Click Clear runner caches
- Confirm the action
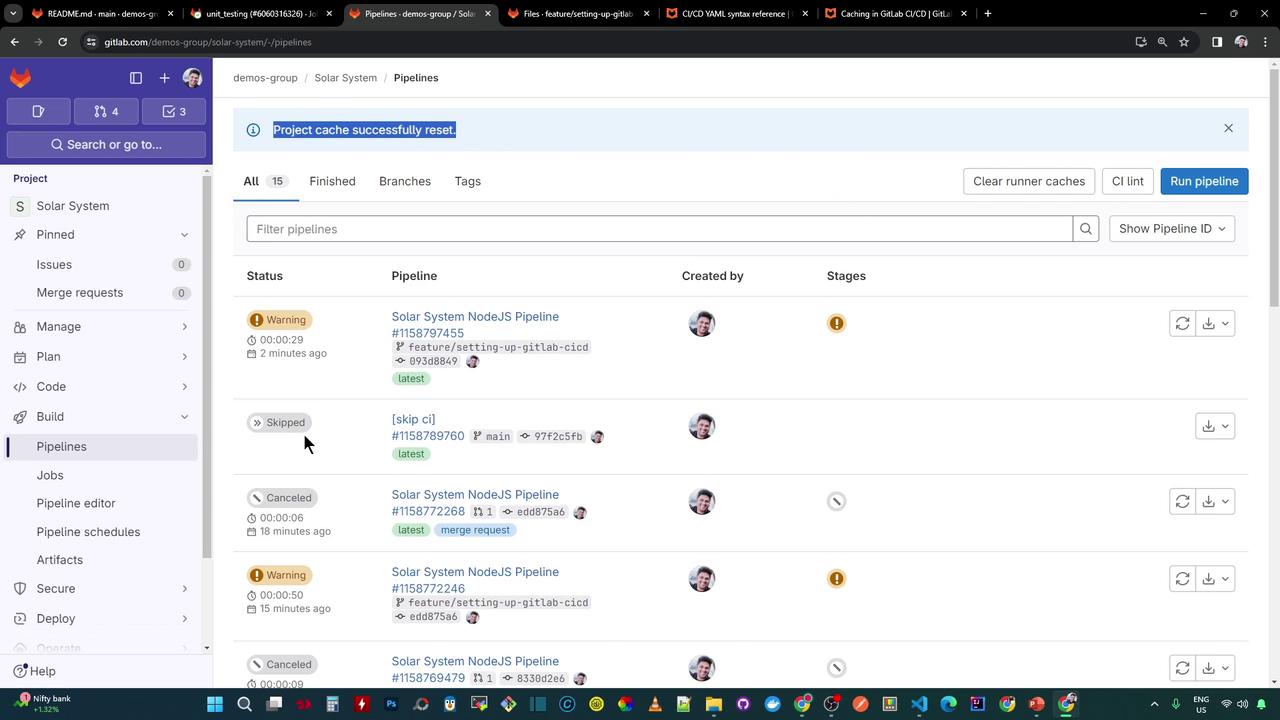
Clearing caches will remove all stored artifacts, potentially increasing build times until caches are rebuilt.