- Defining a basic pipeline.
- Selecting your self-managed runner with tags.
- Troubleshooting shell-profile issues.
- Installing Node.js on the runner VM.
- Caching npm dependencies between runs.
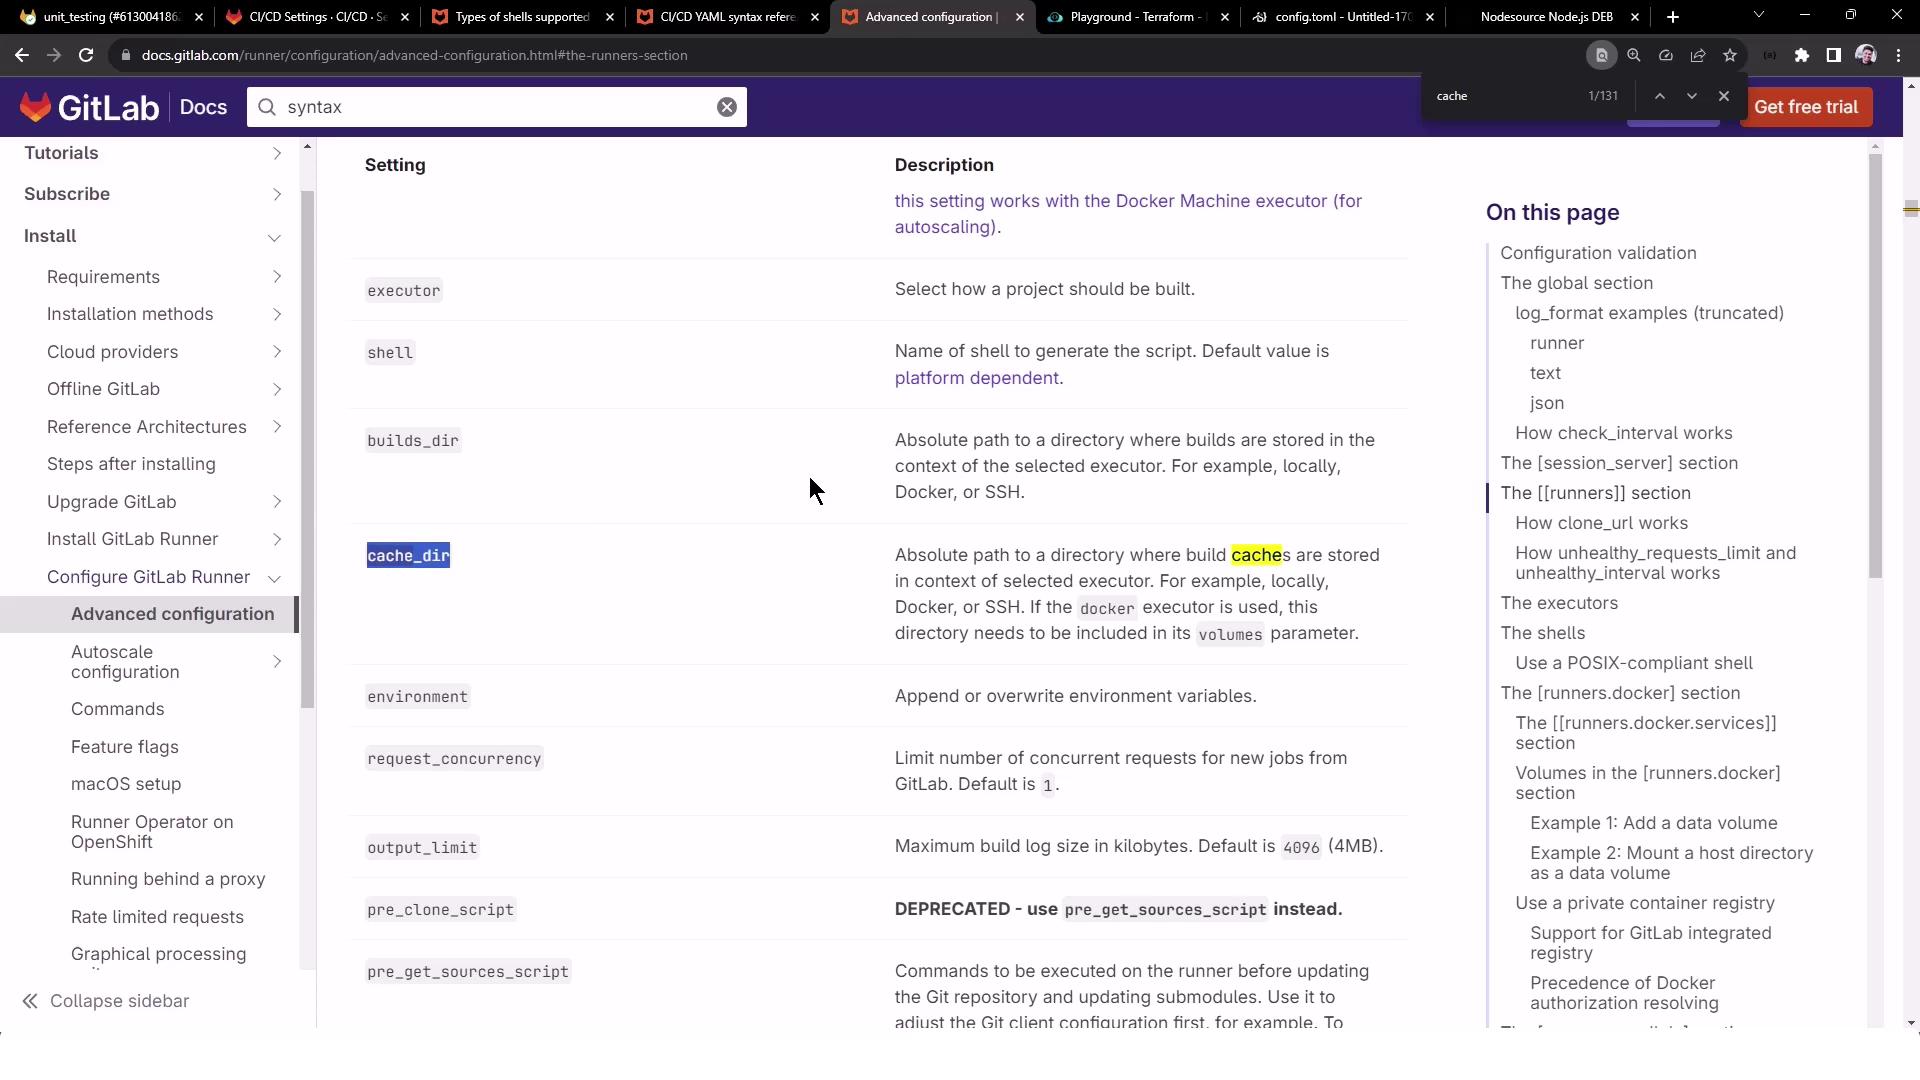
- Customizing the runner’s cache directory.
1. Basic Pipeline Configuration
Begin by creating a simple.gitlab-ci.yml that runs unit tests against your Node.js project. This example sets up environment variables, uses stages, and caches node_modules to speed up subsequent runs.
2. Selecting the Self-Managed Runner
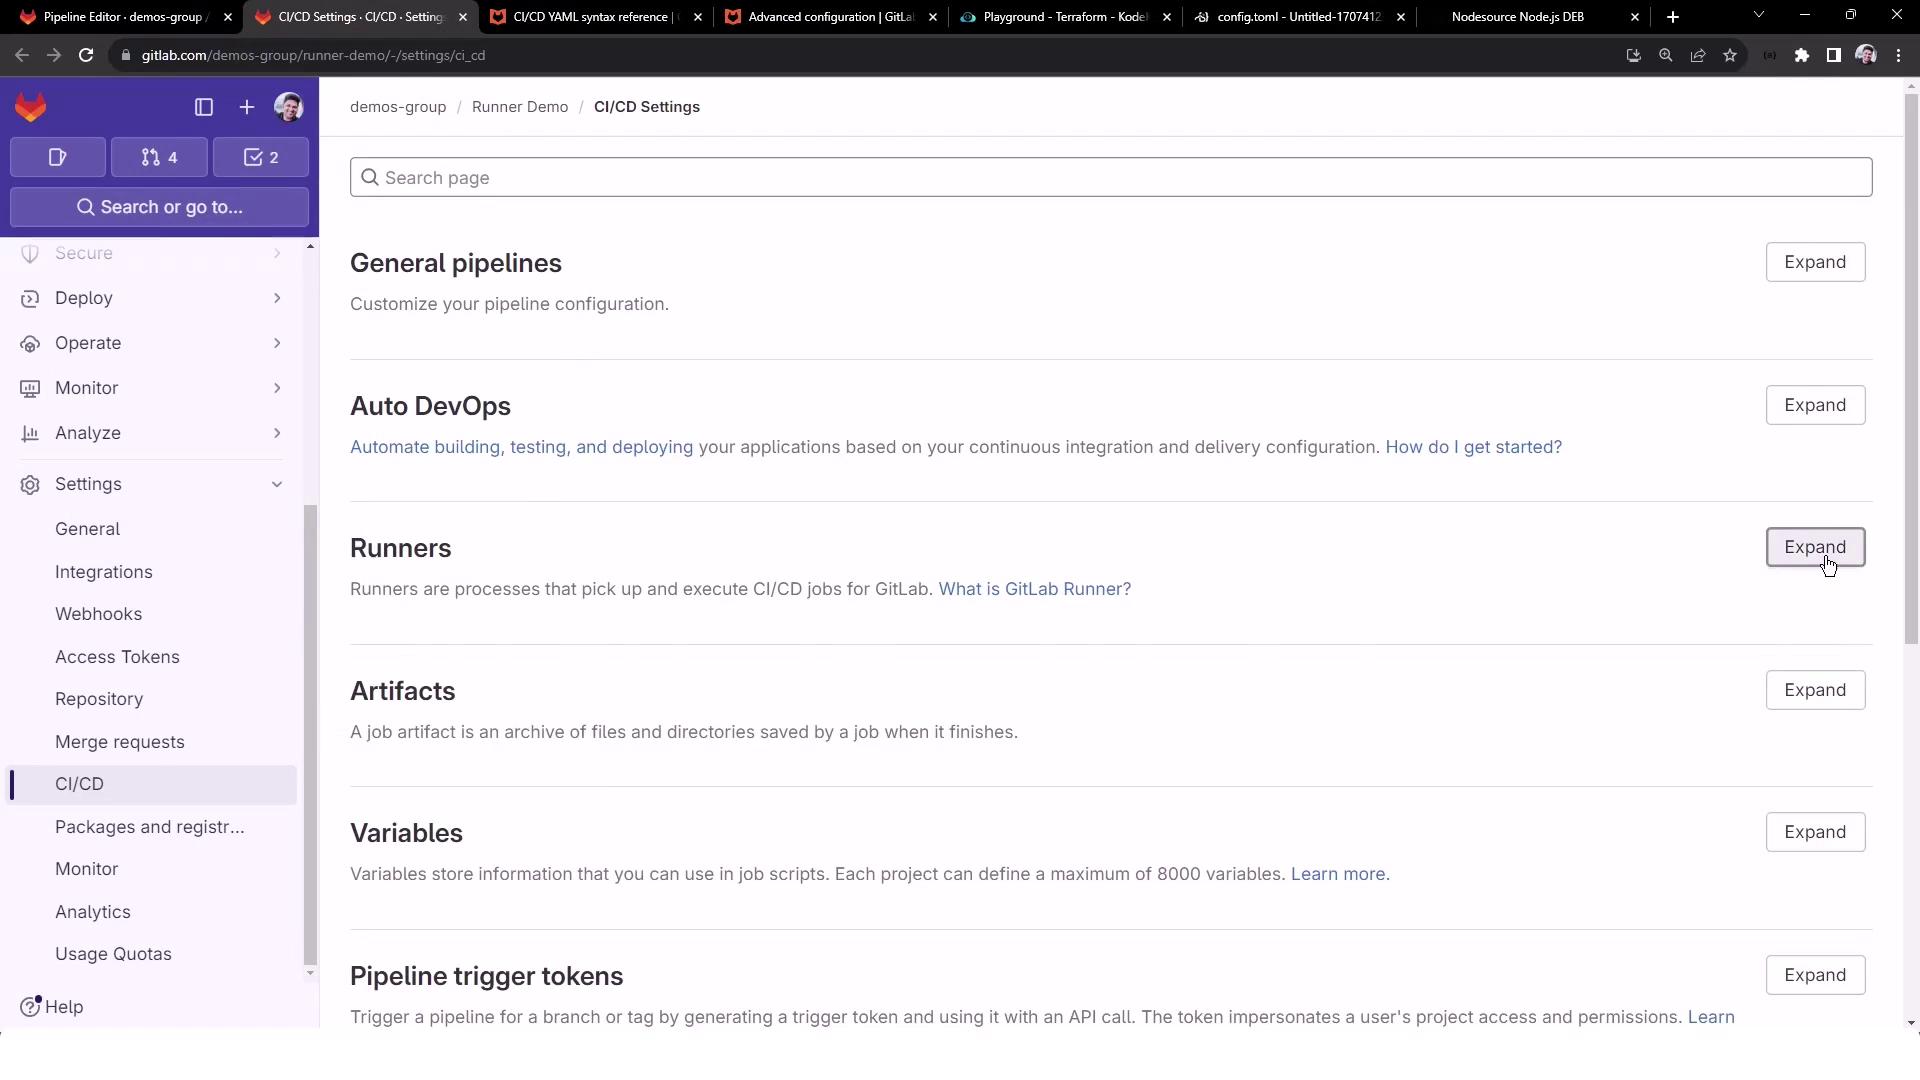
To ensure jobs land on your Shell executor, add the same tags you used during runner registration:Runner tags must match exactly (case-sensitive). Review Settings > CI/CD > Runners in your project to confirm tag names.
3. Troubleshooting Shell-Executor Profiles
If the job fails during prepare environment, you might see: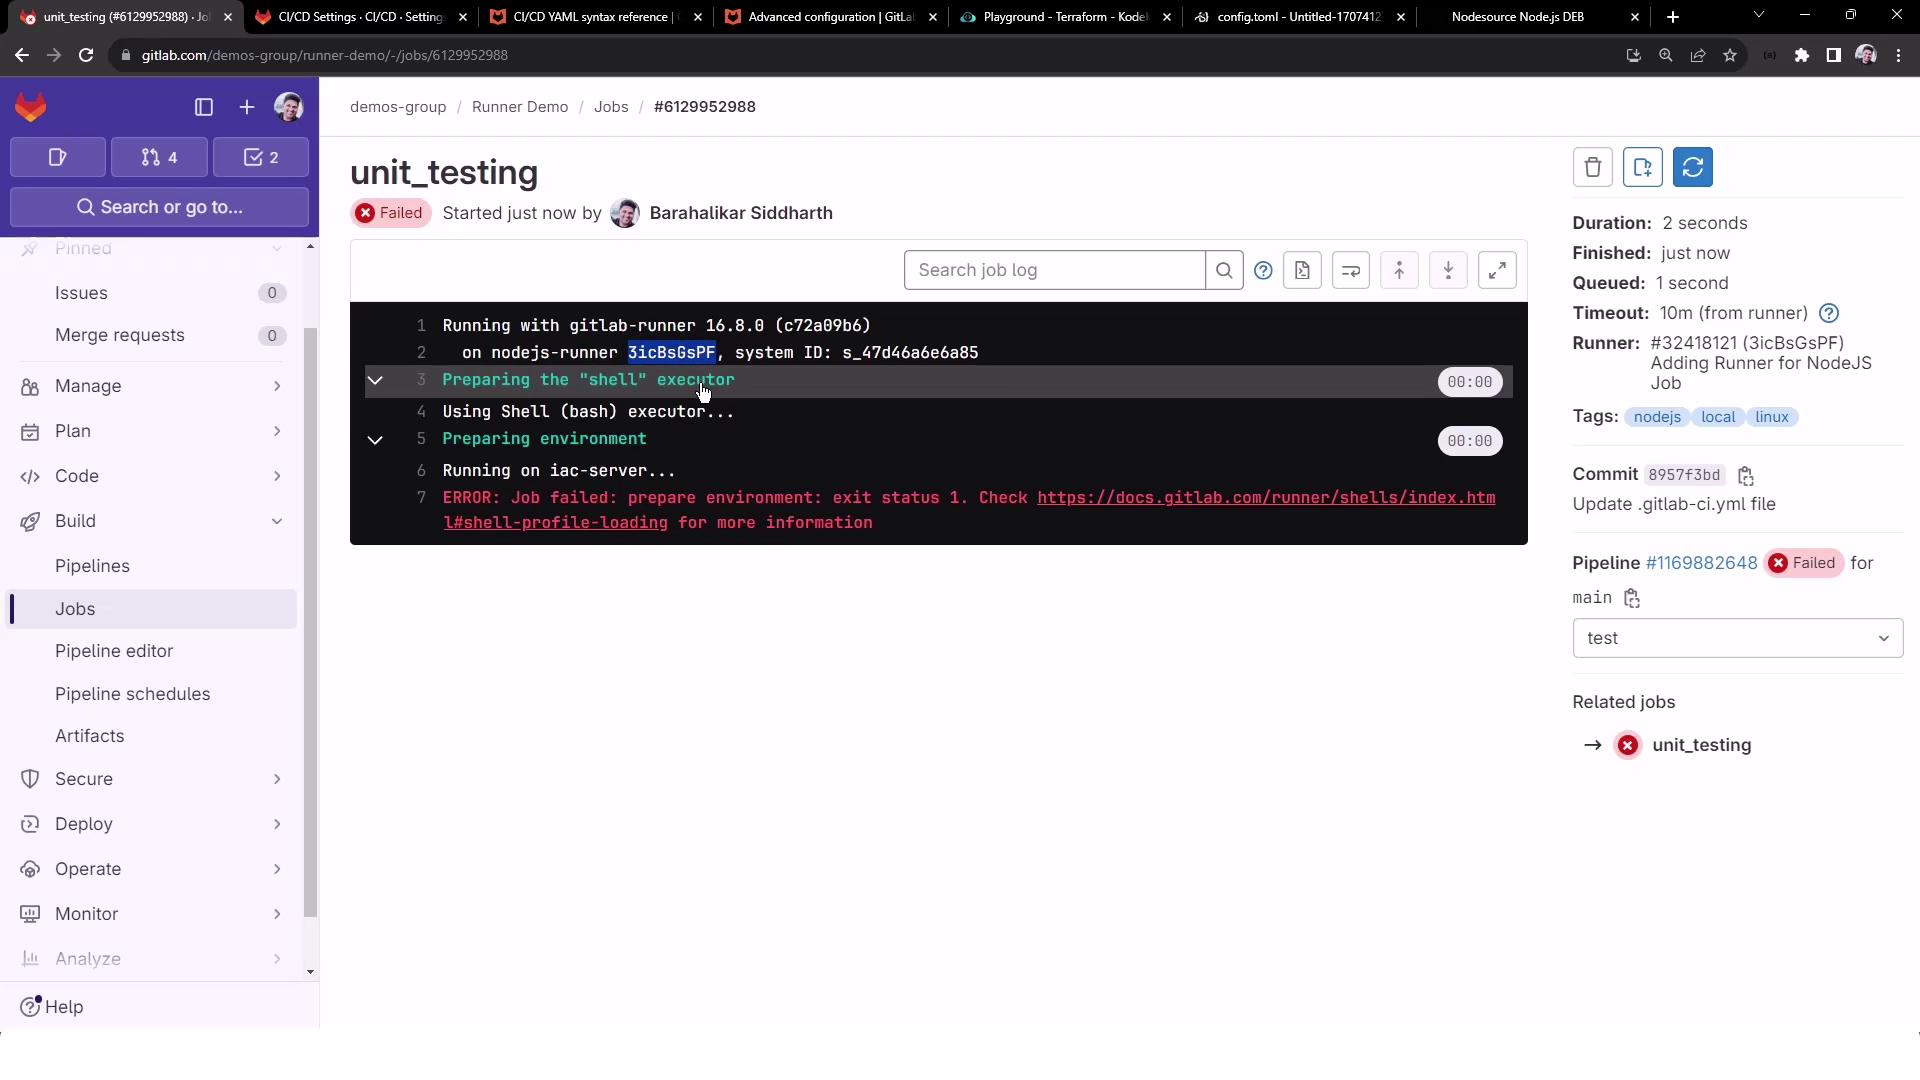
~/.bash_logout:
clear_console lines, commit the update, and rerun the pipeline.
Modifying shell profiles on production runners can affect all jobs. Always back up files before editing.
4. Installing Node.js on the Runner
Since the Shell executor uses your VM’s environment, you must install Node.js globally:npm install and npm test should now succeed.
5. Caching Dependencies for Faster Builds
Your pipeline’s cache settings will automatically savenode_modules on success:
6. Customizing the Runner’s Cache Directory
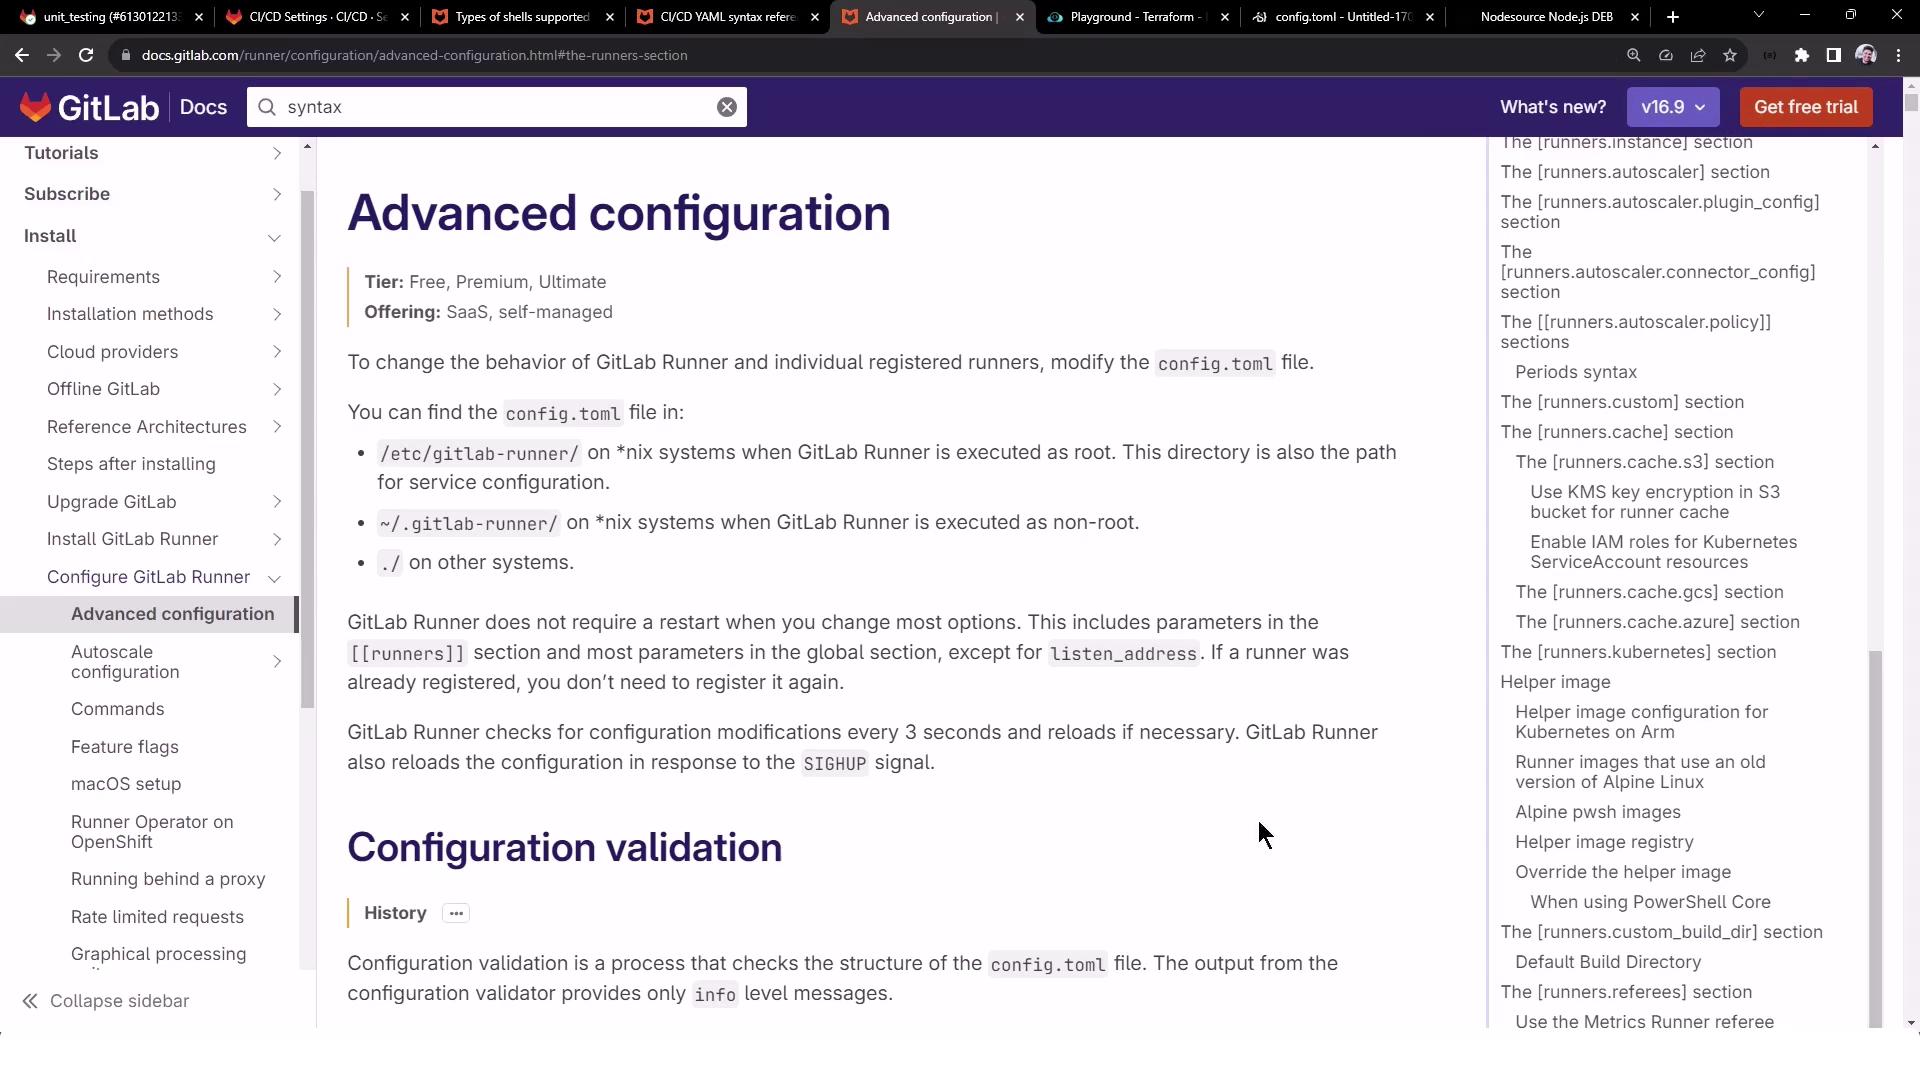
By default, caches live under GitLab Runner’s home folder. To change it, update/etc/gitlab-runner/config.toml:
cache_dir: