

Inspecting Cluster Nodes on GKE
Make sure you’ve authenticated with GKE and set up
kubectl (or aliased as k) using:Viewing Namespaces and the NGINX Ingress Controller
Show all namespaces:ingress-nginx namespace and inspect its resources:
- A Deployment managing the Ingress Controller pod
- A
LoadBalancerService exposing a public IP
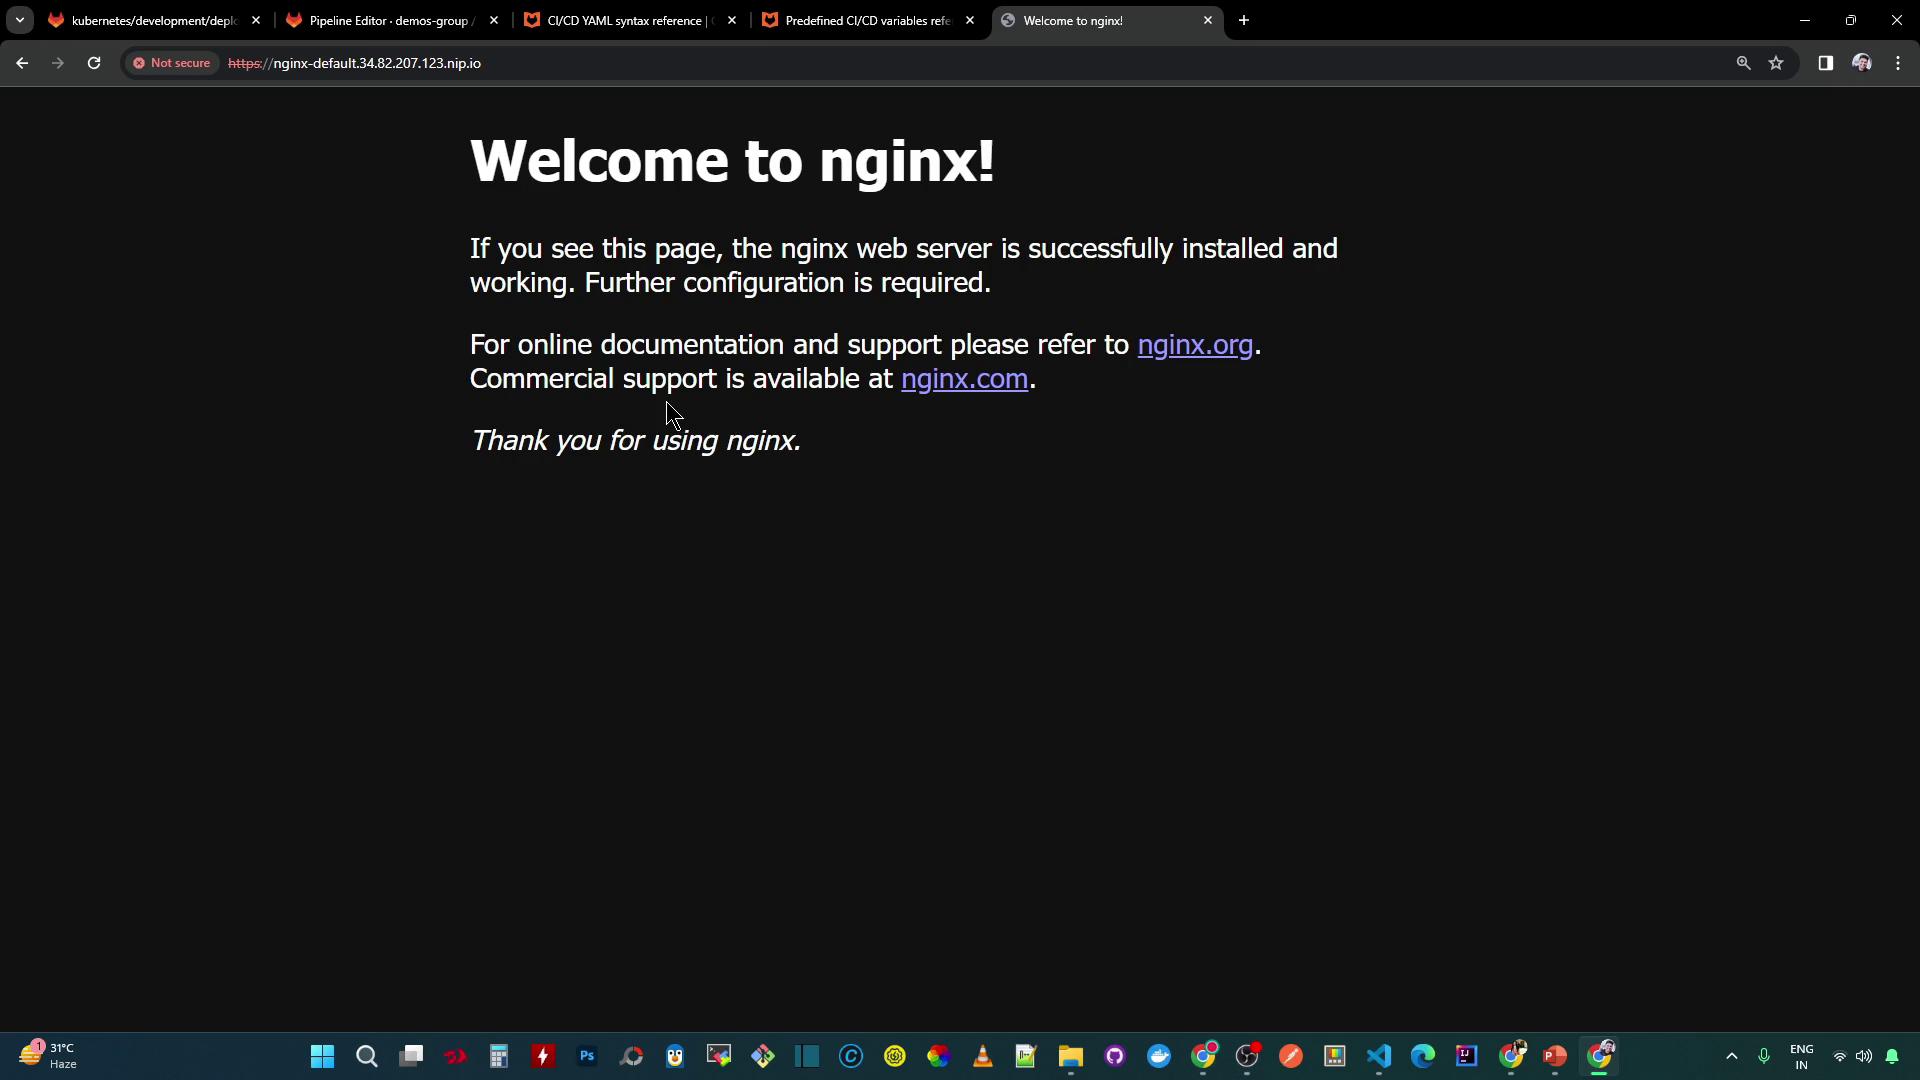
Deploying a Sample NGINX Application
In thedefault namespace, the following resources route traffic through the Ingress Controller:
The default Ingress TLS certificate is self-signed. Browsers will warn before displaying the NGINX welcome page.
Configuring kubectl and kubeconfig for CI/CD
To automate deployments in GitLab CI, ensurekubectl is installed and authenticated via kubeconfig.
Check client and server versions:
gitlab-cluster-admin) should authenticate your GitLab CI jobs.
Creating Namespaces for Environments
Instead of separate clusters, use dedicated namespaces to isolate development and staging workloads:Kubernetes CLI Command Reference
Links and References
- Google Kubernetes Engine (GKE)
- Kubernetes Ingress NGINX Controller
- kubectl CLI Reference
- GitLab CI/CD Pipeline Configuration