

test-results.xml) to an S3-compatible object store (AWS S3 or MinIO). We’ll define a reusable local template and then include it in our pipeline.
1. Review Existing Test Jobs
In the Solar System repository, two jobs already generate test artifacts:test-results.xml from the unit_testing job and push it into our S3-compatible bucket.
2. Set Up MinIO
MinIO is an open-source, high-performance object storage compatible with AWS S3 APIs. After installing and starting MinIO:-
Sign in at the browser UI
Username:minioadmin
Password:minioadmin -
Create a bucket named
solar-system-reports-bucket:
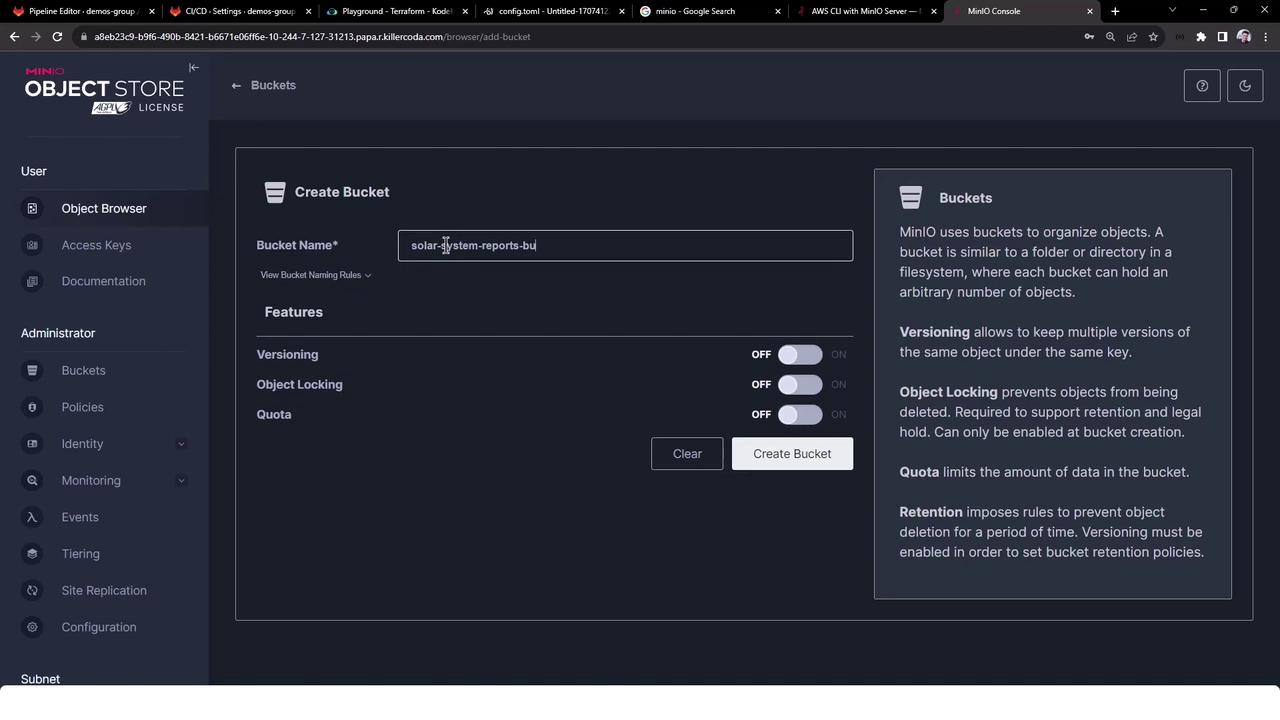

Keep your MinIO credentials (
minioadmin:minioadmin) and endpoint (https://<MINIO_SERVER_API>:<PORT>) secure. Consider using GitLab CI/CD variables.3. Create a Local Template
We’ll define a reusable job intemplates/aws-reports.yml. Open your Web IDE, create the templates/ folder, and add:
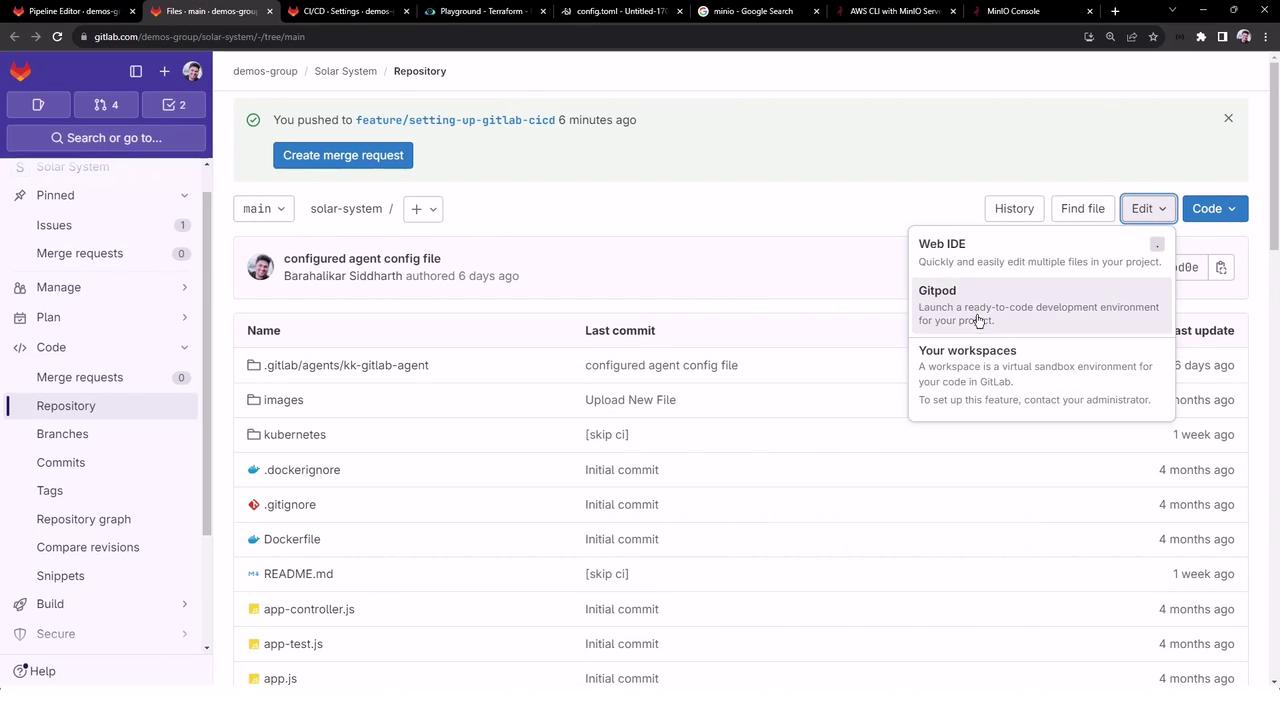
Replace
Use protected CI/CD variables for credentials.
MINIO_URL with your actual MinIO endpoint (including port).Use protected CI/CD variables for credentials.
4. Integrate the Template in .gitlab-ci.yml
Include and invoke the template in your main CI file:
Pipeline Stages
If you’re using self-managed runners, ensure the tags (
docker, linux, aws) match your runner configuration, or enable untagged jobs.5. Verify Your Runners
Confirm that your group-level or project runner is online and tagged correctly: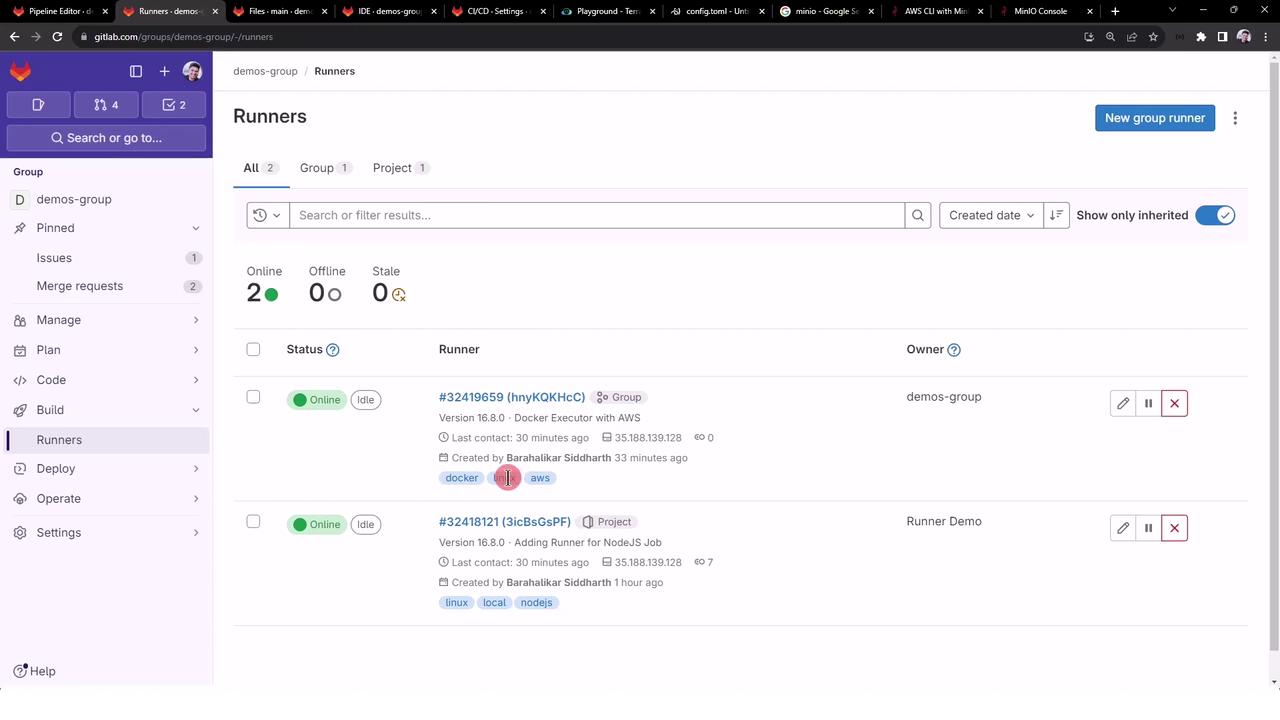
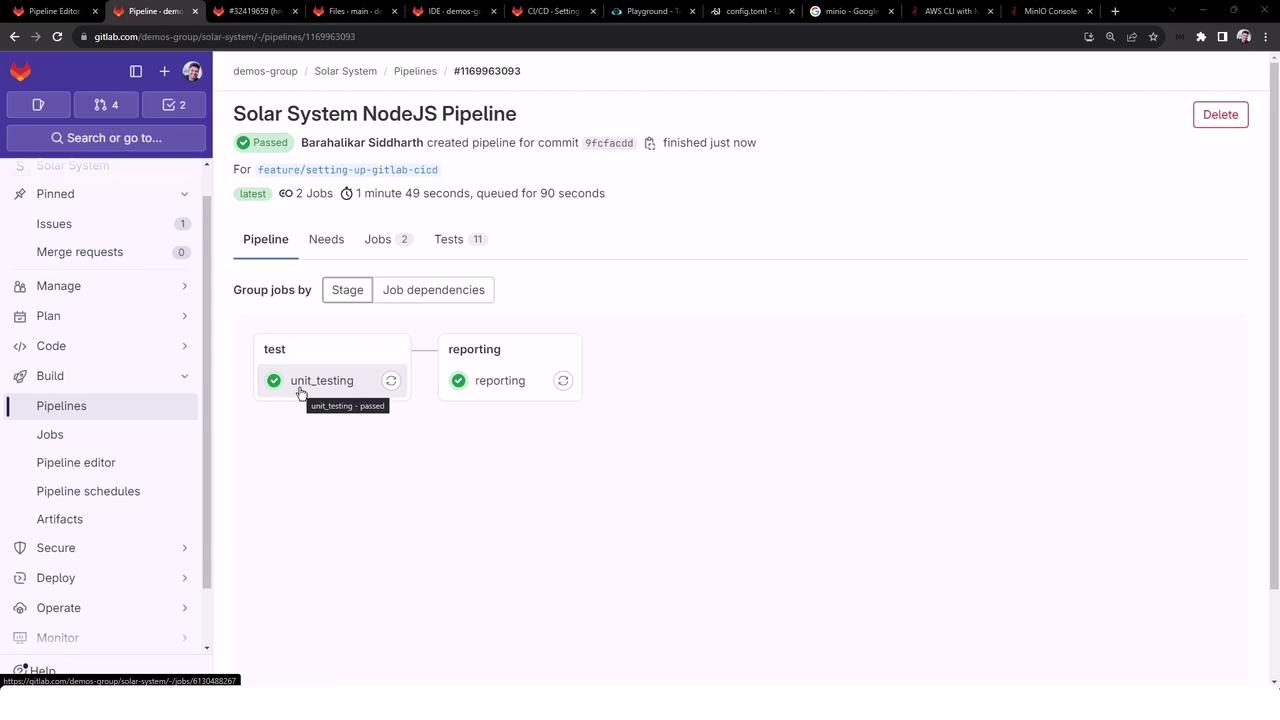
6. Execute the Pipeline
Trigger a pipeline onmain or any feature/* branch. If tags or permissions are misconfigured, jobs may stay pending.
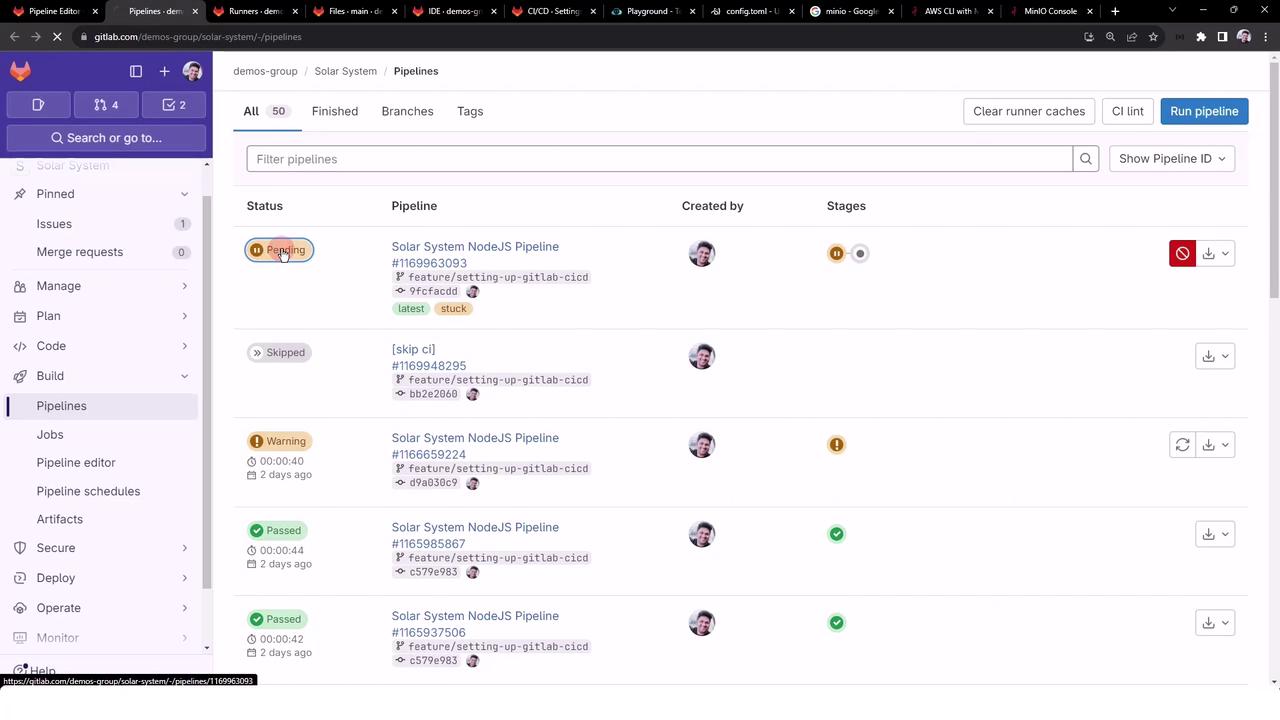
unit_testing and reporting will pass:
Sample Job Logs
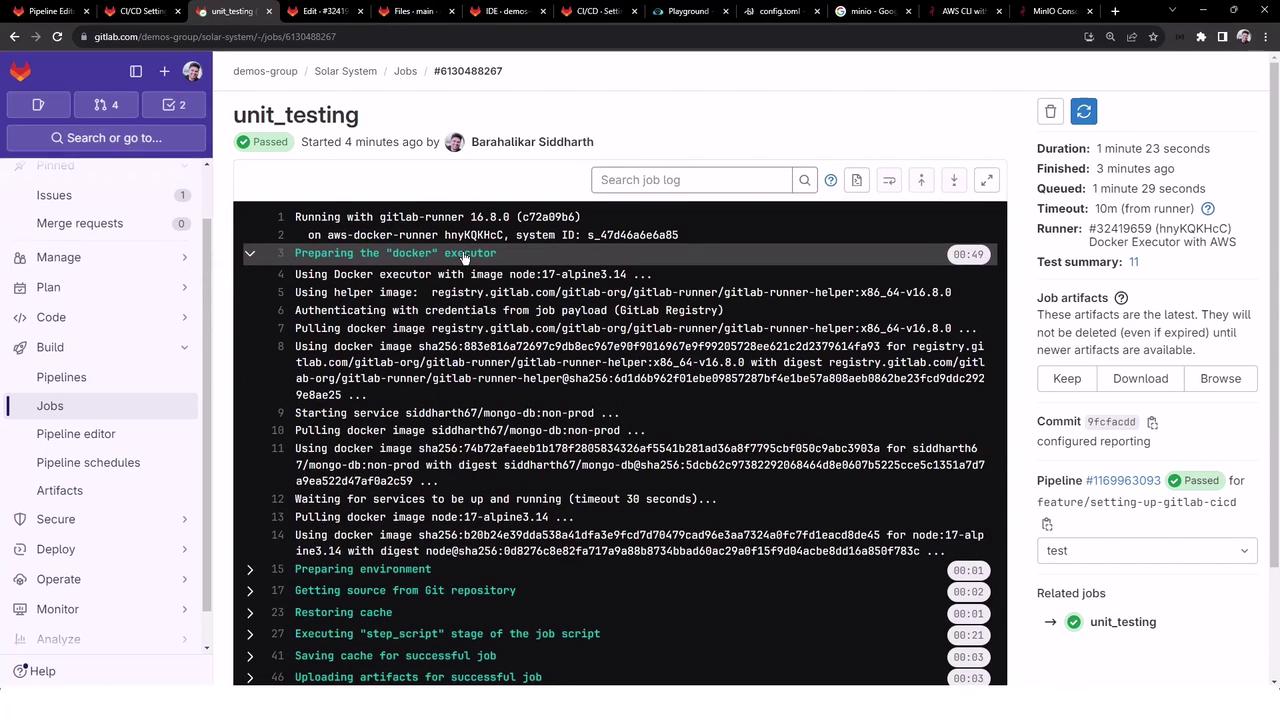
7. Verify in the MinIO Console
Open the MinIO browser again—you should now see thereports-<pipeline_id>/test-results.xml folder and file:
8. Runner Configuration Interface
Need to update tags, timeouts, or other settings? Visit your runner’s edit page: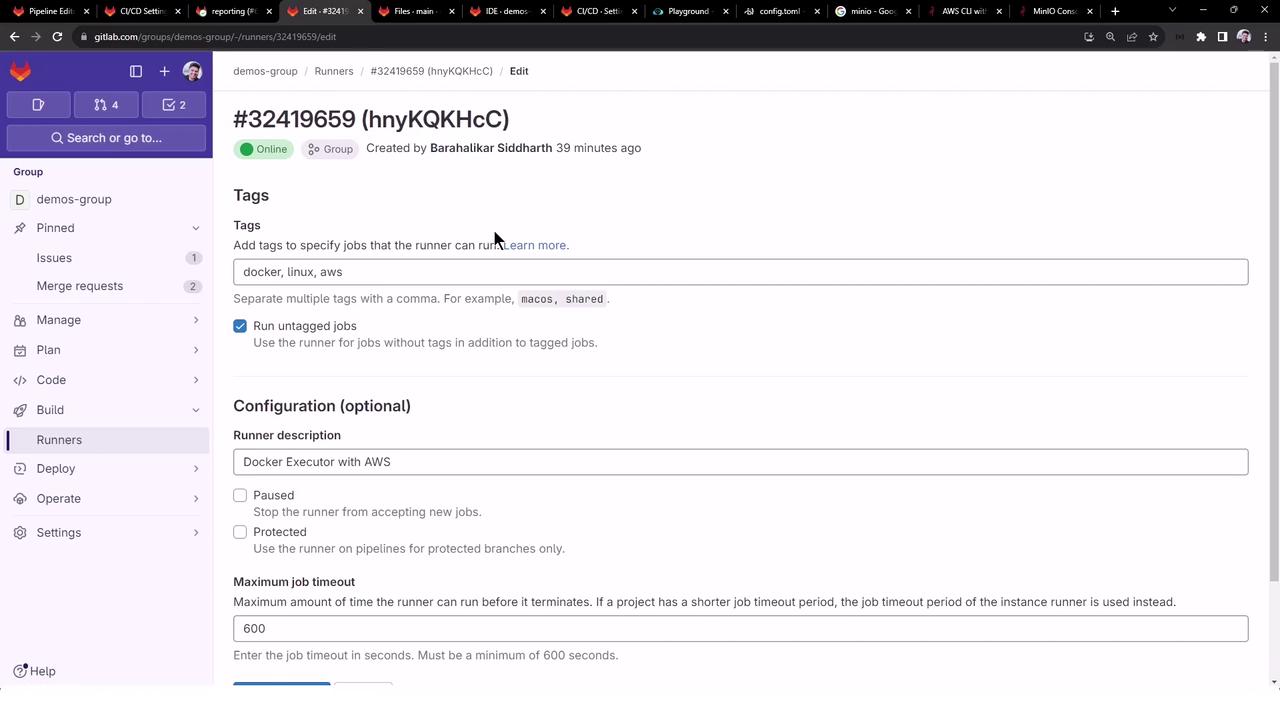
You now have a reusable local template that automates uploading GitLab CI test reports to any S3-compatible storage.