

Table of Contents
- Create a Group-Level Runner
- Register the Runner on Your Linux Host
- Check Runner Status in GitLab
- Review the Runner Configuration
- Verify Runner in a Project
- Links and References
1. Create a Group-Level Runner
-
Sign in to GitLab and navigate to your target group (e.g.,
demos). - In the left sidebar, select CI/CD > Runners.
- Under Group runners, click New group runner.
-
Enter the runner details:
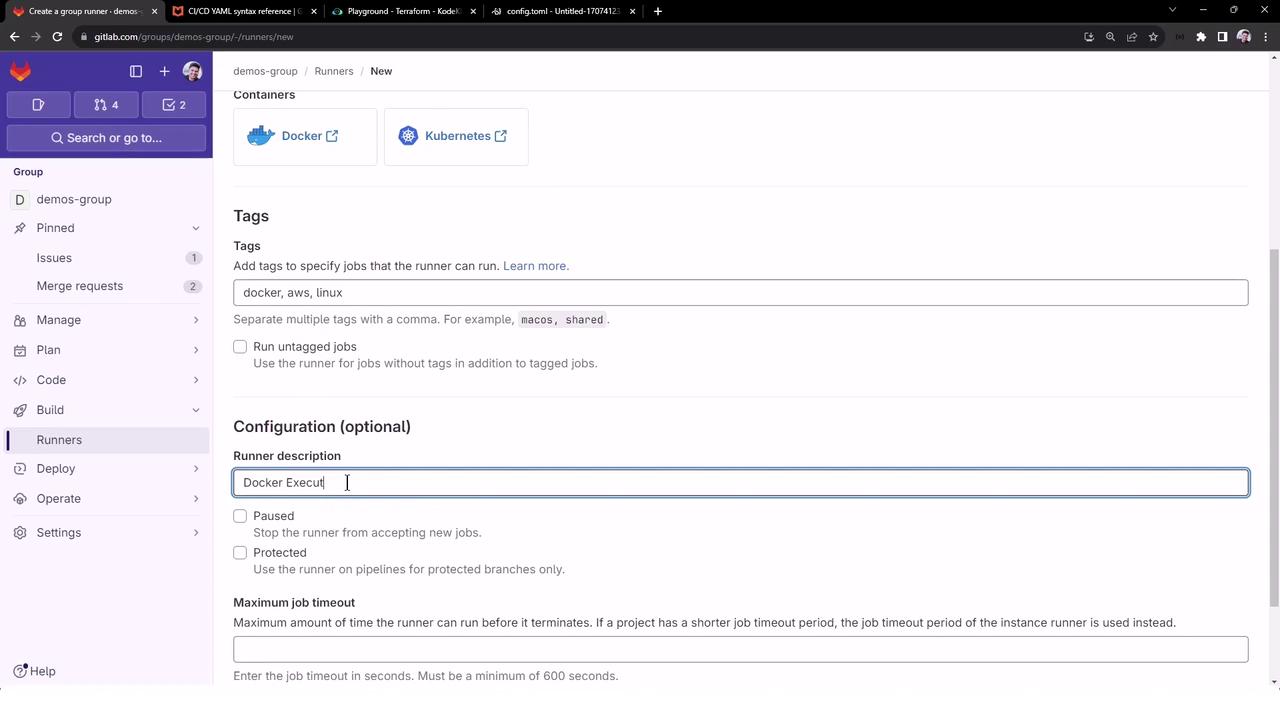
- Click Create runner. GitLab will display a registration token—copy it for the next step.
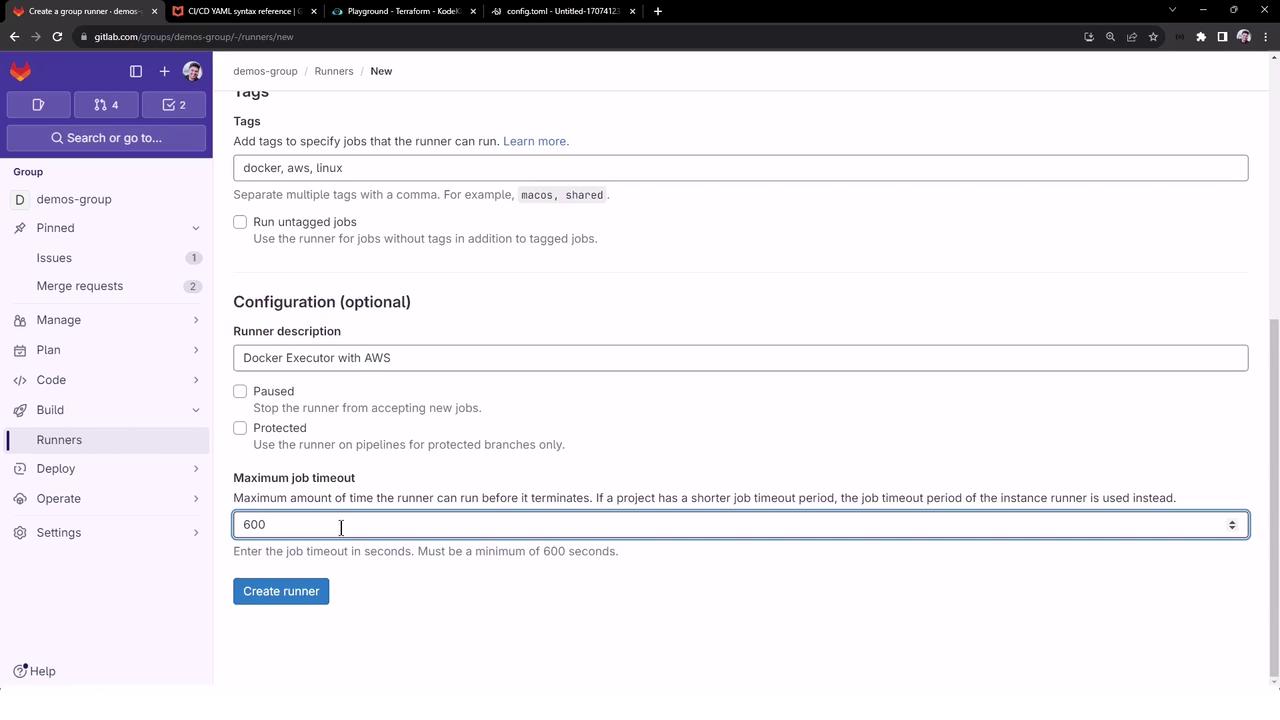
Keep your registration token secure. Anyone with this token can register additional runners to your group.
2. Register the Runner on Your Linux Host
If GitLab Runner is not yet installed, install and start it as a system service:- Enter a name for the runner:
aws-docker-runner - Enter an executor:
docker - Enter the default Docker image:
ruby:2.7
You can customize the default image per job in your
.gitlab-ci.yml using the image: keyword.3. Check Runner Status in GitLab
After registration, GitLab lists the runner under Group > CI/CD > Runners, but it will show “Never contacted” until the service connects.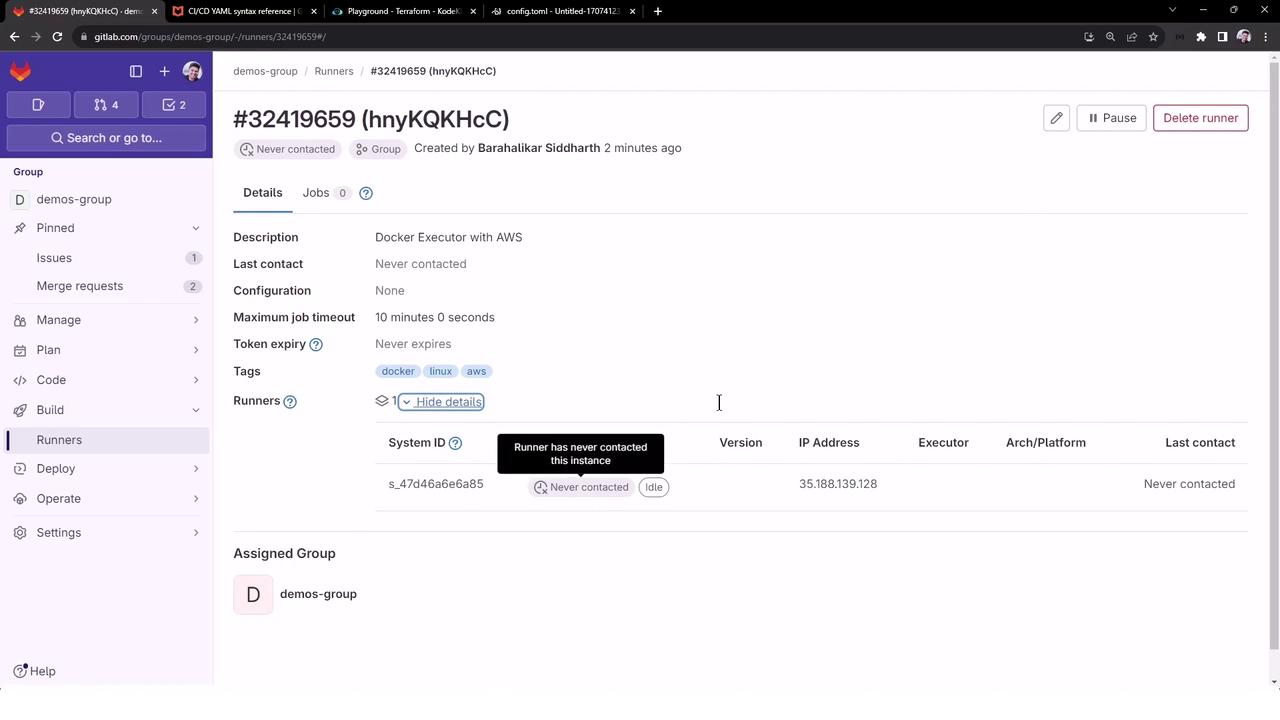
4. Review the Runner Configuration
Open/etc/gitlab-runner/config.toml to inspect both runners:
5. Verify Runner in a Project
The group runner is now available to every project in thedemos group.
- Open a project (e.g., Solar System).
- Navigate to Settings > CI/CD > Runners.
- Optionally disable shared runners to ensure jobs use your group runner exclusively.
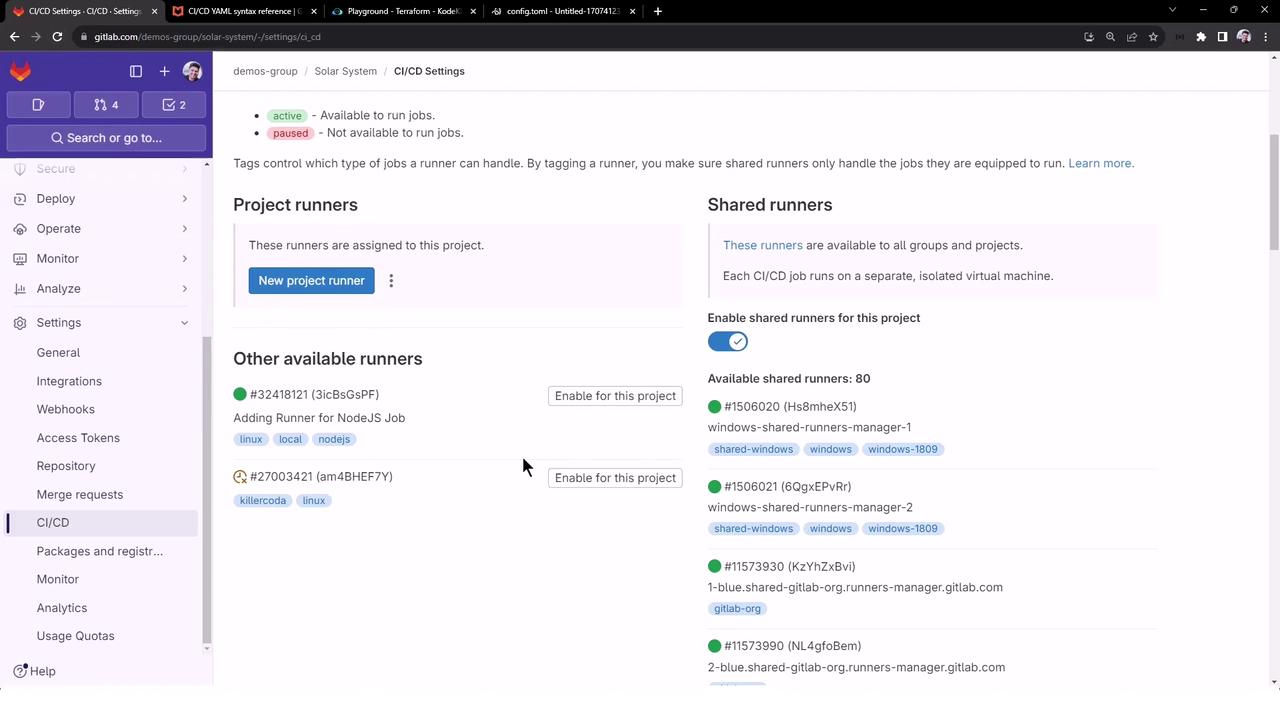
docker, aws, and linux will now execute on your Docker-based group runner.