kubectl and your Kubernetes cluster by injecting your Kubeconfig into a GitHub Actions workflow. This tutorial covers every step—from adding your Kubeconfig as a secret to verifying cluster connectivity.
1. Base Workflow: No Kubeconfig Context
Below is an exampledev-deploy job defined in .github/workflows/ci.yml. It installs kubectl but cannot fetch cluster data until a valid context is configured.
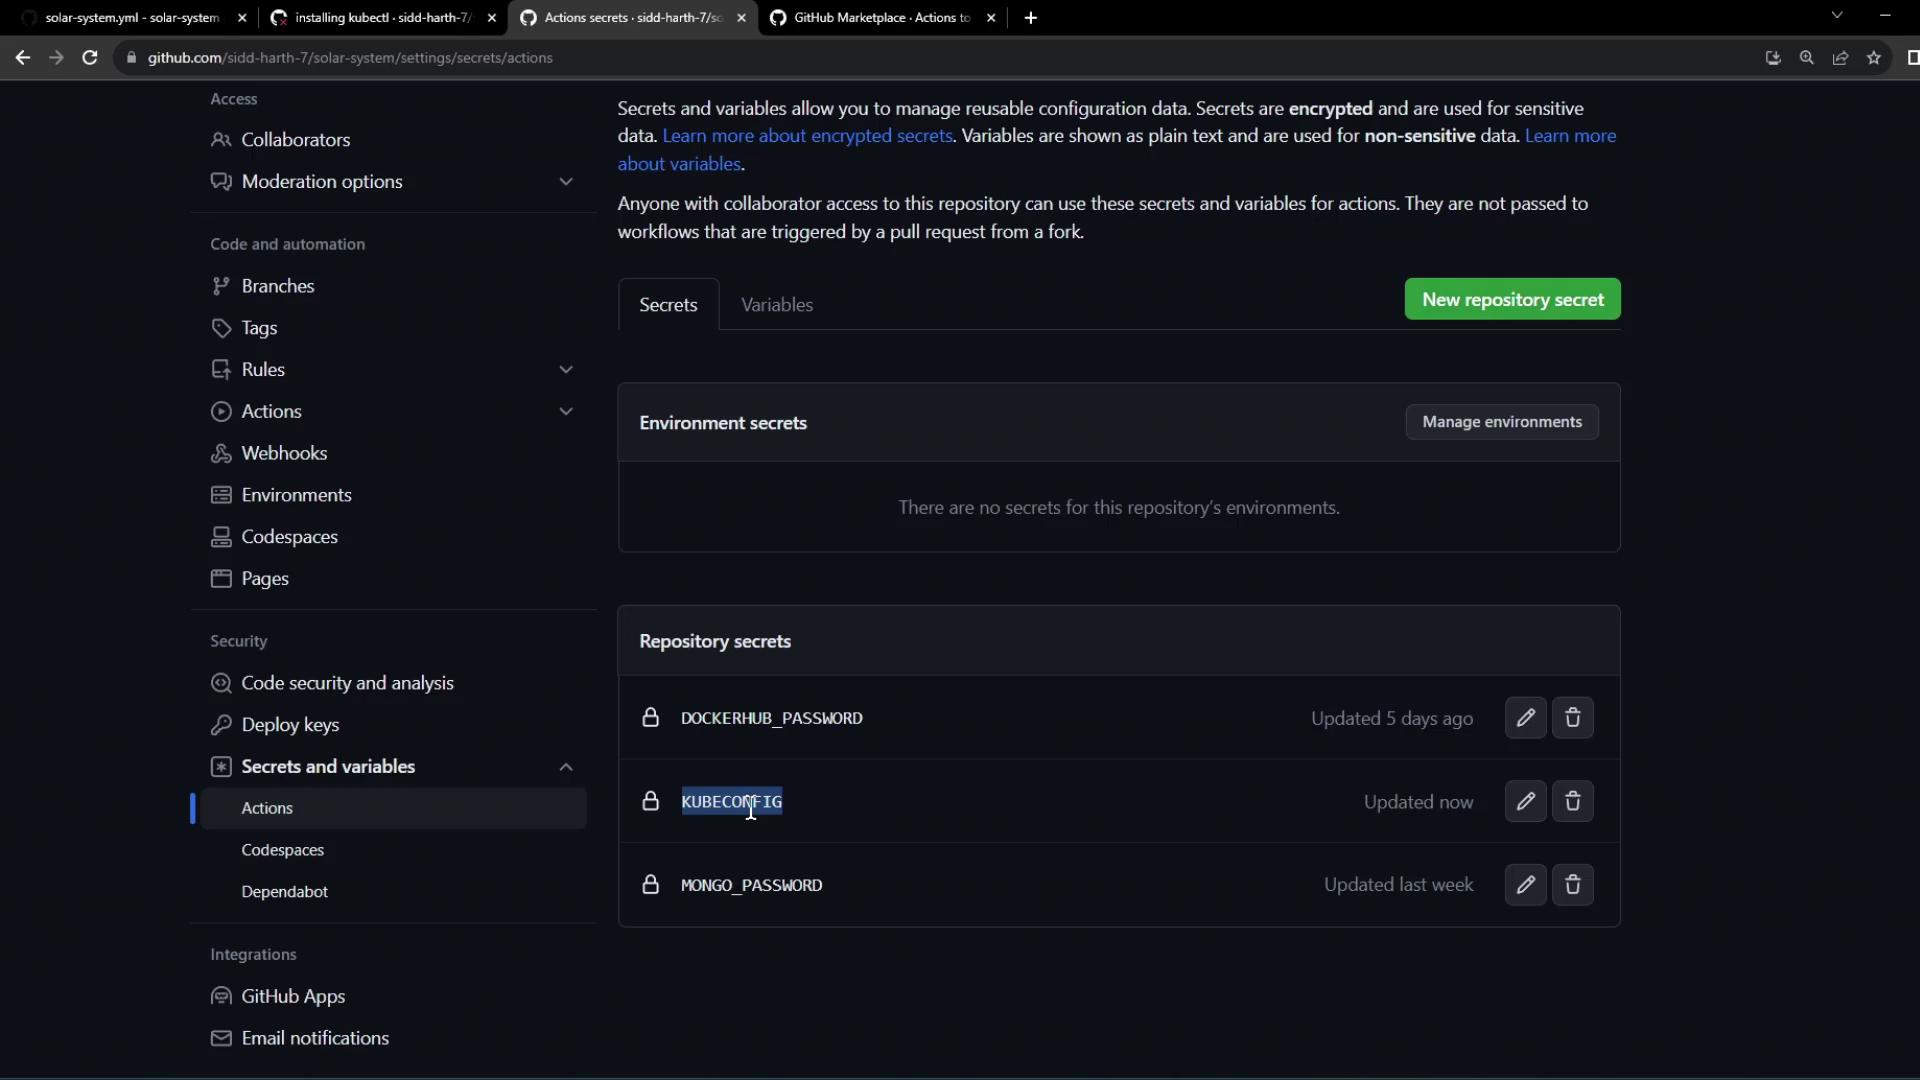
2. Store Your Kubeconfig as a Secret
Copy the contents of your local Kubeconfig file. It typically includes your cluster endpoint, certificate data, and user credentials:- In your GitHub repo, navigate to Settings > Secrets and variables > Actions.
- Click New repository secret.
- Name it
KUBECONFIGand paste the full Kubeconfig content.
Never expose your Kubeconfig file in public repositories. Store it only as a GitHub Actions secret.
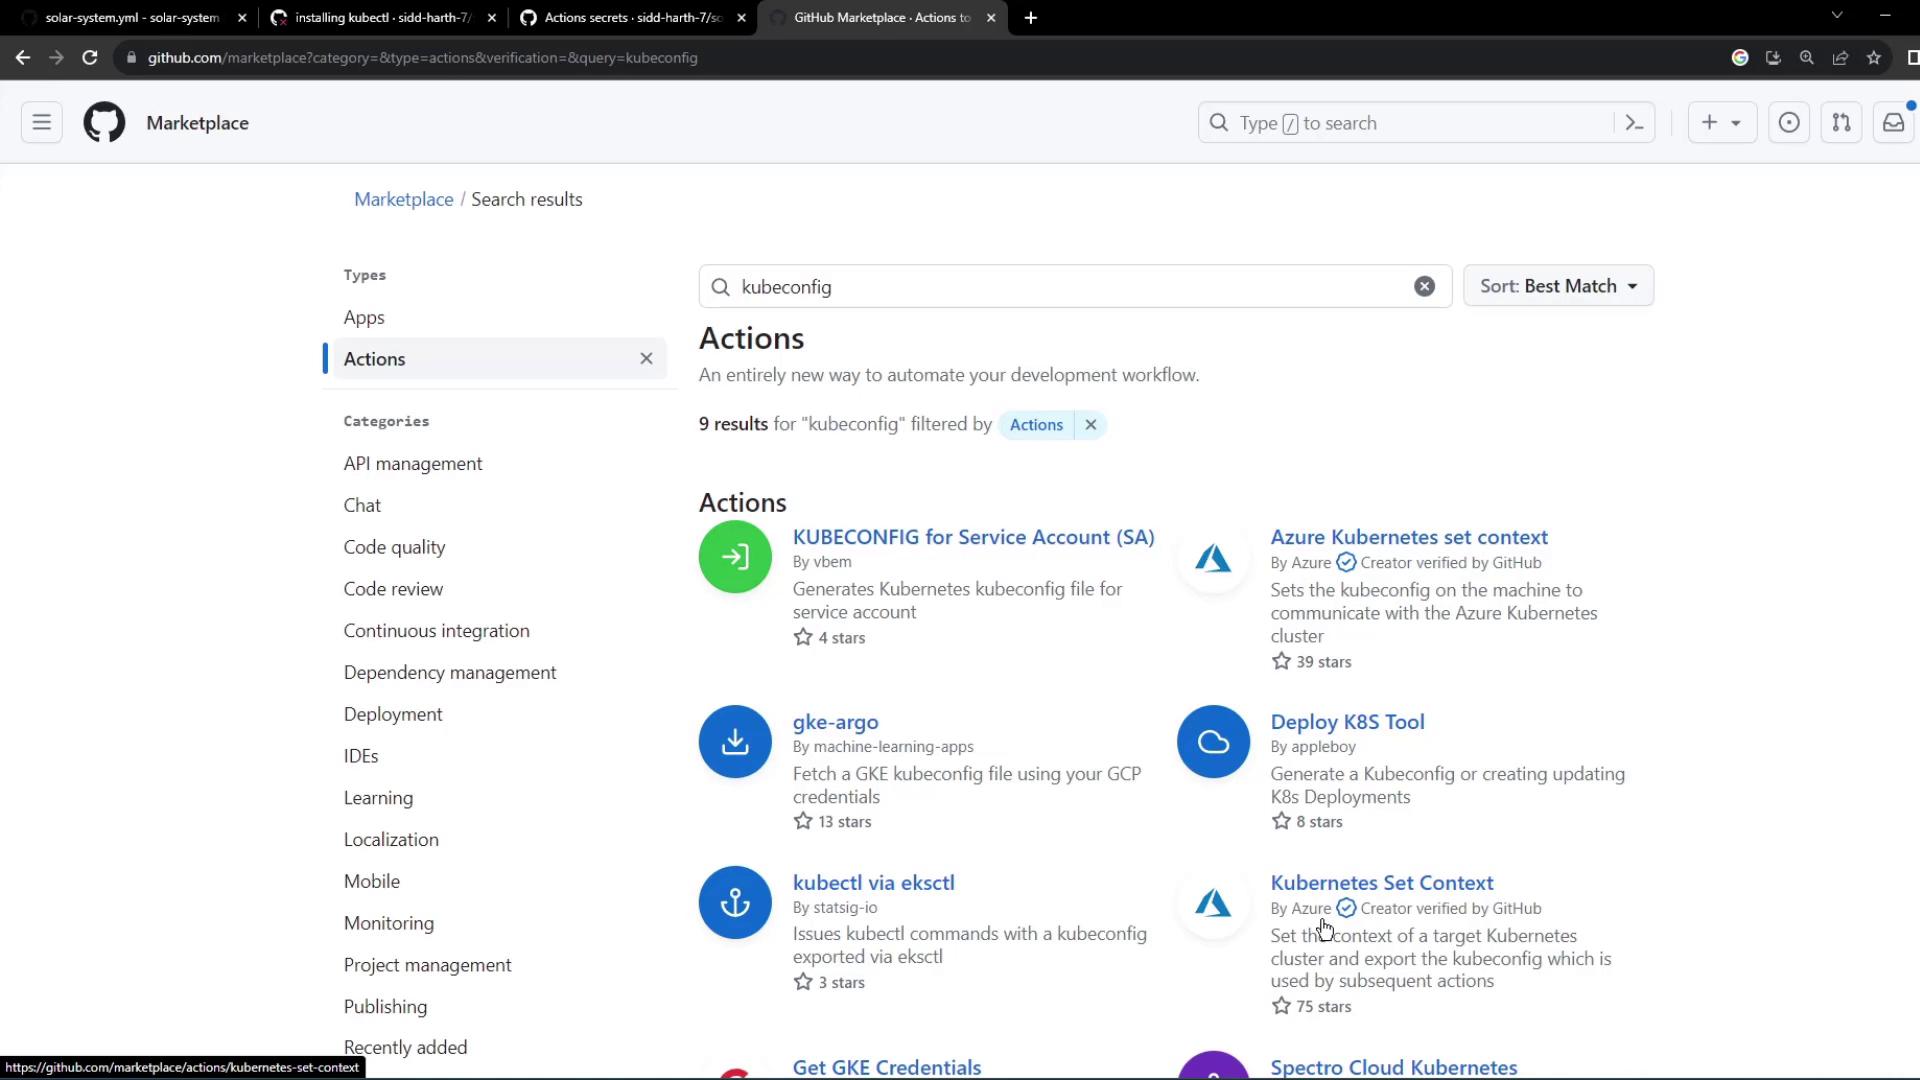
3. Choose the azure/k8s-set-context Action
To apply your Kubeconfig in the workflow environment, use the azure/k8s-set-context action. It handles writing the secret to a file and switching the current Kubernetes context.
4. Update Your Workflow with the Kubeconfig Step
Integrate the context-setting action before anykubectl commands:
The
azure/k8s-set-context action decodes your KUBECONFIG secret, writes it to the runner’s file system, and then updates KUBECONFIG environment variables automatically.5. Verify the Workflow Run
After pushing the updated workflow, navigate to the Actions tab in GitHub. You should see: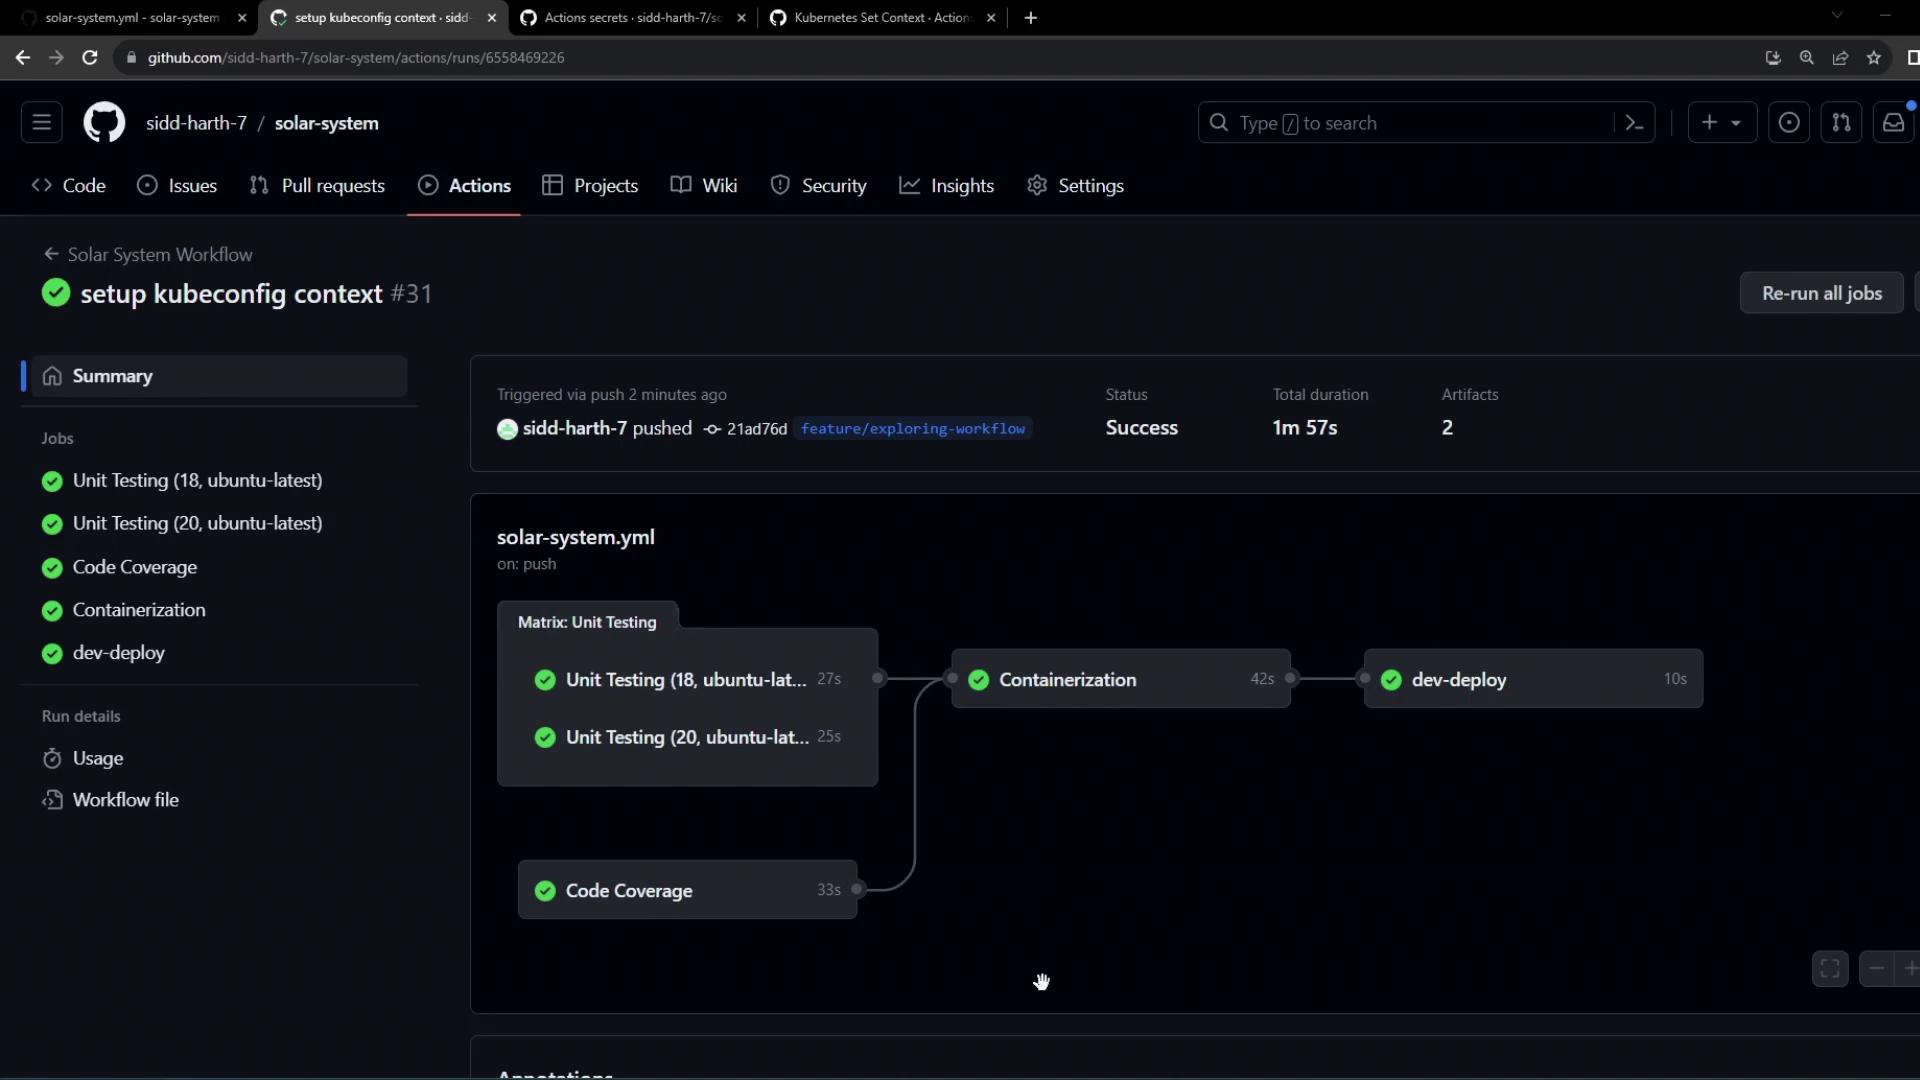
dev-deploy job steps:
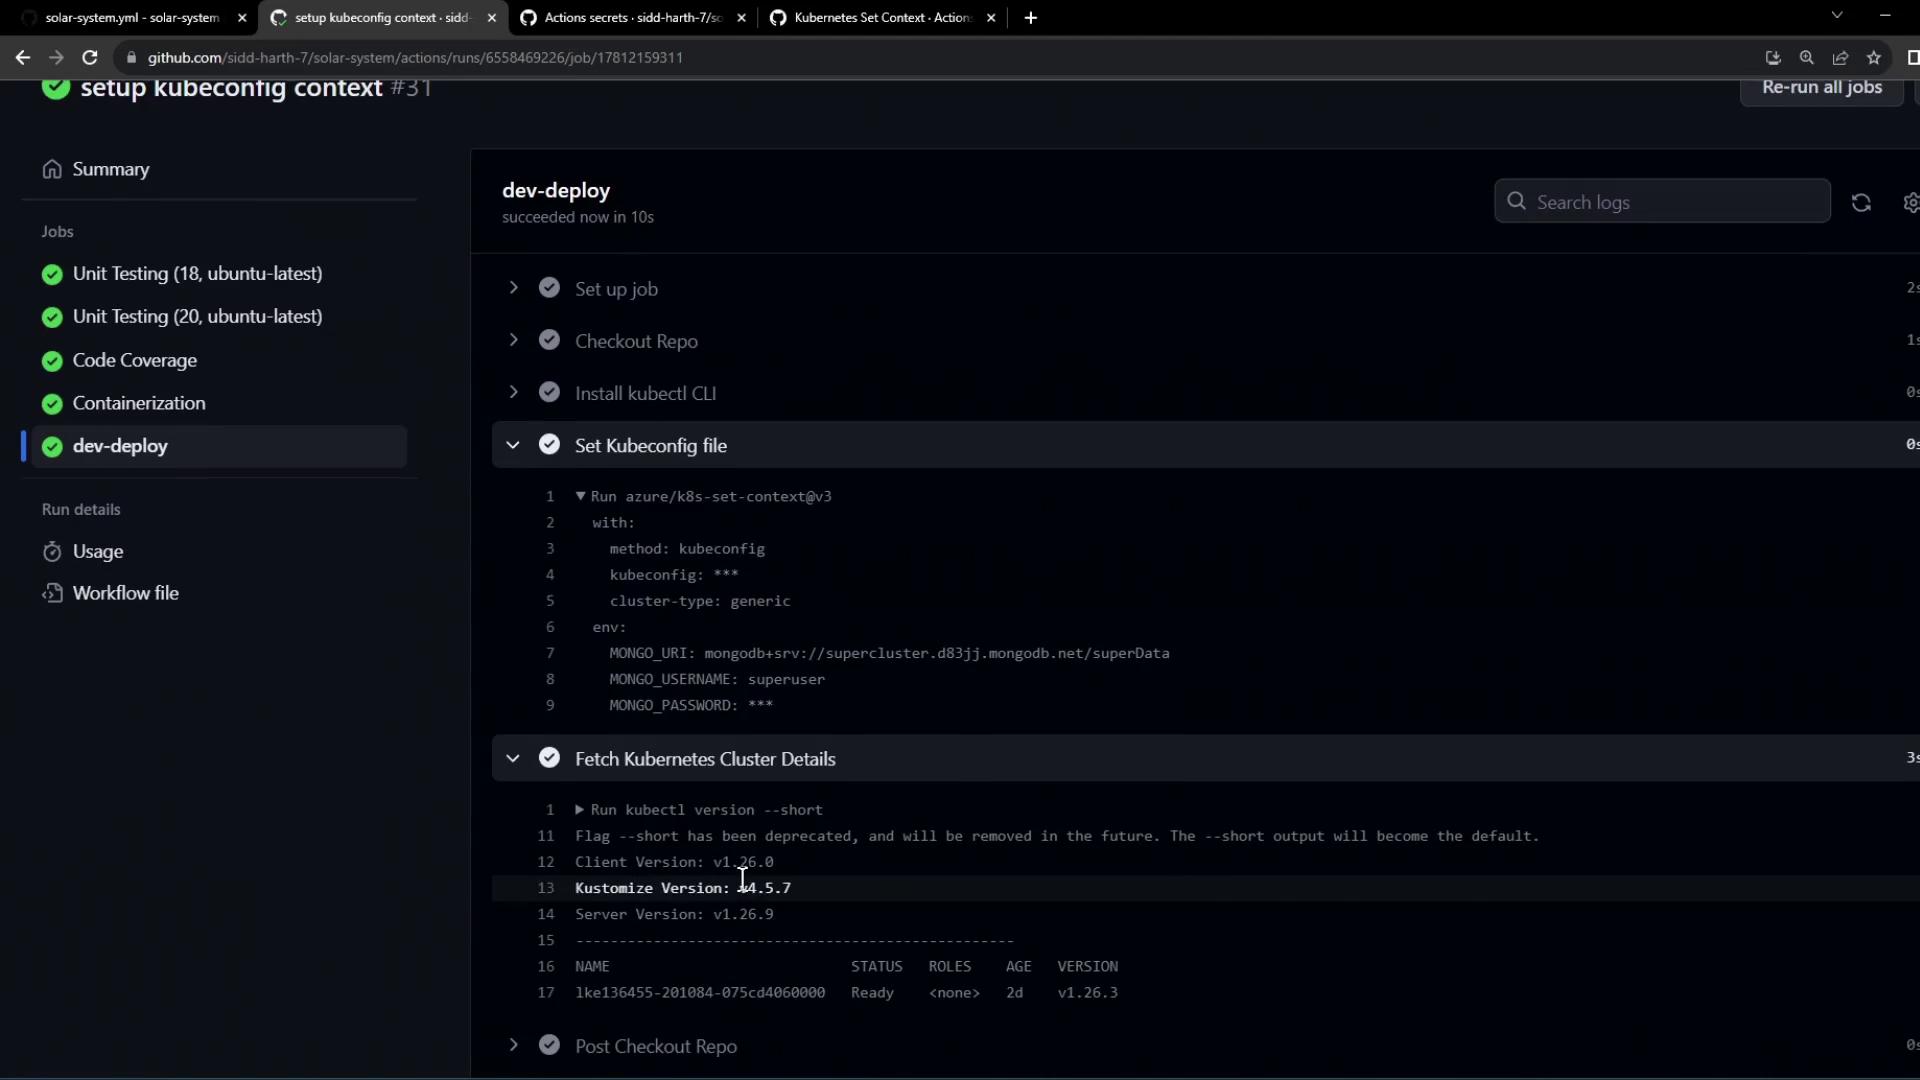
kubectl as well as node details. This confirms your CI pipeline can authenticate to the Kubernetes cluster using the provided Kubeconfig.
References
- azure/setup-kubectl GitHub Action
- azure/k8s-set-context GitHub Action
- GitHub Actions: Creating and storing encrypted secrets