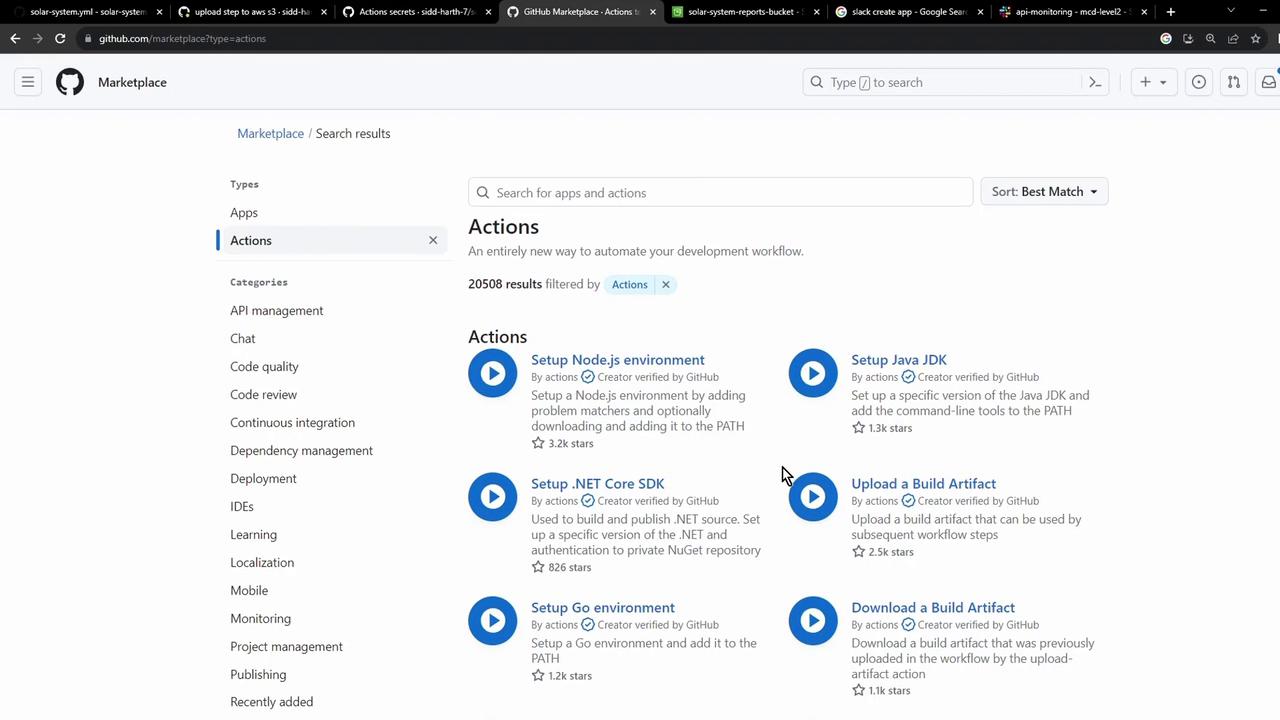
In this guide, we’ll automate the upload of Mocha test results and code coverage reports to an Amazon S3 bucket using GitHub Actions. Instead of scripting AWS CLI commands manually, we’ll use the popular jakejarvis/s3-sync-action from the GitHub Marketplace.

Prerequisites

  • An existing S3 bucket (e.g., solar-system-reports-bucket in us-east-1).
  • AWS credentials stored as GitHub repository secrets.
  • A workflow that uploads test artifacts via actions/upload-artifact.

1. Initial Workflow Stub

Here’s our starting point. The reports-s3 job currently downloads artifacts, merges them into a folder, then echoes a placeholder message:

Choosing a Marketplace Action

The GitHub Marketplace offers many AWS S3 actions for syncing, uploading, or deploying:
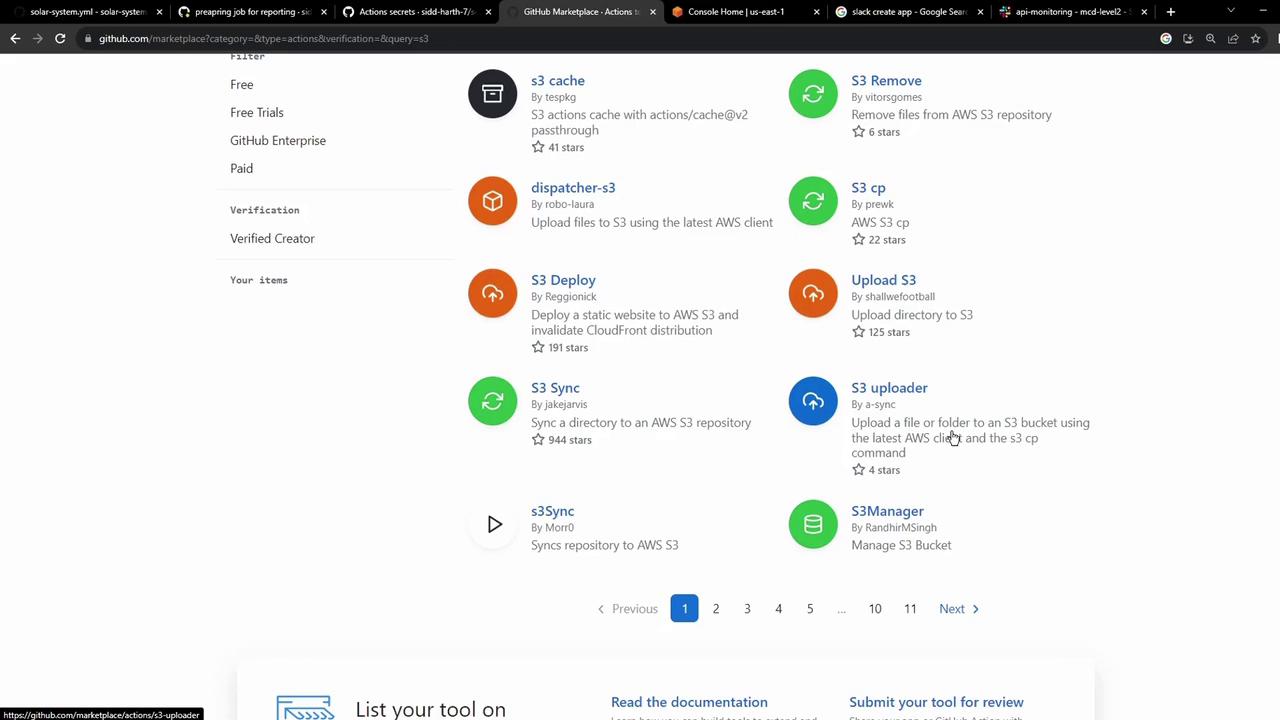
The image shows a GitHub Marketplace page listing various actions related to AWS S3, including options for caching, deploying, syncing, and uploading files. Each action is accompanied by a brief description and star ratings.
One of the most widely used is jakejarvis/s3-sync-action.

2. Sample Usage of jakejarvis/s3-sync-action

Environment Variables Reference

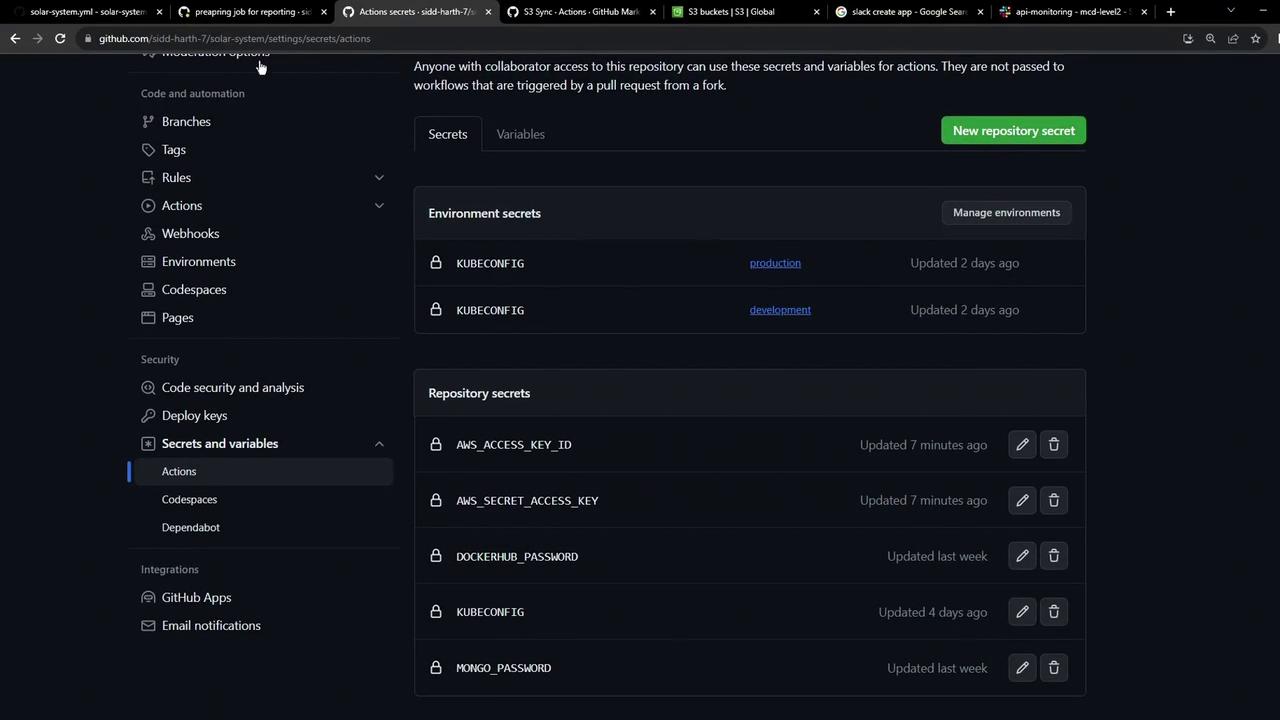
Store your AWS credentials securely under Settings → Secrets and variables in your GitHub repository.

3. Integrate the Sync Action into reports-s3

Replace the placeholder step with the s3-sync-action. The final job looks like this:

4. Verify Your S3 Bucket and Secrets

Your bucket, solar-system-reports-bucket, is in US East (N. Virginia):
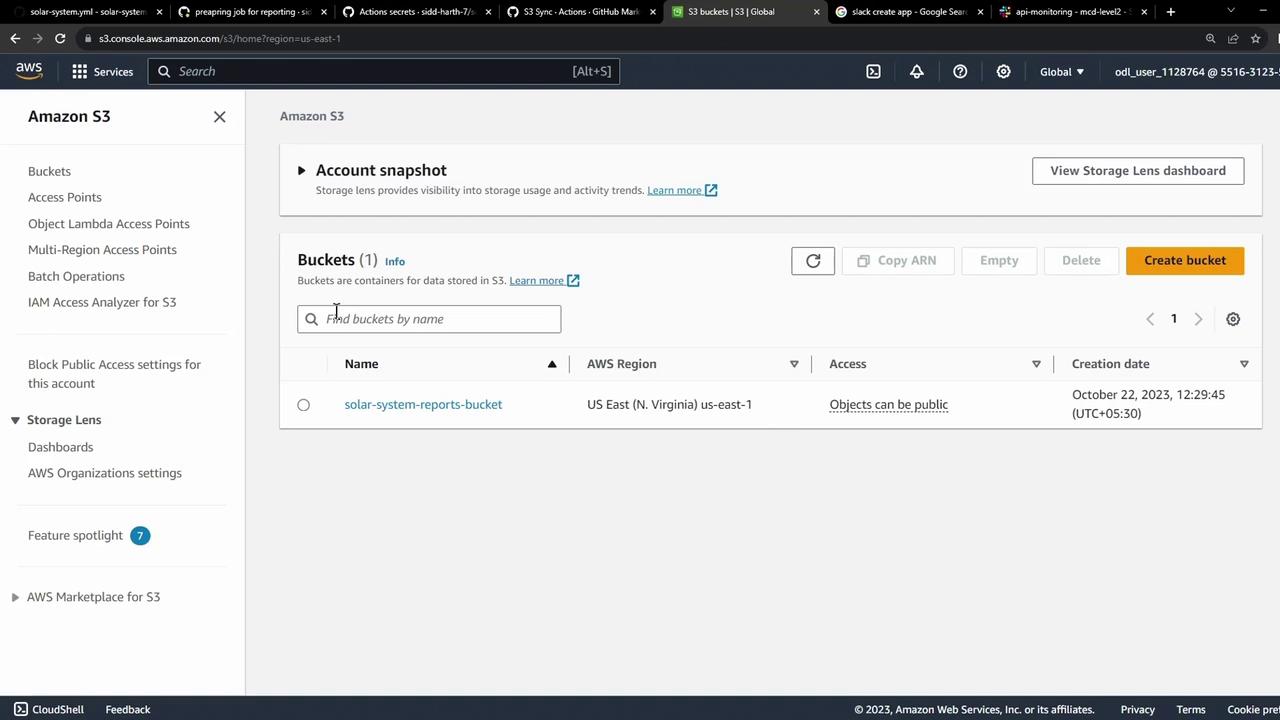
The image shows an Amazon S3 console with a bucket named "solar-system-reports-bucket" in the US East (N. Virginia) region. The bucket's access is set to allow objects to be public, and it was created on October 22, 2023.
AWS credentials should appear in Secrets and variables:
The image shows a GitHub repository settings page, specifically the "Secrets and variables" section for GitHub Actions, displaying environment and repository secrets.
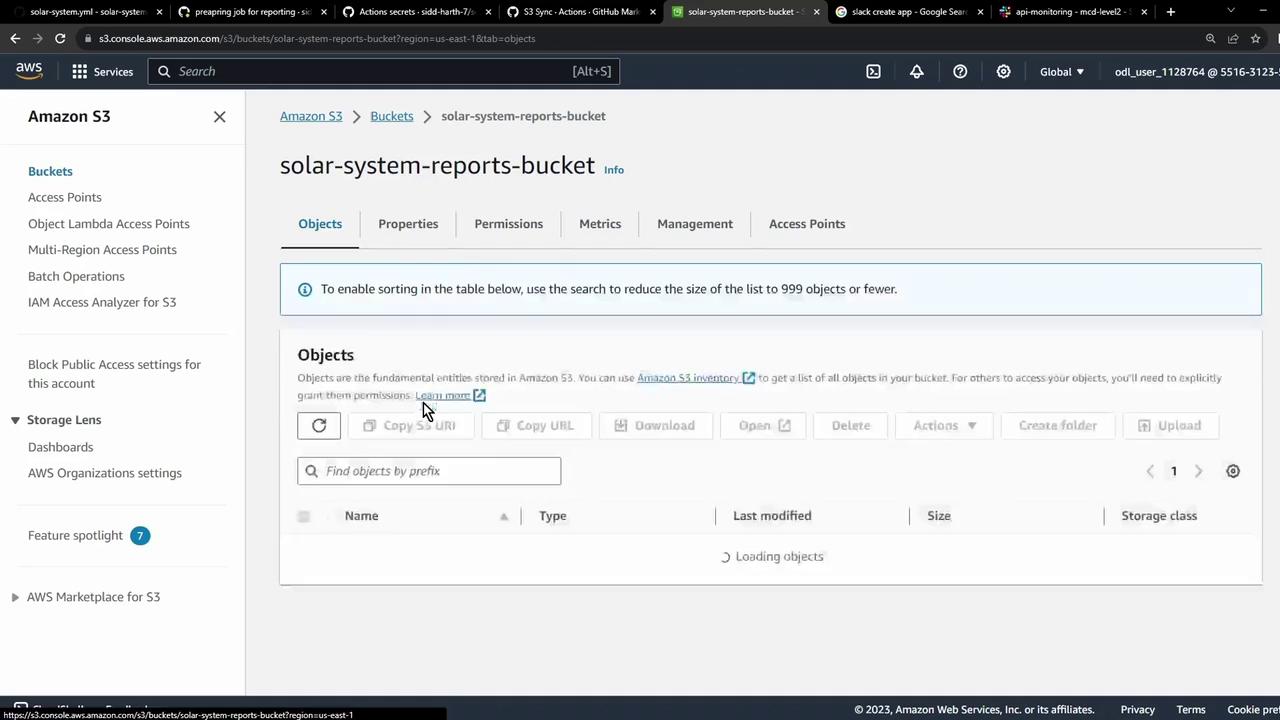
At first, the bucket will be empty:
The image shows an Amazon S3 console interface displaying the "solar-system-reports-bucket" with options to manage objects, properties, permissions, and more. The objects section is currently loading, and various actions like copy, download, and delete are available.

5. Trigger the Workflow

Commit and push your changes. After unit-testing and code-coverage finish, you’ll see the reports-s3 job queued:
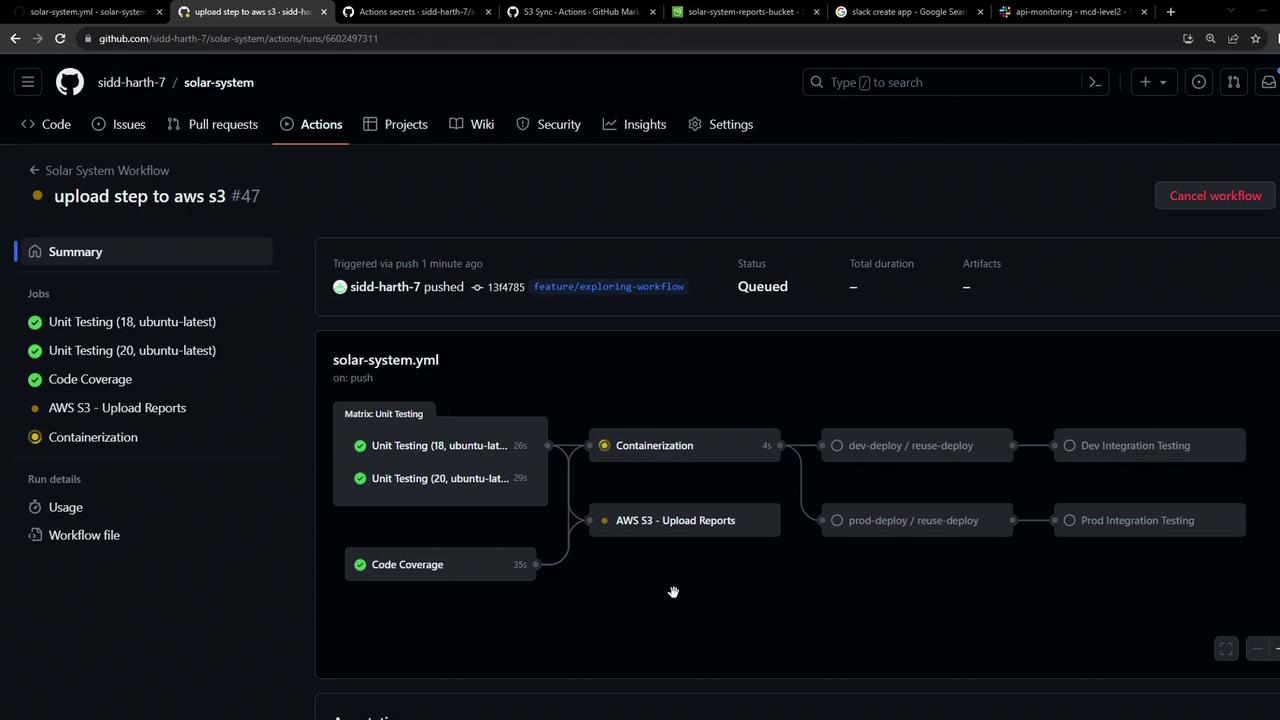
The image shows a GitHub Actions workflow interface for a project named "solar-system," displaying a series of jobs including unit testing, code coverage, and AWS S3 upload reports. The workflow is triggered by a push and is currently queued.
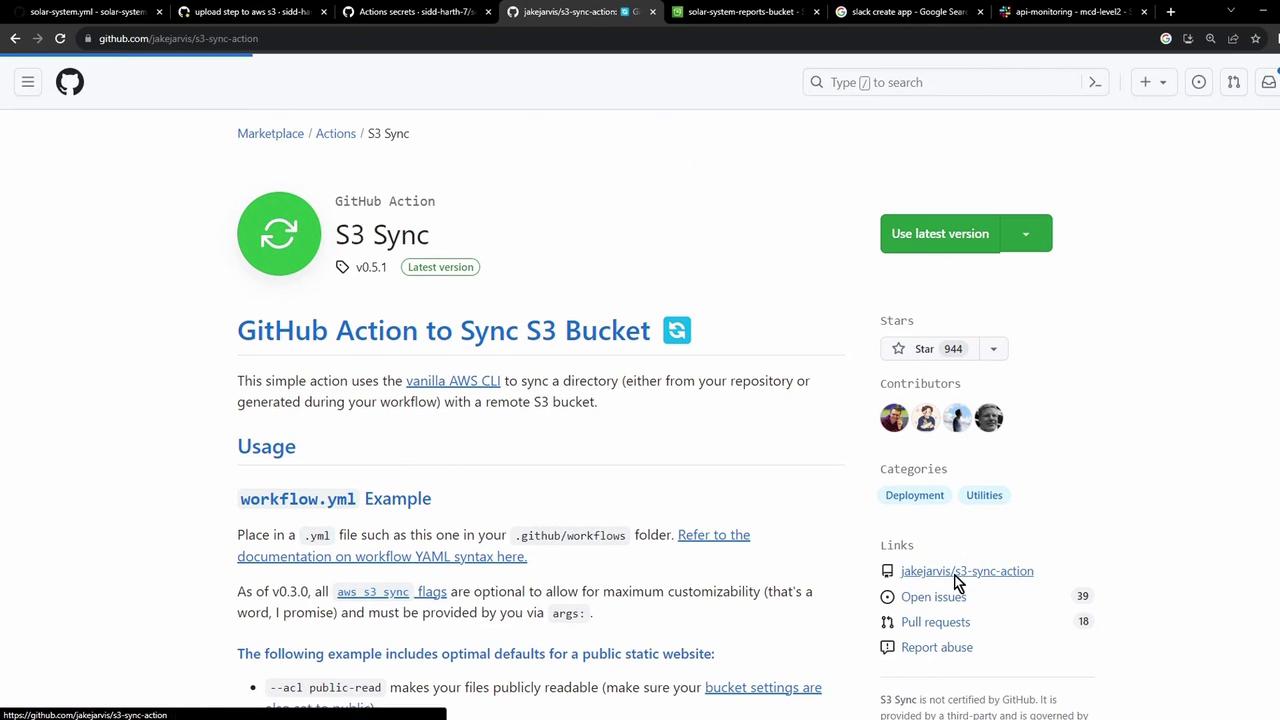
You may notice an extra build step as it prepares the sync container:
The image shows a GitHub page for the "S3 Sync" GitHub Action, which is used to sync a directory with an S3 bucket using the AWS CLI. It includes usage instructions and links to related resources.
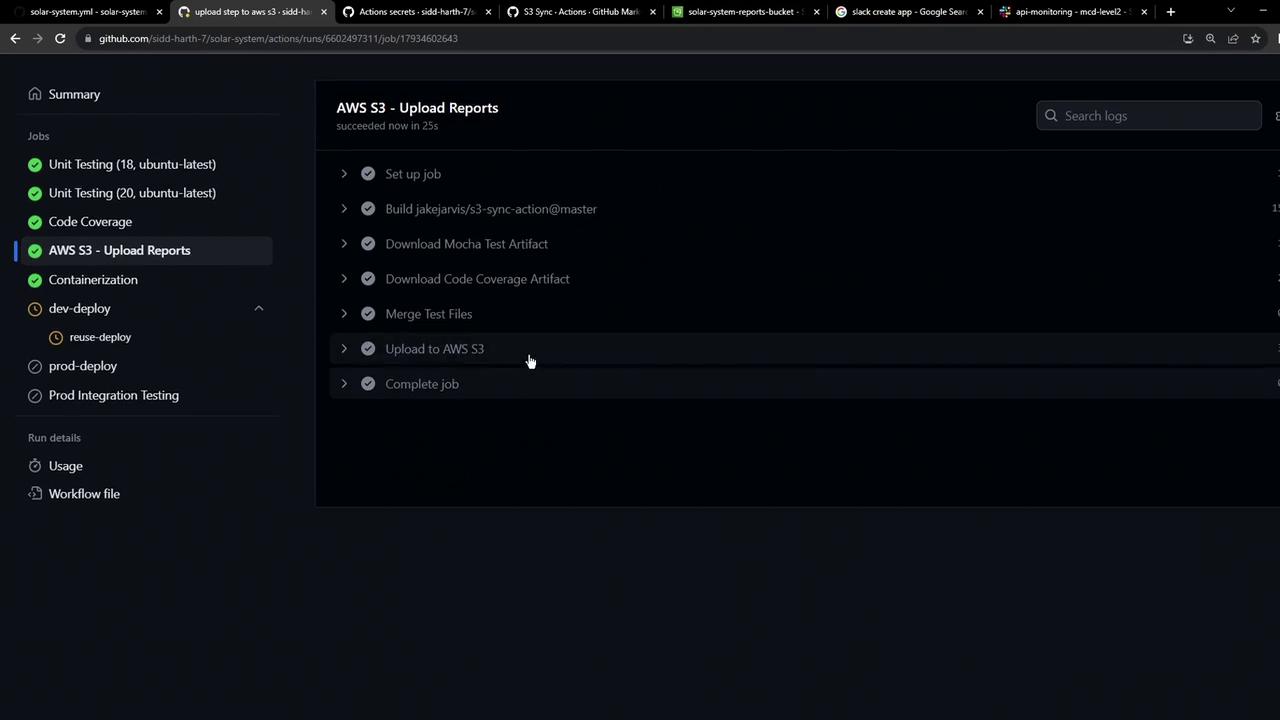
After the container is ready, the sync runs and uploads your reports:
The image shows a GitHub Actions workflow interface with various jobs listed, including unit testing, code coverage, and AWS S3 upload reports, all marked as completed.

6. Confirm the Upload

Refresh the S3 console to see your XML report files:
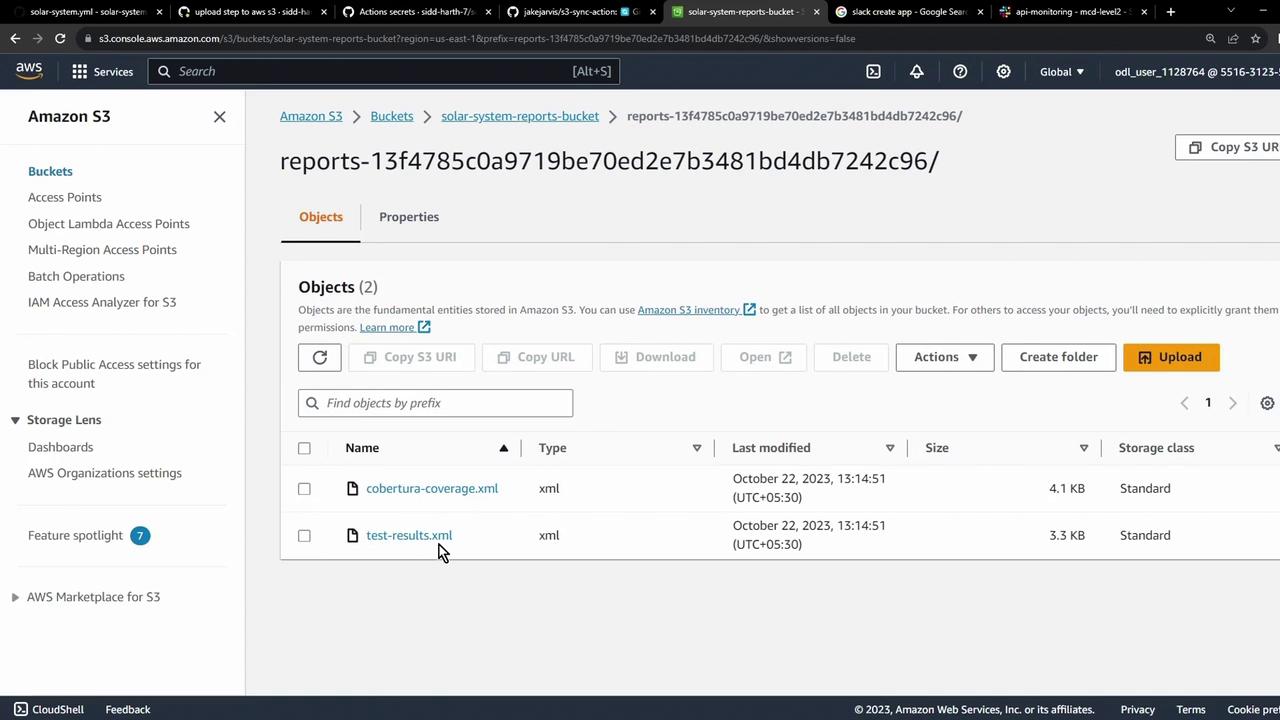
The image shows an Amazon S3 console with a bucket named "solar-system-reports-bucket" containing two XML files: "cobertura-coverage.xml" and "test-results.xml," both last modified on October 22, 2023.

Next Steps

Browse the GitHub Marketplace for actions to integrate with other cloud providers and CI/CD tools.
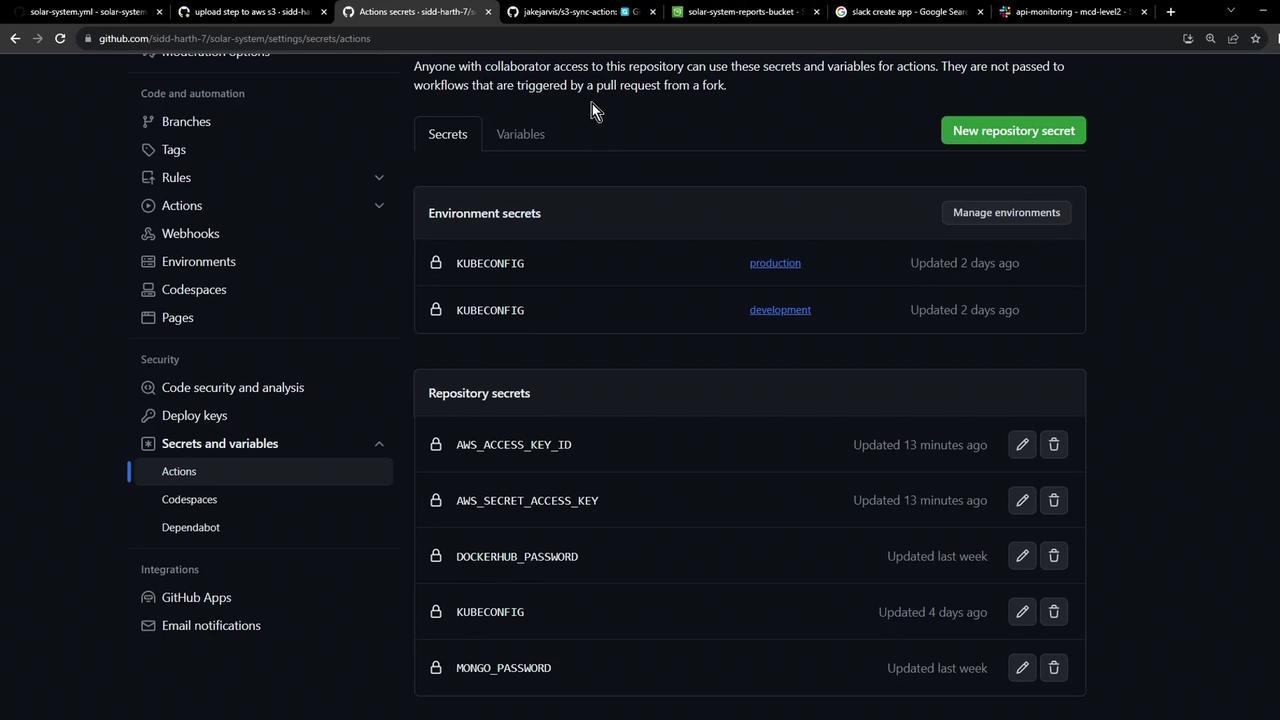
The image shows a GitHub repository settings page, specifically the "Secrets and variables" section, where environment and repository secrets like AWS keys and passwords are managed.
The image shows the GitHub Marketplace page filtered to display "Actions," listing various automation tools for development workflows, such as setting up Node.js and Java JDK environments.
That’s it! You’ve automated the upload of your test and coverage artifacts to AWS S3.

Watch Video