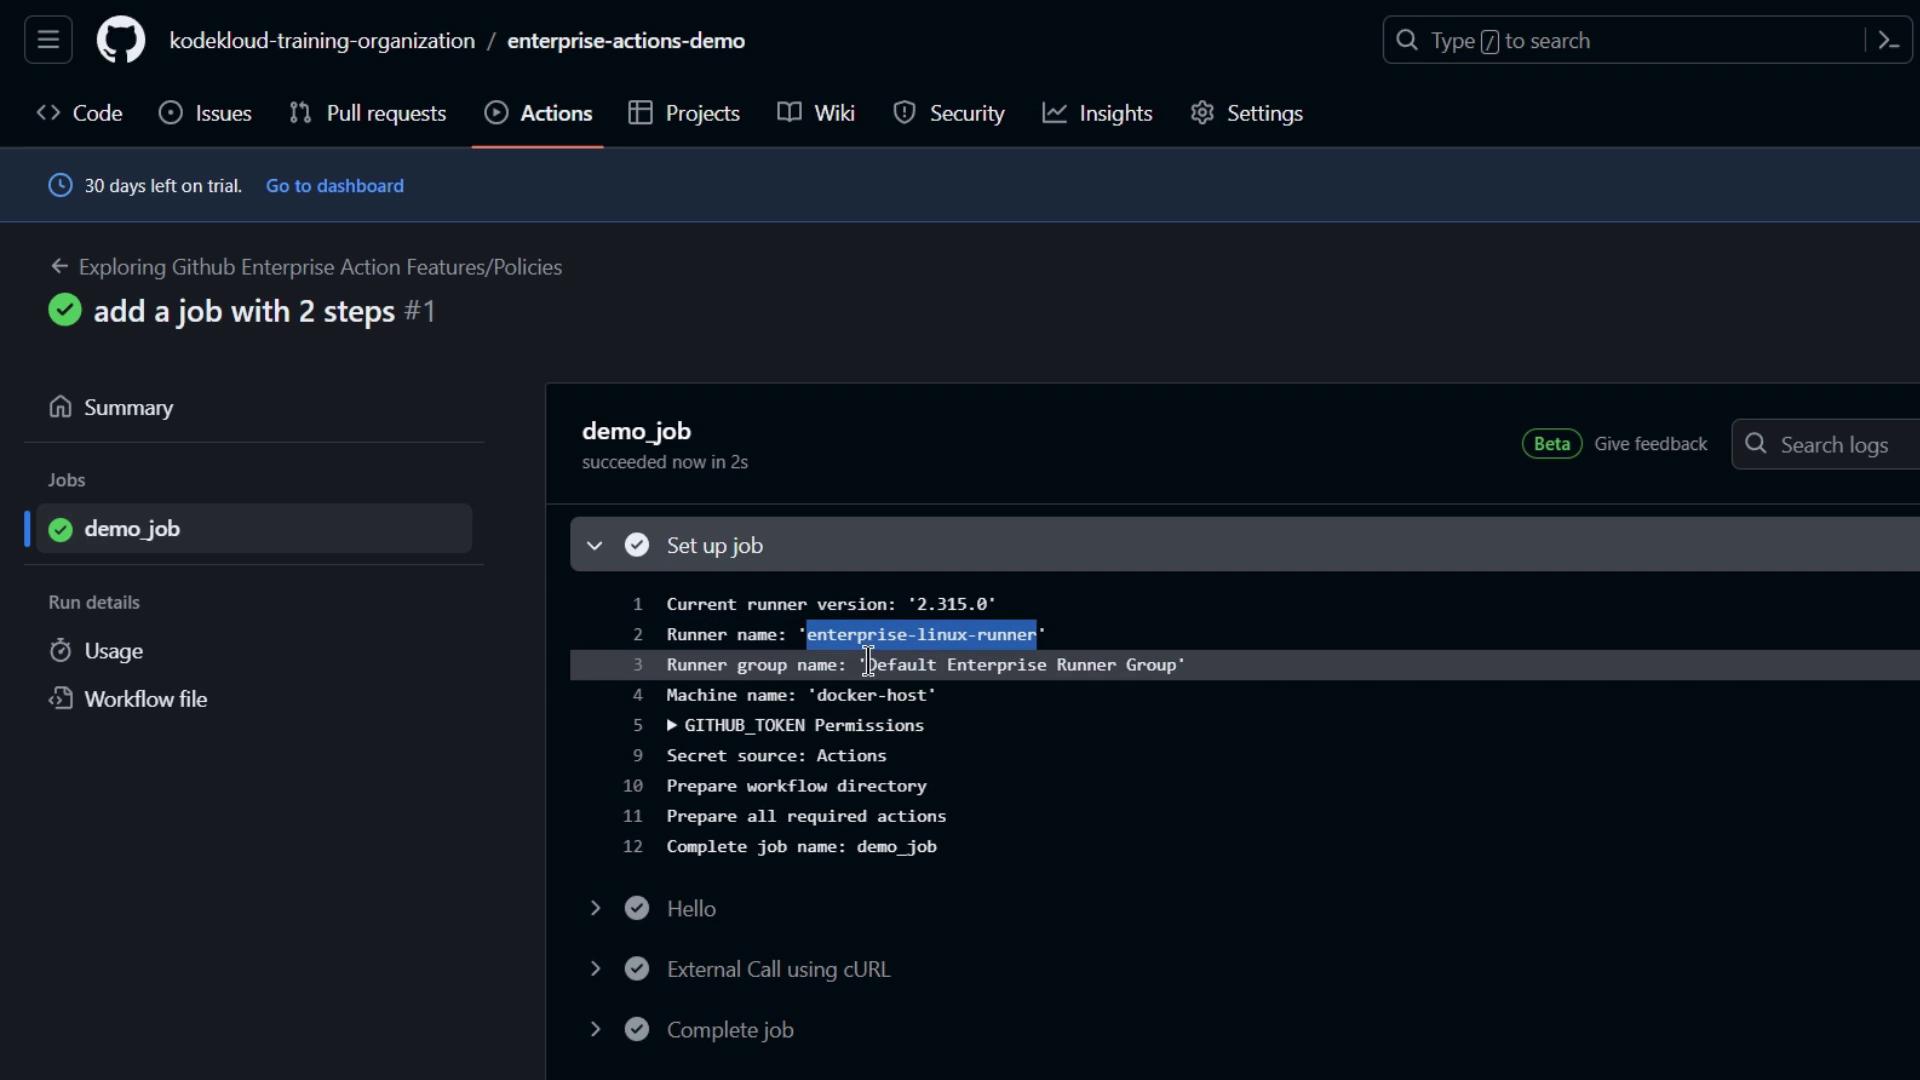
- Reviewing Enterprise vs. Organization settings
- Creating and renaming runner groups
- Assigning runners to repositories (including public repos)
- Installing a self-hosted runner on Linux
- Running a sample workflow on your new runner
1. Compare Enterprise and Organization Dashboards
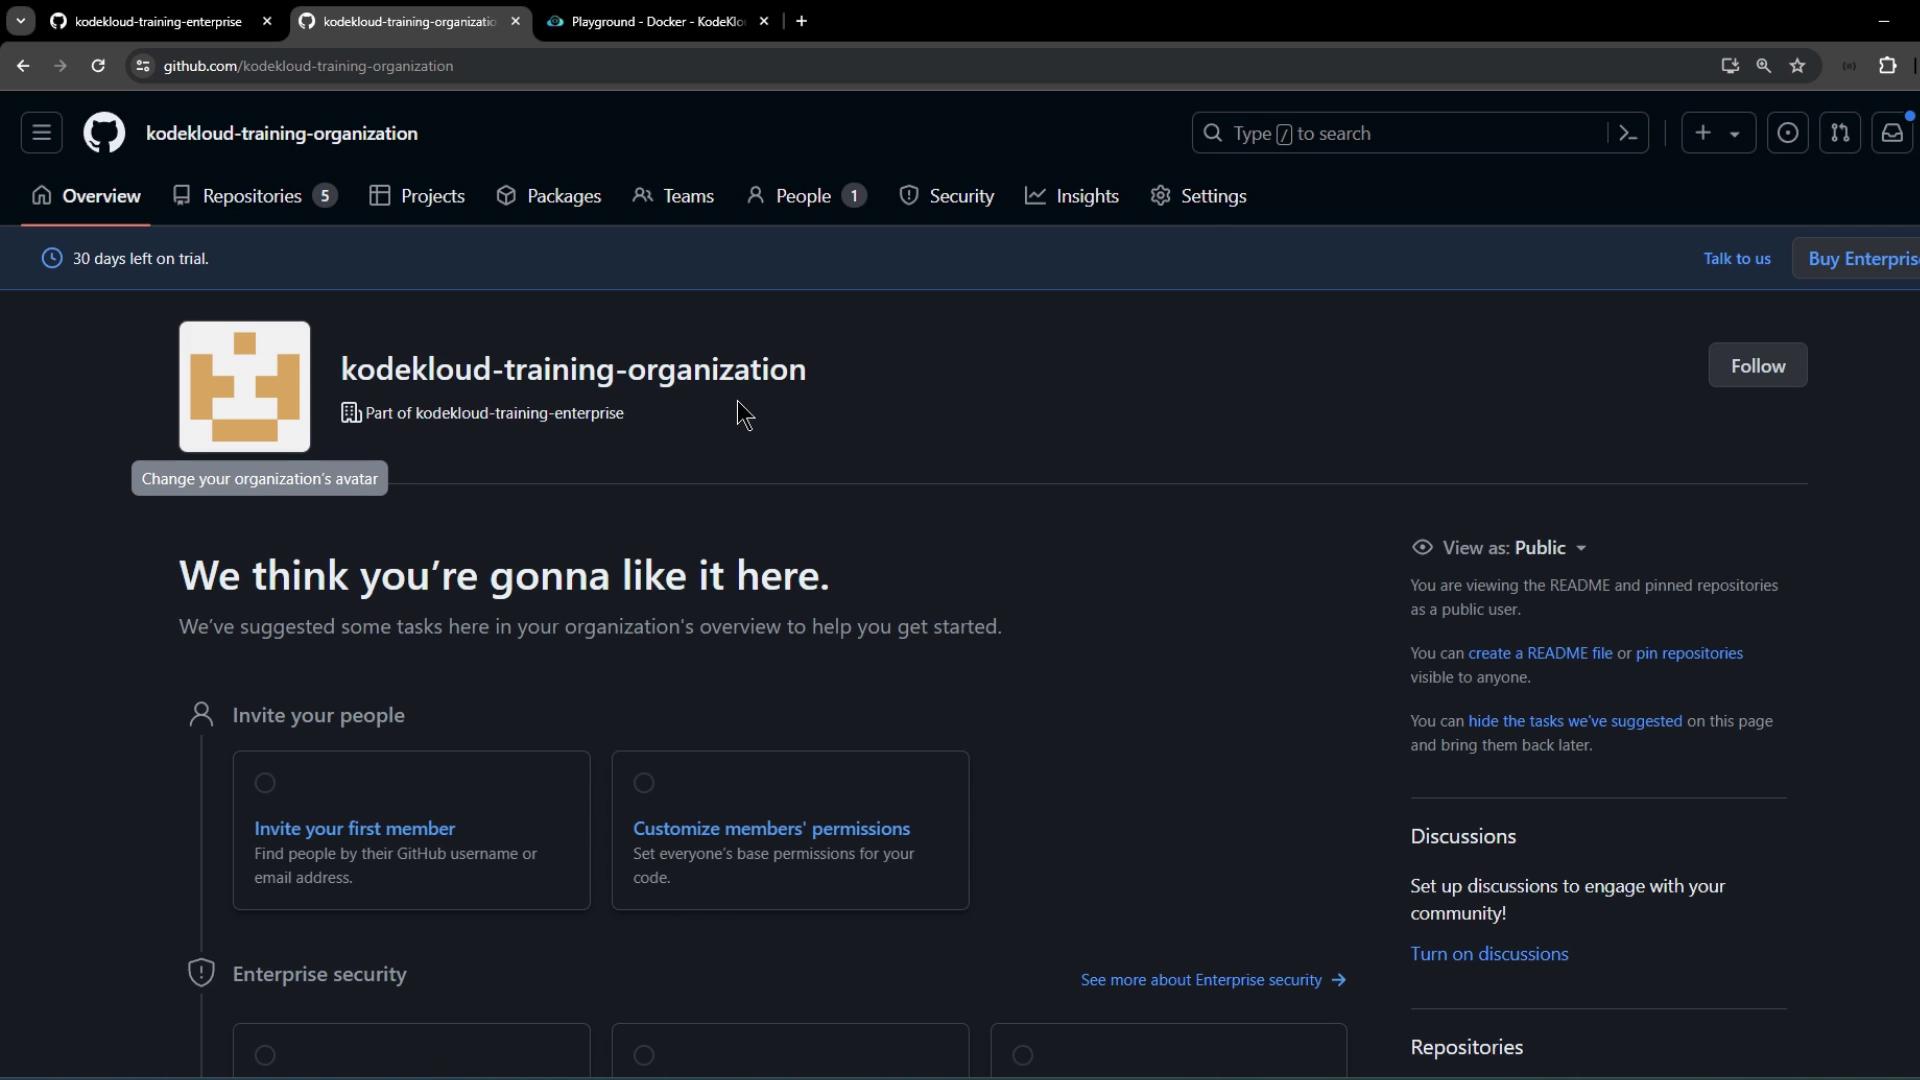
First, open two browser tabs side by side: Tab 1: Enterprise Overview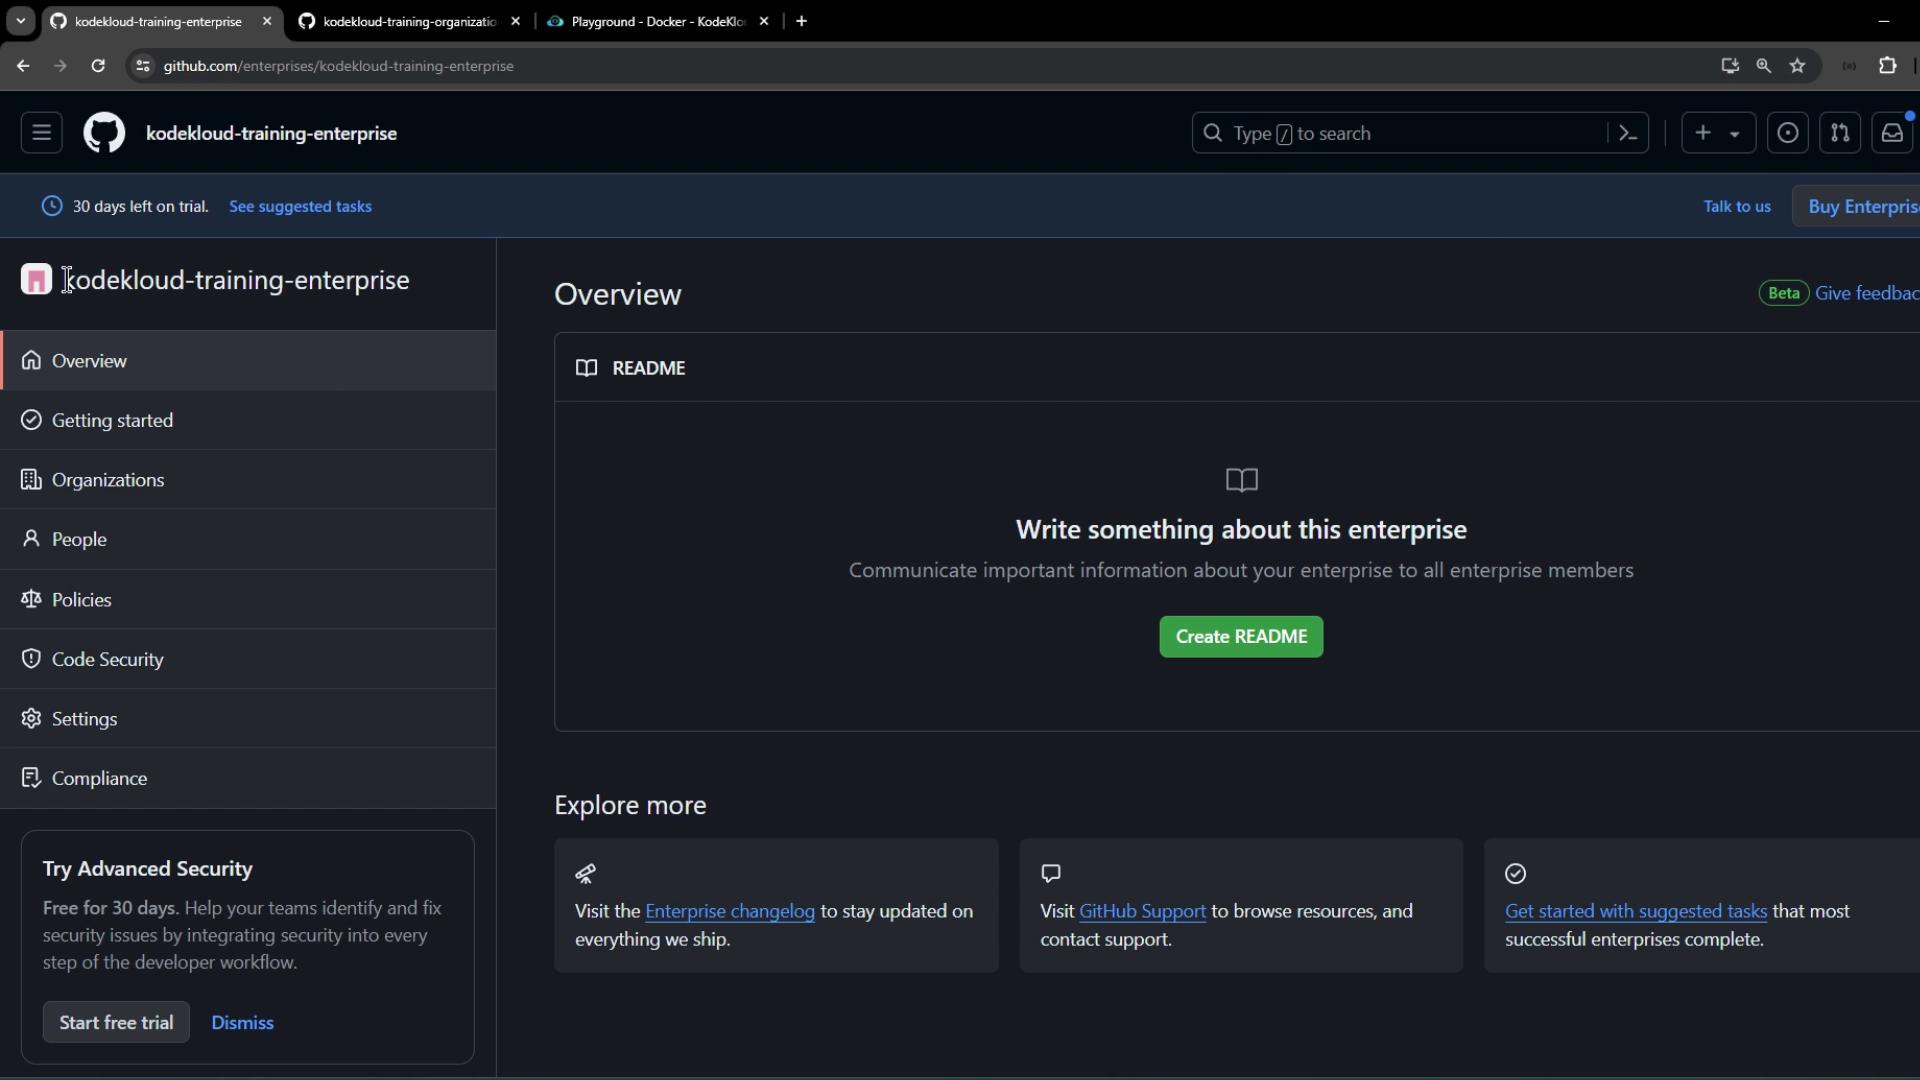
- Enterprise settings live in the left sidebar.
- Organization and user settings appear in the top navigation.
2. View and Rename Organization Runner Groups
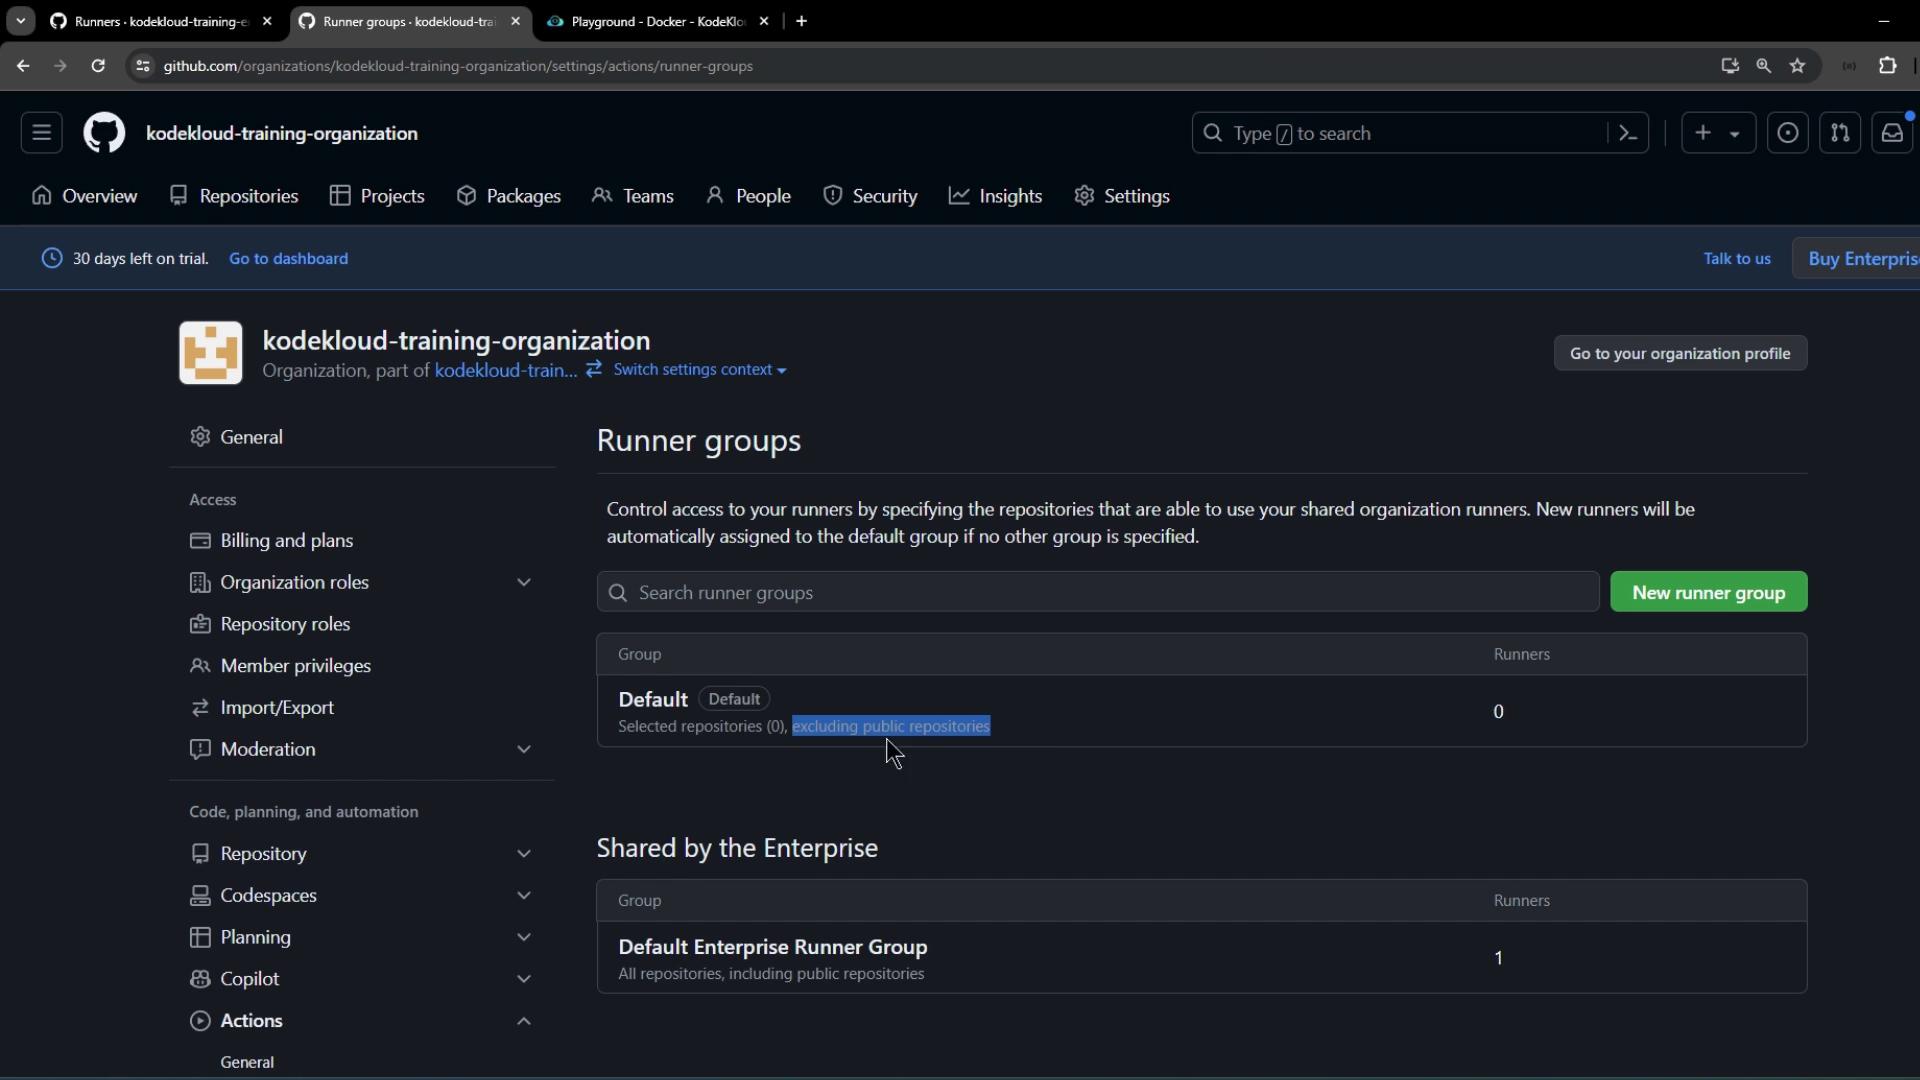
- In your organization, navigate to Settings > Actions > Runner groups.
- You’ll see the default runner group:
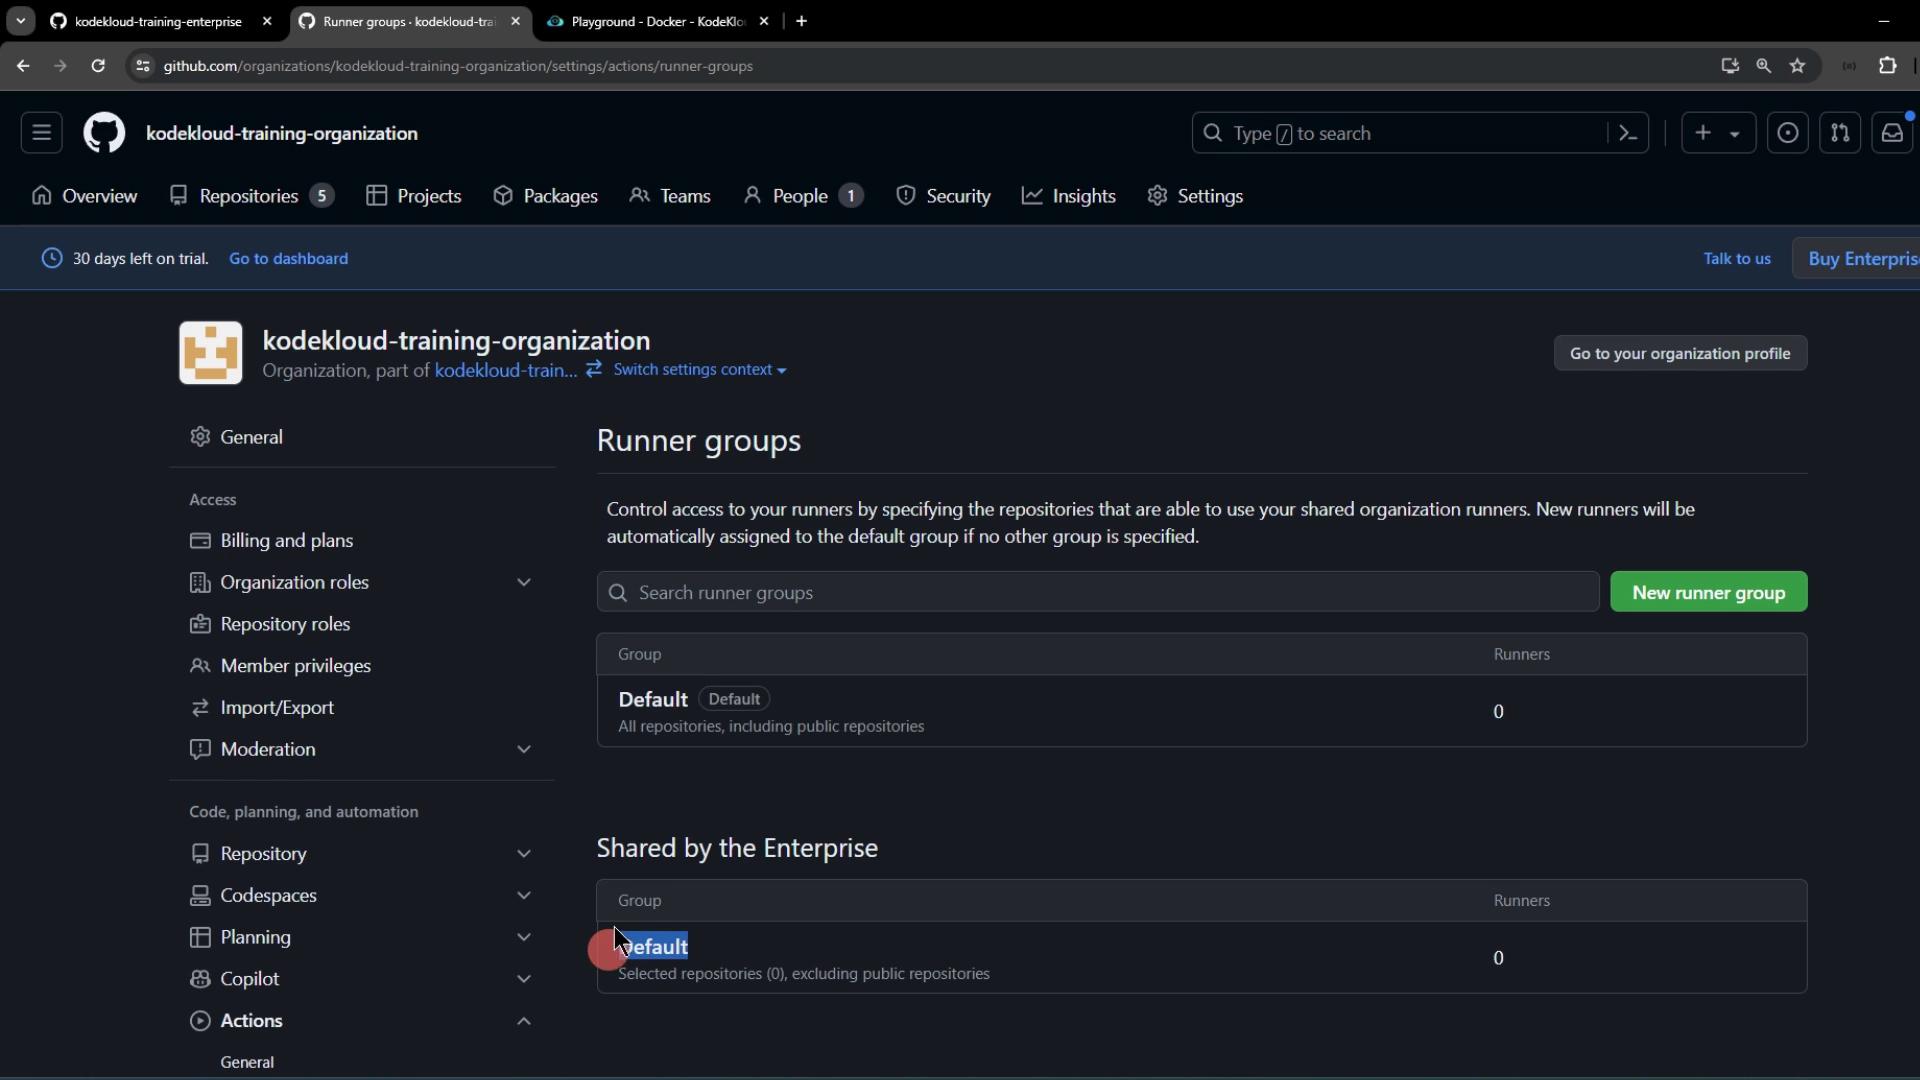
- Click into the default group and observe that public repository support cannot be toggled here:
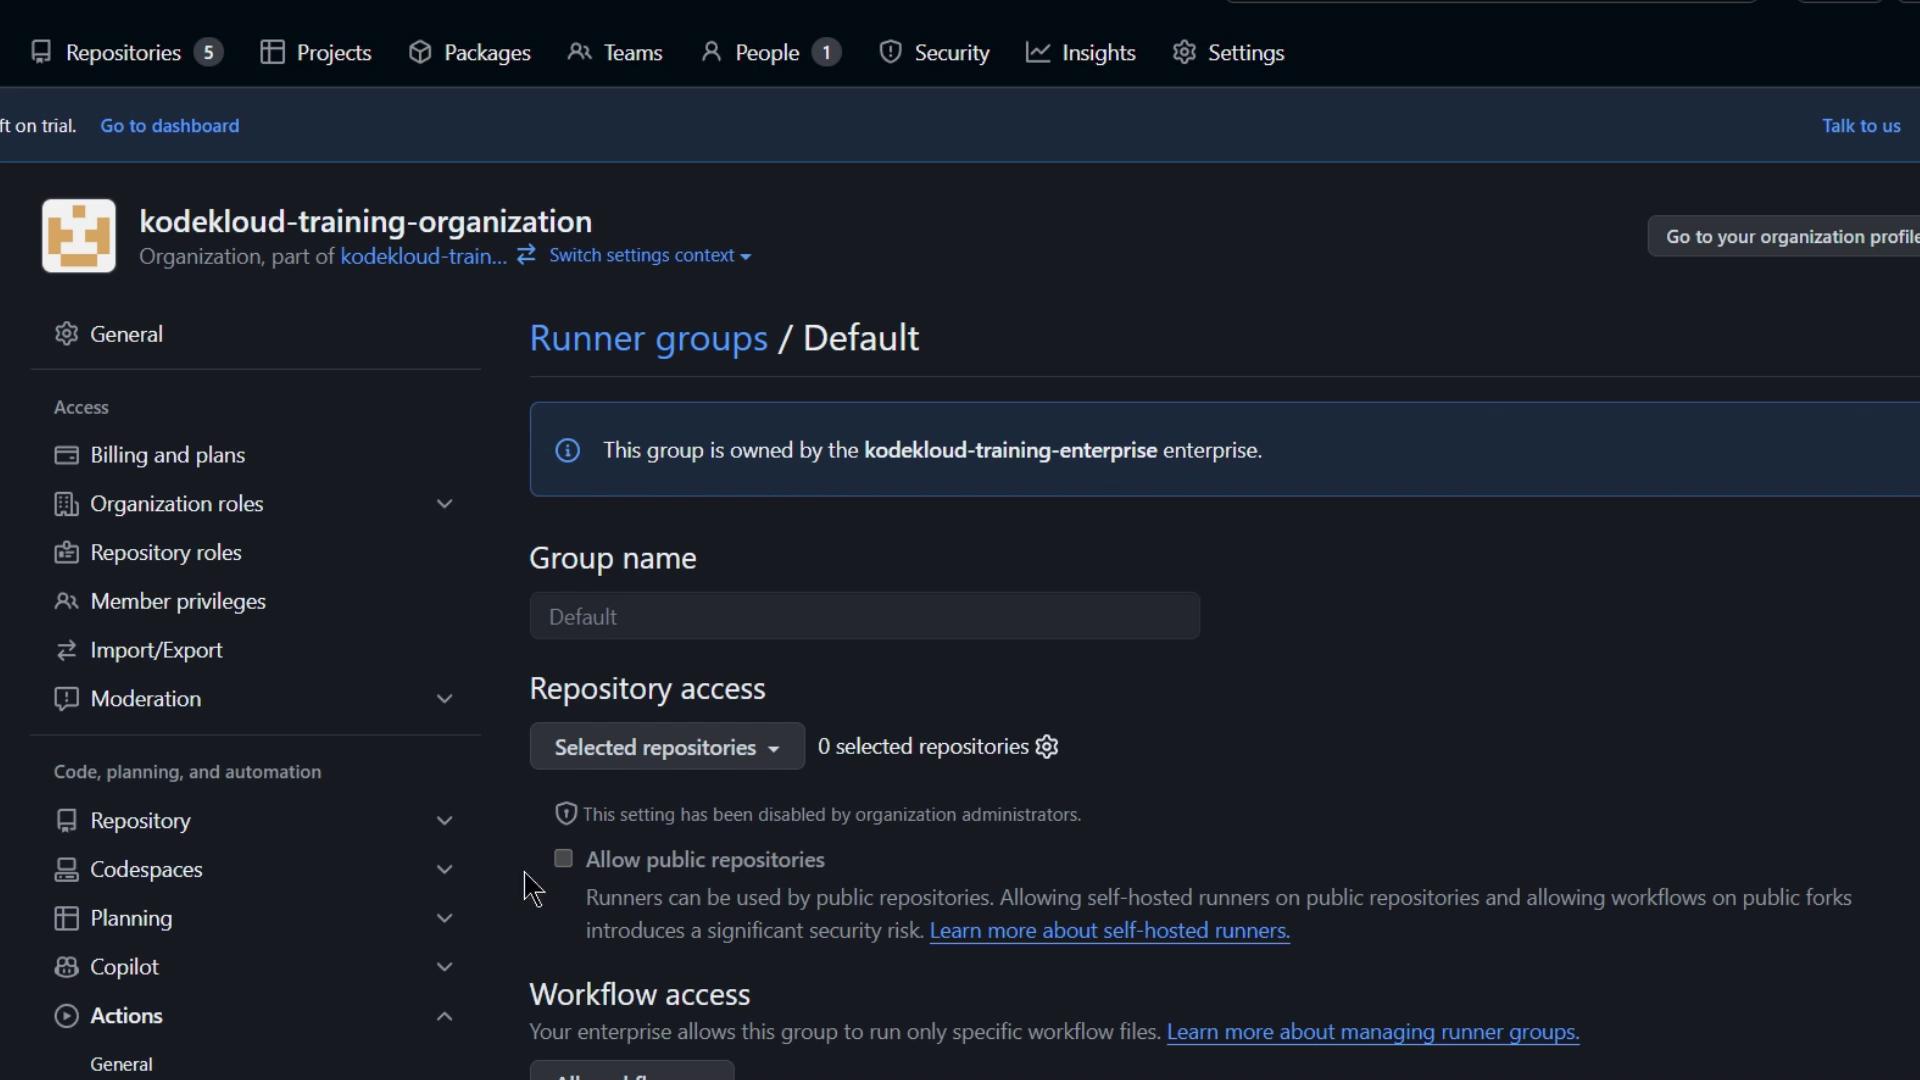
Public repository support for a runner group is only configurable at the enterprise level. You won’t be able to enable it within the organization settings.
3. Configure Enterprise Runner Group Policies
Switch to Enterprise > Policies > Actions > Runner groups: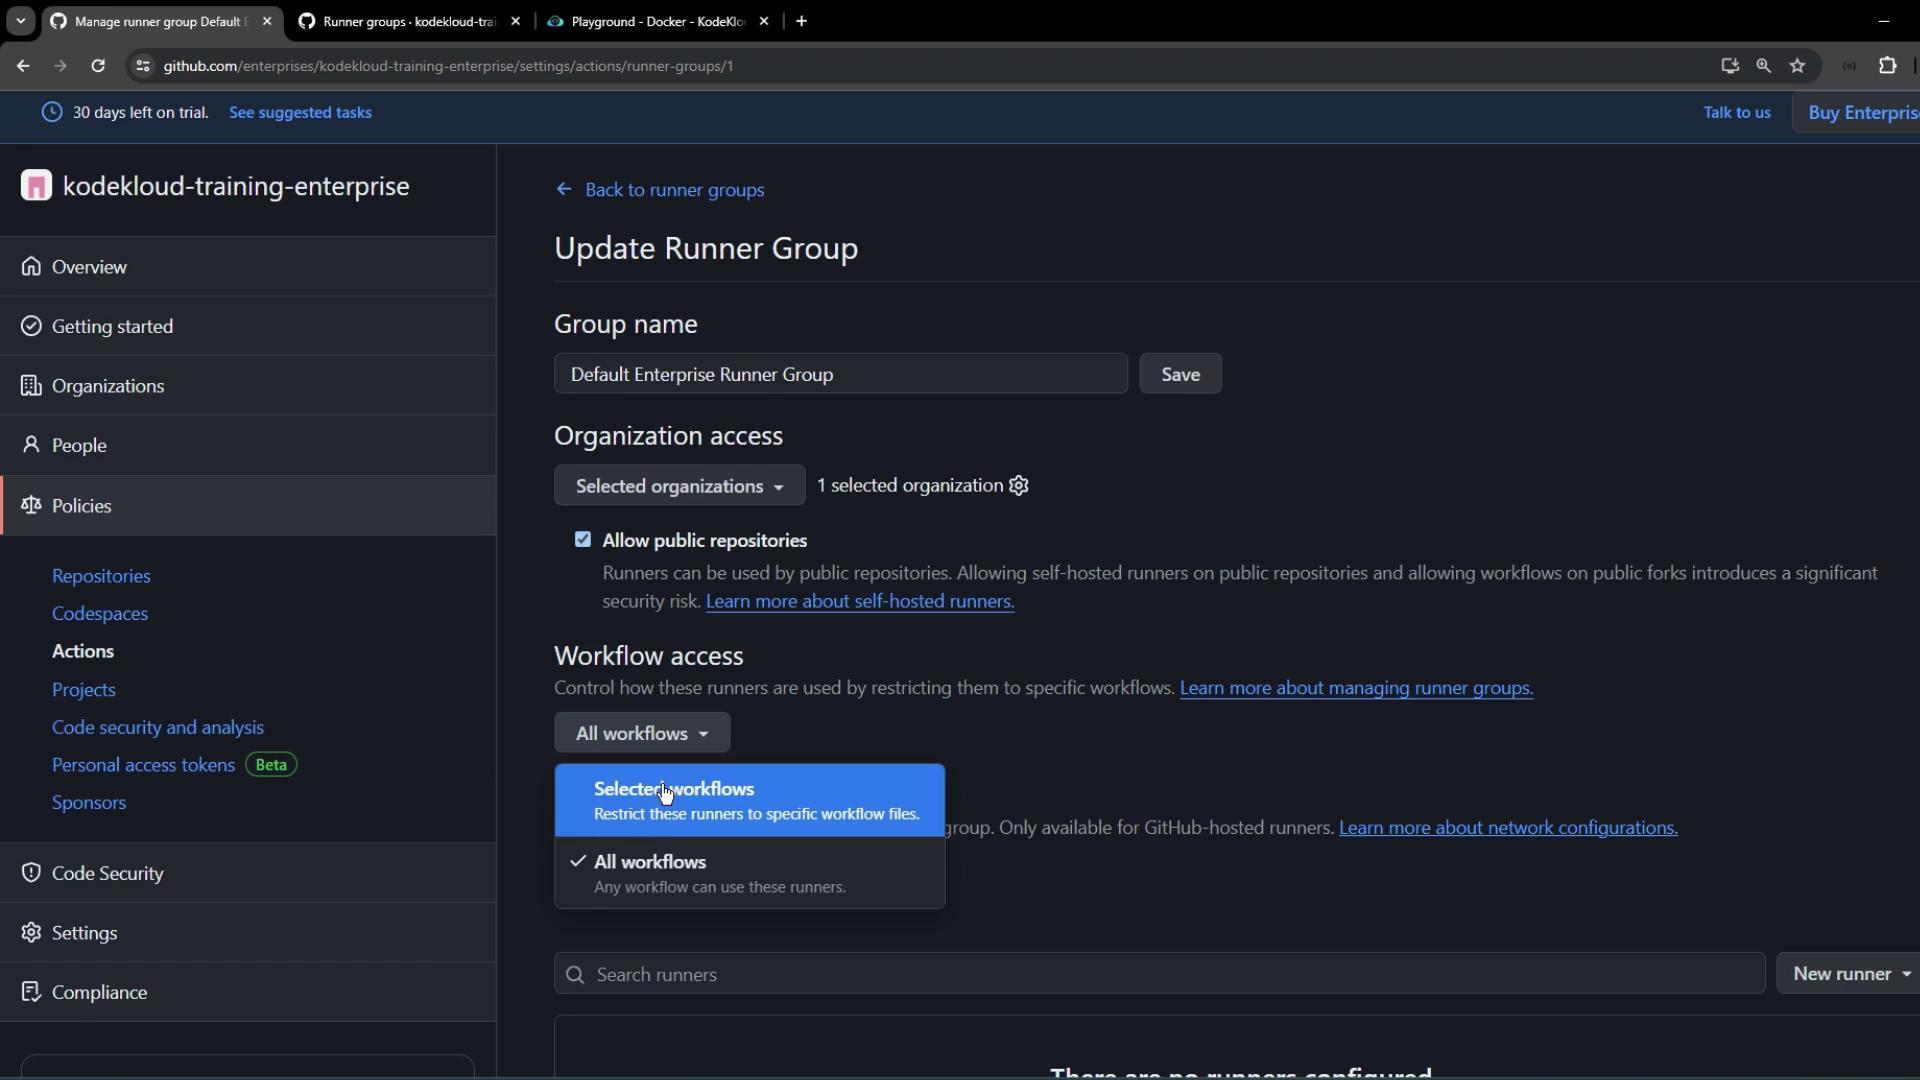
Apply your changes and save.
4. Assign Runner Group to Organization Repositories
Return to the organization’s Runner groups page and refresh. The renamed enterprise group will appear. Click Add repository access: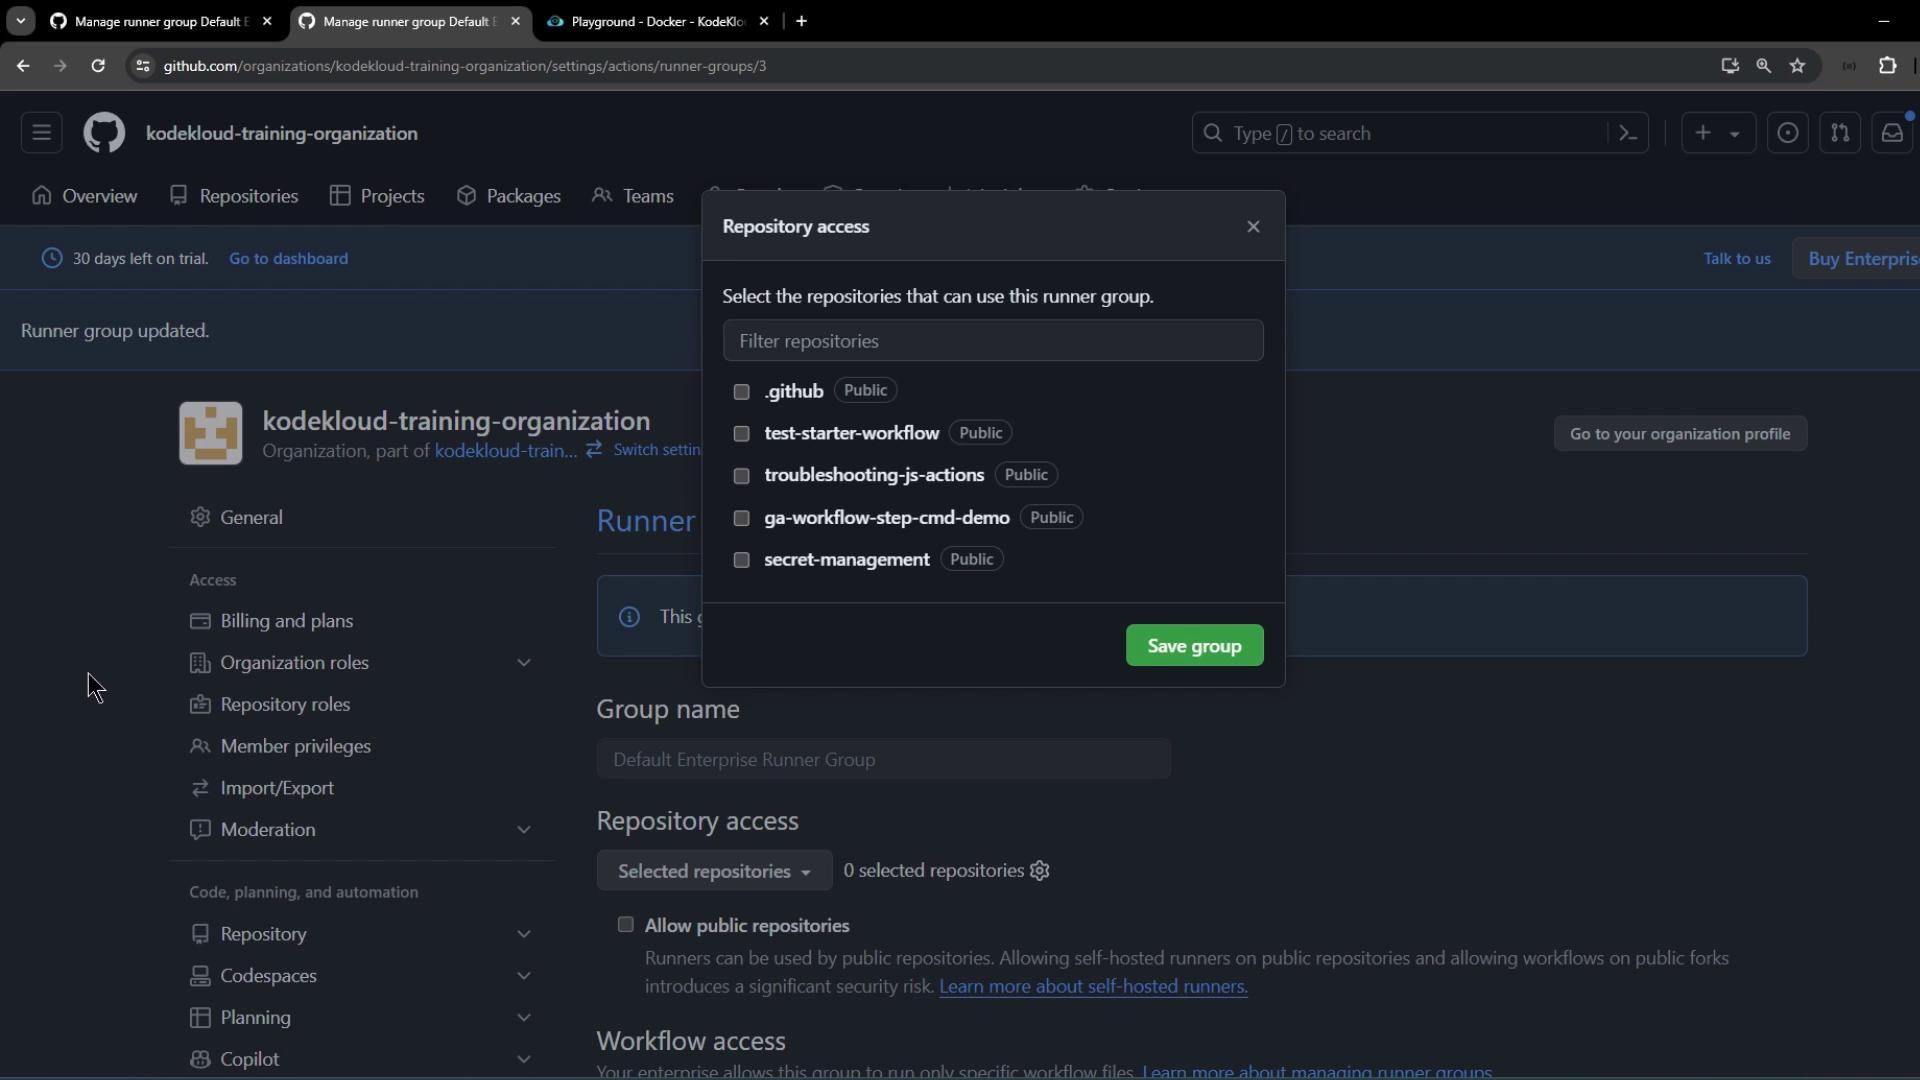
- All repositories
- Include public repositories
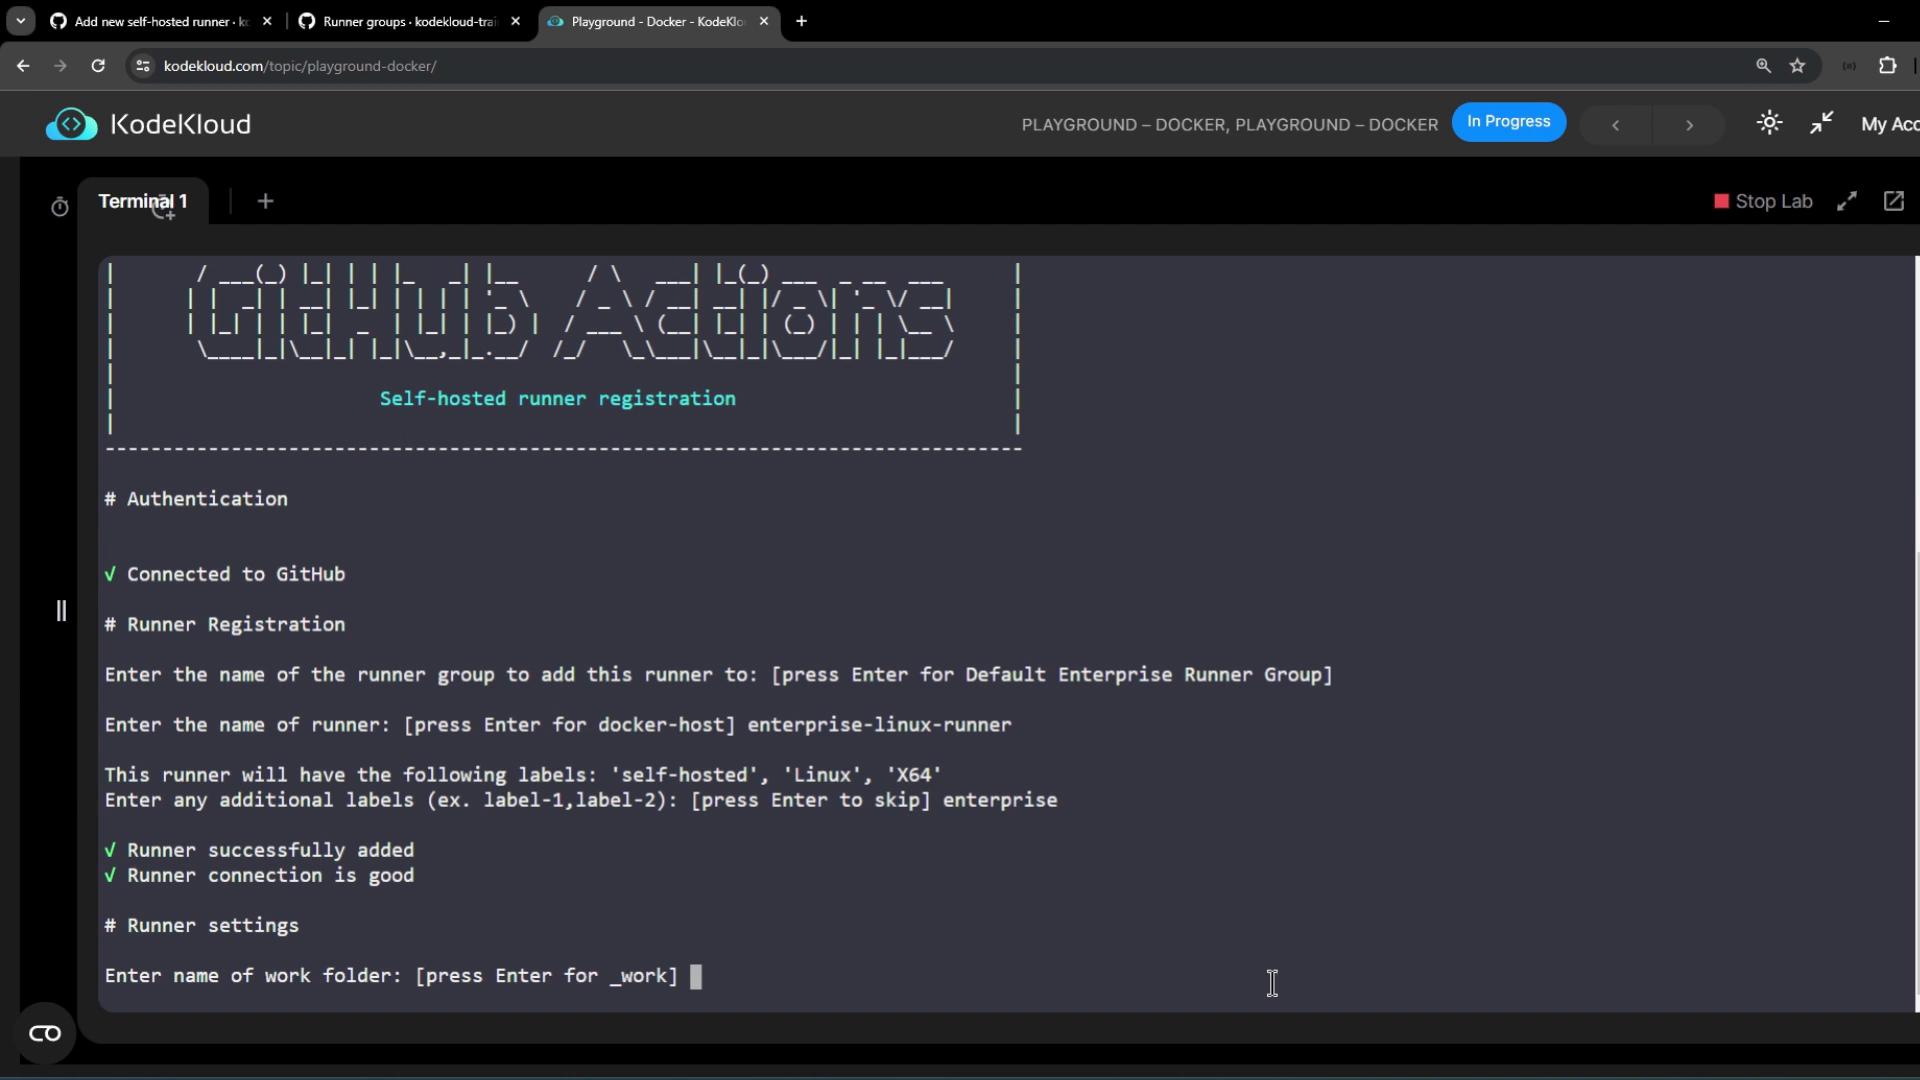
5. Install a Self-Hosted Runner on Linux
In the enterprise settings, go to Policies > Actions > Runners: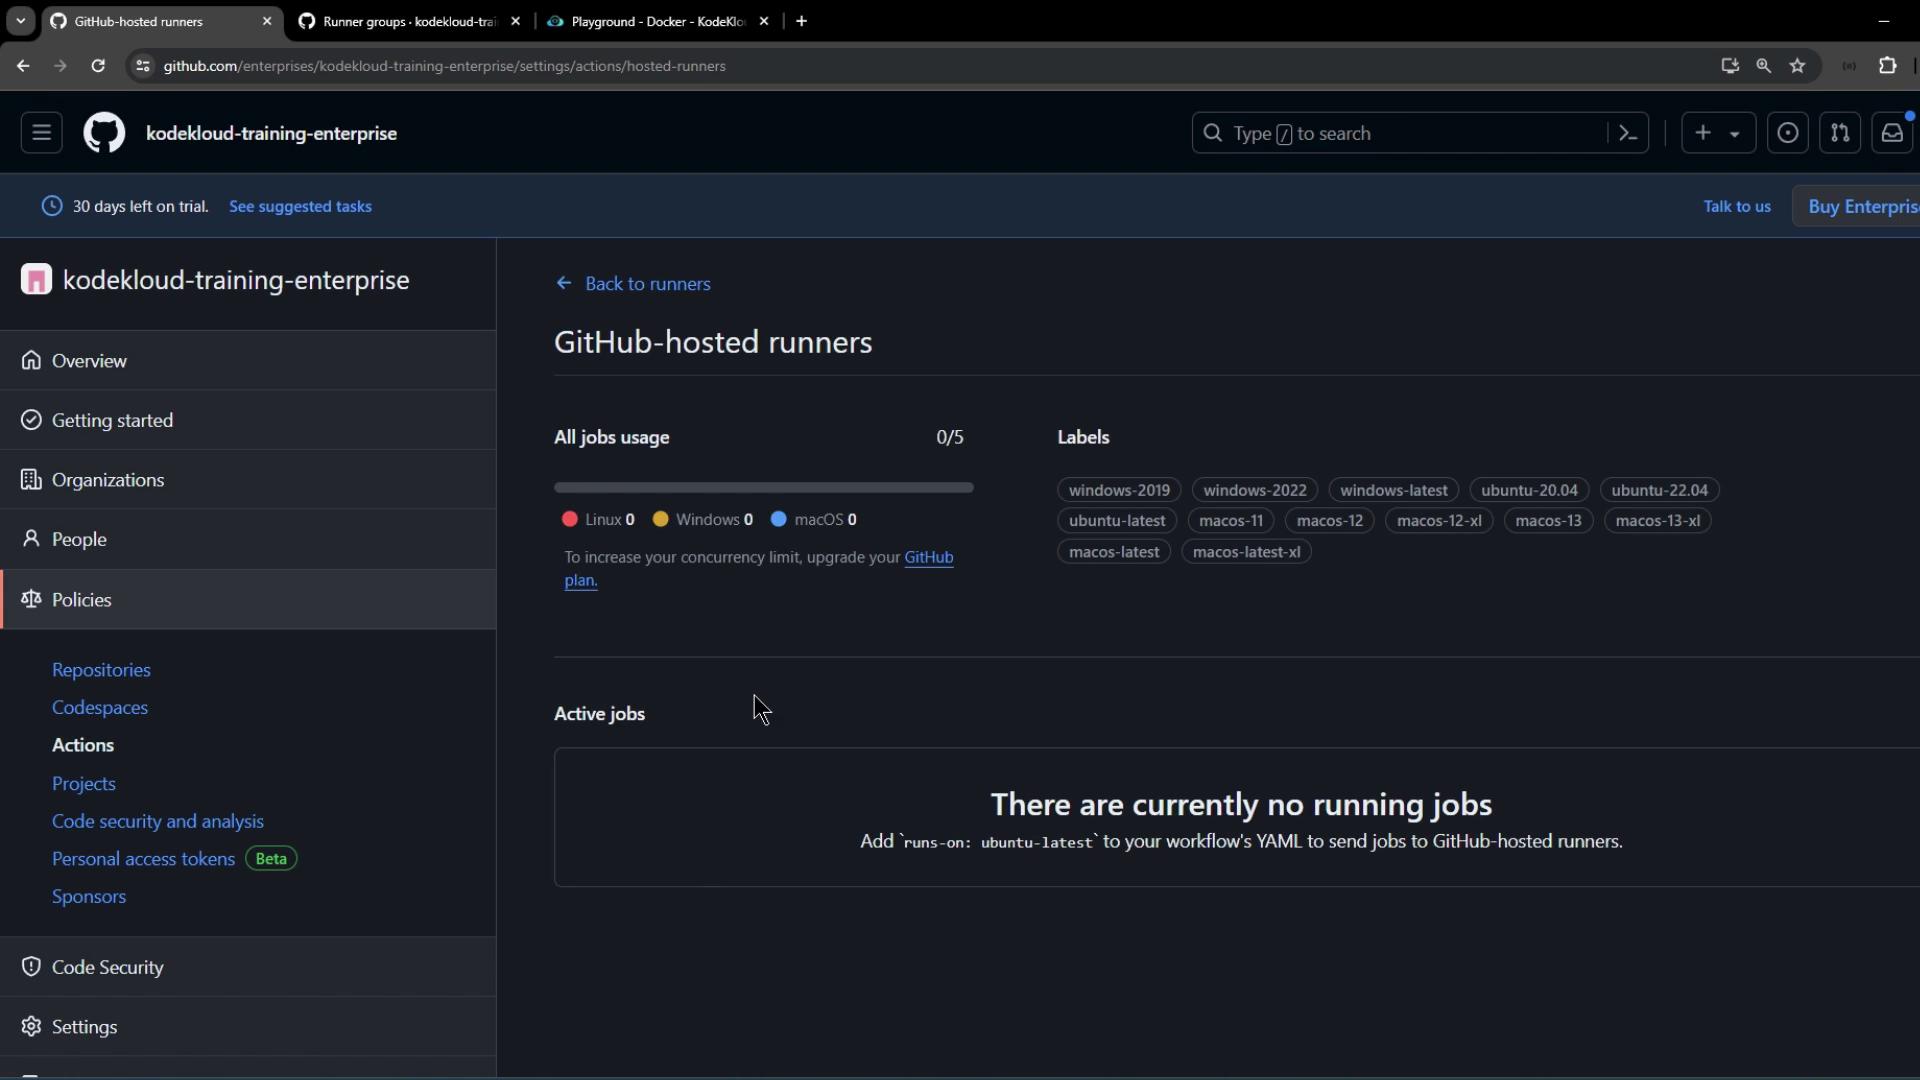
enterprise.
Once up, you’ll see logs like:
6. Verify Runner Registration
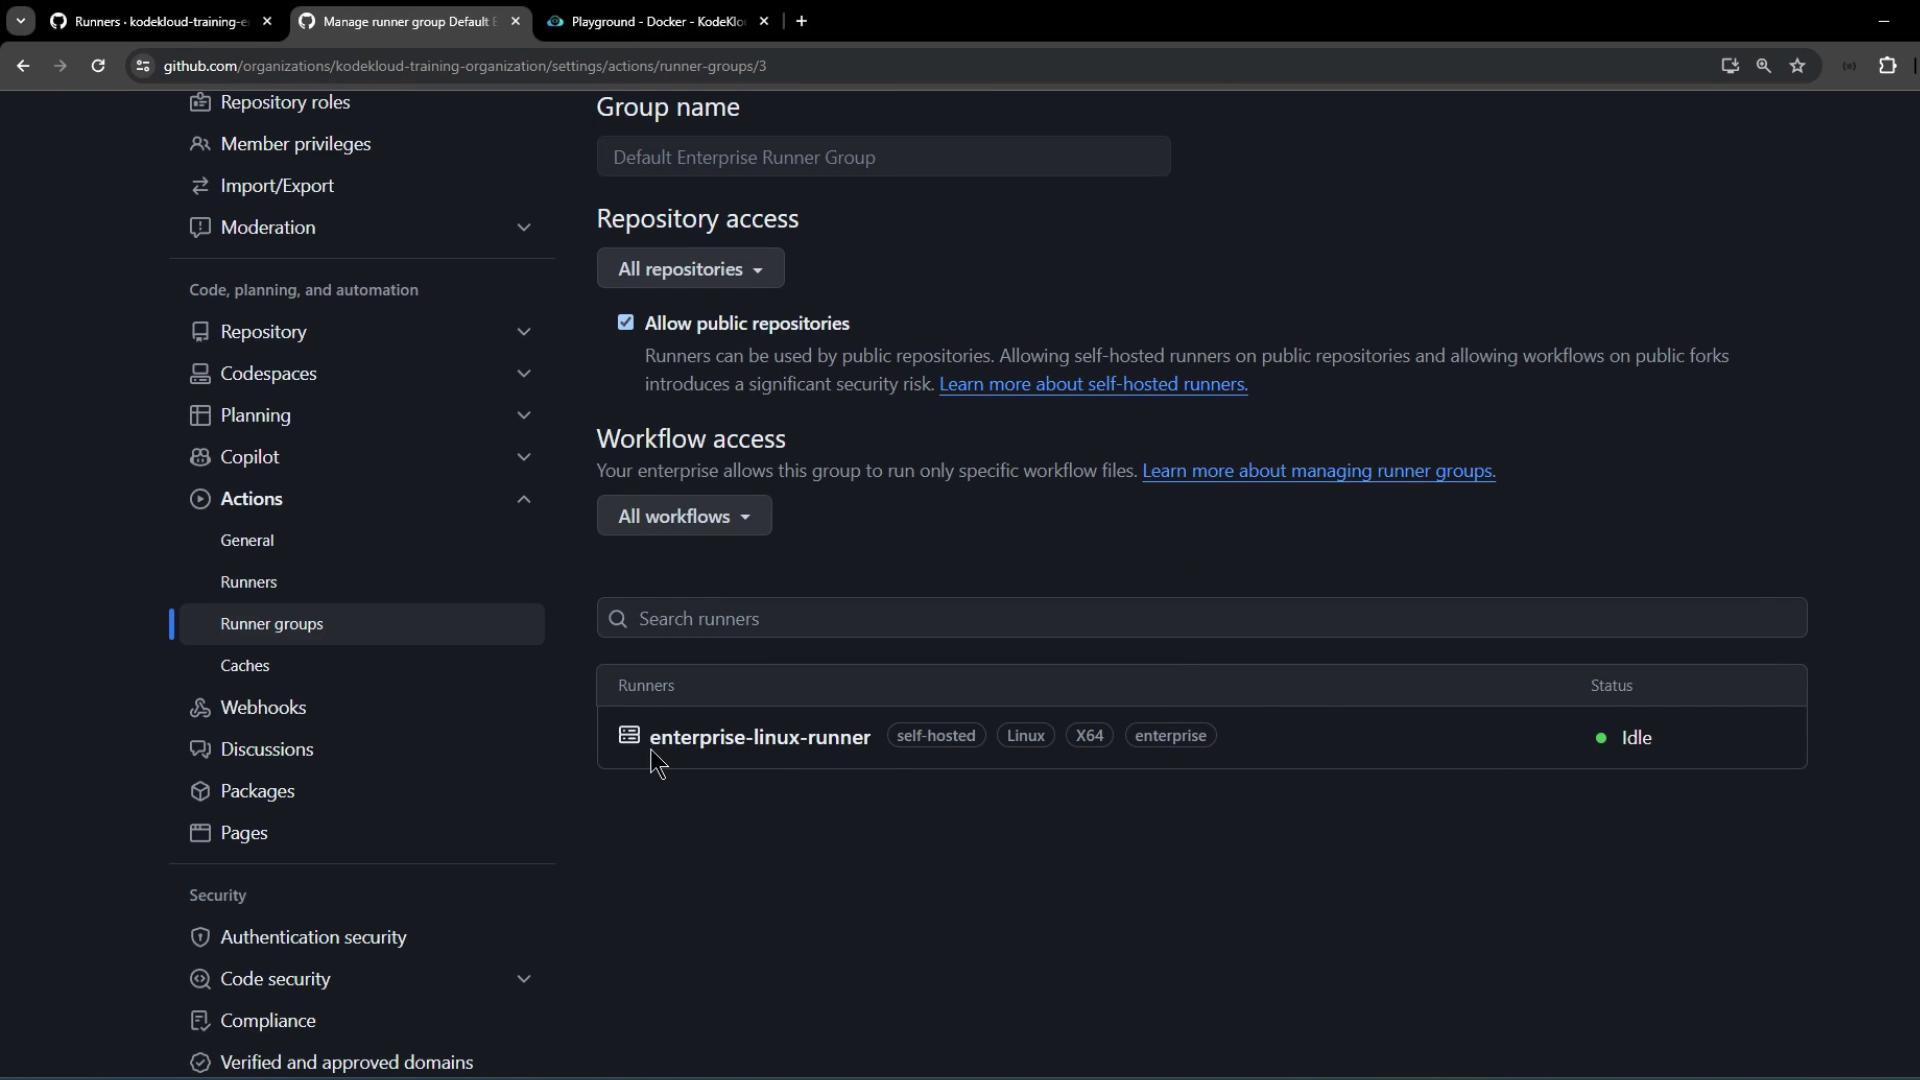
Back in the enterprise’s Runners list, your new self-hosted runner appears with labels and an idle status:
7. Create a New Repository and Workflow
- Disable the organization’s default runner for public repos to enforce enterprise runners.
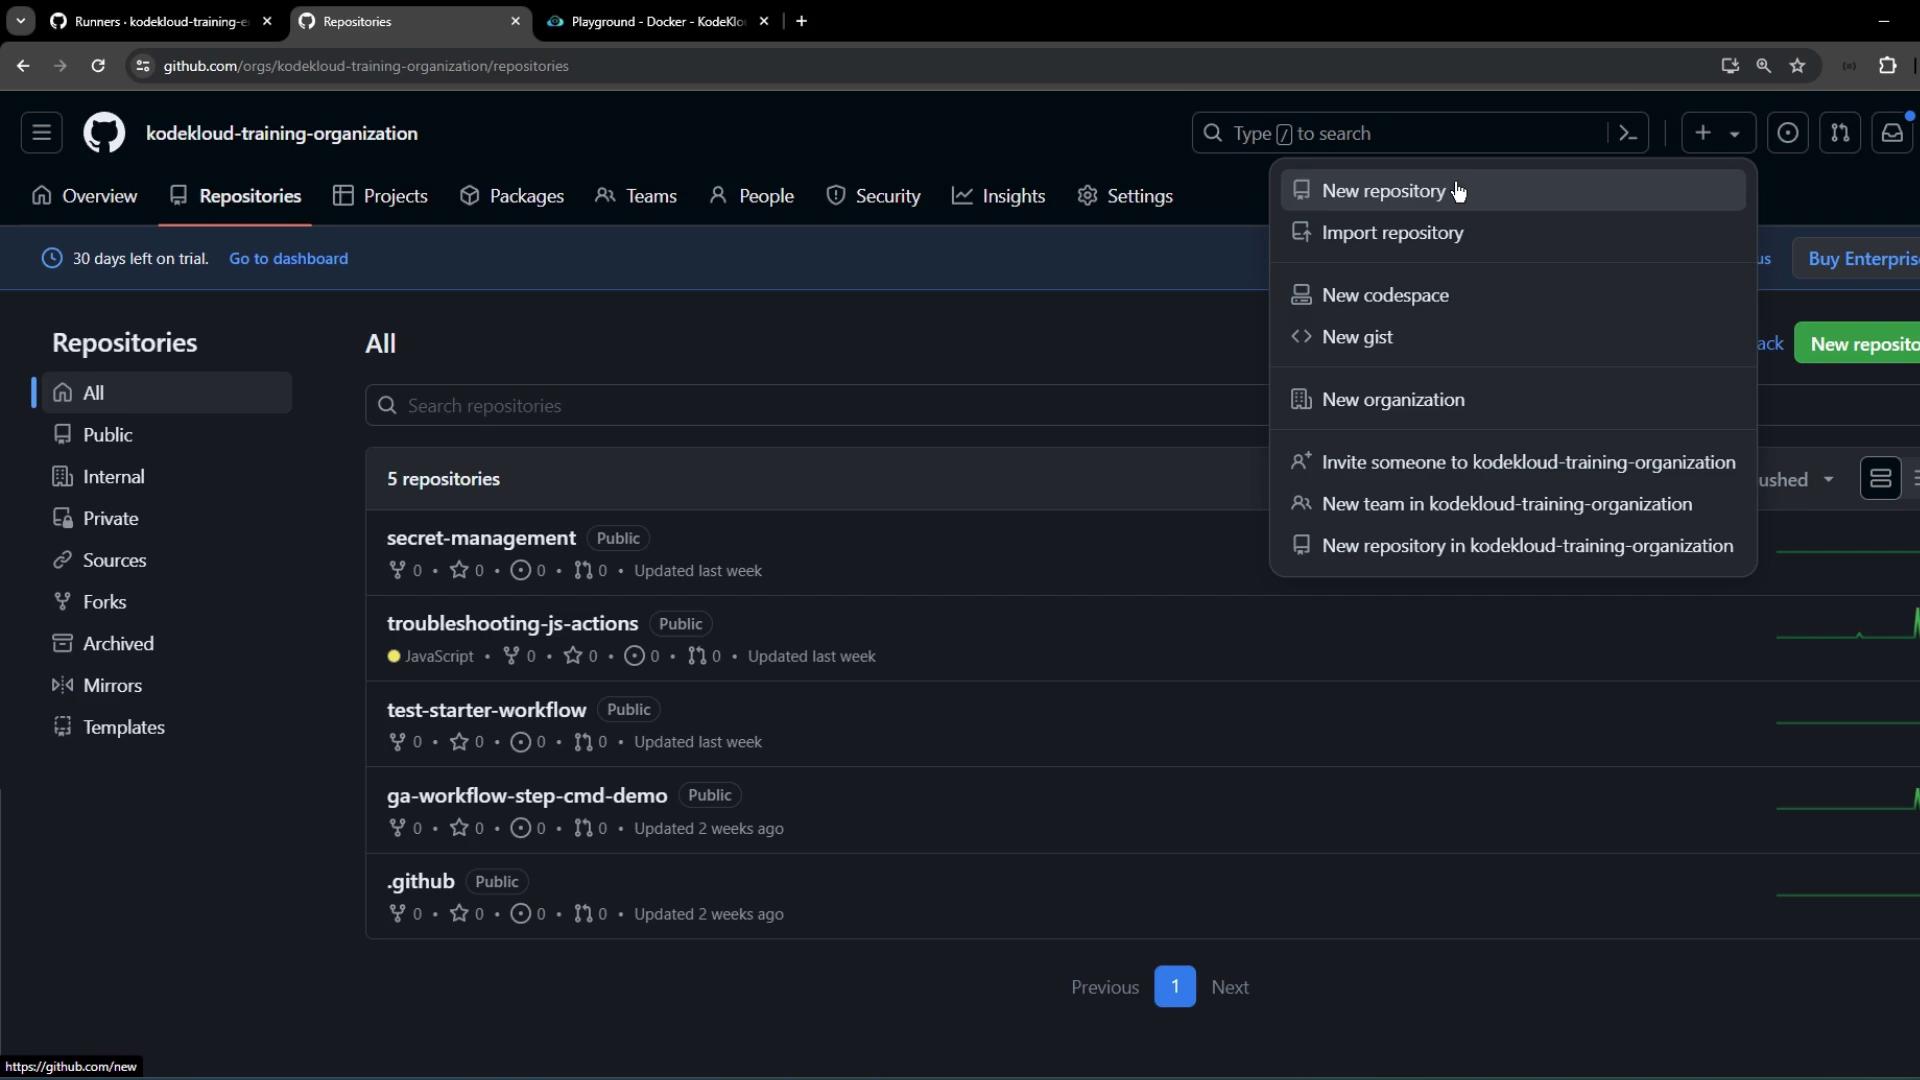
- Go to Repositories > New repository in your organization:
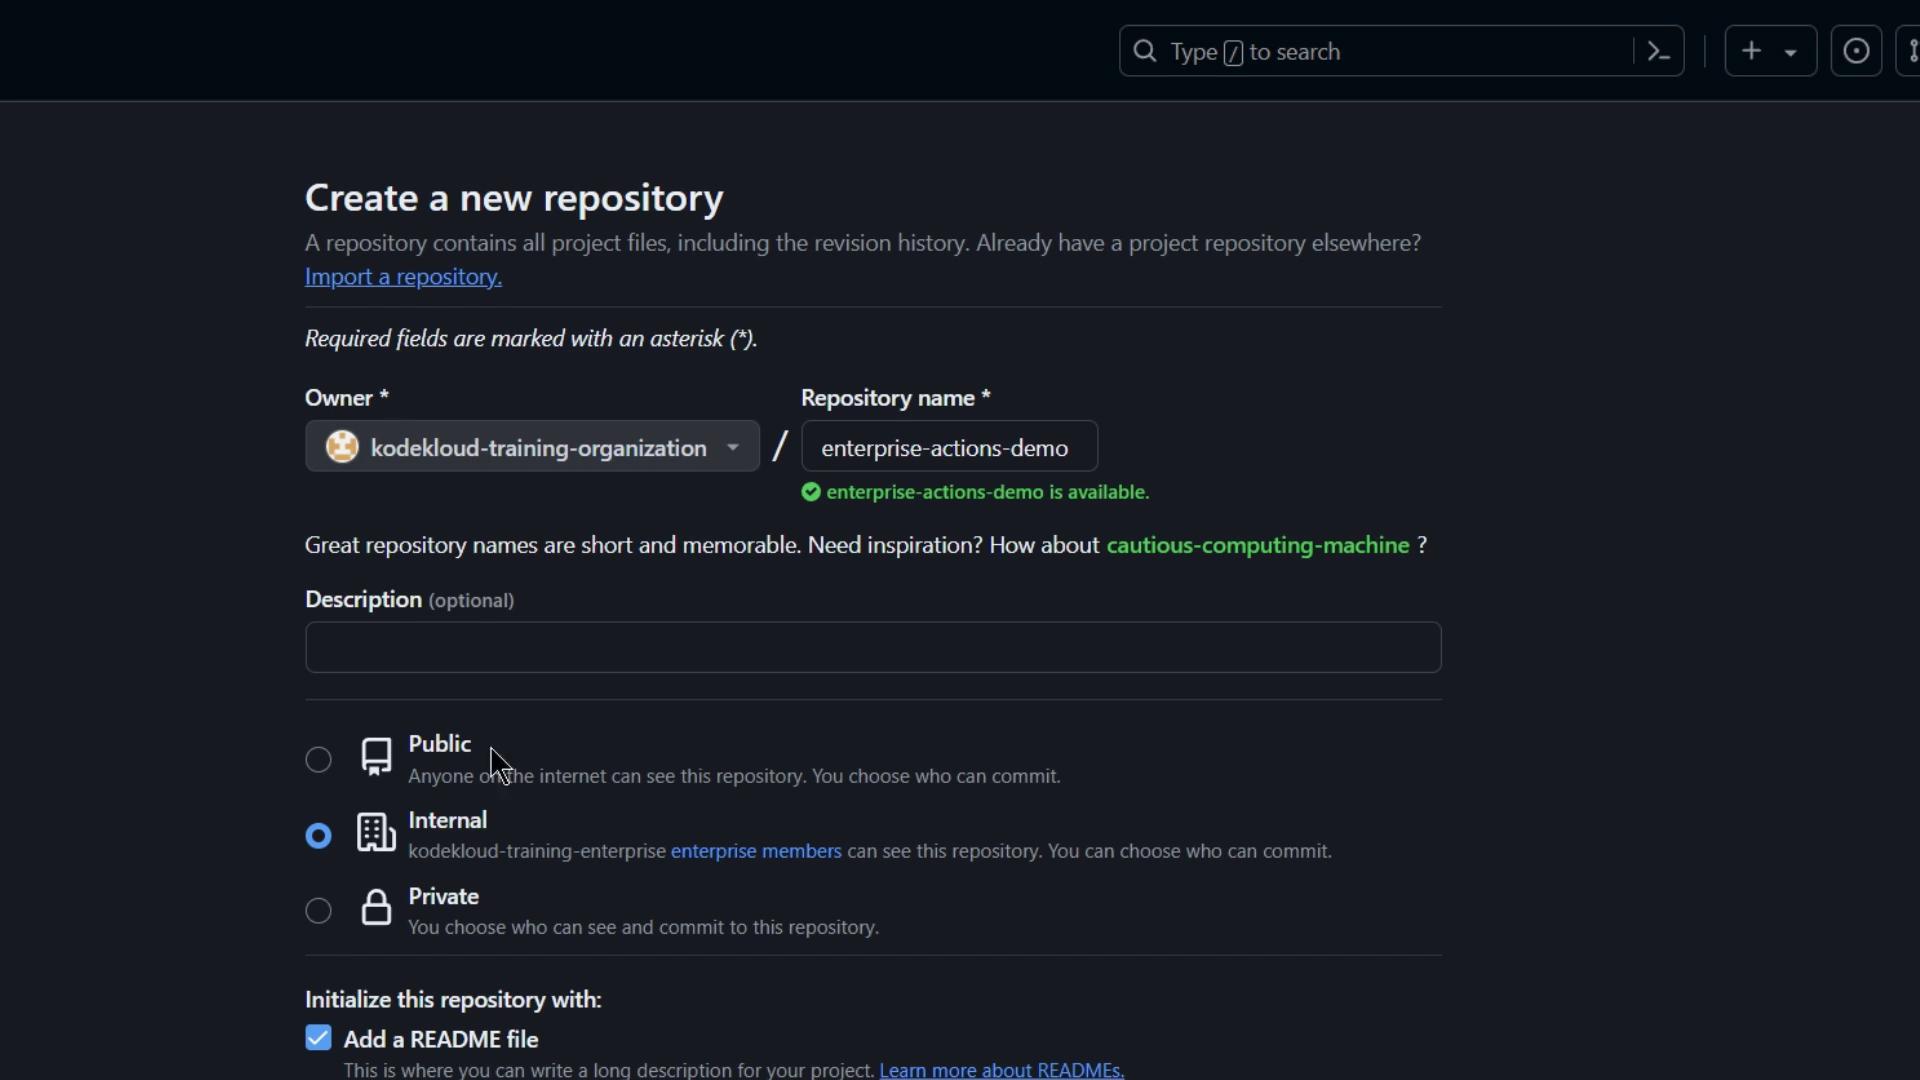
- Initialize with a README and clone locally:
- Add a workflow at
.github/workflows/demo.yaml:
- Commit and push:
8. Review Workflow Execution
Navigate to the repository’s Actions tab. You should seedemo_job queued and running on your self-hosted enterprise runner: