In this guide, you’ll learn how to leverage the workflow_dispatch trigger in GitHub Actions to define custom inputs for manual workflows. By specifying parameters, you can create a more intuitive, guided interface for team members and contributors.
GitHub supports up to 10 top-level inputs in a workflow_dispatch trigger. Use descriptive names and defaults to simplify the form.
See the Workflow Syntax documentation for details.
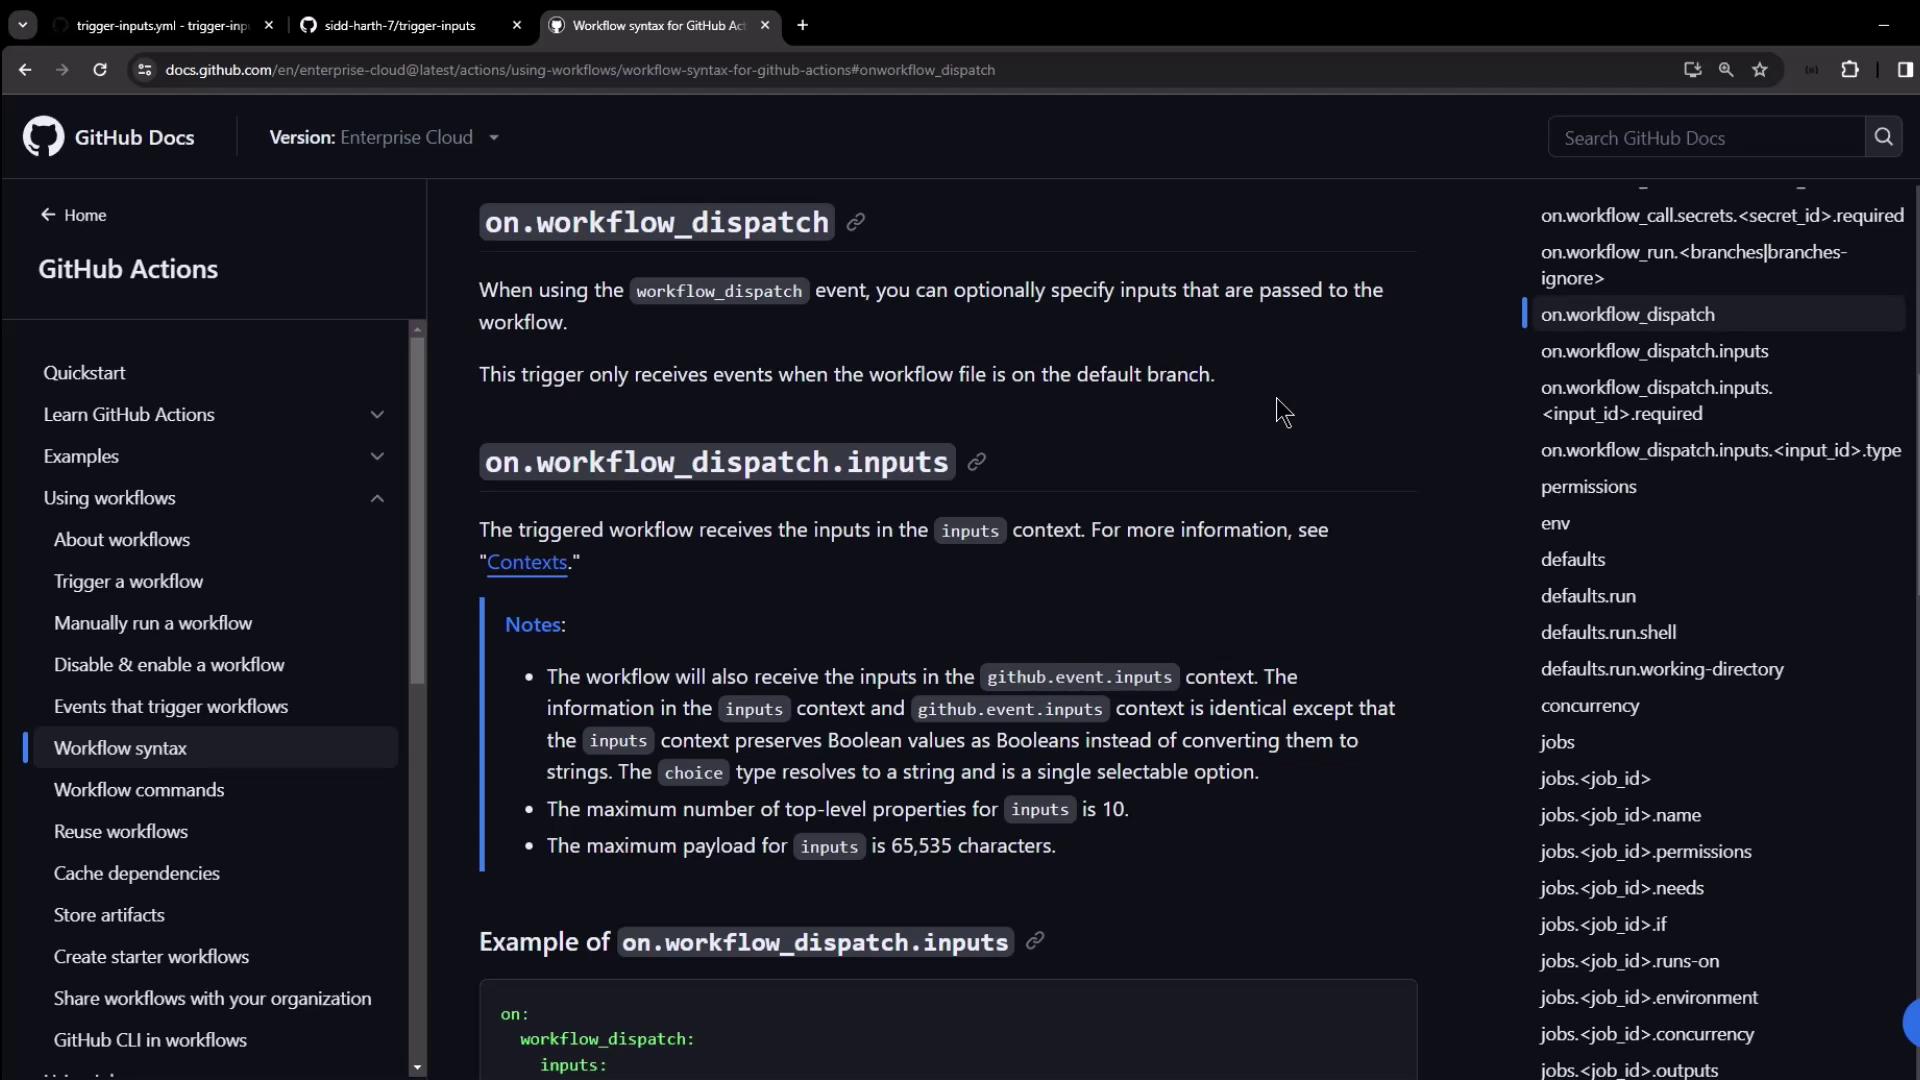
The image shows a GitHub documentation page about "on.workflow_dispatch" and "on.workflow_dispatch.inputs" for GitHub Actions, detailing how to specify inputs for workflows. The page includes navigation links on the left and a list of related topics on the right.

Supported Input Types

Use these five input types to collect values in your workflow form:

Basic Input Example

Below is a minimal example showing choice, boolean, string, and environment inputs. Access them in steps via ${{ inputs.<name> }}:

Example Repository

Clone or browse the trigger-inputs repository to see these inputs in action. It contains a simple README and one workflow file:
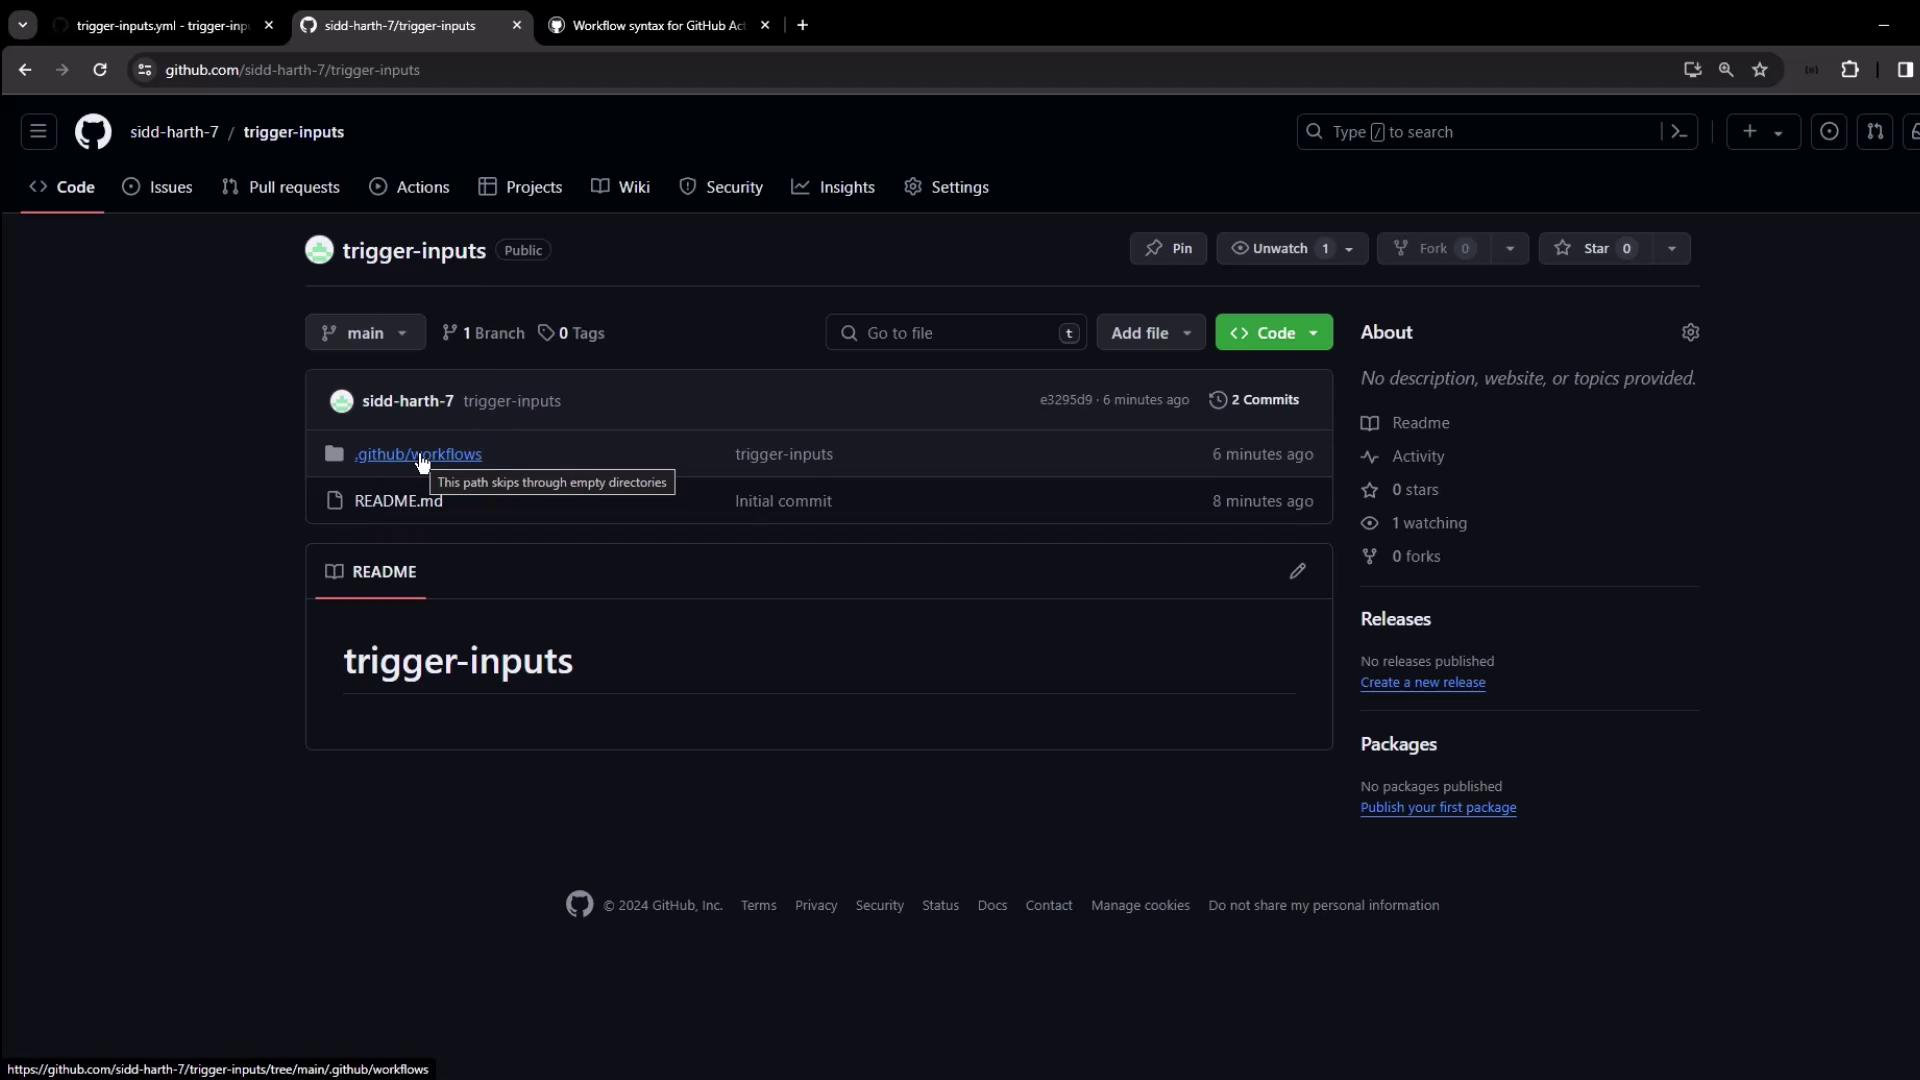
The image shows a GitHub repository page named "trigger-inputs" with a folder and a README file listed. The repository has two commits and no description or releases.

Defining the Workflow

Open .github/workflows/trigger-inputs.yml in your editor:
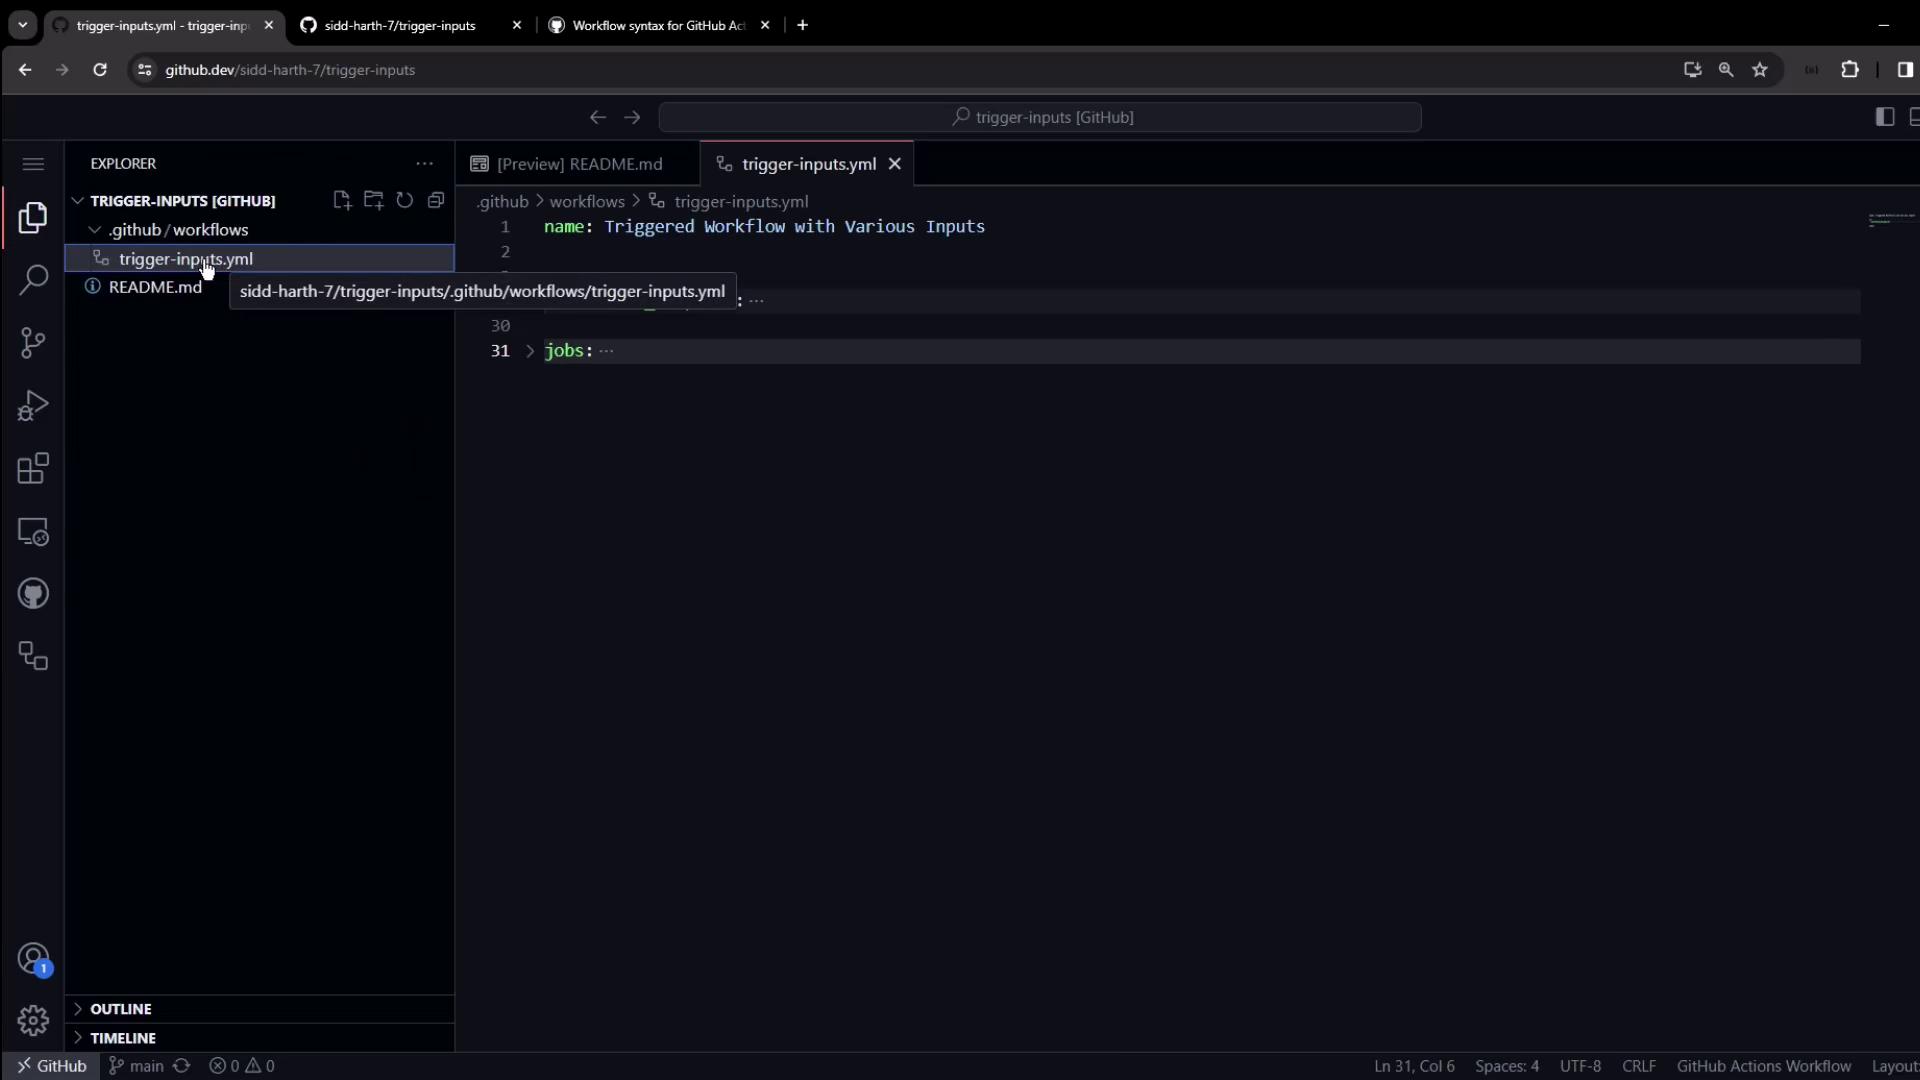
The image shows a Visual Studio Code environment with a YAML file open, specifically a GitHub Actions workflow file named "trigger-inputs.yml" under the ".github/workflows" directory. The file contains a workflow named "Triggered Workflow with Various Inputs."
This workflow declares five inputs and a job that prints them:

Running the Workflow

  1. Go to the Actions tab, select Triggered Workflow with Various Inputs, and click Run workflow.
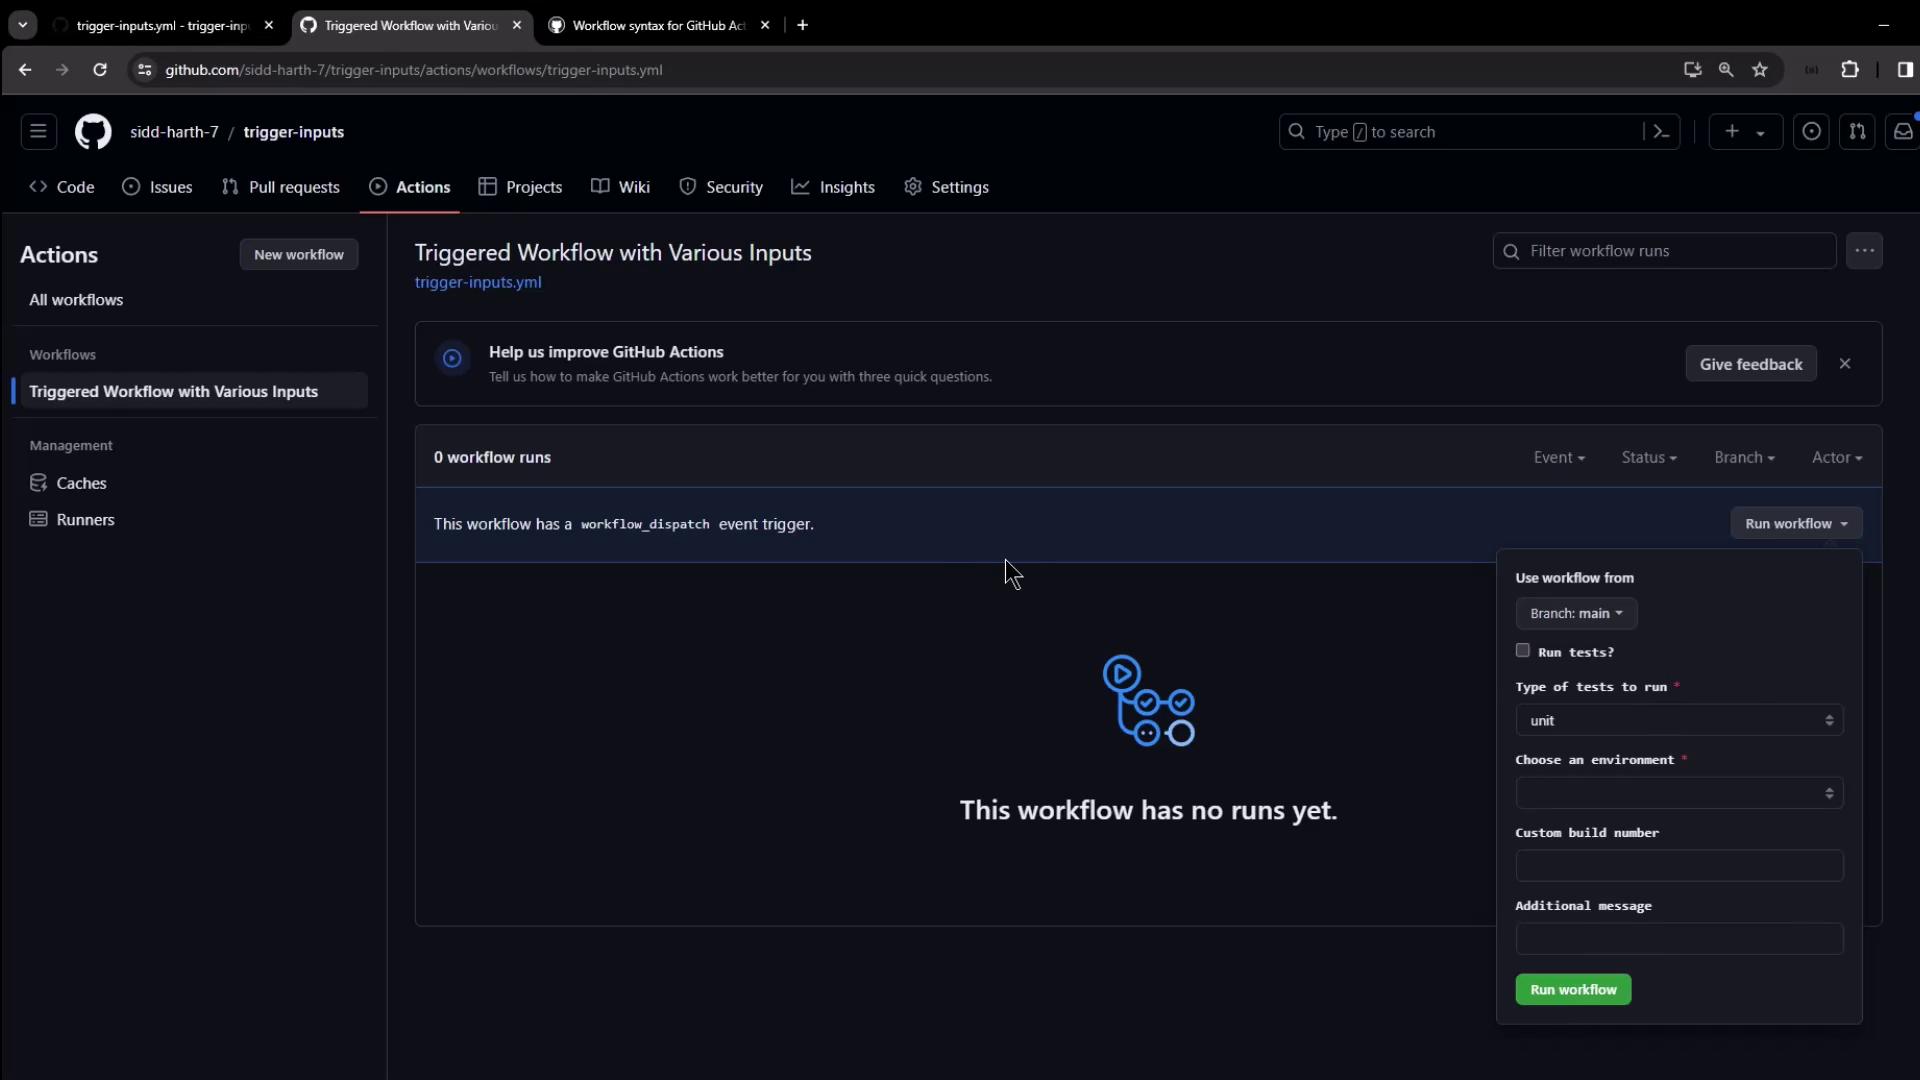
  2. GitHub displays a form based on your inputs block:
The image shows a GitHub Actions page for a repository, displaying a workflow titled "Triggered Workflow with Various Inputs" with no runs yet. A dropdown menu is open, allowing the user to configure and run the workflow.
  1. Choose the branch, toggle Run tests, pick your Test type, select an Environment, and enter Build number or Message as needed.
  2. Click Run workflow.

Creating Environments

If no environments exist, add them under SettingsEnvironments. We created two examples here:
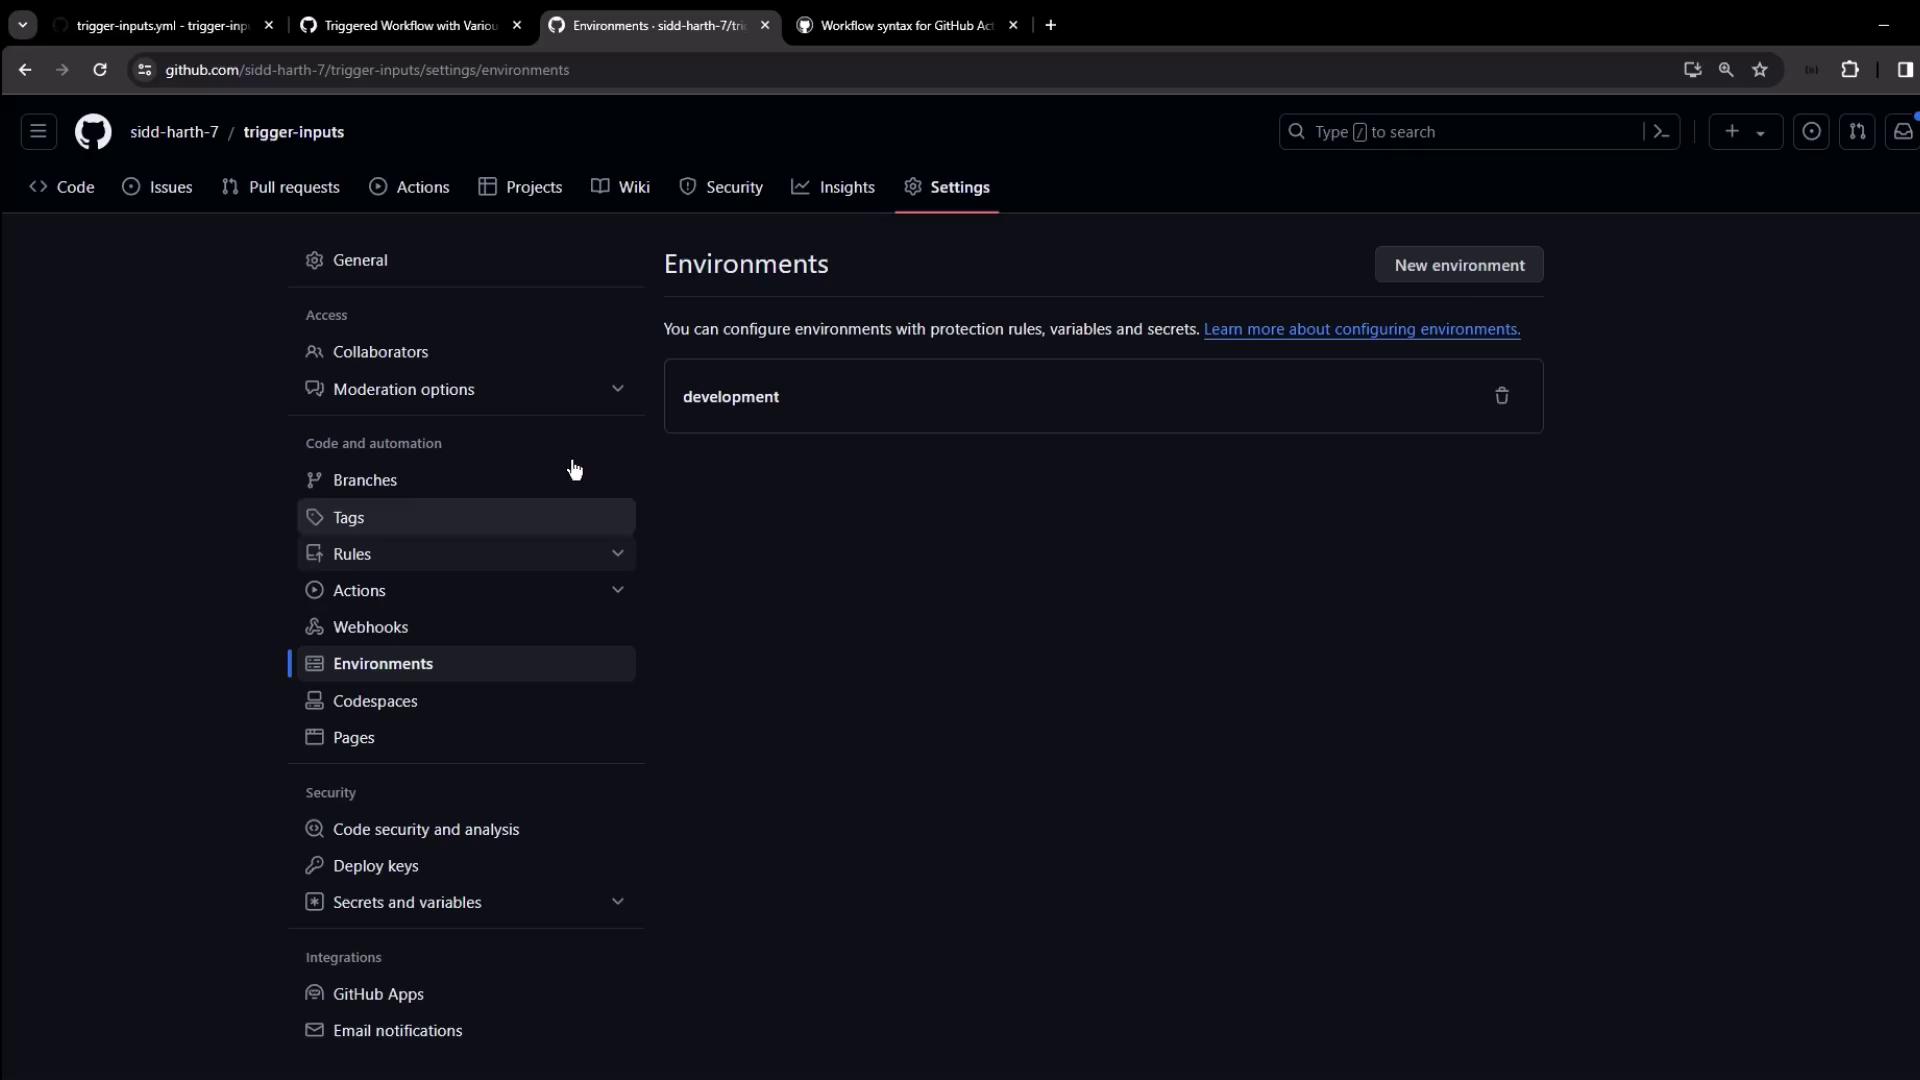
The image shows the "Environments" settings page of a GitHub repository, with a "development" environment listed. The sidebar includes options like branches, tags, actions, and webhooks.

Viewing the Run

After you submit the form, watch the job start:
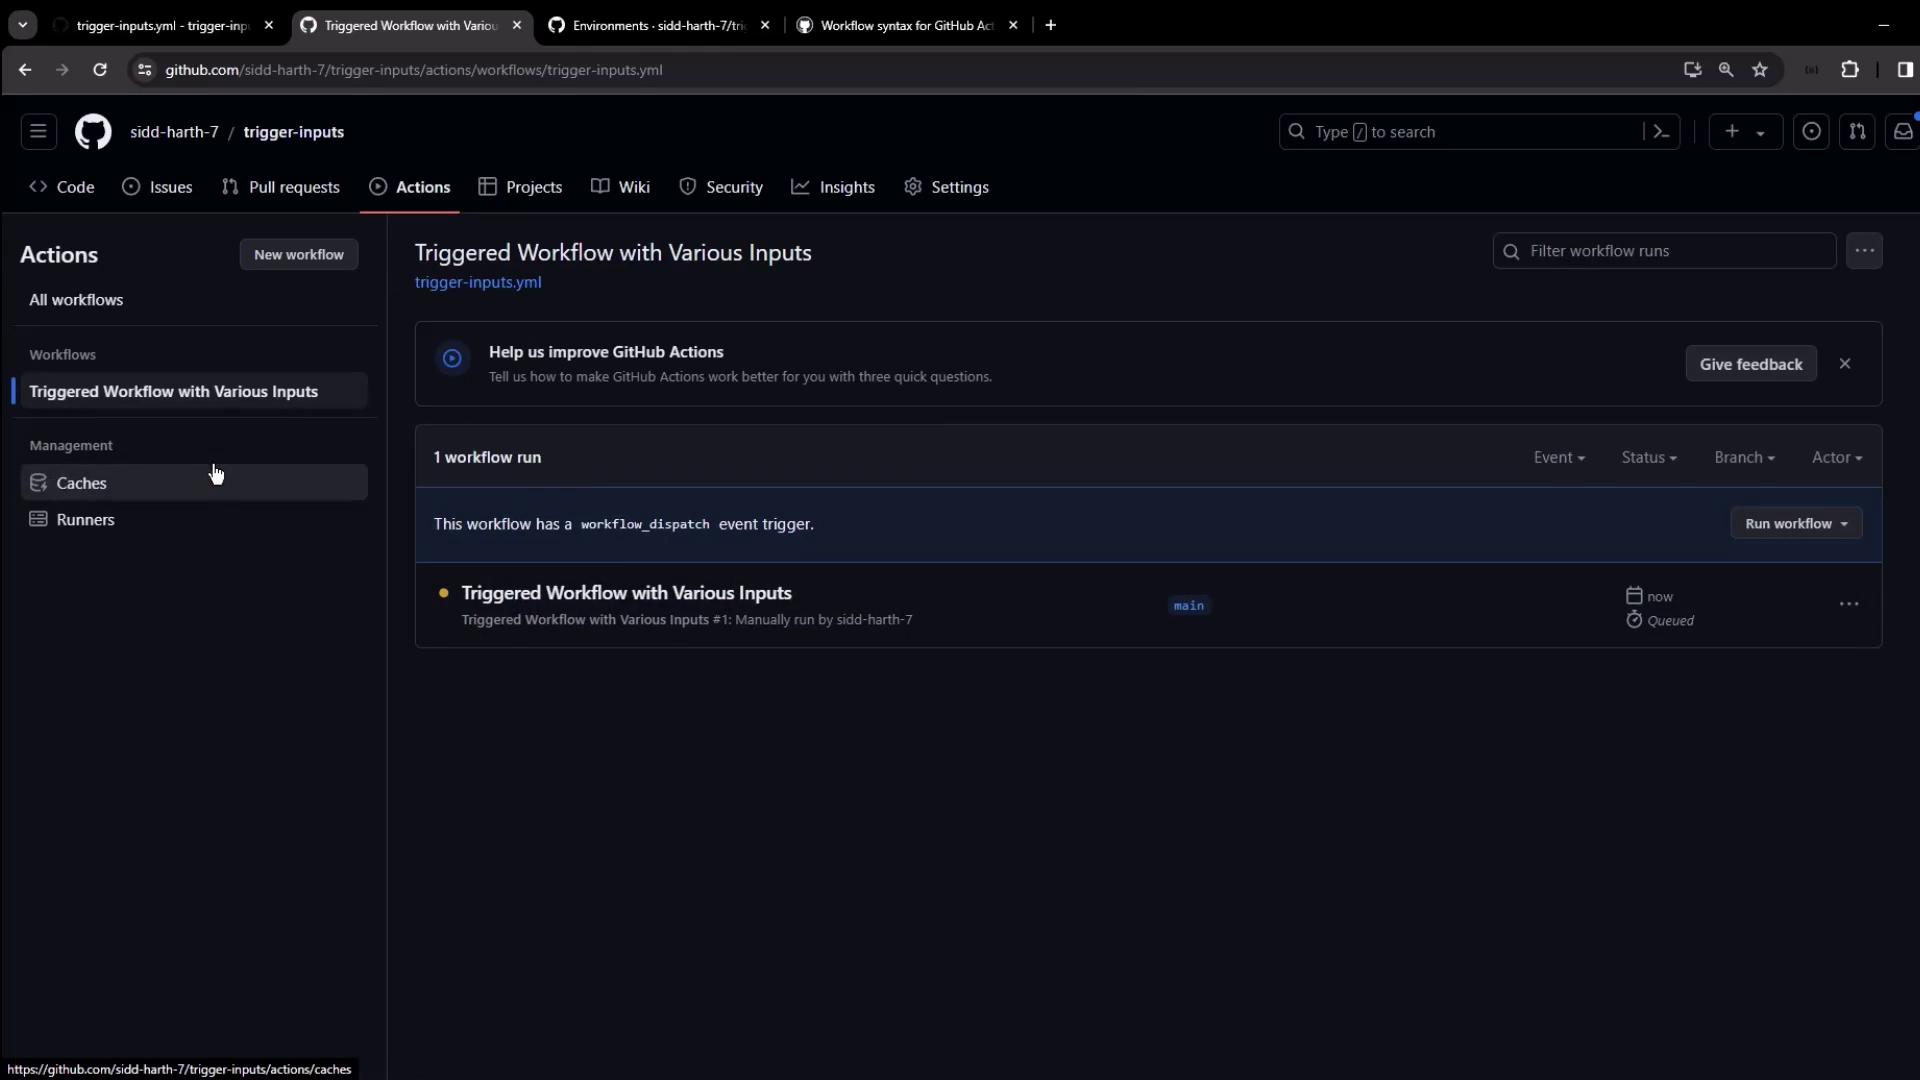
The image shows a GitHub Actions page with a workflow titled "Triggered Workflow with Various Inputs," displaying details about a workflow run and options for managing caches and runners.
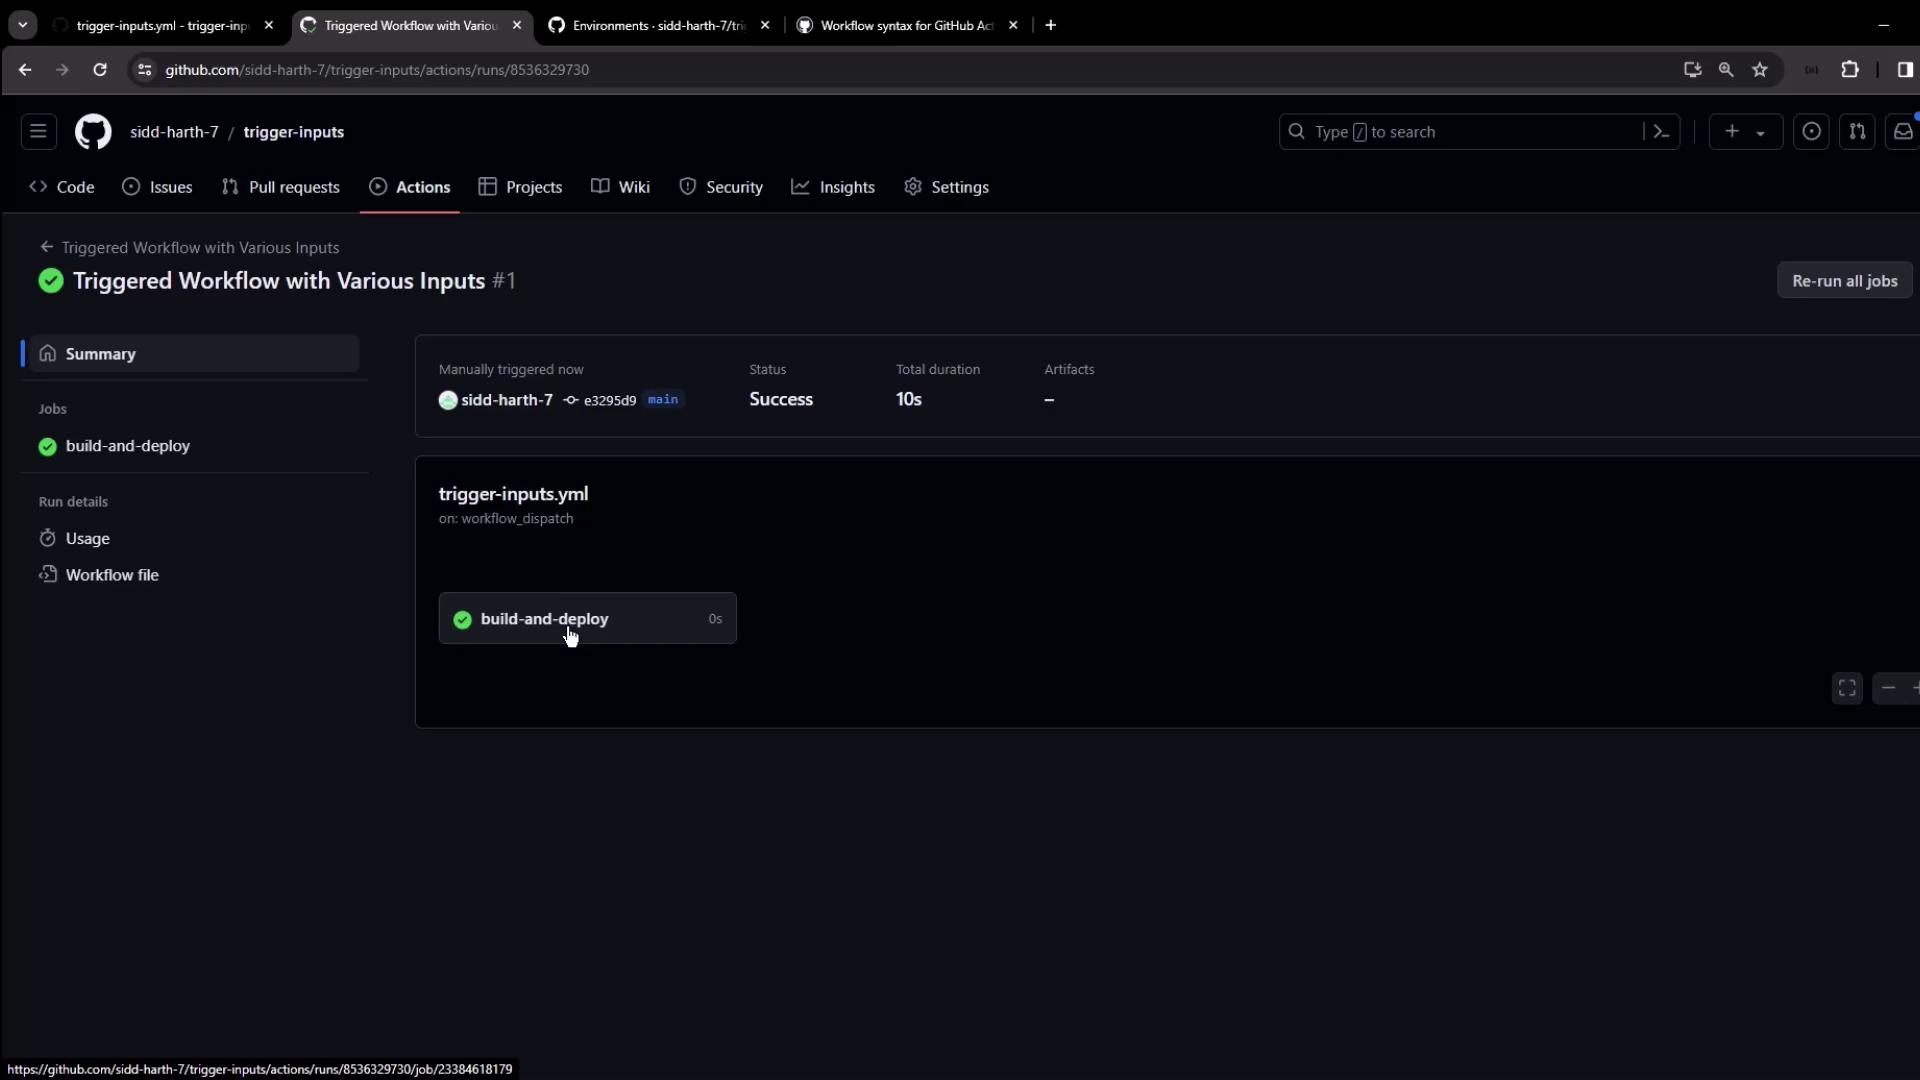
Once it finishes, open the logs to confirm your inputs:
The image shows a GitHub Actions page displaying a successfully completed workflow run named "Triggered Workflow with Various Inputs." The job "build-and-deploy" is highlighted as successful.

Conditional Steps and Debugging

When you guard a step with a boolean input, compare directly to a boolean:
Avoid comparing a boolean input to a string ('true'). That always evaluates to false, as shown in the debug logs below.
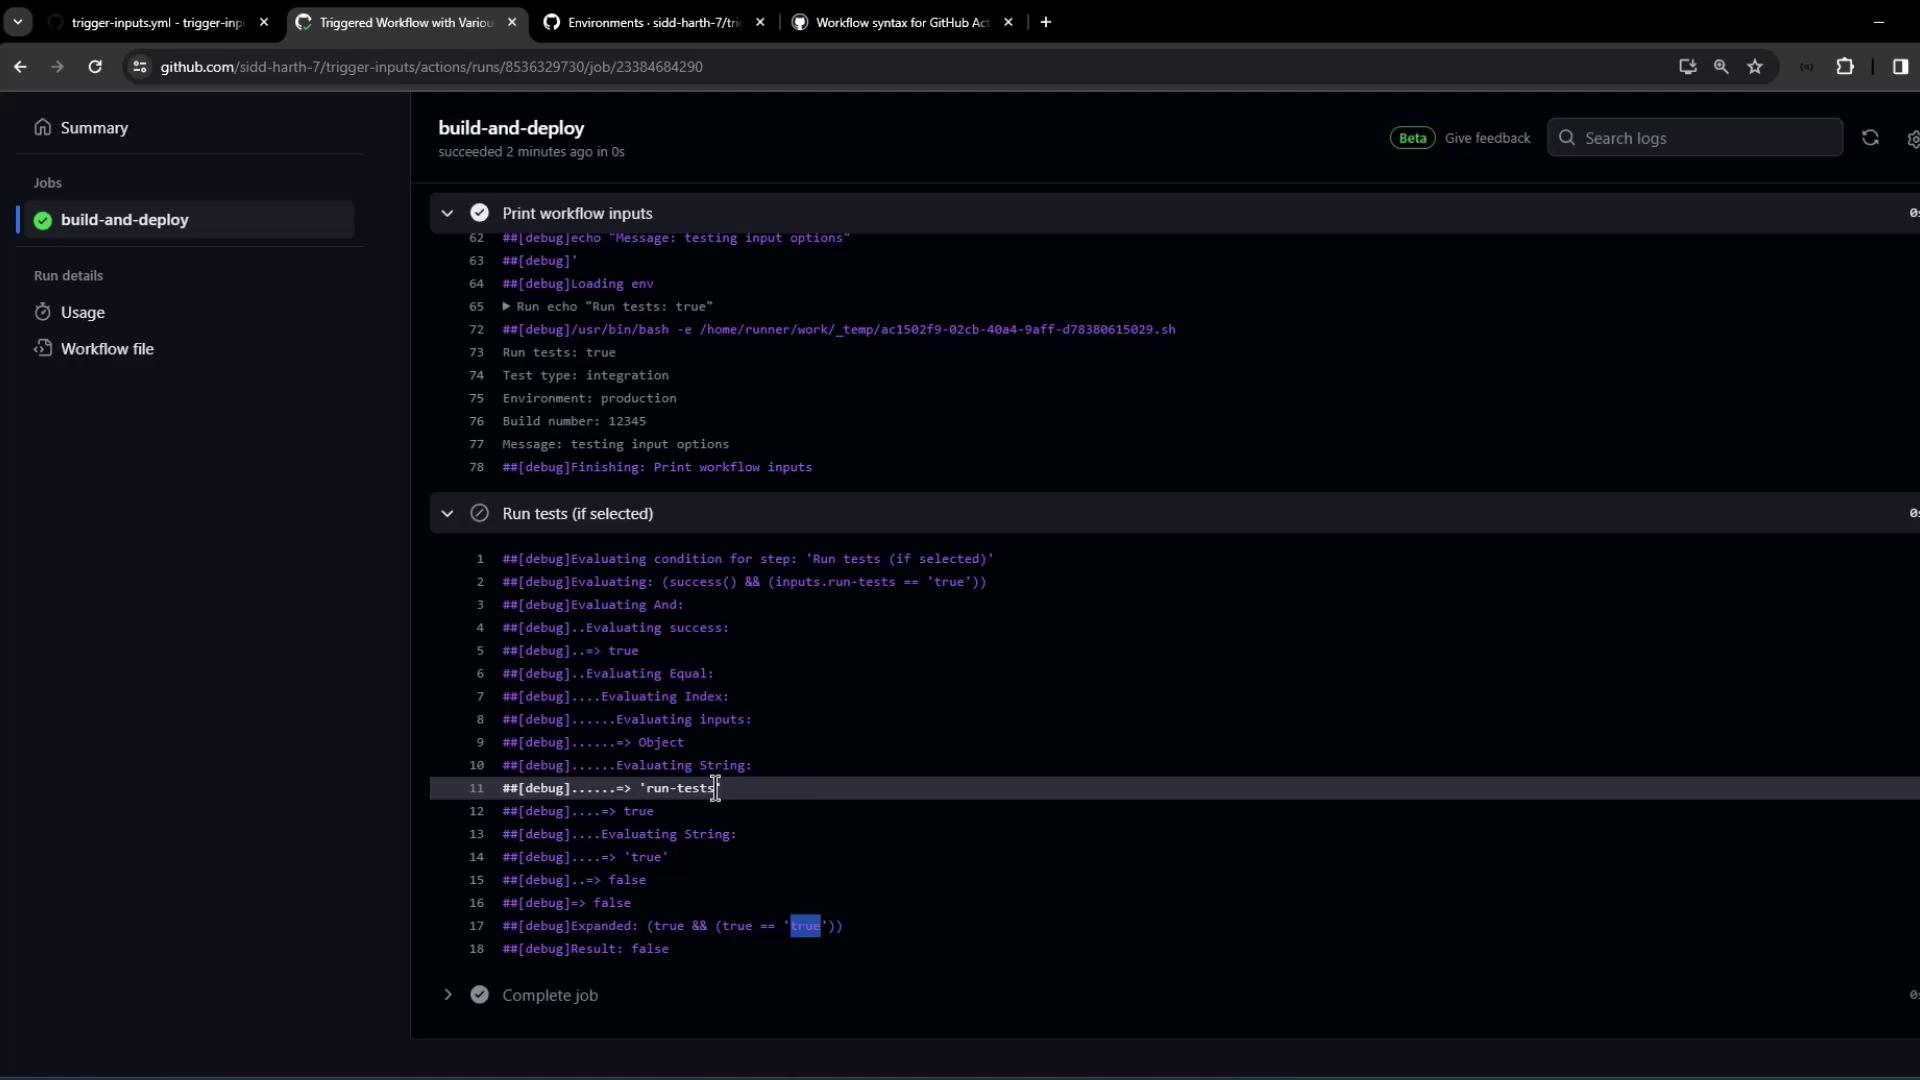
The image shows a GitHub Actions workflow log with sections for "Print workflow inputs" and "Run tests (if selected)," displaying debug information and evaluation results.

Summary

  • Define up to 10 workflow_dispatch inputs (boolean, choice, string, number, environment).
  • Access values with ${{ inputs.<name> }} in your steps.
  • Use inputs in if: conditional expressions.
  • Enable workflow debug logs to troubleshoot.
With these patterns, you can build flexible, user-friendly GitHub Actions workflows that adapt at run time.

Watch Video