Demo Deploy a Hosted Model Using SageMaker Endpoints
Tutorial for deploying a trained model to Amazon SageMaker by registering model packages, creating endpoint configurations and endpoints, and invoking predictions using Boto3 and the SageMaker Python SDK
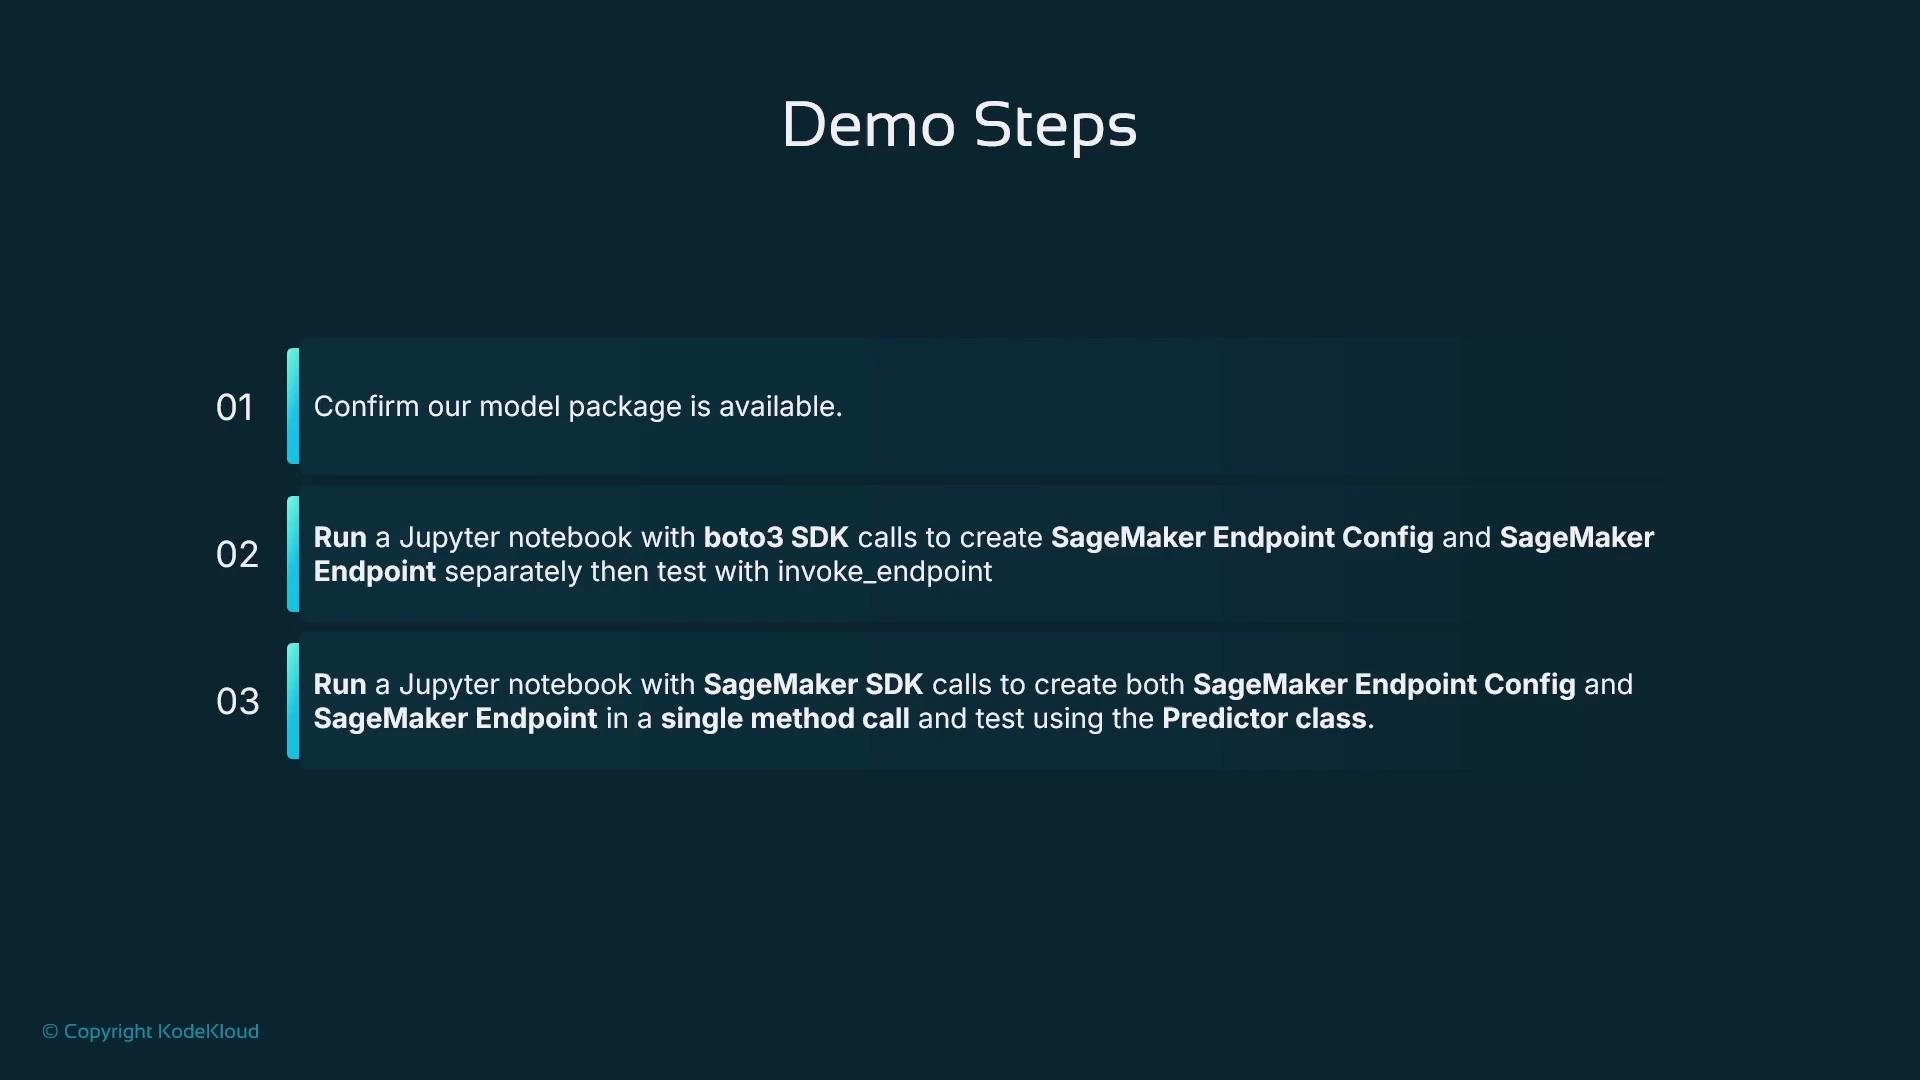
In this lesson we’ll deploy a trained model to Amazon SageMaker by creating SageMaker model packages, endpoint configurations, and endpoints. The walkthrough shows how to perform the steps from SageMaker Studio (Jupyter notebook) and how to programmatically create and test endpoints using the Boto3 SDK and the SageMaker Python SDK.Objectives
Build a SageMaker model package that associates a model artifact (model.tar.gz) with a container image.
Create an endpoint configuration and endpoint using the Boto3 SDK.
Create and test an endpoint using the SageMaker SDK and compare using the Predictor / runtime invocation.
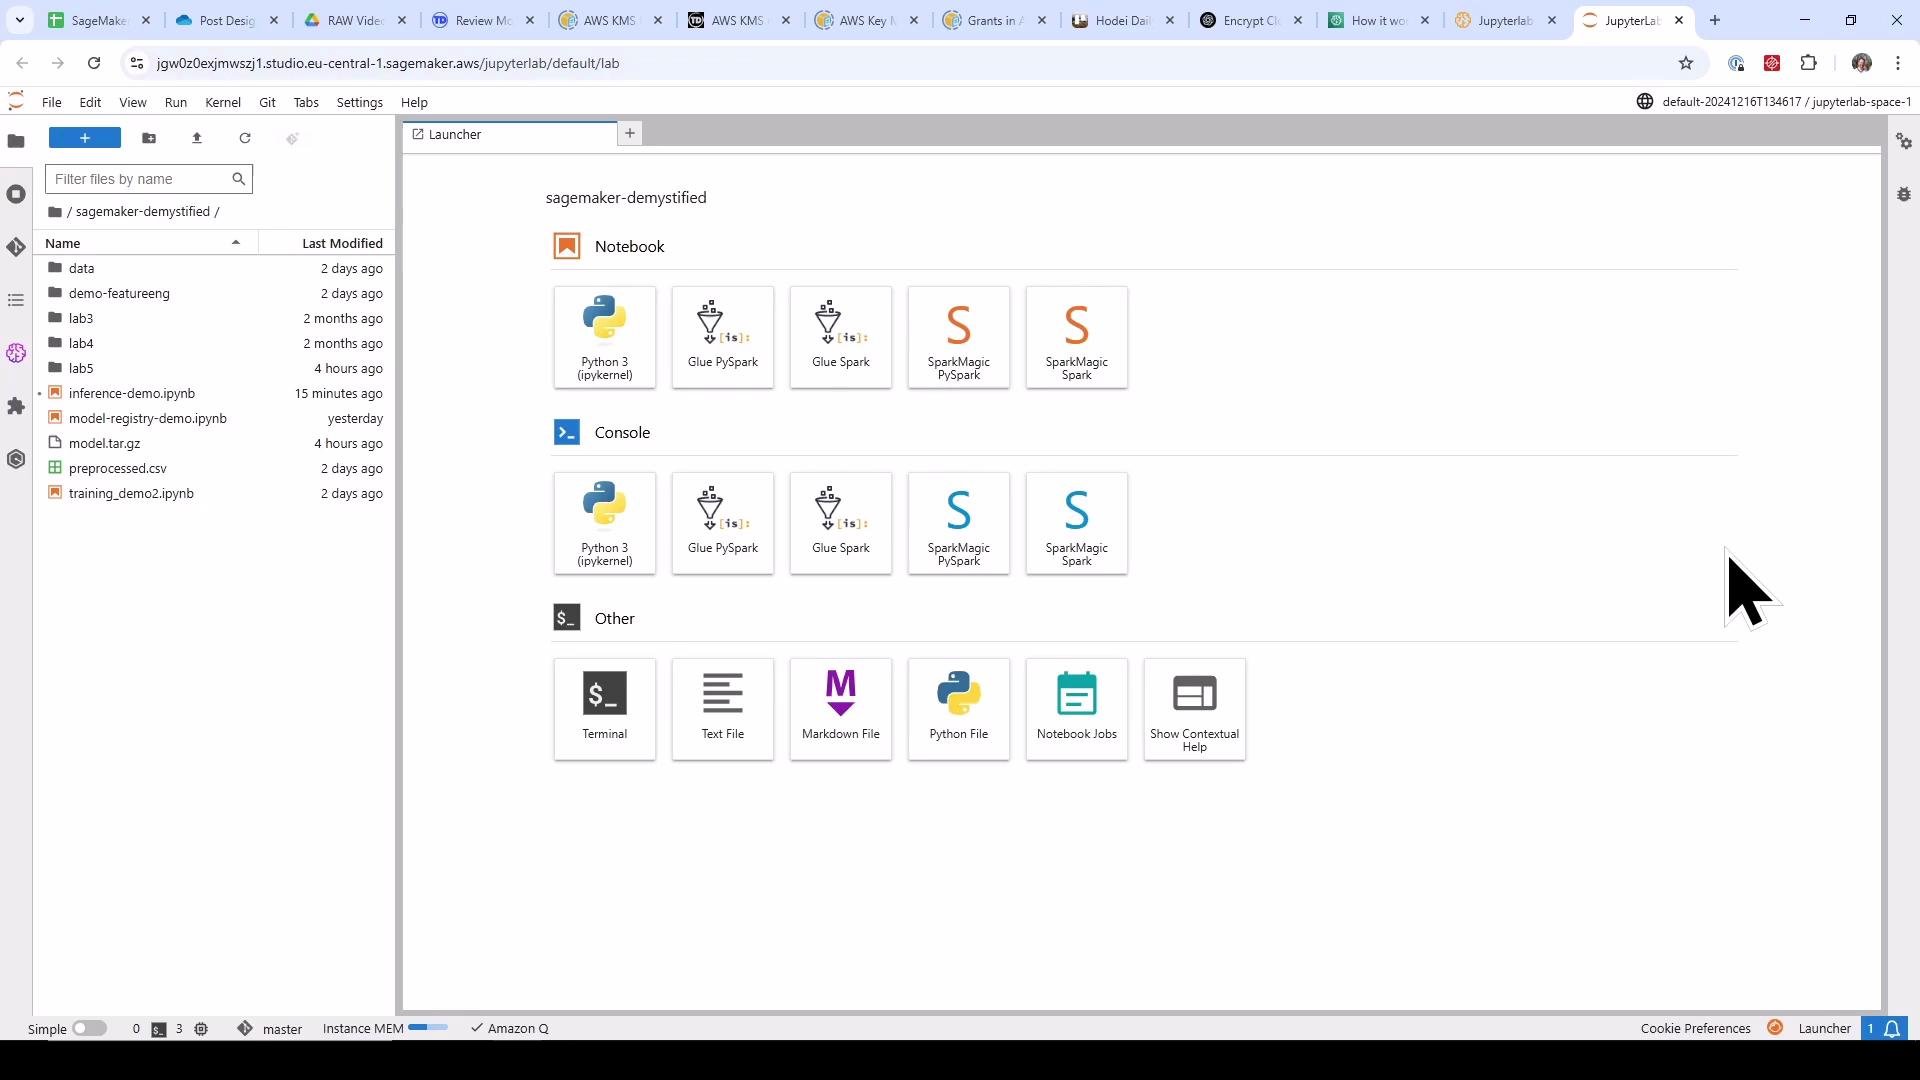
We run the demonstration from a Jupyter notebook inside SageMaker Studio. Open your Studio environment, create or open a notebook, and run the cells in order.
Step-by-step code (consolidated and corrected)
The following code is intended to run in Jupyter Notebook cells in SageMaker Studio.
It covers: imports, uploading a local model artifact to S3, fetching the correct container image URI, registering the model (model package), creating an endpoint configuration with Boto3, creating the endpoint, waiting for it to become InService, and invoking the endpoint.
# python# Step 0: Imports and session setupimport timeimport jsonimport boto3import sagemakerfrom sagemaker import get_execution_role, Modelfrom sagemaker.session import Sessionsagemaker_session = Session()role = get_execution_role()# Define S3 bucket and prefix (use no leading slash to avoid double-slashes)s3_bucket = sagemaker_session.default_bucket()s3_prefix = "model"print("Using role:", role)print("Using bucket:", s3_bucket, "prefix:", s3_prefix)
Upload the local model artifact to S3 and look up the appropriate container image for the framework (Linear Learner in this example). We use sagemaker.image_uris.retrieve to get the correct ECR image URI for the current region.
# python# Step 1: Upload model artifact and get container image URIlocal_file_path = "model.tar.gz" # local file produced by training/exports3_uri = sagemaker_session.upload_data(local_file_path, bucket=s3_bucket, key_prefix=s3_prefix)print(f"File uploaded to: {s3_uri}")model_artifact = f"s3://{s3_bucket}/{s3_prefix}/model.tar.gz"region = sagemaker_session.boto_region_name# Retrieve the Linear Learner image URI for the regioncontainer_image_uri = sagemaker.image_uris.retrieve(framework="linear-learner", region=region)print(f"SageMaker Linear Learner Image URI: {container_image_uri}")# Name for the model packagemodel_name = "house-prices-inference-demo"
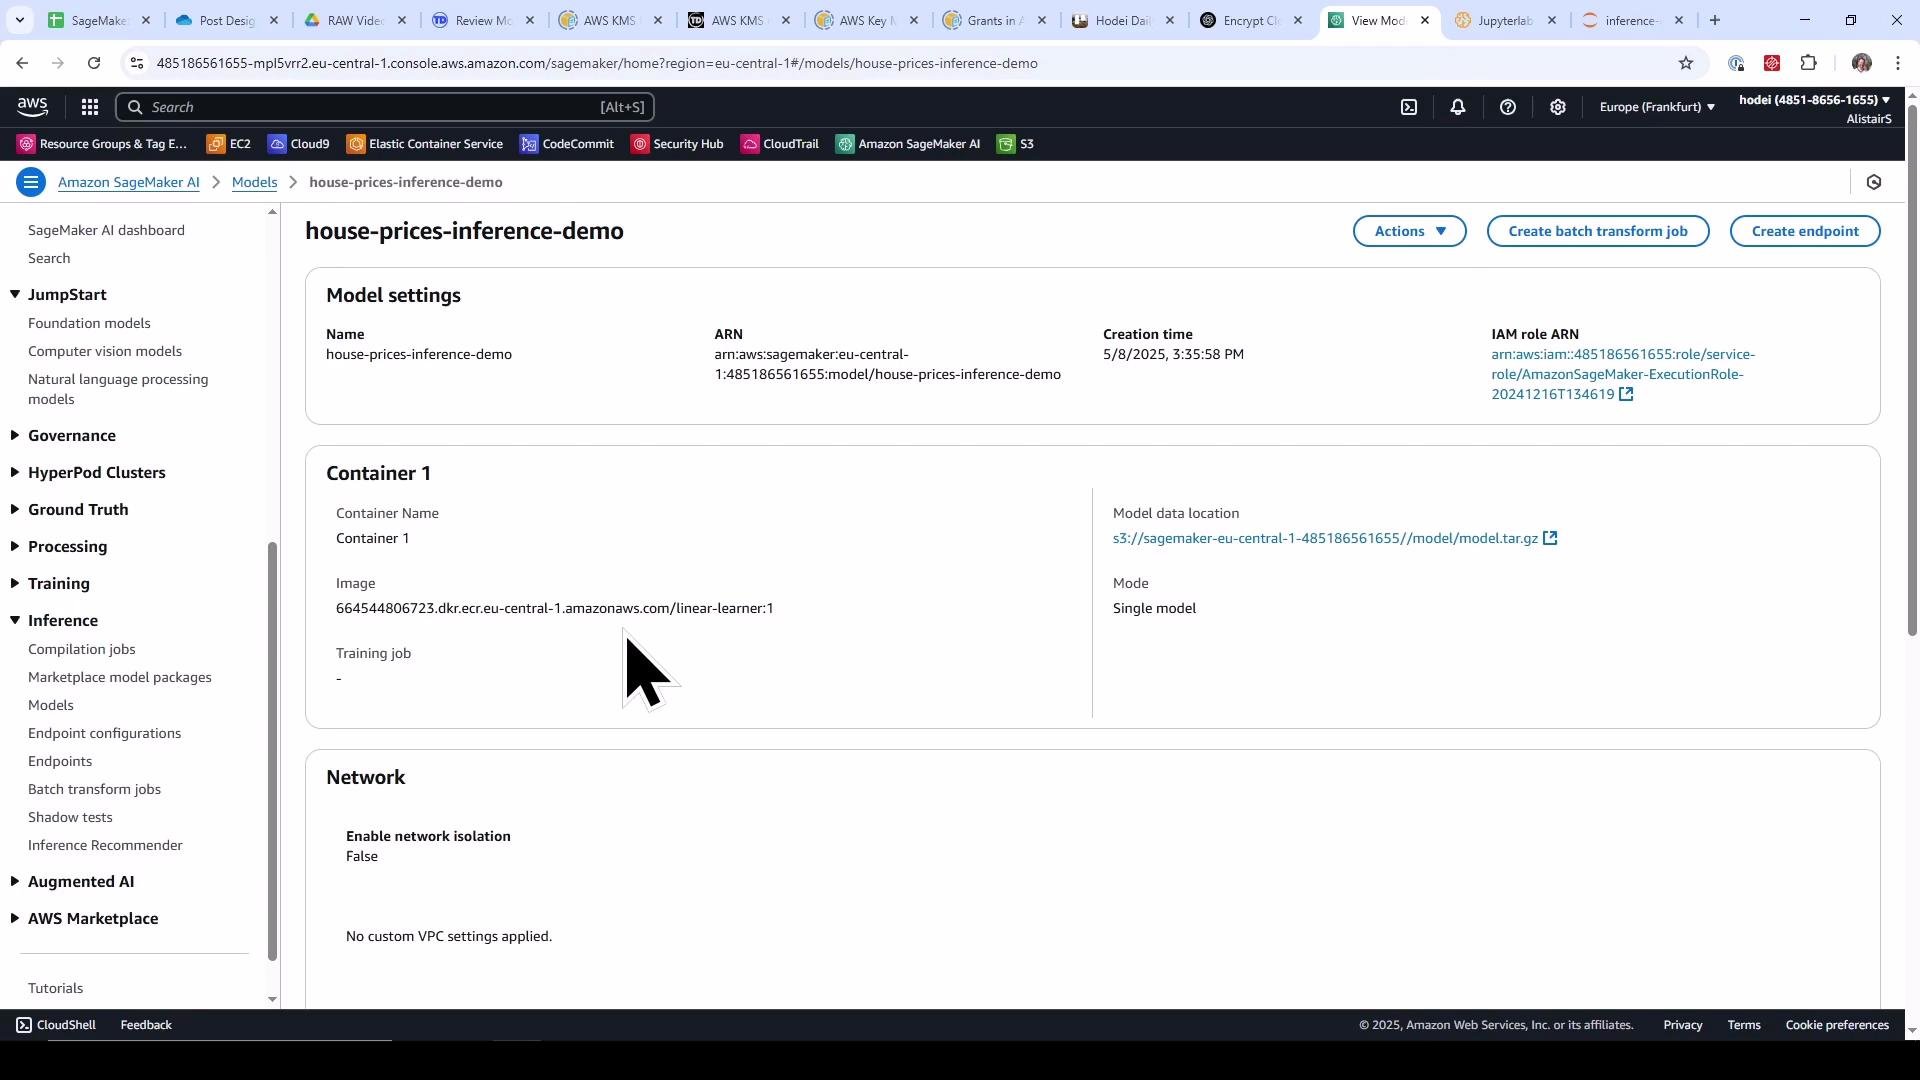
Create and register the SageMaker model (model package) using the SageMaker SDK Model class. Calling model.create() registers this model in SageMaker (visible under Inference -> Models).
# python# Step 2: Create SageMaker Model (model package)model = Model( image_uri=container_image_uri, model_data=model_artifact, role=role, name=model_name)# Register the model in SageMaker (create_model)model.create()print(f"Model registered with name: {model_name}")
You can verify the registered model in the SageMaker console. The next image shows the model details page where the container image and S3 model data location are associated with the model.
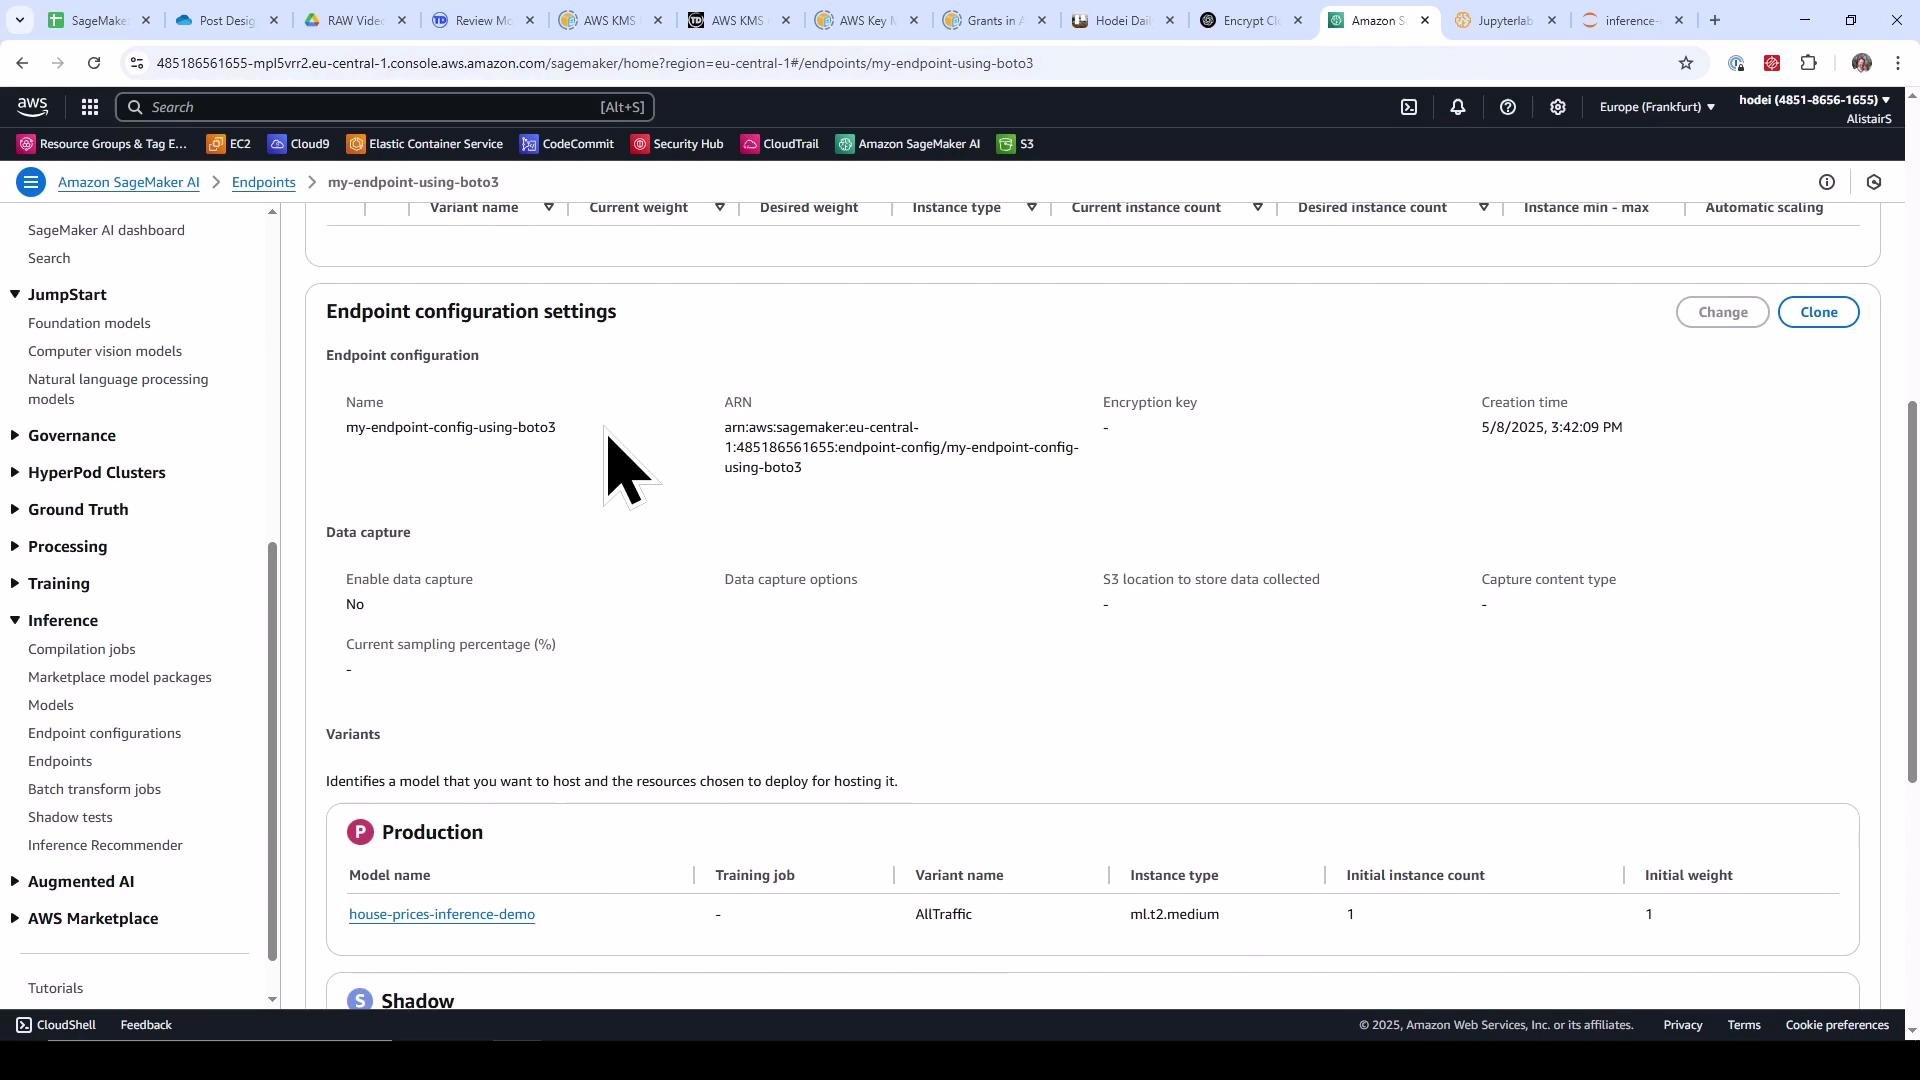
Create an endpoint configuration using Boto3. Endpoint configurations describe one or more production variants (models + instance types + instance counts + weights). Here we create a single variant that receives all traffic.
Create the endpoint using the endpoint configuration. Endpoint creation is asynchronous — provisioning and starting the model container typically takes several minutes.
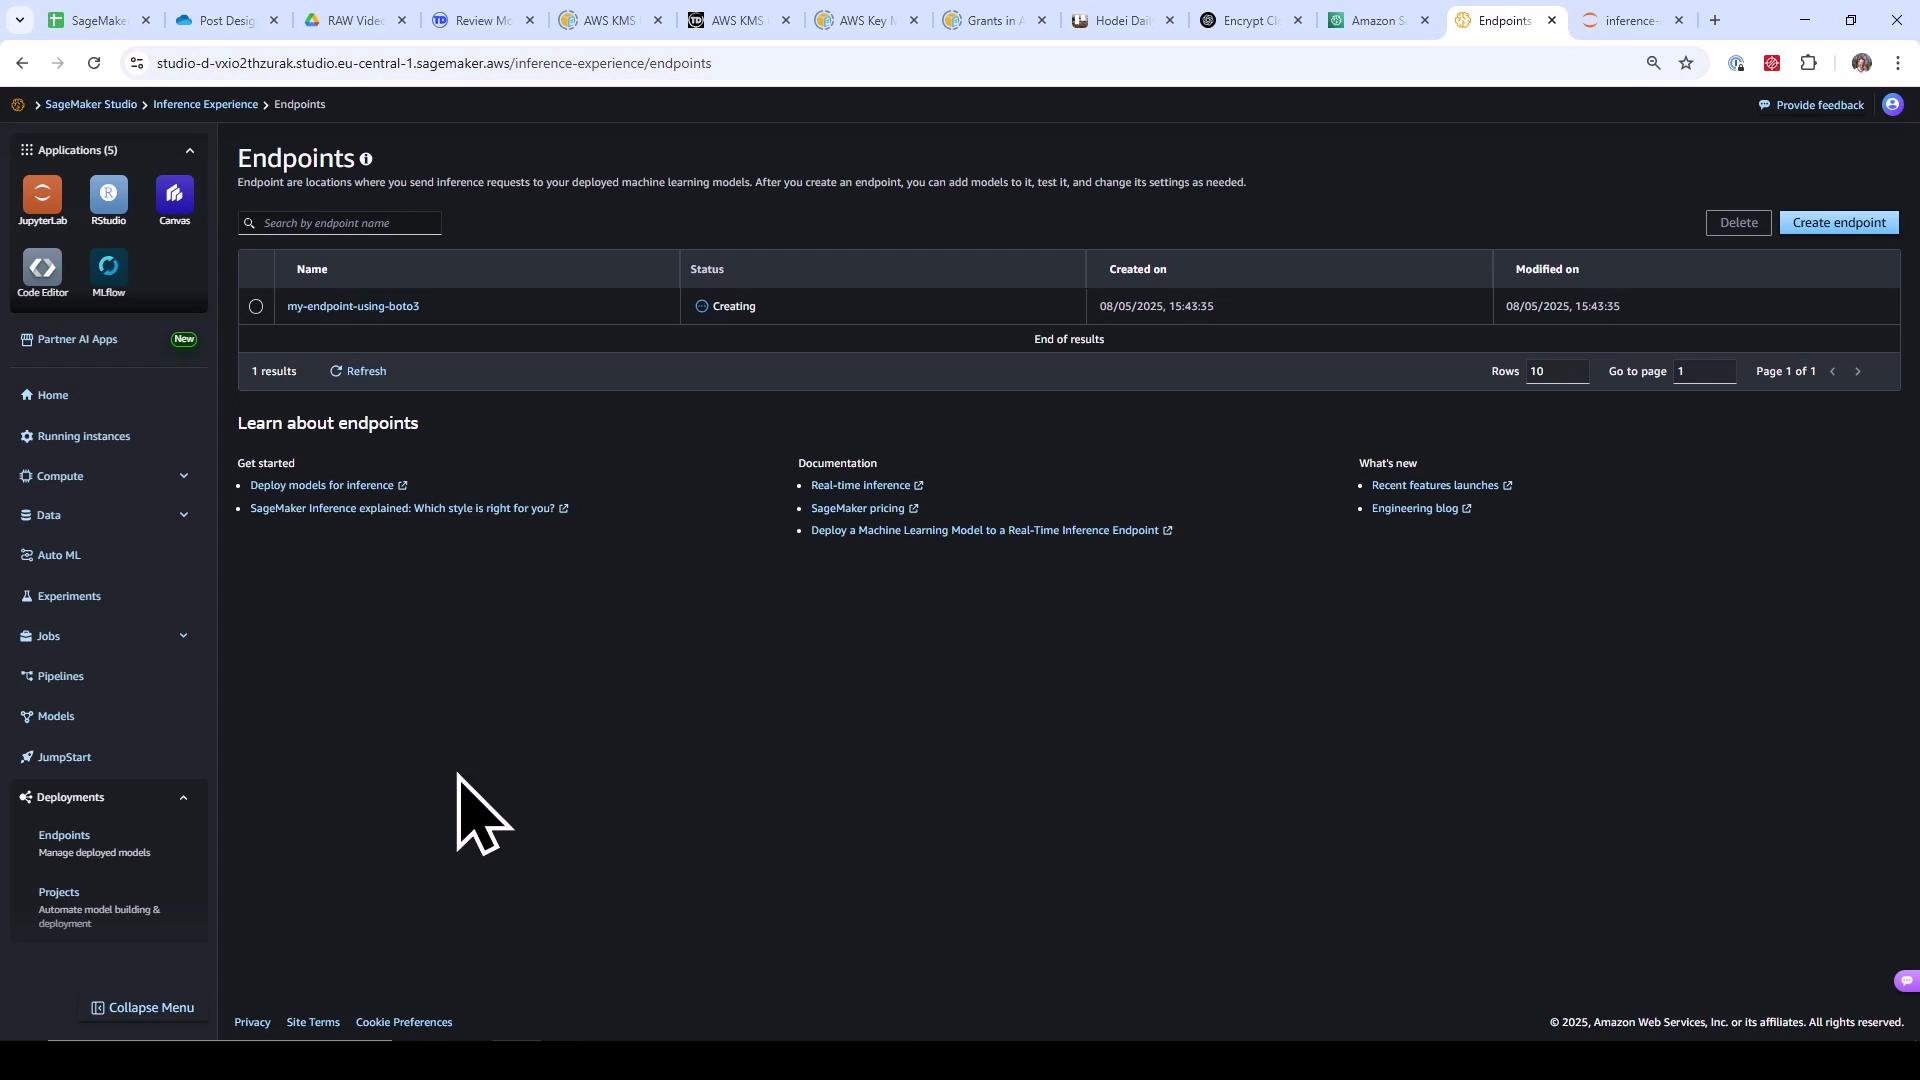
You can inspect endpoint creation progress in the SageMaker console (Endpoints) or poll programmatically. The following screenshot shows an endpoint in the Creating state.
Below is a helper to poll the endpoint until it’s InService. Waiting prevents invocation errors while the endpoint is still provisioning.
# python# Step 5: Wait until the endpoint is InService (simple polling)def wait_for_endpoint_in_service(sagemaker_client, endpoint_name, timeout_minutes=15): timeout = time.time() + timeout_minutes * 60 while time.time() < timeout: resp = sagemaker_client.describe_endpoint(EndpointName=endpoint_name) status = resp["EndpointStatus"] print(f"Endpoint status: {status}") if status == "InService": print("Endpoint is InService.") return True if status in ("Failed", "OutOfService"): raise RuntimeError(f"Endpoint entered terminal state: {status}") time.sleep(30) raise TimeoutError(f"Timed out waiting for endpoint {endpoint_name} to become InService")# Call the waiter (this may take several minutes)wait_for_endpoint_in_service(sagemaker_client, endpoint_name)
You can also view the endpoint from SageMaker Studio’s Endpoints list as it transitions to InService.
When the endpoint is InService, invoke it using the SageMaker runtime (boto3 client sagemaker-runtime). Note: Boto3’s SageMaker client handles creation/describing of endpoints and endpoint configurations; sagemaker-runtime is used for invoking inferences.
# python# Step 6: Invoke the endpoint (once InService)sagemaker_runtime_client = boto3.client("sagemaker-runtime")# Example CSV input (features should match the model's expected format)input_data = "51.6215527,-0.2466031,2.0,6.0,517.0,3.0,289000.0,27.393364928909996,1055000.0,37.01298701298701,285000.0,1354000.0,1,0,0,0,1,0,0,0,0,0,0,0,0,0,0,0,0,0,0,0,0,0,0,0,0,0,0,0,0"response = sagemaker_runtime_client.invoke_endpoint( EndpointName=endpoint_name, ContentType="text/csv", Body=input_data)# Decode and print response bodyprediction = response["Body"].read().decode("utf-8")print(f"Predicted house price: {prediction}")
Notes and recommendations
If you want granular control over the endpoint configuration and lifecycle, use Boto3 (as shown). The SageMaker Python SDK provides higher-level abstractions for model + endpoint creation and also the Predictor class for inference, which can make development faster and code more concise. Choose the approach that best fits your automation, control, and CI/CD needs.
Creating endpoints incurs AWS costs while instances are running. Use minimal instance sizes for testing, delete endpoints when not in use, and ensure IAM roles used by Studio have just the permissions needed for deployment.
Uploaded a local model artifact to S3, retrieved the appropriate container image URI, and registered a SageMaker model package.
Created an endpoint configuration and endpoint using Boto3, polled until the endpoint became InService, and invoked the endpoint using the SageMaker runtime with CSV input.
The SageMaker Python SDK provides higher-level operations and a Predictor class for simplified inference flows; comparing both patterns helps determine which integrates best with your automation strategy.
You can now inspect the created model, endpoint configuration, and endpoint status in the Management Console, or proceed to implement the same flow using the SageMaker SDK’s high-level APIs and the Predictor class.