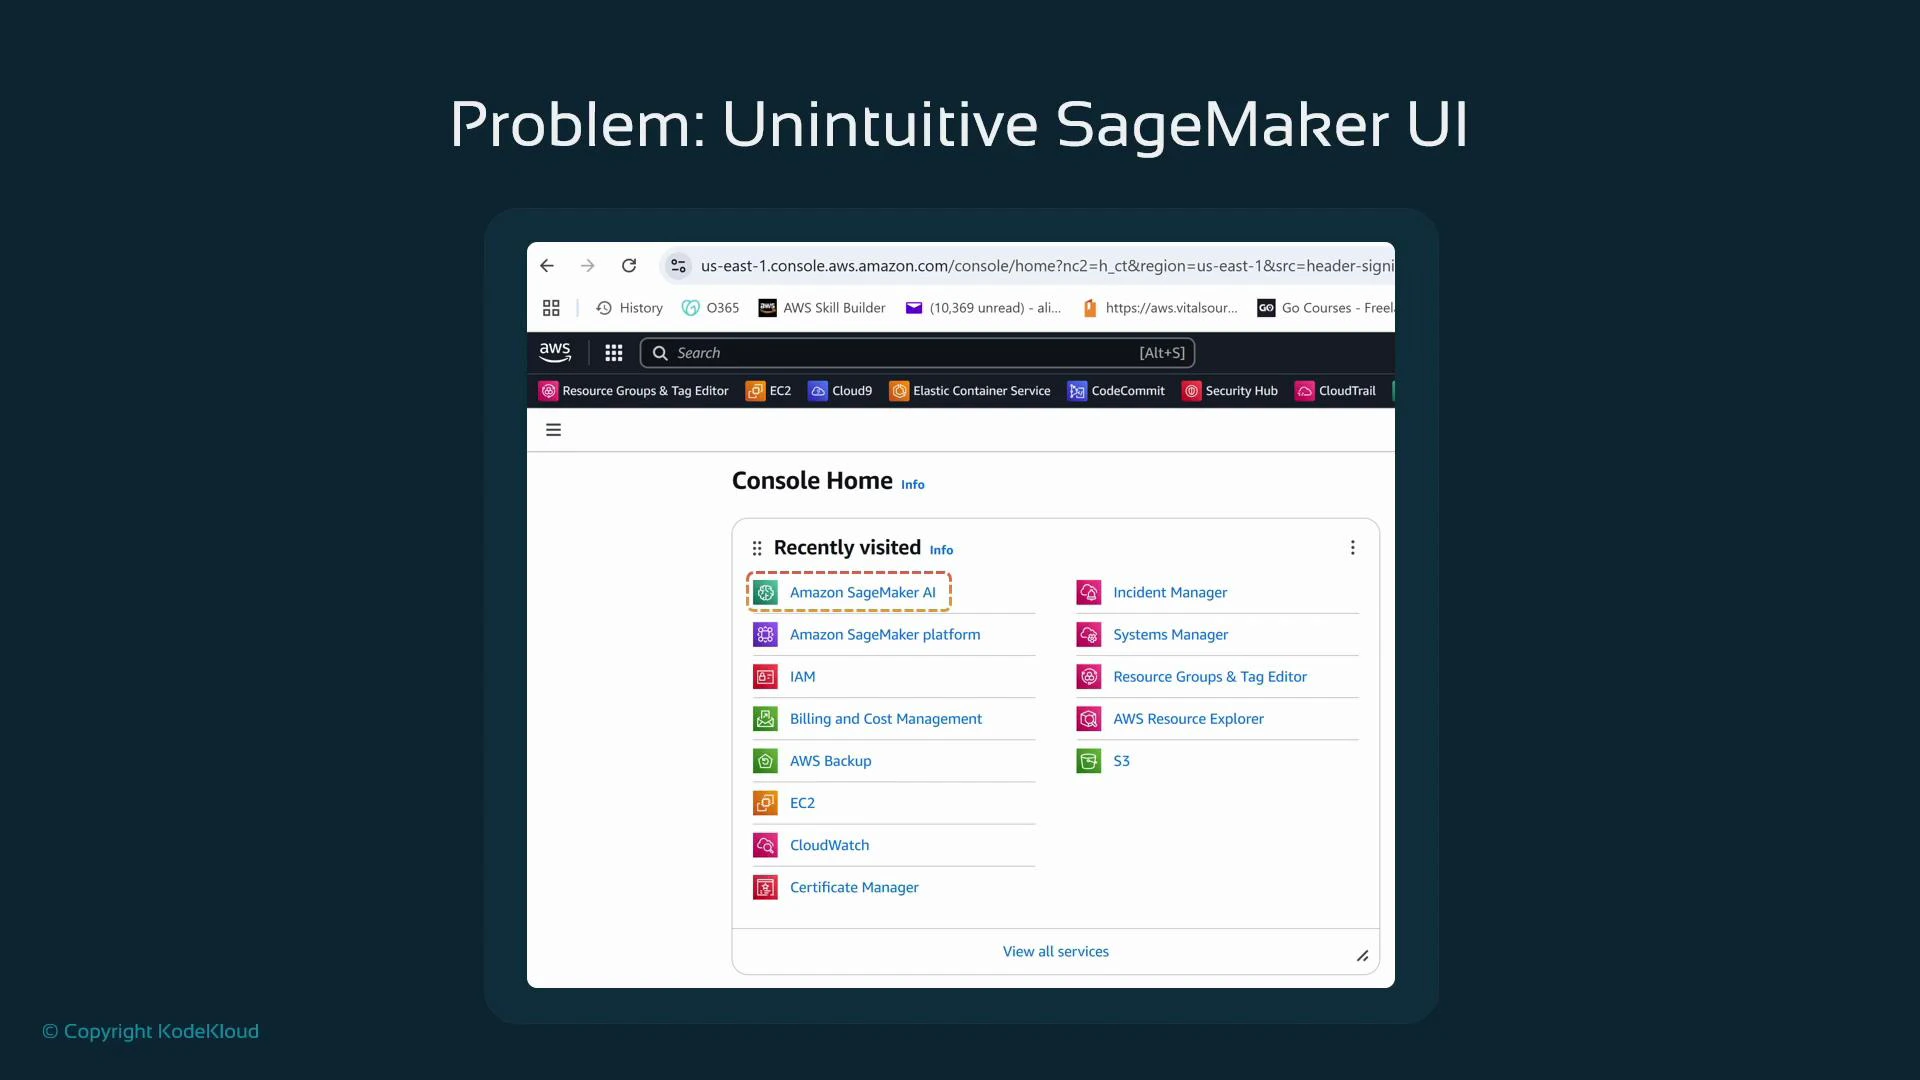
Console mindset: code-first, dashboard-oriented
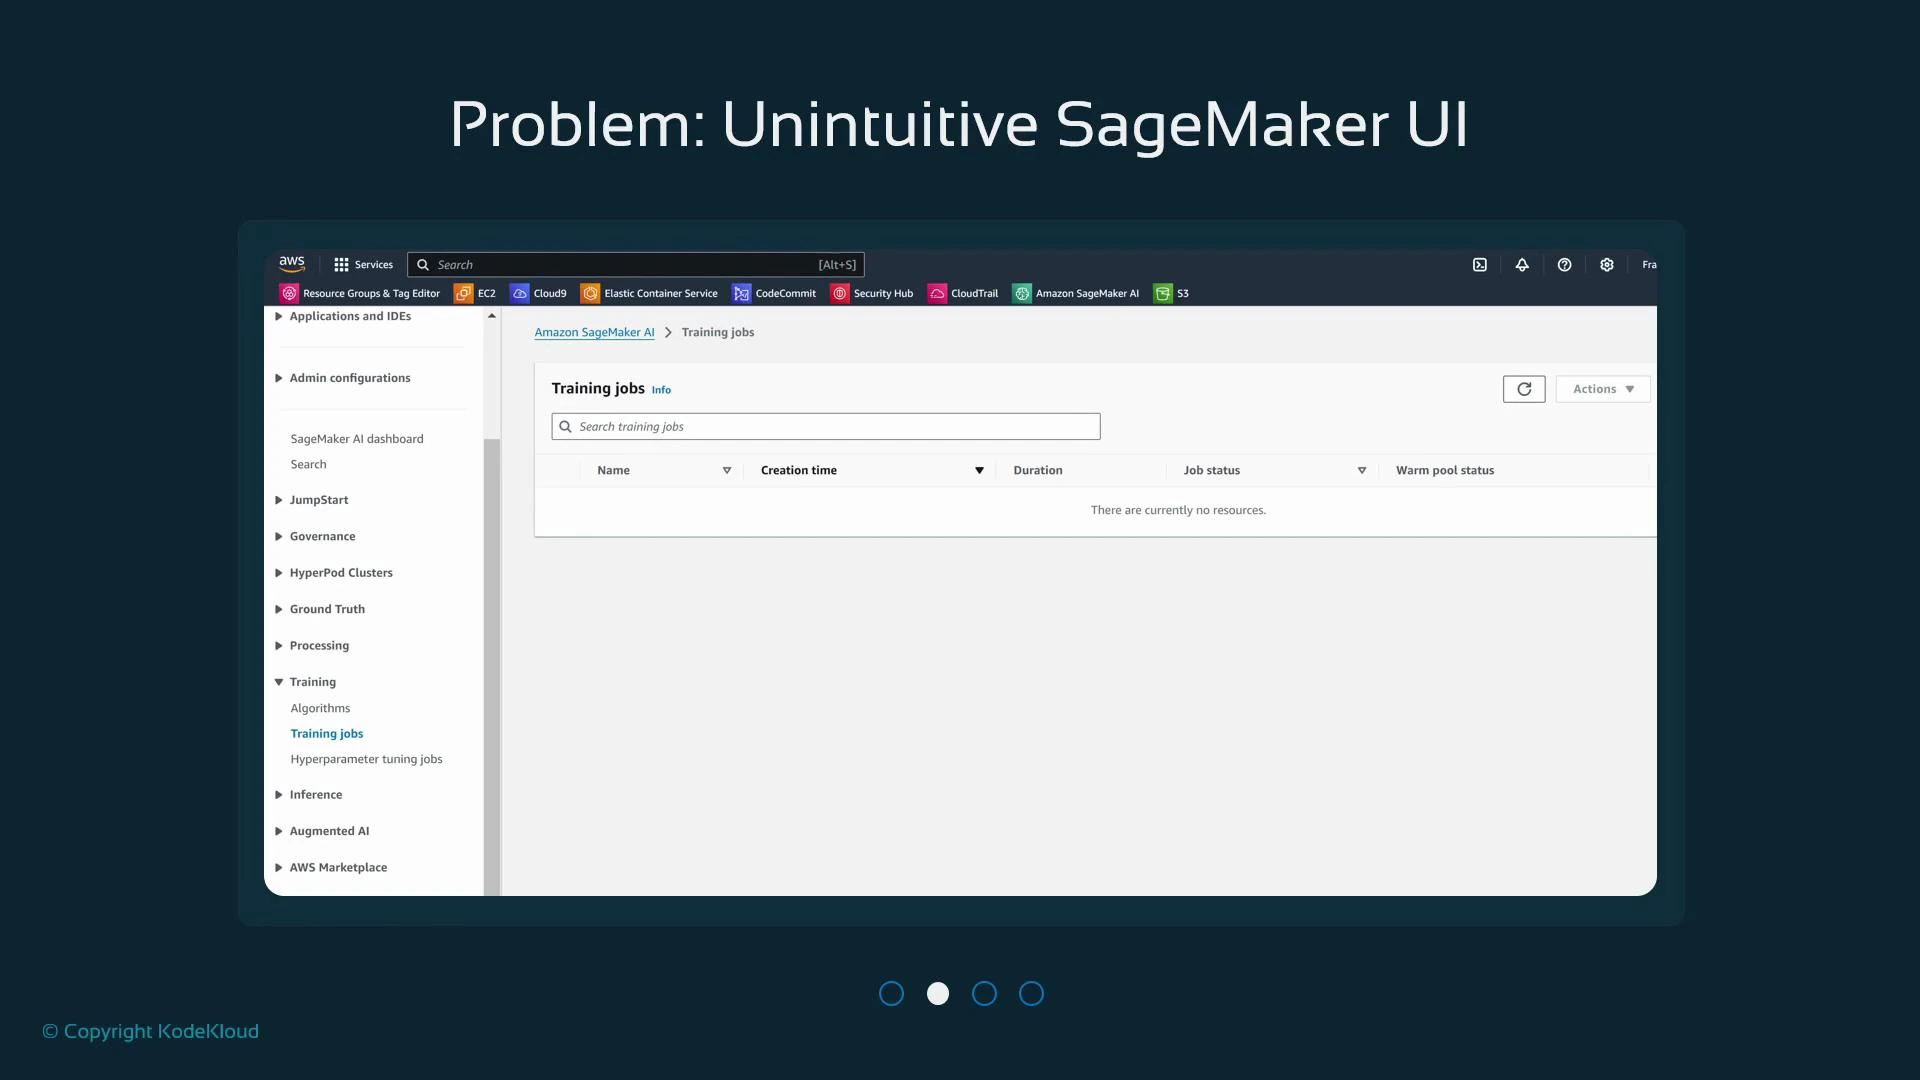
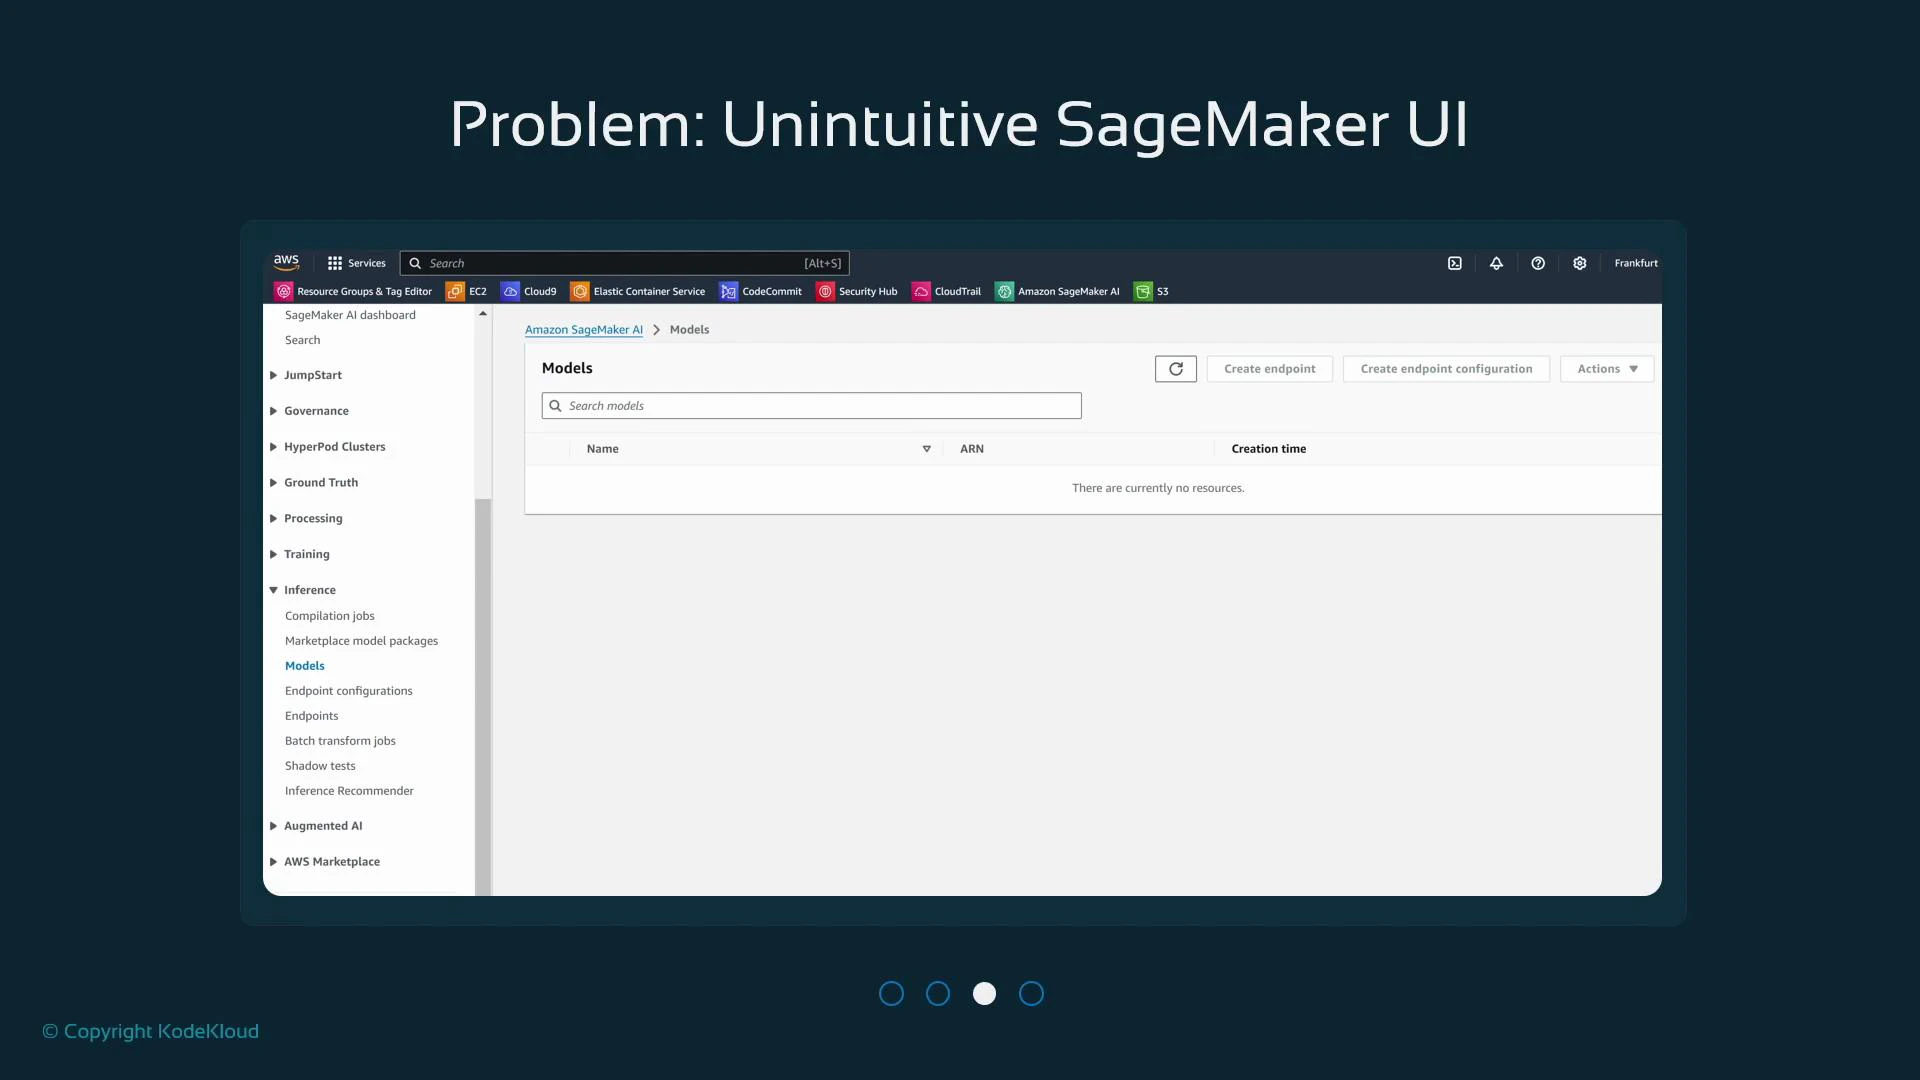
The SageMaker console is best thought of as a monitoring and management dashboard. Unlike EC2, which prominently shows “Create instance,” SageMaker expects you to create processing jobs, training jobs, and endpoints from code (Jupyter notebooks, CI/CD pipelines, or SDK scripts). After you run jobs from code, the console is where you monitor status, logs, and metrics.- If you haven’t created resources, pages like Processing, Training, and Models will be empty.
- The console surfaces outputs from programmatic actions: processing jobs, training jobs, models, and endpoints.
Quick-reference: console sections and when you’ll see entries
| Console Section | What it shows | When it becomes populated |
|---|---|---|
| Processing | Batch data processing jobs | After you start Processing jobs via SDK/console |
| Training | Training job runs and status | After you start training jobs (SDK/Notebooks/CLI) |
| Inference → Models | Registered model artifacts | After you create/register models |
| Inference → Endpoints | Deployed inference endpoints | After you deploy models to endpoints |
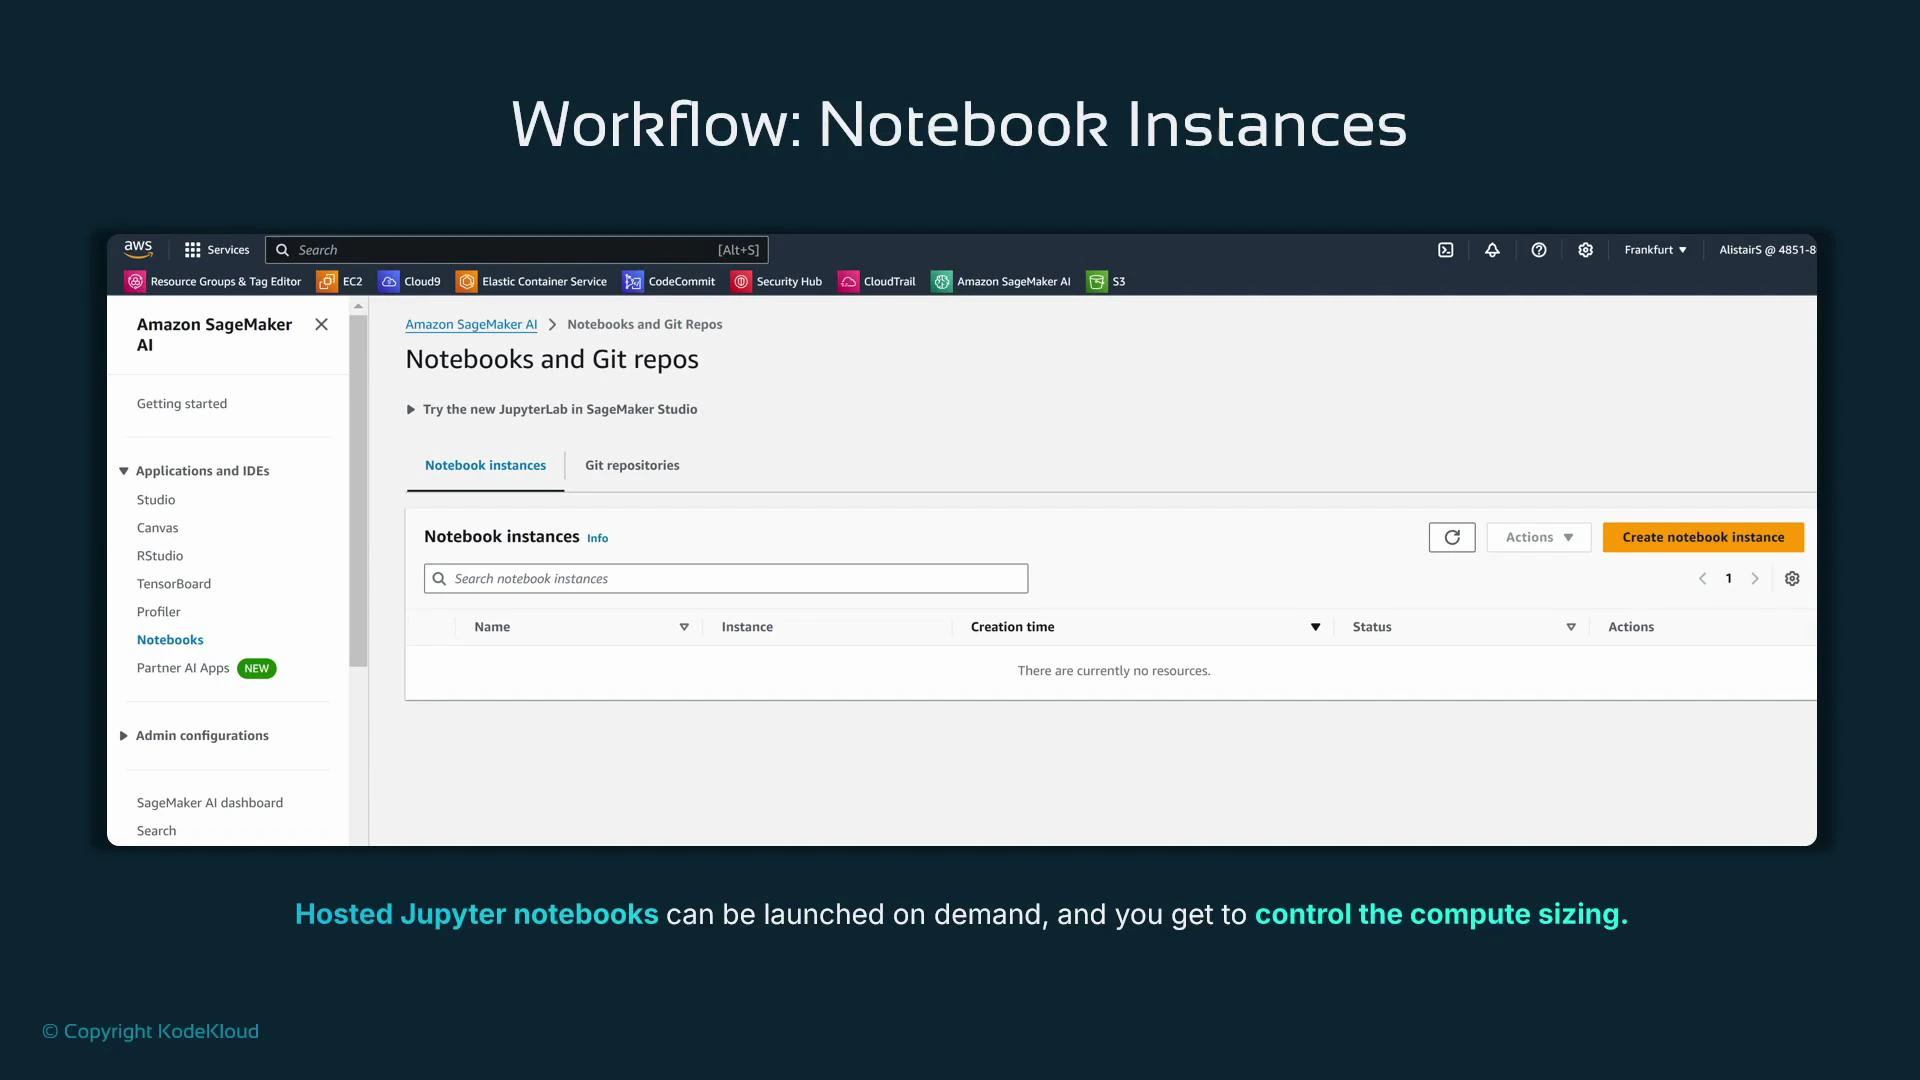
| Notebooks | Legacy Notebook instances | After you create Notebook instances |
Notebook instances (legacy) vs. SageMaker Studio
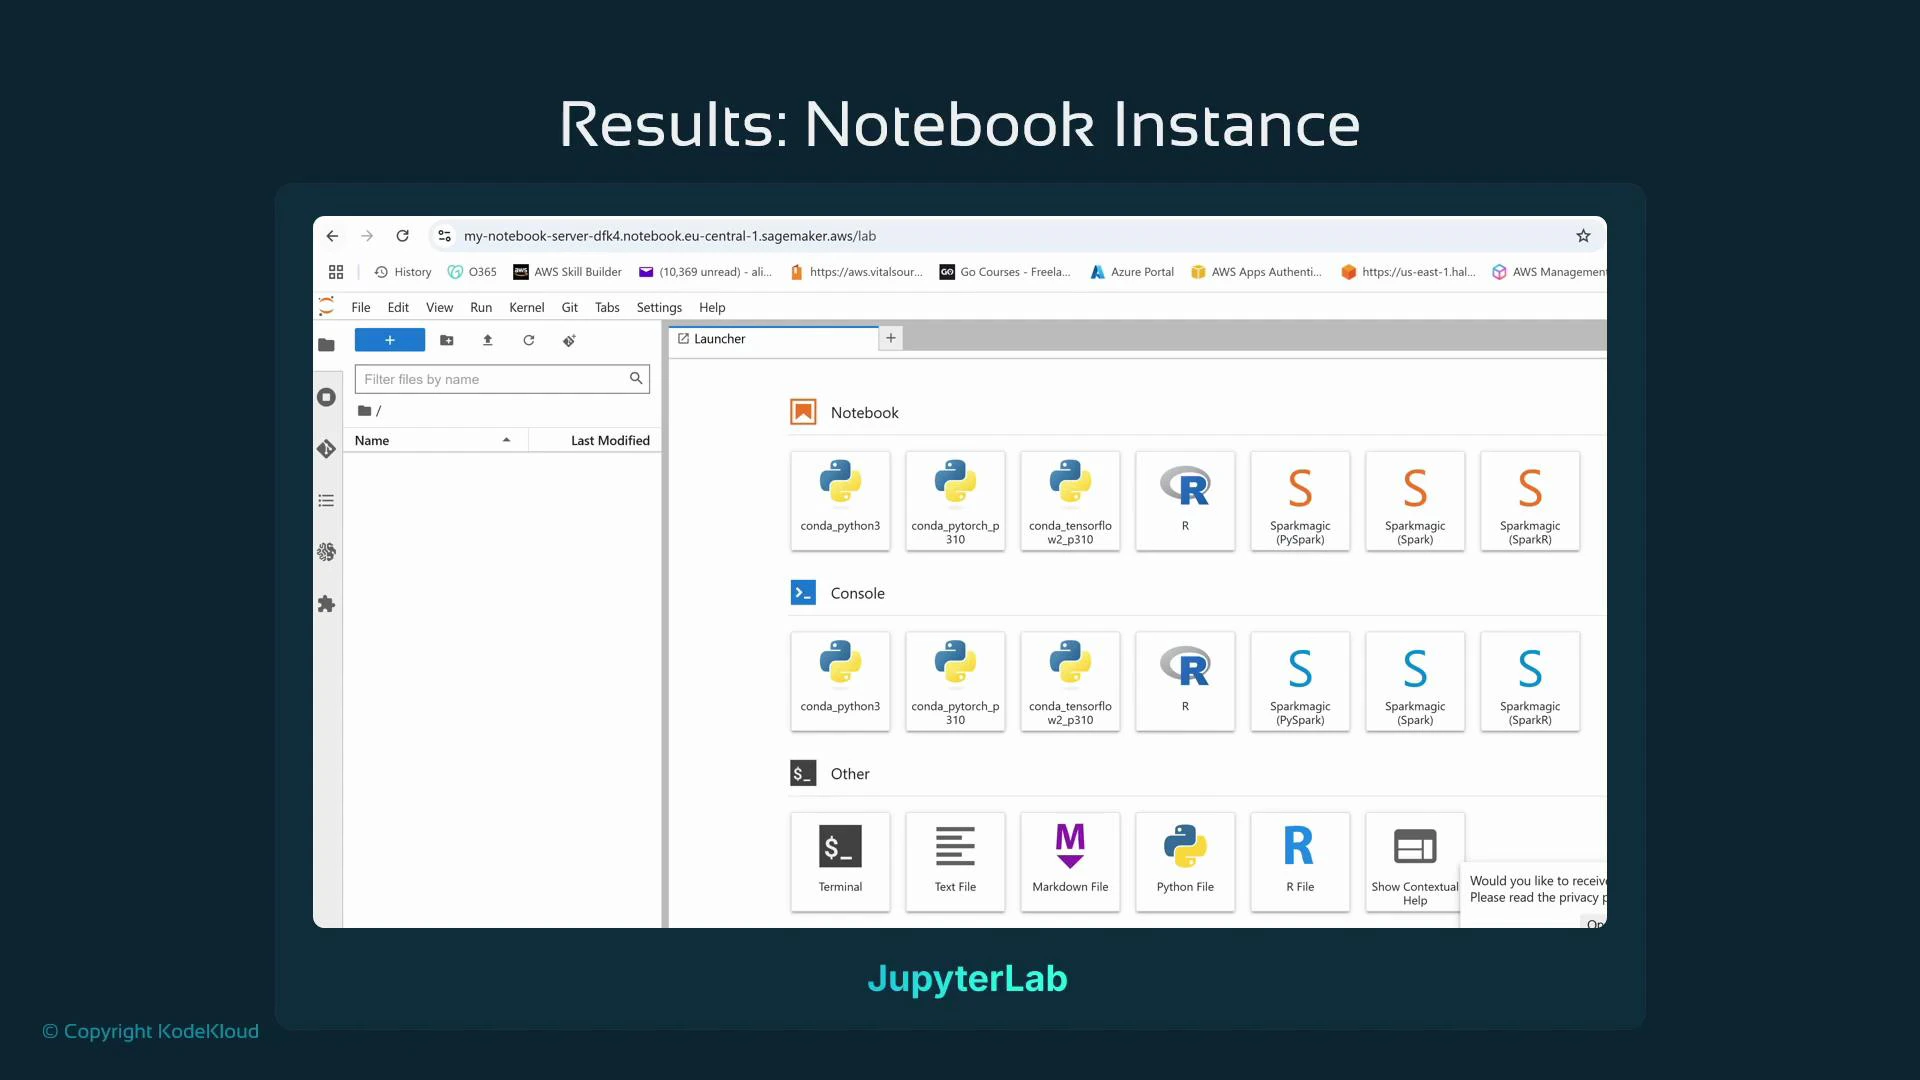
SageMaker provides two ways to run notebooks from the console:- Legacy Notebook instances — managed EC2-backed Jupyter servers you create from the console.
- SageMaker Studio — the modern, integrated IDE for notebooks, experiments, and ML lifecycle management. Studio is the recommended interface for most new workflows.
Practical tips for Notebook instances
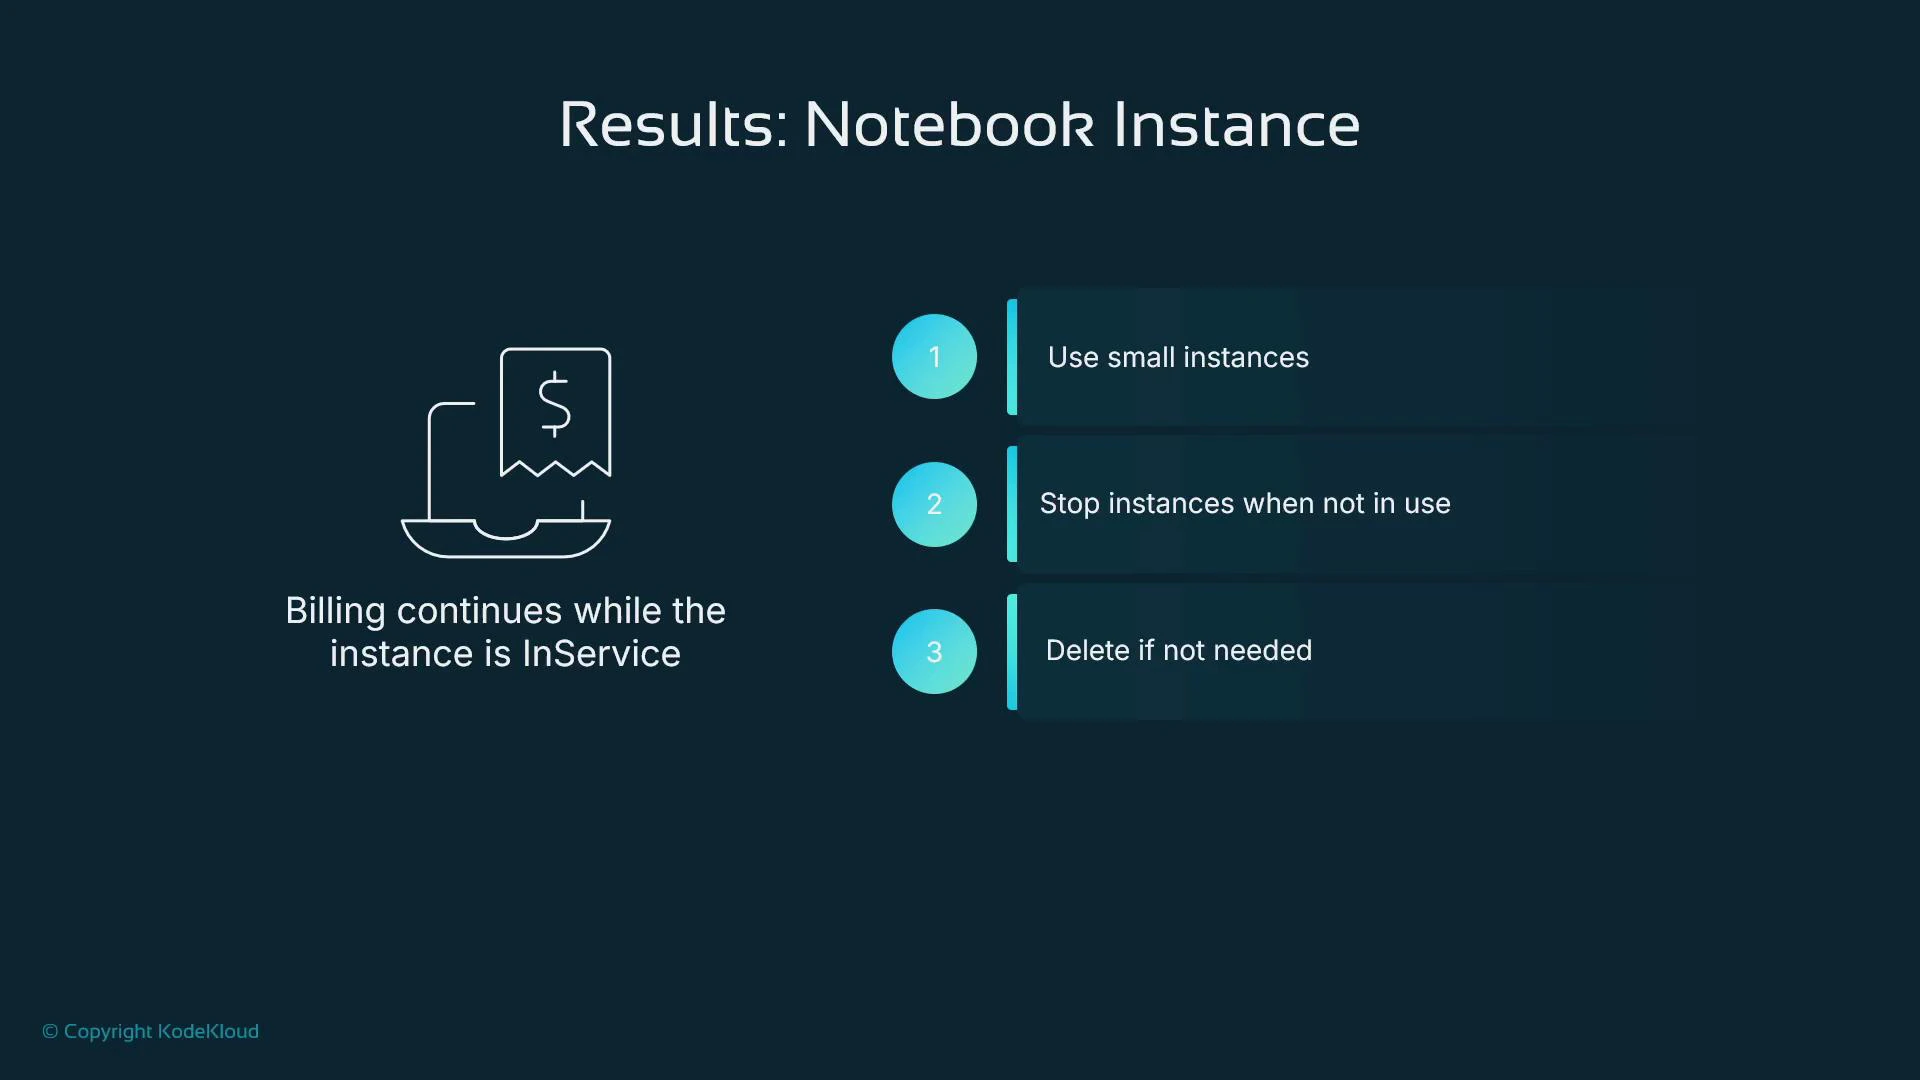
- Keep the notebook instance size modest for interactive tasks. Use dedicated SageMaker training/processing jobs for heavy compute.
- Billing for Notebook instances runs while the instance is InService — stop or delete when not in use.
- Keep your notebooks in Git (GitHub, GitLab, or CodeCommit) so you can recreate instances without losing work.
Consider using SageMaker Studio for an integrated experience (notebooks, experiments, and model management), and reserve legacy Notebook instances for simple or legacy workflows. Keep your work in Git to make instance reprovisioning painless.
Be mindful of costs: Notebook instances and endpoints incur charges while running. Enable billing alerts and routinely stop or delete resources you no longer need.
Summary — where to look for common artifacts
- Processing: batch data preprocessing and feature engineering jobs.
- Training: training job runs, logs, and metrics.
- Inference → Models / Endpoints: registered models and hosted endpoints for production inference.
- Notebooks: legacy Notebook instances (or prefer SageMaker Studio for new projects).