

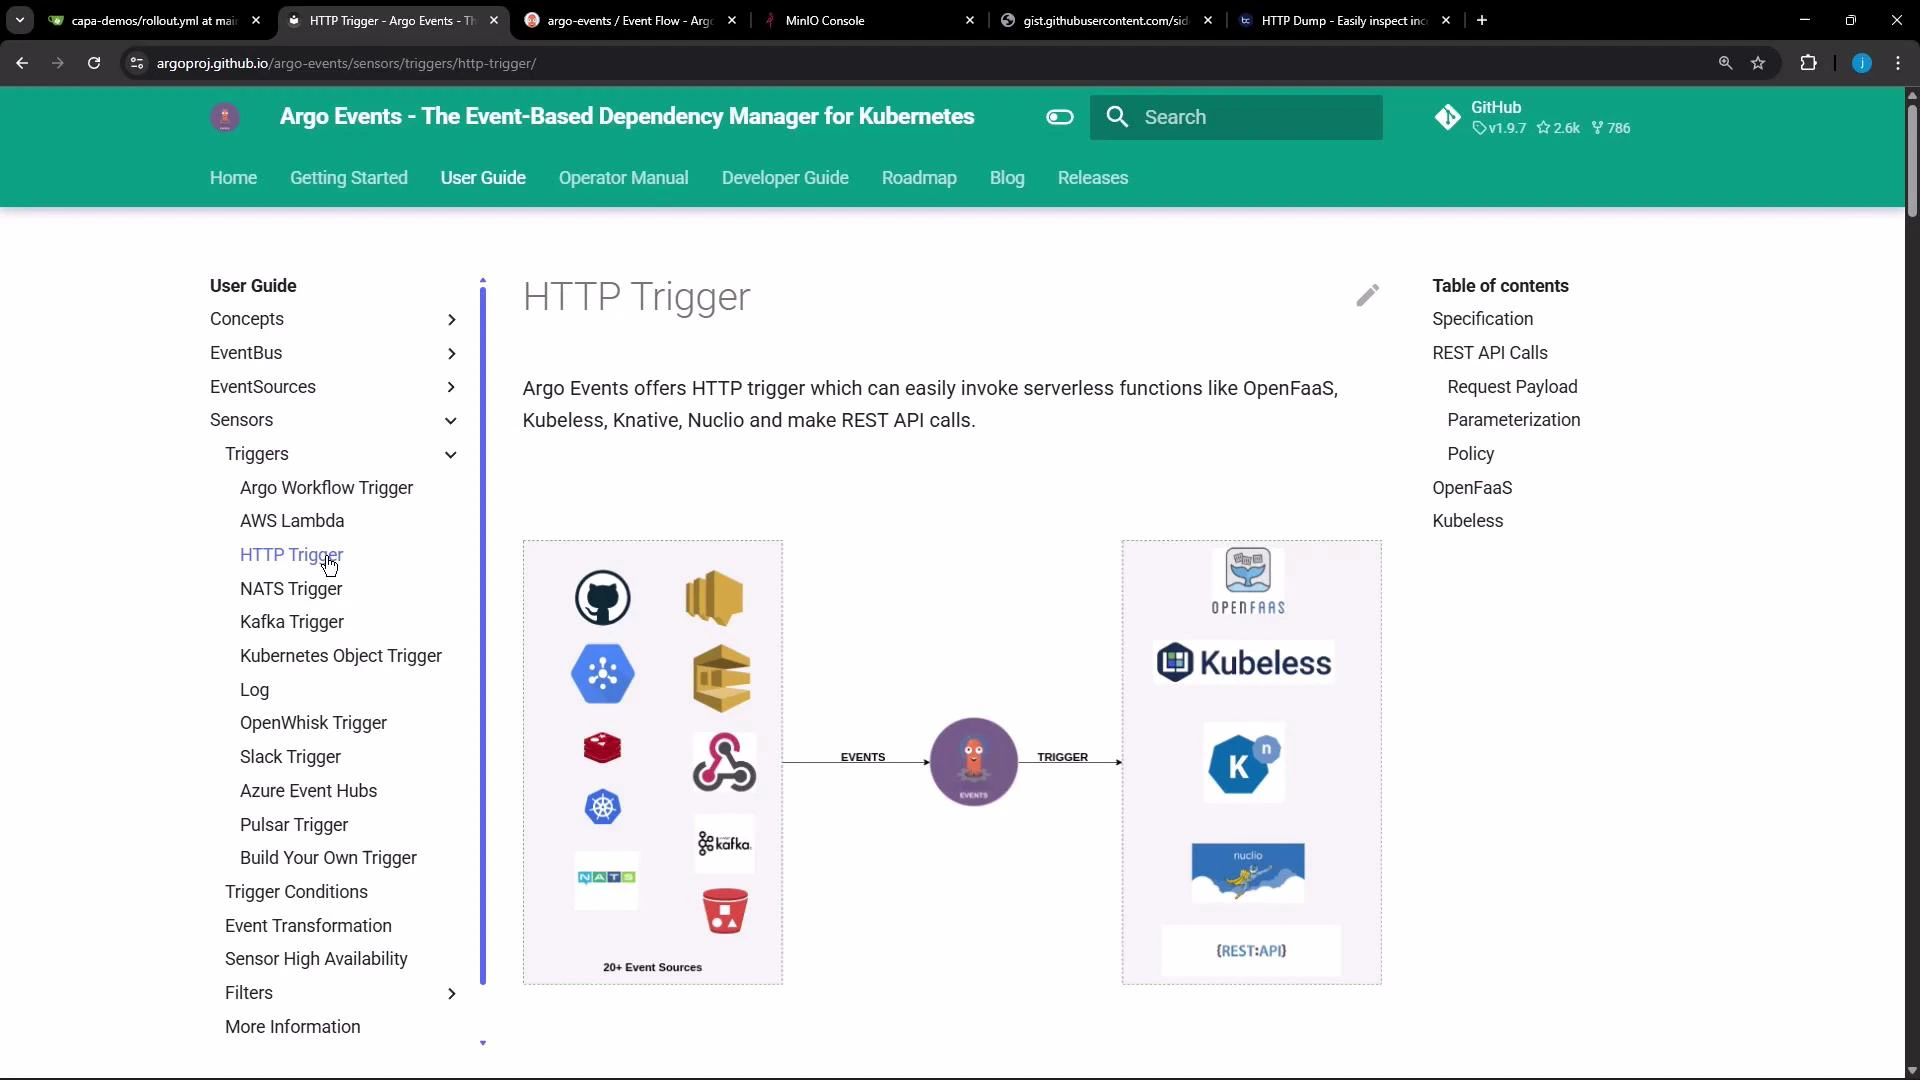
- Goal: When an object is created or removed in a specified MinIO bucket, the EventSource publishes an event to the event bus. The Sensor listens for that event and performs an HTTP POST to a configured endpoint.
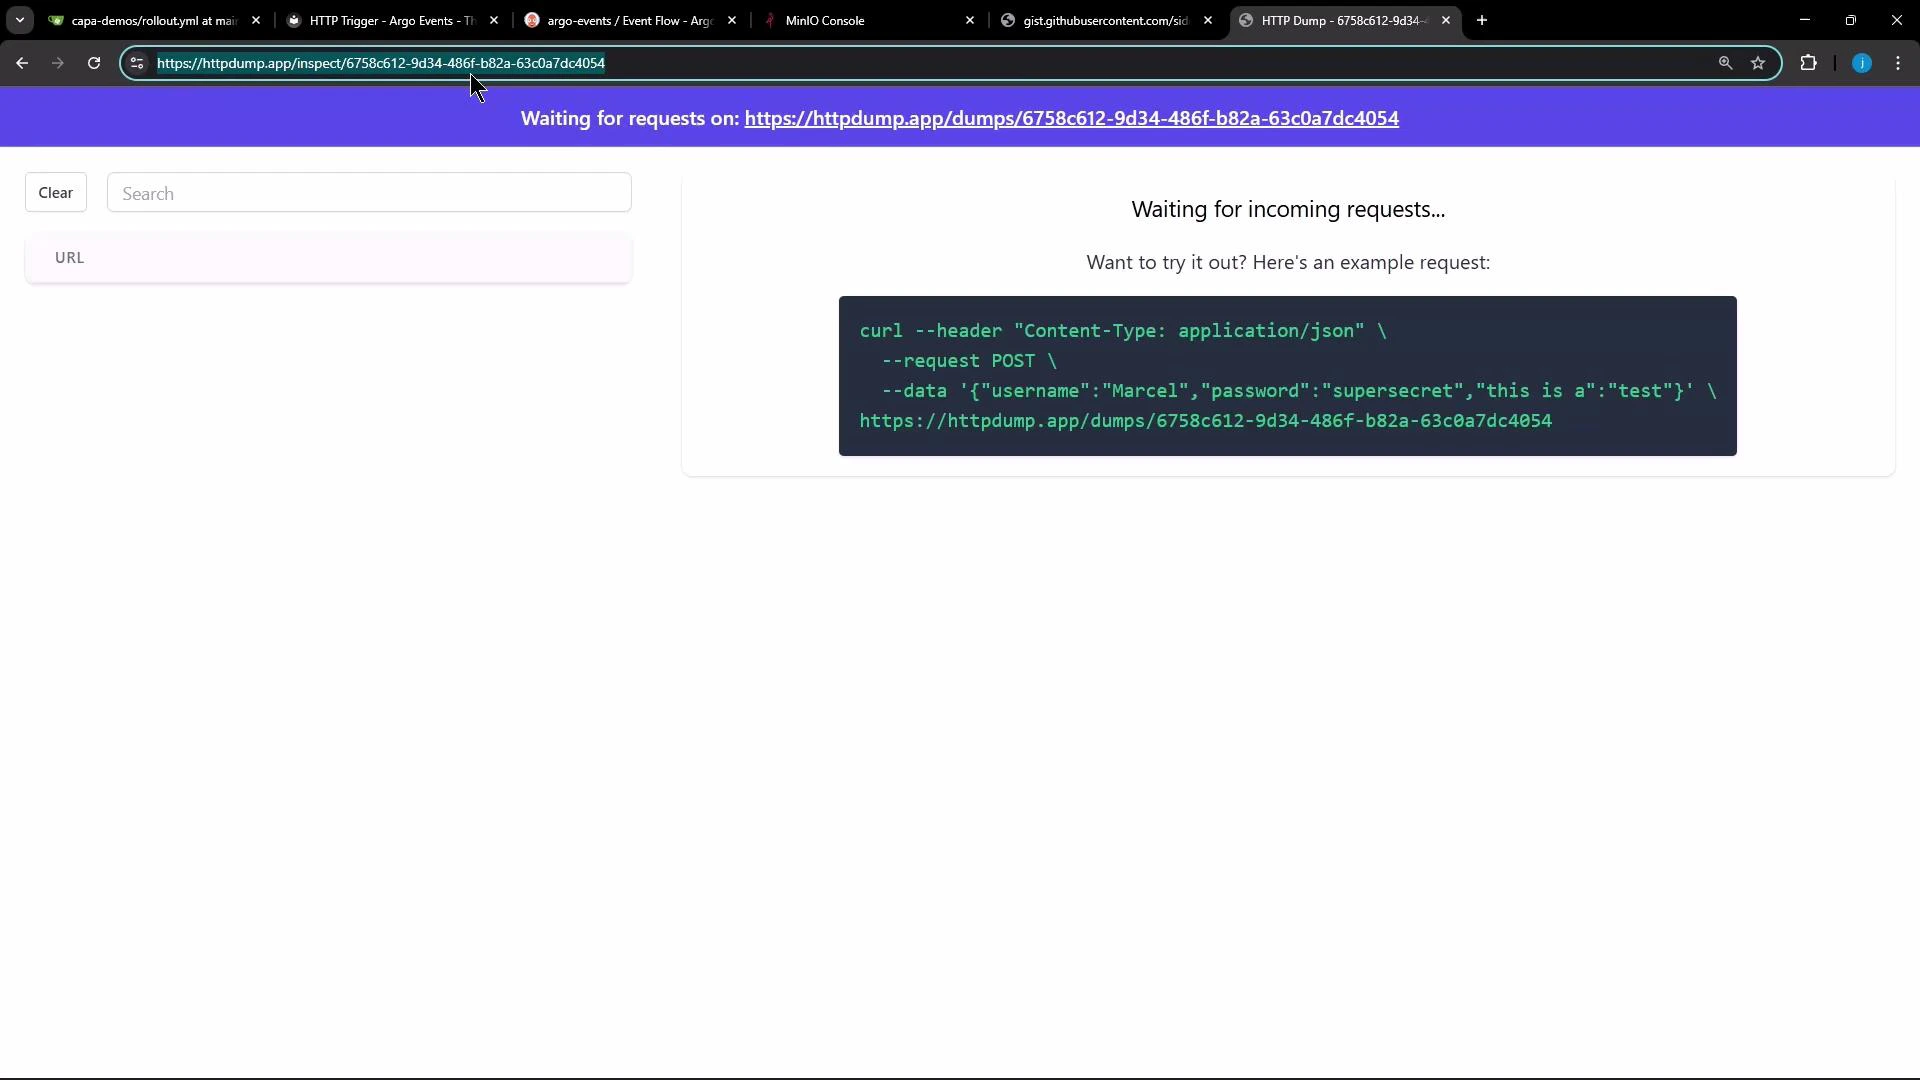
- Test target: use an HTTP dump service (httpdump.app) to inspect requests made by the Sensor.
- This Sensor listens for an event published by an EventSource named
minio(event nameexample) and posts to an HTTP dump URL. The trigger uses POST and a simple retry strategy (3 attempts, 3s between retries).
- dependencies: describes which EventSource and event name satisfy the Sensor.
- http.url: replace the example URL with the dump URL you create at httpdump.app.
- payload: when set to
null, the Sensor sends an empty request body. You can instead provide a JSON payload or use payload parameters to inject event data. - retryStrategy: controls retries for transient failures.
- Use httpdump.app (or similar services) to create a unique dump URL. The page shows a curl example and the generated dump endpoint you should paste into the Sensor spec.
- The EventSource listens to bucket notifications from MinIO and forwards events to the Argo Events bus. Example:
How the flow works
- Upload or delete a file in the configured MinIO bucket (
argo-events-bucket). - MinIO emits a bucket notification; the EventSource receives it and publishes the event to the event bus.
- The Sensor evaluates its dependency (
test-dep) and, once satisfied, executes the HTTP trigger. - The Sensor performs an HTTP POST to the configured httpdump URL (with the configured payload or empty body if
payload: null).
- You can directly POST test JSON to your dump URL to see how the endpoint receives requests:
- EventSource logs (show initialization, credential retrieval, client setup, and event publication):
- Sensor logs (show dependency evaluation and trigger execution):
- If
payload: nullthe request body will be empty but headers and timing information are recorded by the dump service:
When testing, use ephemeral credentials and a disposable dump URL. For production, secure your triggers with authentication, TLS, and least-privilege credentials for MinIO.
Do not expose sensitive access keys or secret keys in public manifests. Use Kubernetes secrets and RBAC to restrict access to Argo Events resources.
- Replace the HTTP trigger with other Argo Events targets if you want to invoke serverless functions, message queues, or custom webhooks.
- Add payload parameters or a payload template to include event metadata (object key, bucket name, event type) in the POST request body.
- Expand retry configuration and add backoff strategies for more resilient integrations.
- Argo Events Sensors documentation
- MinIO Documentation
- httpdump.app - HTTP request inspection for testing