This guide walks through installing Argo CD on a Kubernetes cluster, exposing the Argo CD server for local access, logging into the web UI, and updating the initial admin password. It includes commands, verification steps, example outputs, and screenshots to help you quickly get started with Argo CD.

Prerequisites

  • A working Kubernetes cluster (example uses Docker Desktop with Kubernetes).
  • kubectl configured to target the cluster.
  • Internet access to fetch the Argo CD manifests from GitHub.

Install Argo CD (stable)

To install the latest stable release of Argo CD, create the argocd namespace and apply the stable install manifest:
kubectl create namespace argocd
kubectl apply -n argocd -f https://raw.githubusercontent.com/argoproj/argo-cd/stable/manifests/install.yaml

Install a specific Argo CD version

If you need a particular release, point to the release tag on GitHub. Below are example commands for installing Argo CD v3.1.5 in either non-HA or HA mode.
# Non-HA
kubectl create namespace argocd
kubectl apply -n argocd -f https://raw.githubusercontent.com/argoproj/argo-cd/v3.1.5/manifests/install.yaml

# High-Availability
kubectl create namespace argocd
kubectl apply -n argocd -f https://raw.githubusercontent.com/argoproj/argo-cd/v3.1.5/manifests/ha/install.yaml
Choose the non-HA manifest for single-node or local clusters (quickstart). Use the HA manifest for production-grade deployments that require multiple replicas and higher availability.

Example environment and initial cluster state

This example uses a single-node Docker Desktop cluster (Kubernetes v1.34.1). Use these commands to inspect nodes and namespaces before installing Argo CD:
# Node
kubectl get nodes
# NAME             STATUS   ROLES         AGE   VERSION
# Namespaces (before install)
kubectl get ns
# NAME               STATUS   AGE
# default            Active   11h
# kube-node-lease    Active   11h
# kube-public        Active   11h
# kube-system        Active   11h

Install Argo CD (example using v3.1.5 non-HA)

Create the namespace and apply the manifest for the specific version:
kubectl create namespace argocd
kubectl apply -n argocd -f https://raw.githubusercontent.com/argoproj/argo-cd/v3.1.5/manifests/install.yaml
The install manifest creates many Kubernetes resources—CRDs, ServiceAccounts, RBAC, ConfigMaps, Secrets, Services, Deployments, StatefulSets, and NetworkPolicies. Example creation output (shortened):
# Selected created resources (example)
namespace/argocd created
customresourcedefinition.apiextensions.k8s.io/applications.argoproj.io created
serviceaccount/argocd-application-controller created
service/argocd-server created
deployment.apps/argocd-server created
statefulset.apps/argocd-application-controller created
# ...many other resources created...

Common resource types created by the Argo CD install

Resource TypeUse Case
NamespaceIsolate Argo CD components (argocd)
CRDsDefine Argo CD custom resources (Applications, AppProjects, etc.)
Deployments/StatefulSetsRun controllers, server, repo-server, etc.
ServicesExpose Argo CD components (ClusterIP by default)
SecretsStore initial admin password and other credentials
RBAC (Roles/Bindings)Grant permissions to Argo CD components

Verify pods and services

Watch the resources in the argocd namespace as pods start:
kubectl -n argocd get all
# Example (pods may be initializing)
# NAME                                              READY   STATUS              RESTARTS   AGE
# pod/argocd-application-controller-0               0/1     ContainerCreating   0          20s
# pod/argocd-server-xxxxx                           0/1     ContainerCreating   0          23s
# ...
When controllers finish starting, the Deployments and StatefulSets should show READY:
kubectl -n argocd get deploy,statefulset
# Example final state:
# deployment.apps/argocd-server                                   1/1     1   1  7m
# statefulset.apps/argocd-application-controller                  1/1     1   1  6m

Expose the Argo CD server for local access (NodePort)

By default, the argocd-server Service is type ClusterIP. For local development you can patch it to NodePort:
kubectl -n argocd patch svc argocd-server -p '{"spec": {"type": "NodePort"}}'
# service/argocd-server patched
List services to see the assigned NodePorts (example output):
kubectl -n argocd get svc
# NAME                 TYPE        CLUSTER-IP       EXTERNAL-IP   PORT(S)
# argocd-server        NodePort    10.101.182.0     <none>        80:31148/TCP,443:30203/TCP
# argocd-repo-server   ClusterIP   10.107.211.176   <none>        8081/TCP,8084/TCP
# ...
How to determine the URL to open:
  • If the PORT(S) column shows “80:31148/TCP,443:30203/TCP”, use https://localhost:30203 (HTTPS NodePort mapped to 443).
  • If you use the NodePort mapped to port 80, you can use http://localhost:<nodeport>.
  • On Docker Desktop NodePorts are typically reachable at localhost; on other environments use the node IP or cloud load balancer as appropriate.
Note: Browsers may show a certificate warning for the self-signed certificate. Accept the warning to proceed to the Argo CD UI.
A Chrome browser error page showing "Your connection is not private" for
https://localhost:31148 with a red triangle exclamation icon. It displays
NET::ERR_CERT_AUTHORITY_INVALID and options like "Advanced" and "Back to
safety."

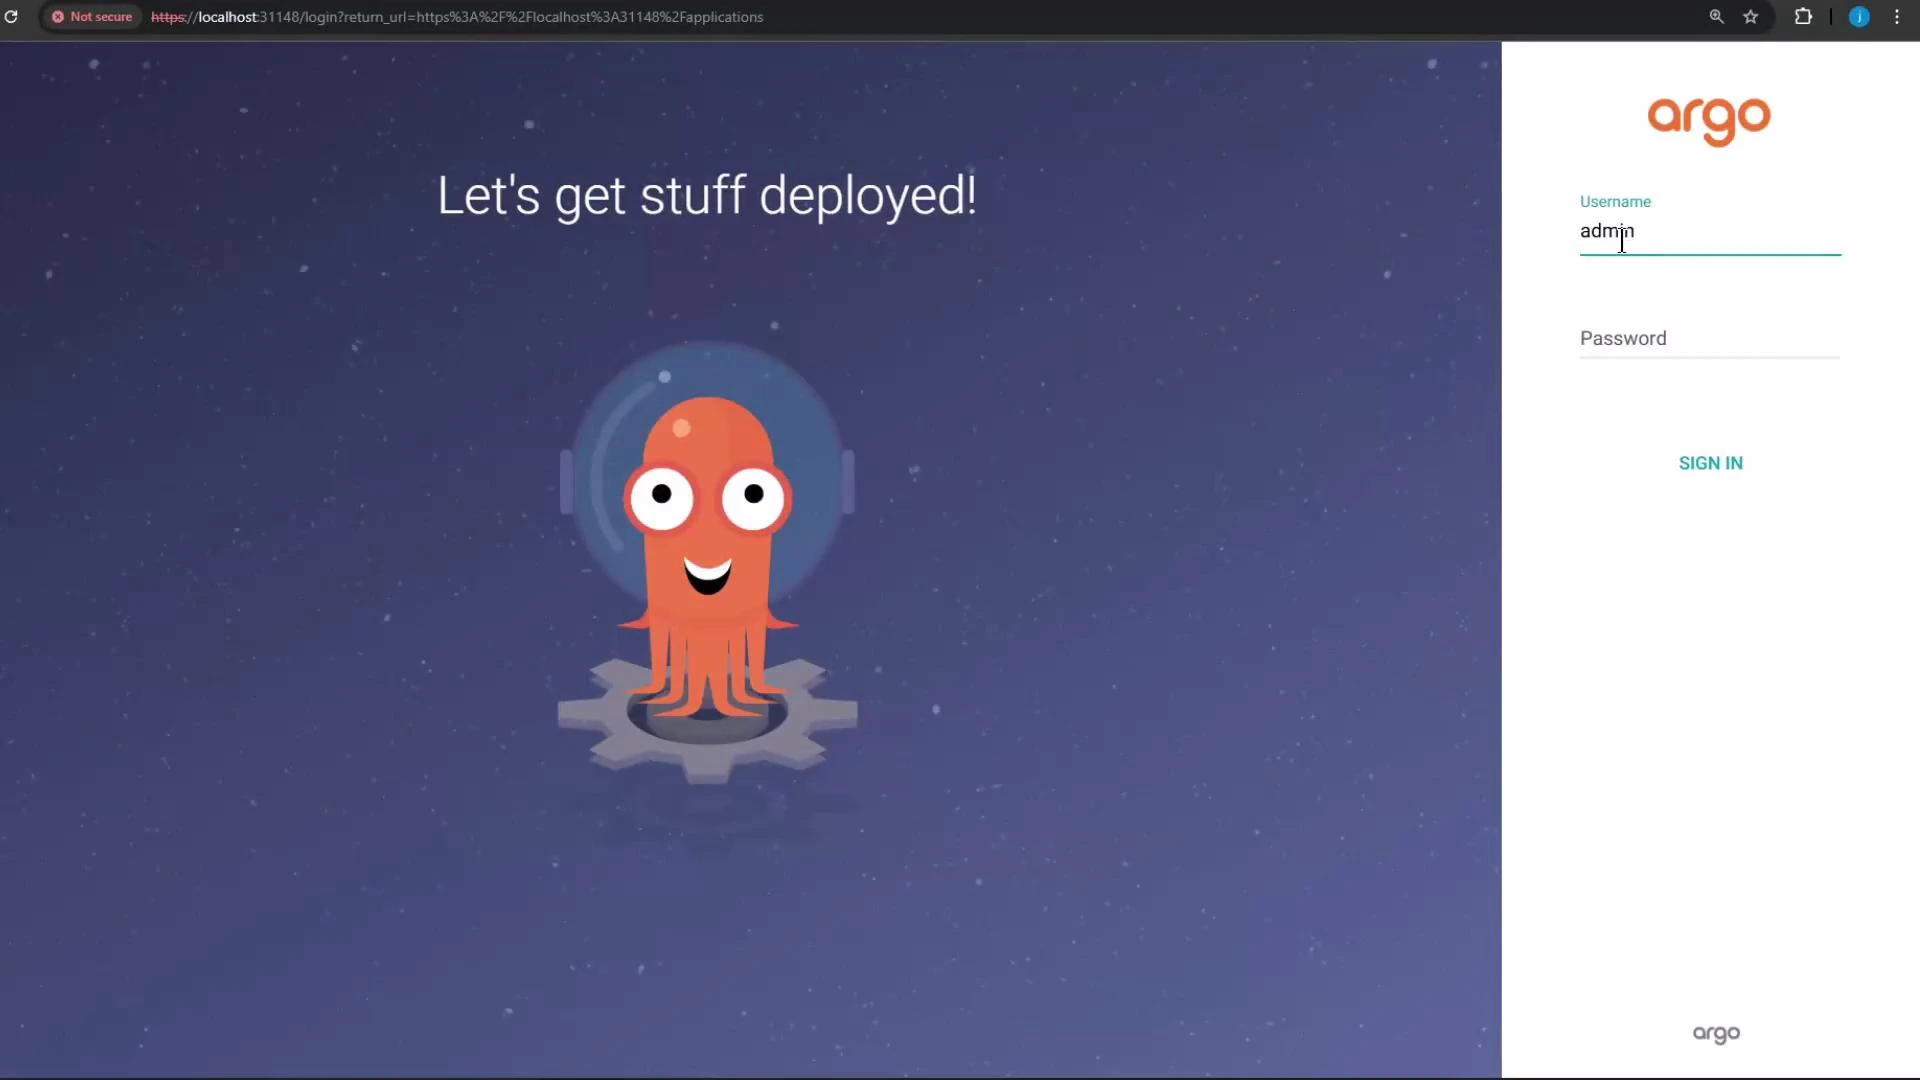
Retrieve the initial admin password and log in

Argo CD stores the initial admin password in the argocd-initial-admin-secret Secret. Decode it with:
kubectl -n argocd get secret argocd-initial-admin-secret -o jsonpath='{.data.password}' | base64 --decode
# prints the initial admin password
On macOS the base64 CLI flag may differ—if --decode doesn’t work try base64 -D.
If your installation uses a different secret name or structure, list secrets and inspect the relevant secret:
kubectl -n argocd get secrets
kubectl -n argocd describe secret <secret-name>
Use username admin and the decoded password to sign in to the Argo CD web UI. The default login screen looks like this:
A web app login screen for Argo with a purple starry background, the text
"Let's get stuff deployed!" and a smiling orange octopus/alien mascot standing
on a gear. On the right is a white login panel with the Argo logo and
username/password fields (username "admin"
entered).

Update the admin password

After your first login, immediately change the admin password from the Account Settings -> Update account password dialog. Updating the default password is strongly recommended to secure your Argo CD instance.
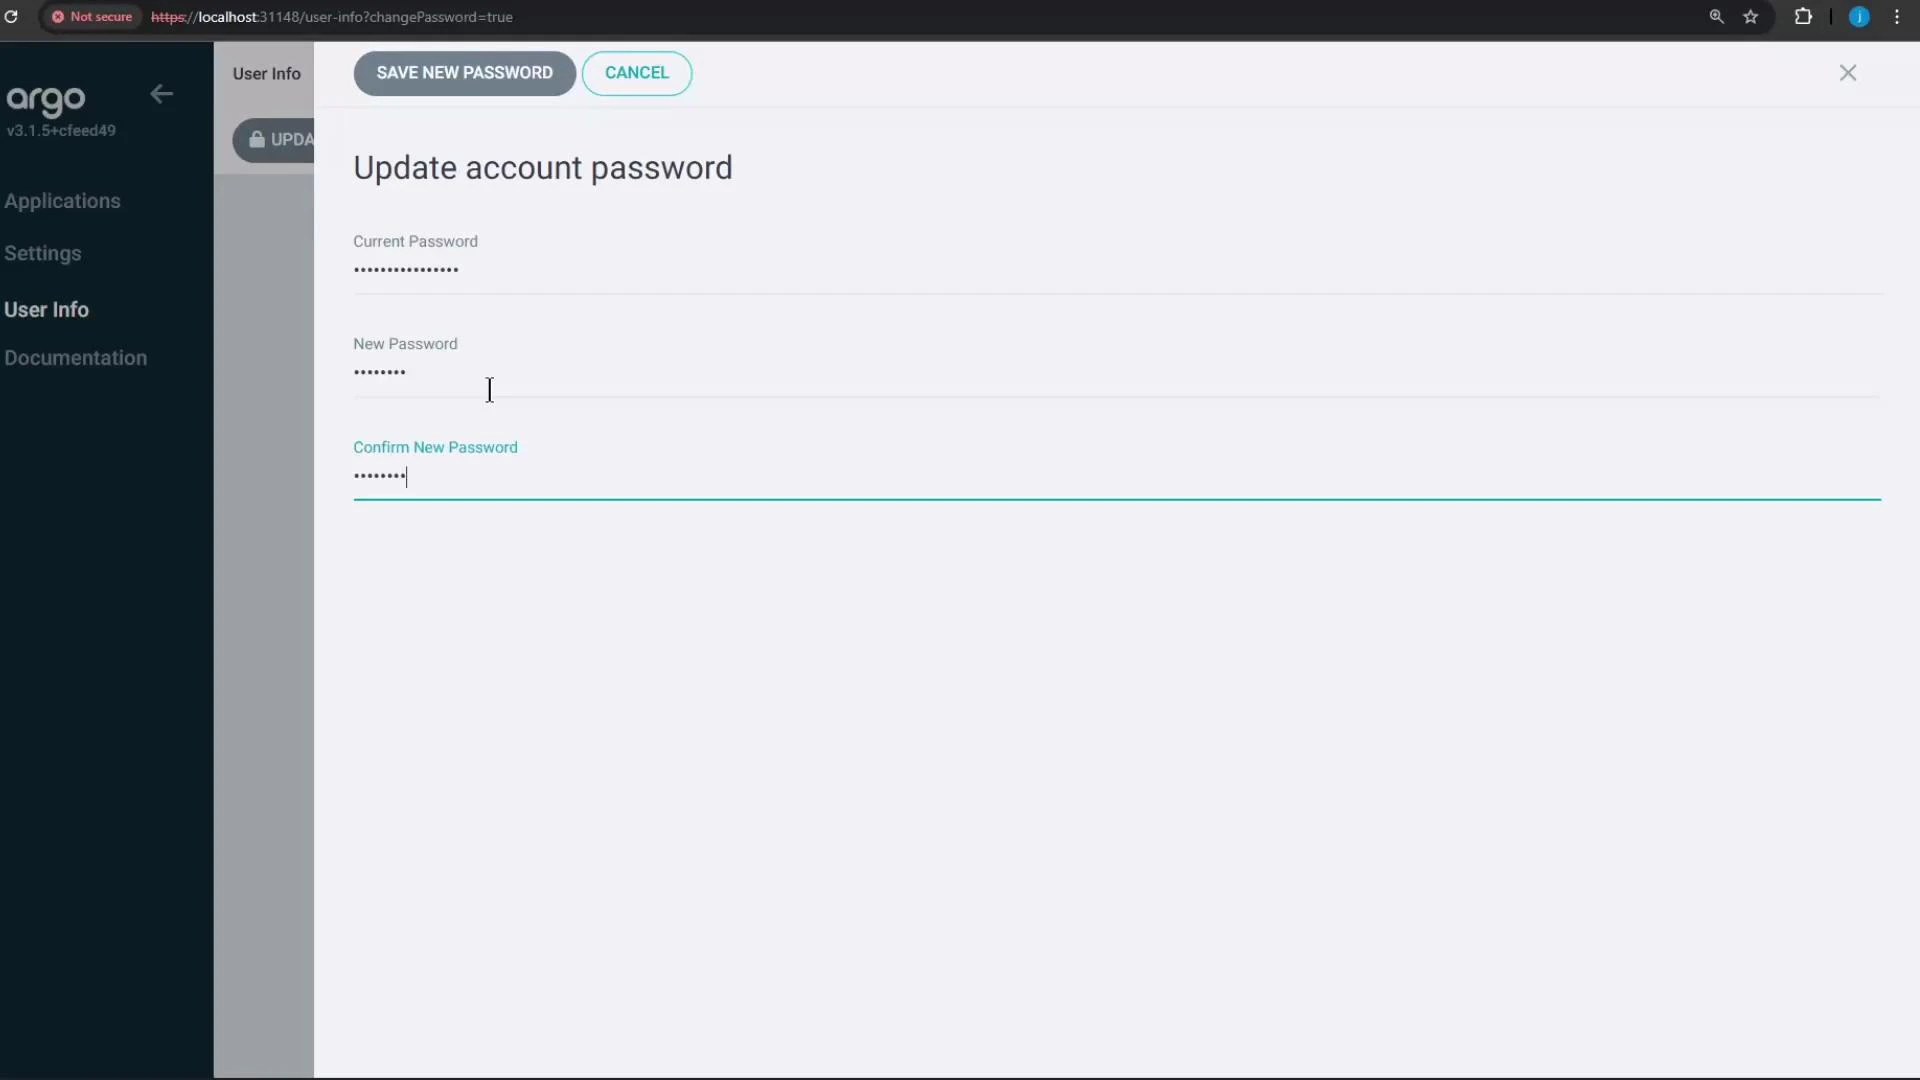
A screenshot of a web app "Update account password" page showing masked
fields for Current Password, New Password, and Confirm New Password with "SAVE
NEW PASSWORD" and "CANCEL" buttons. The app branding reads "argo" and there's
a dark navigation sidebar on the
left.

Summary

  • Installed Argo CD into the argocd namespace (stable or specific version).
  • Patched argocd-server to NodePort for local access.
  • Retrieved and decoded the initial admin password from the Kubernetes Secret.
  • Logged into the Argo CD web UI and updated the admin password.
  • Next steps: create Argo CD Applications, connect Git repositories, and add clusters for GitOps-based deployments.

Watch Video

Practice Lab