

- Install the argocd CLI
- Authenticate (log in) to your Argo CD server
- List existing applications
- Create a new application with the CLI
- Create the target namespace (if necessary)
- Synchronize the application and verify status
1. Install the argocd CLI
Choose the installation method that matches your OS. The following table summarizes common options.
Example direct download (Linux amd64):
latest with the release tag:
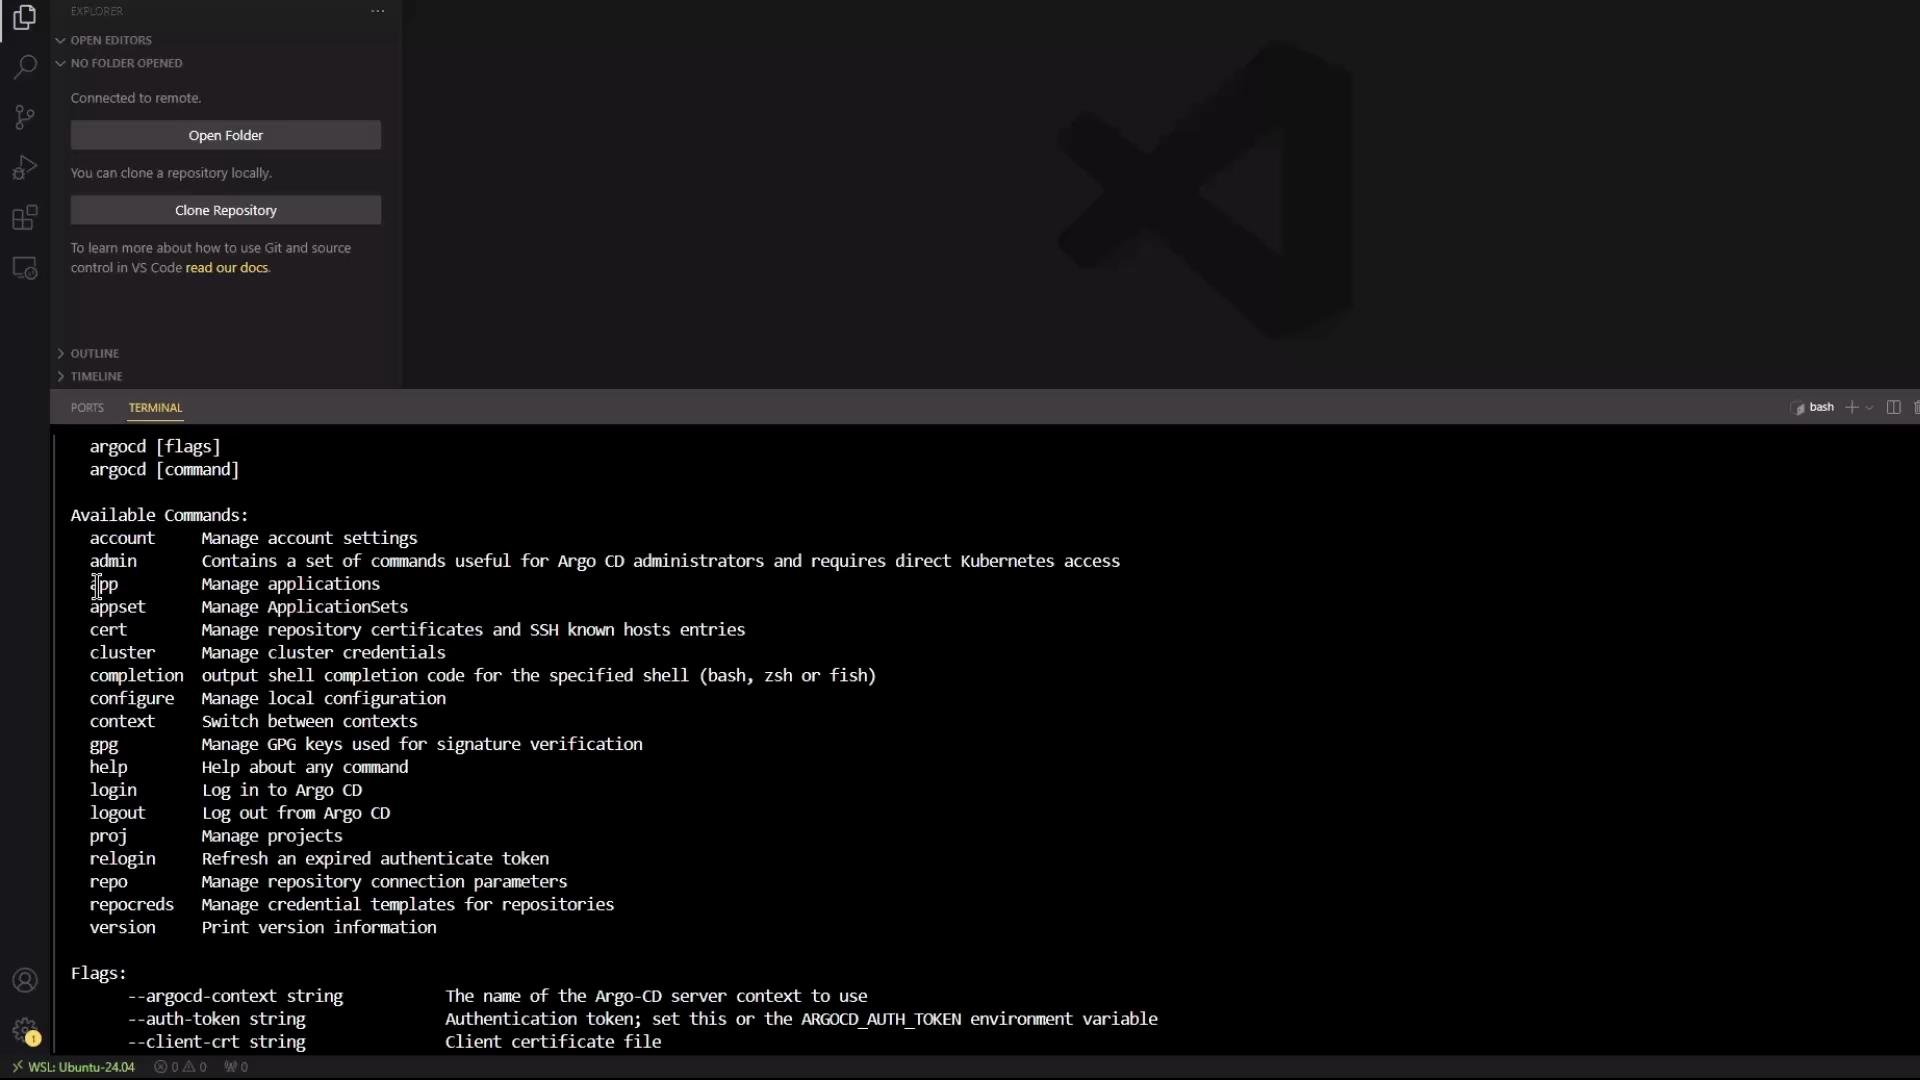
argocd app list) will return a connection error. You must log in before managing applications.
2. Log in to the Argo CD server
First, try listing applications. If you’re not logged in or the CLI can’t reach the server, this will fail:argocd namespace:
31148) or external IP. Then log in with the CLI, replacing <NODEPORT> with the correct host:port (e.g., localhost:31148):
- A TLS certificate verification warning (if the server uses a self-signed cert)
- Username (commonly
adminunless changed) - Password
If the server uses a self-signed certificate, argocd will warn that the certificate is signed by an unknown authority. You can proceed insecurely by answering
y to the prompt, but for production environments configure TLS correctly to avoid security risks.3. Create a new application using the CLI
Create a new application (app-2) that points to the same repository and path as the existing app but targets a different namespace (app-2):
4. Create the destination namespace (if needed)
If the destination namespaceapp-2 does not exist, create it with kubectl:
5. Synchronize the application
Sync the newly created application to apply the manifests to the cluster:Troubleshooting and best practices
- Use unique resource names and namespaces when multiple Argo CD applications reference the same repository to avoid SharedResourceWarning.
- Prefer overlays, separate paths, or separate repositories when deploying distinct environments.
- For production, configure proper TLS certificates rather than accepting self-signed certificates.
If multiple Argo CD applications point to the same manifests and overlap resources (same names/namespaces), Argo CD raises SharedResourceWarning. Avoid conflicts by using distinct repository paths, kustomize overlays, or separate namespaces and repositories.