Guide to install and configure Argo Workflows on Kubernetes, expose the Argo Server, install the Argo CLI, and run example workflows.
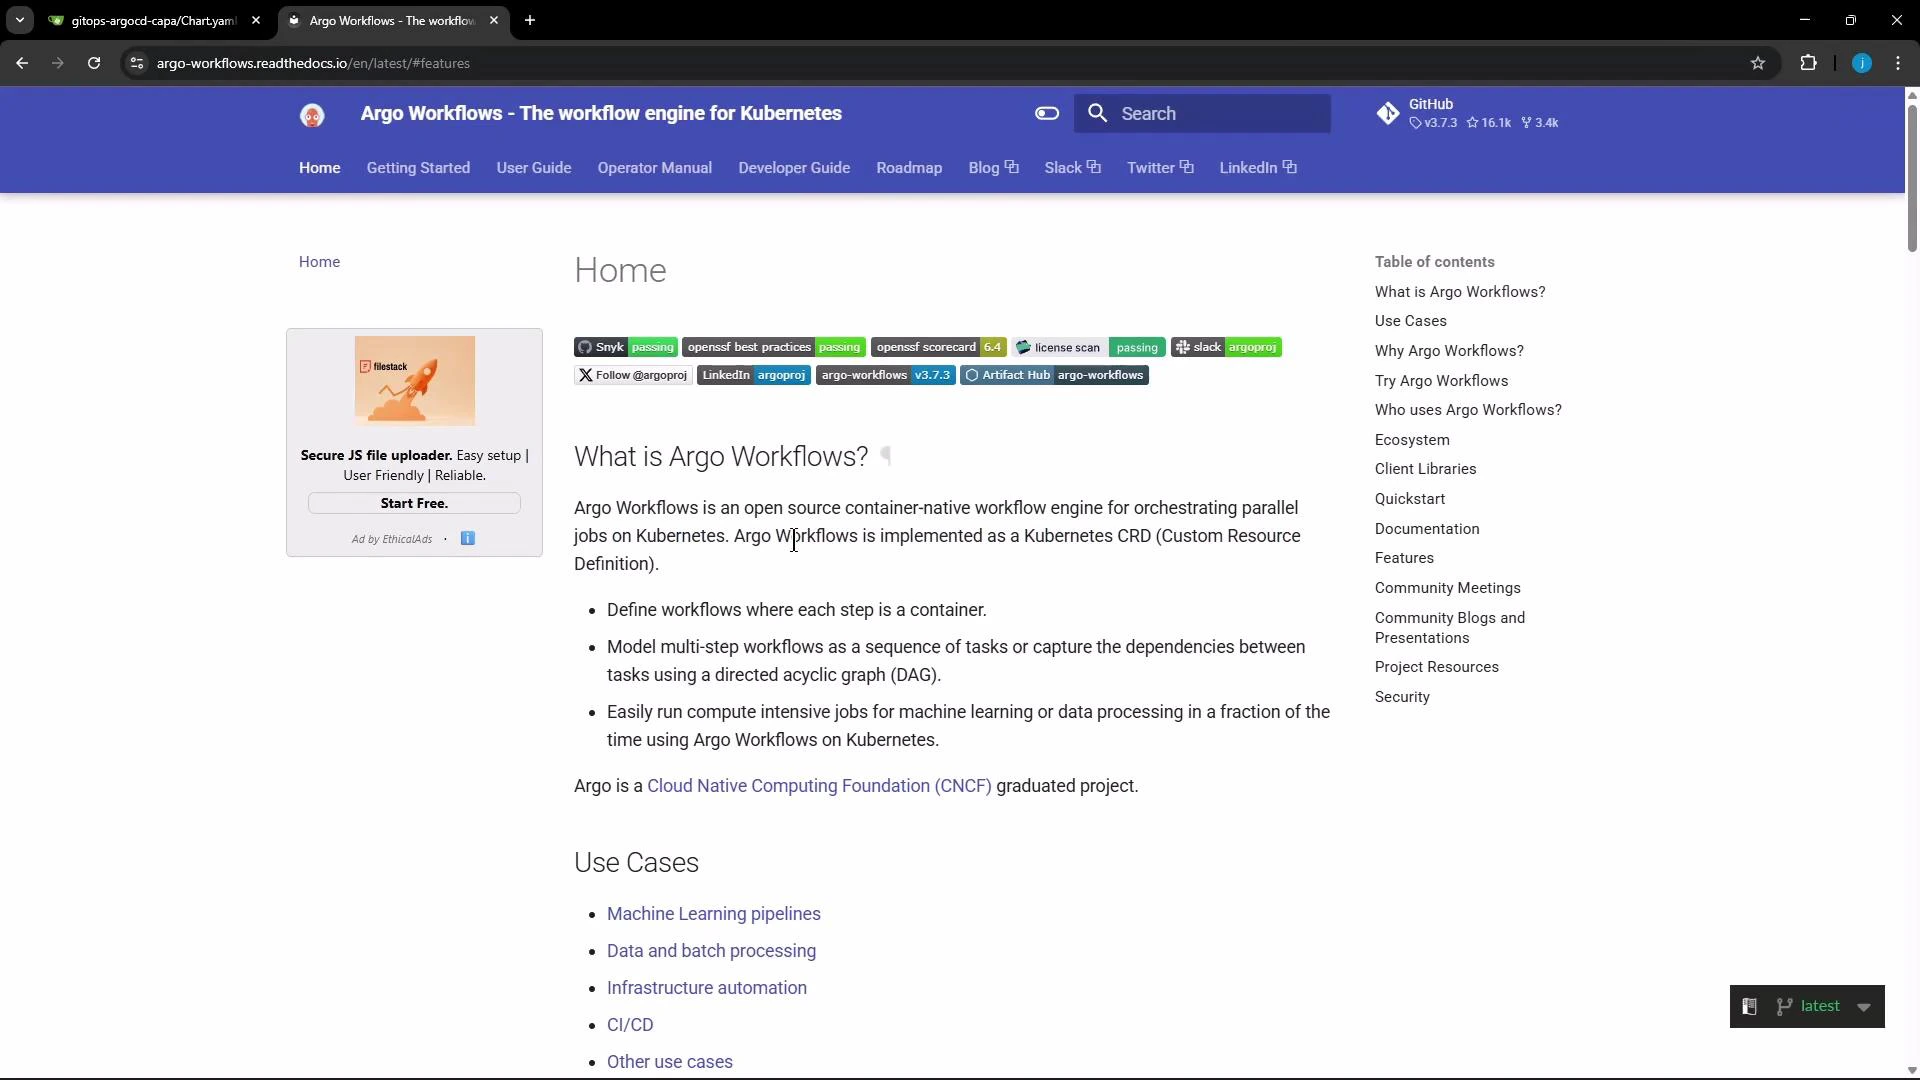
In this lesson you’ll install Argo Workflows into a Kubernetes cluster, expose the Argo Server for local access, and install the matching argo CLI so you can interact with the server and run workflows.Start by opening the Argo Workflows documentation and navigating to the Getting Started page.
Pick an Argo Workflows release (this guide uses v3.7.3). The quick-start minimal manifest creates the Workflow Controller, Argo Server, example services (httpbin), bundled MinIO artifact store, and the required CRDs.Commands to install:
# Set the version you want to installARGO_WORKFLOWS_VERSION="v3.7.3"# Create the argo namespacekubectl create namespace argo# Install the minimal quick-start (controller, server, minio, httpbin, CRDs, etc.)kubectl apply -n argo -f "https://github.com/argoproj/argo-workflows/releases/download/${ARGO_WORKFLOWS_VERSION}/quick-start-minimal.yaml"
Typical (condensed) output from applying the manifest:
namespace/argo createdcustomresourcedefinition.apiextensions.k8s.io/workflows.argoproj.io createdcustomresourcedefinition.apiextensions.k8s.io/workflowtemplates.argoproj.io createdcustomresourcedefinition.apiextensions.k8s.io/cronworkflows.argoproj.io created# ...additional CRDs and resources...deployment.apps/argo-server createddeployment.apps/workflow-controller createddeployment.apps/minio createddeployment.apps/httpbin createdservice/argo-server createdservice/minio createdservice/httpbin created
MinIO provided in the quick-start is suitable for demos and testing. For production systems, configure Argo to use a durable artifact repository (S3/GCS) and supply appropriate credentials.
Download the matching argo CLI binary for your OS. The example below auto-detects macOS vs Linux; adjust the ARGO_WORKFLOWS_VERSION if needed.
# Set the version you want to installARGO_WORKFLOWS_VERSION="v3.7.3"# Detect OS (darwin or linux)ARGO_OS="linux"if [[ "$(uname -s)" == "Darwin" ]]; then ARGO_OS="darwin"fi# Download the compressed binarycurl -sLO "https://github.com/argoproj/argo-workflows/releases/download/${ARGO_WORKFLOWS_VERSION}/argo-${ARGO_OS}-amd64.gz"# Uncompressgunzip "argo-${ARGO_OS}-amd64.gz"# Make executable and move to a directory in PATHchmod +x "argo-${ARGO_OS}-amd64"sudo mv "argo-${ARGO_OS}-amd64" /usr/local/bin/argo# Verify installationargo version
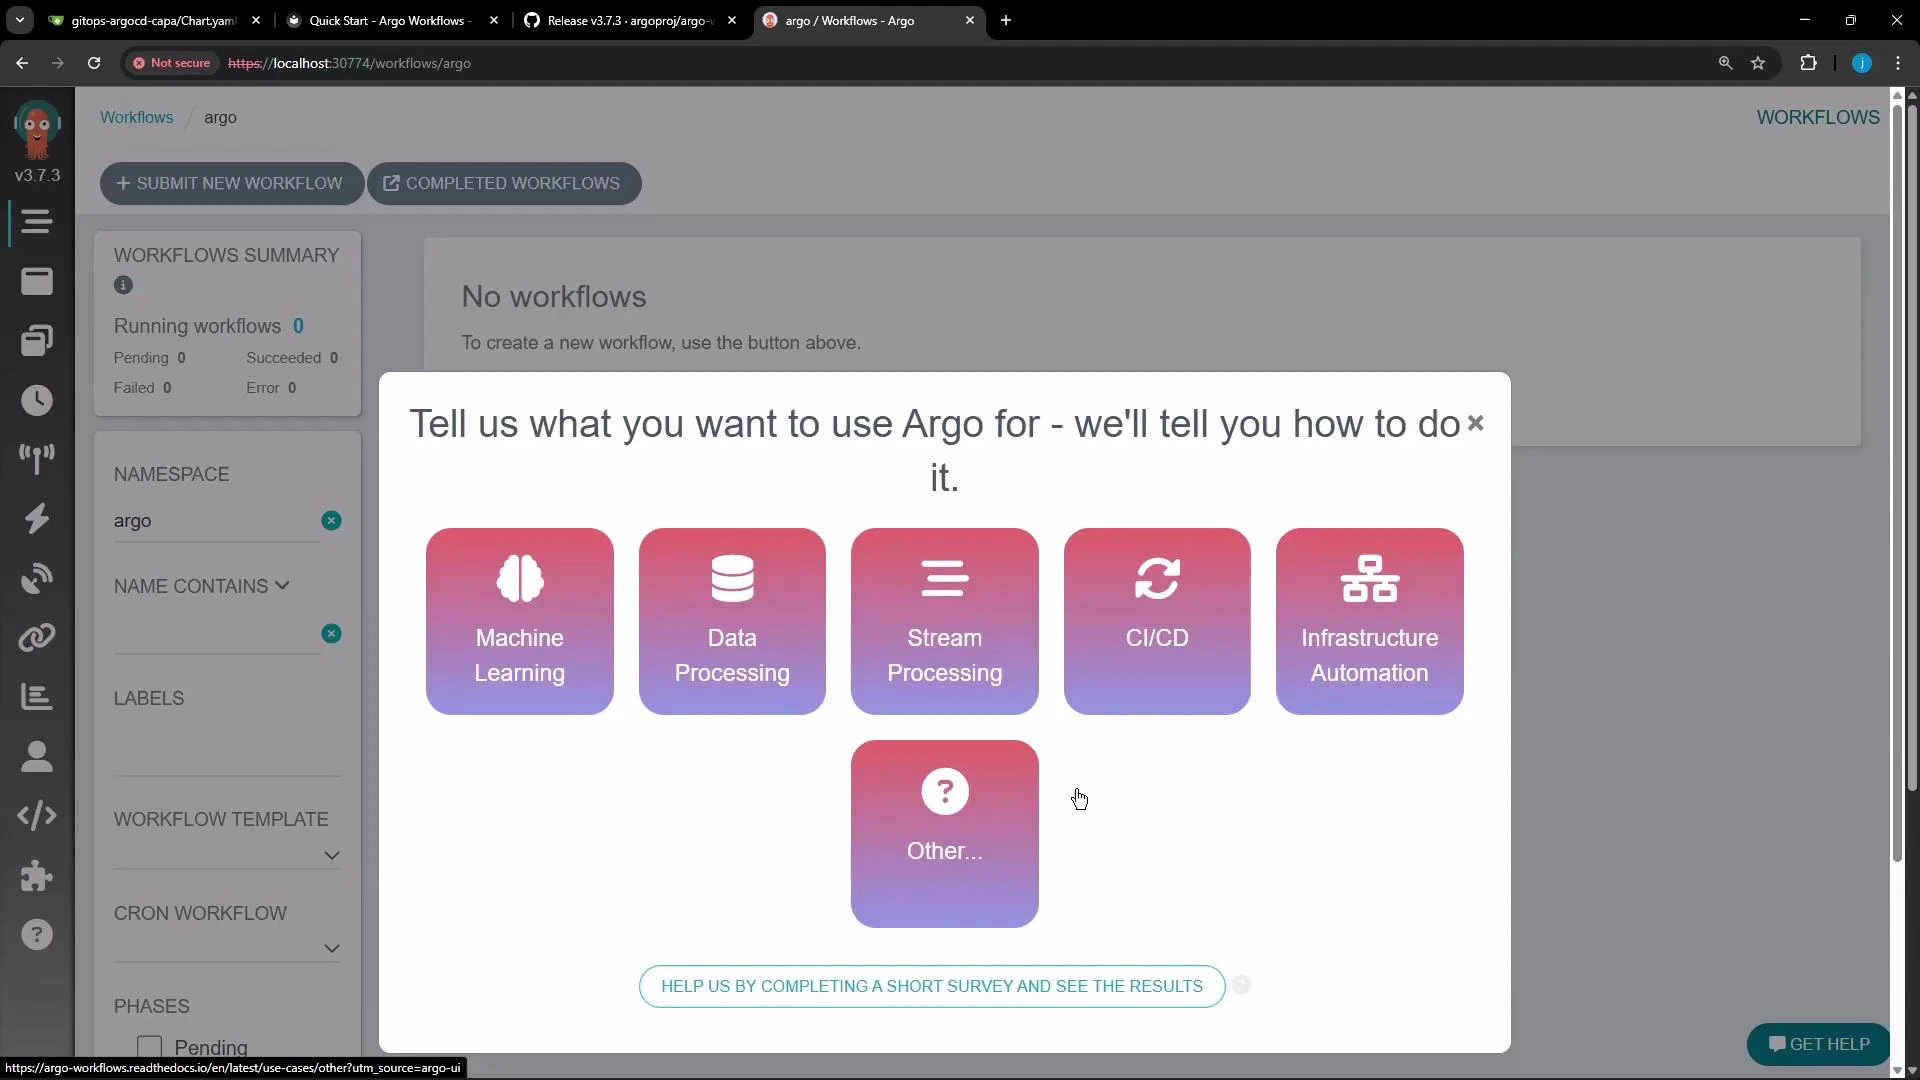
If you exposed the Argo Server via NodePort (for example 2746 -> 30774), set environment variables so the CLI uses the Argo Server rather than the Kubernetes API. Adjust values for your environment:
export ARGO_SERVER='localhost:30774'export ARGO_HTTP1=trueexport ARGO_INSECURE=trueexport ARGO_BASE_HREF=''export ARGO_TOKEN=''export ARGO_NAMESPACE=argo # namespace you installed Argo into# export KUBECONFIG=... # set if you need a specific kubeconfig