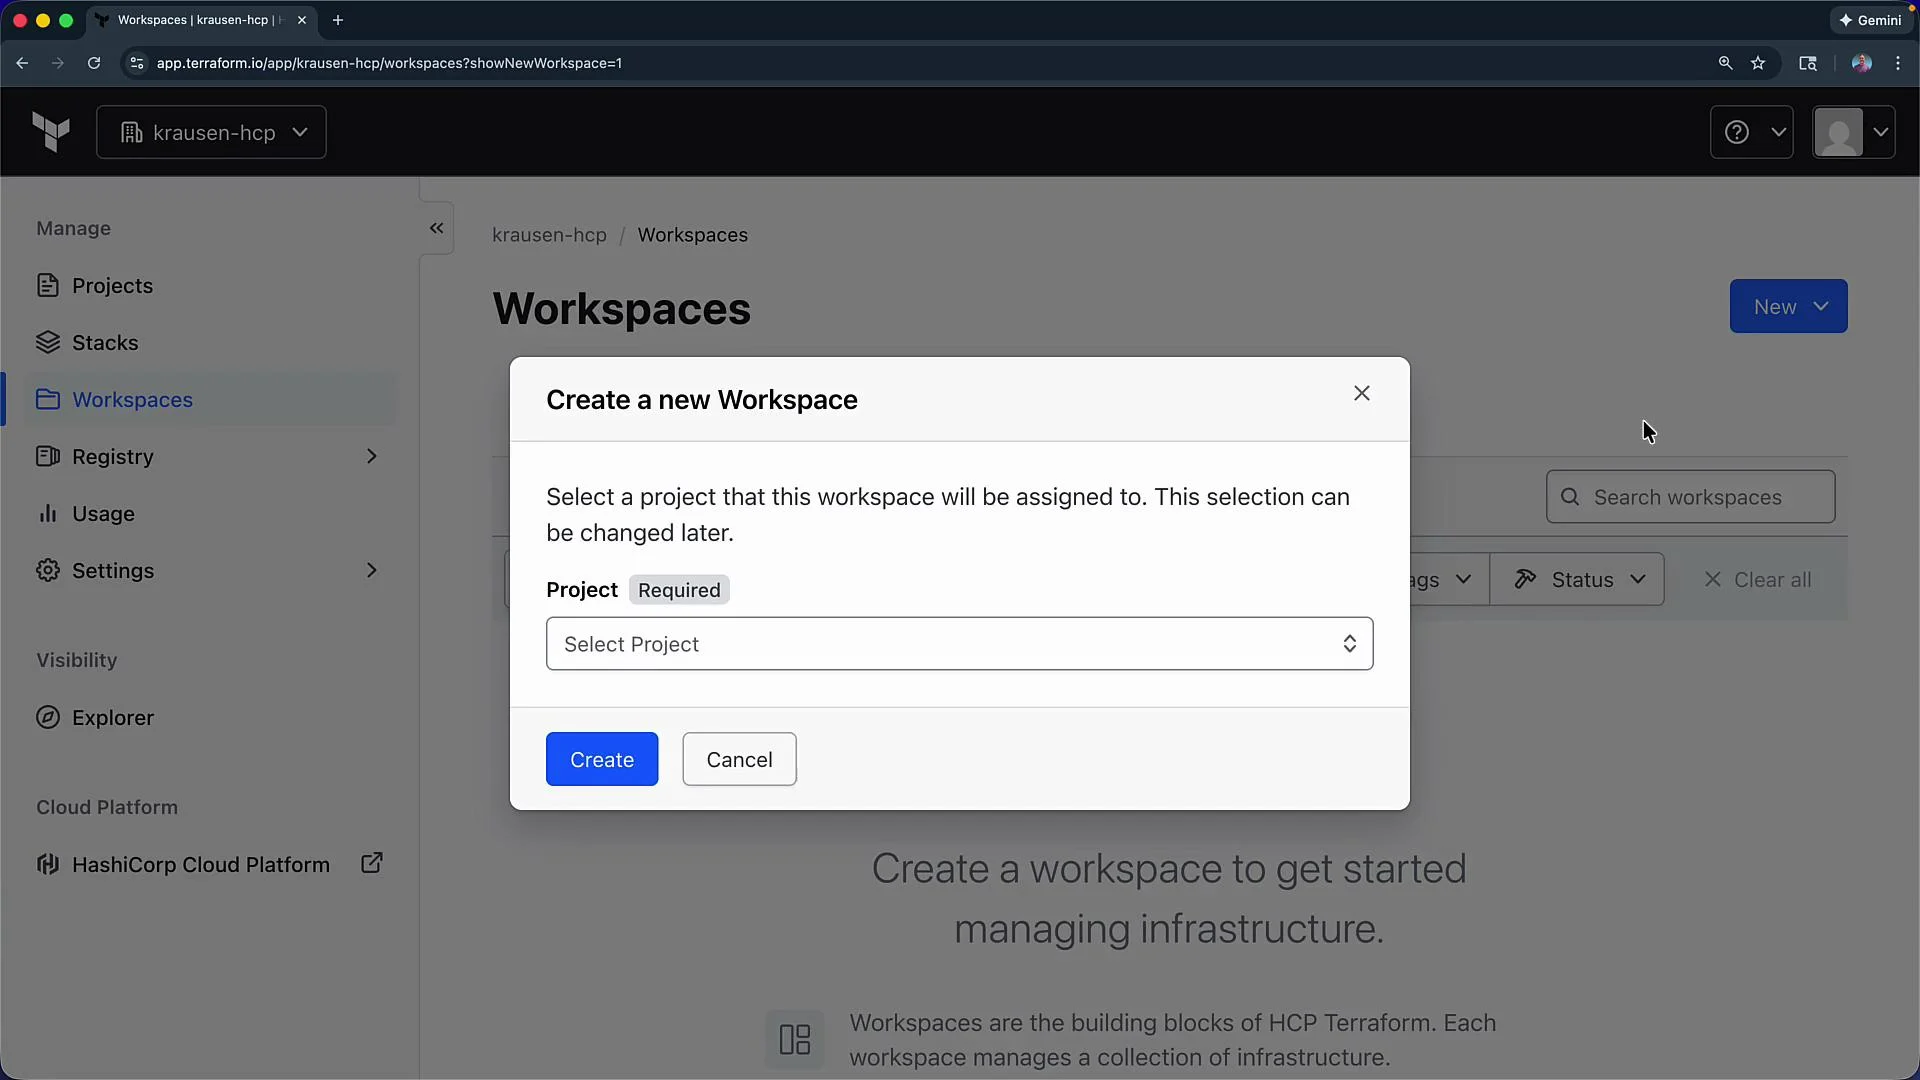
- Select the Default Project (a project is required) and click Create. Projects are an organizational construct and are useful for grouping related workspaces.
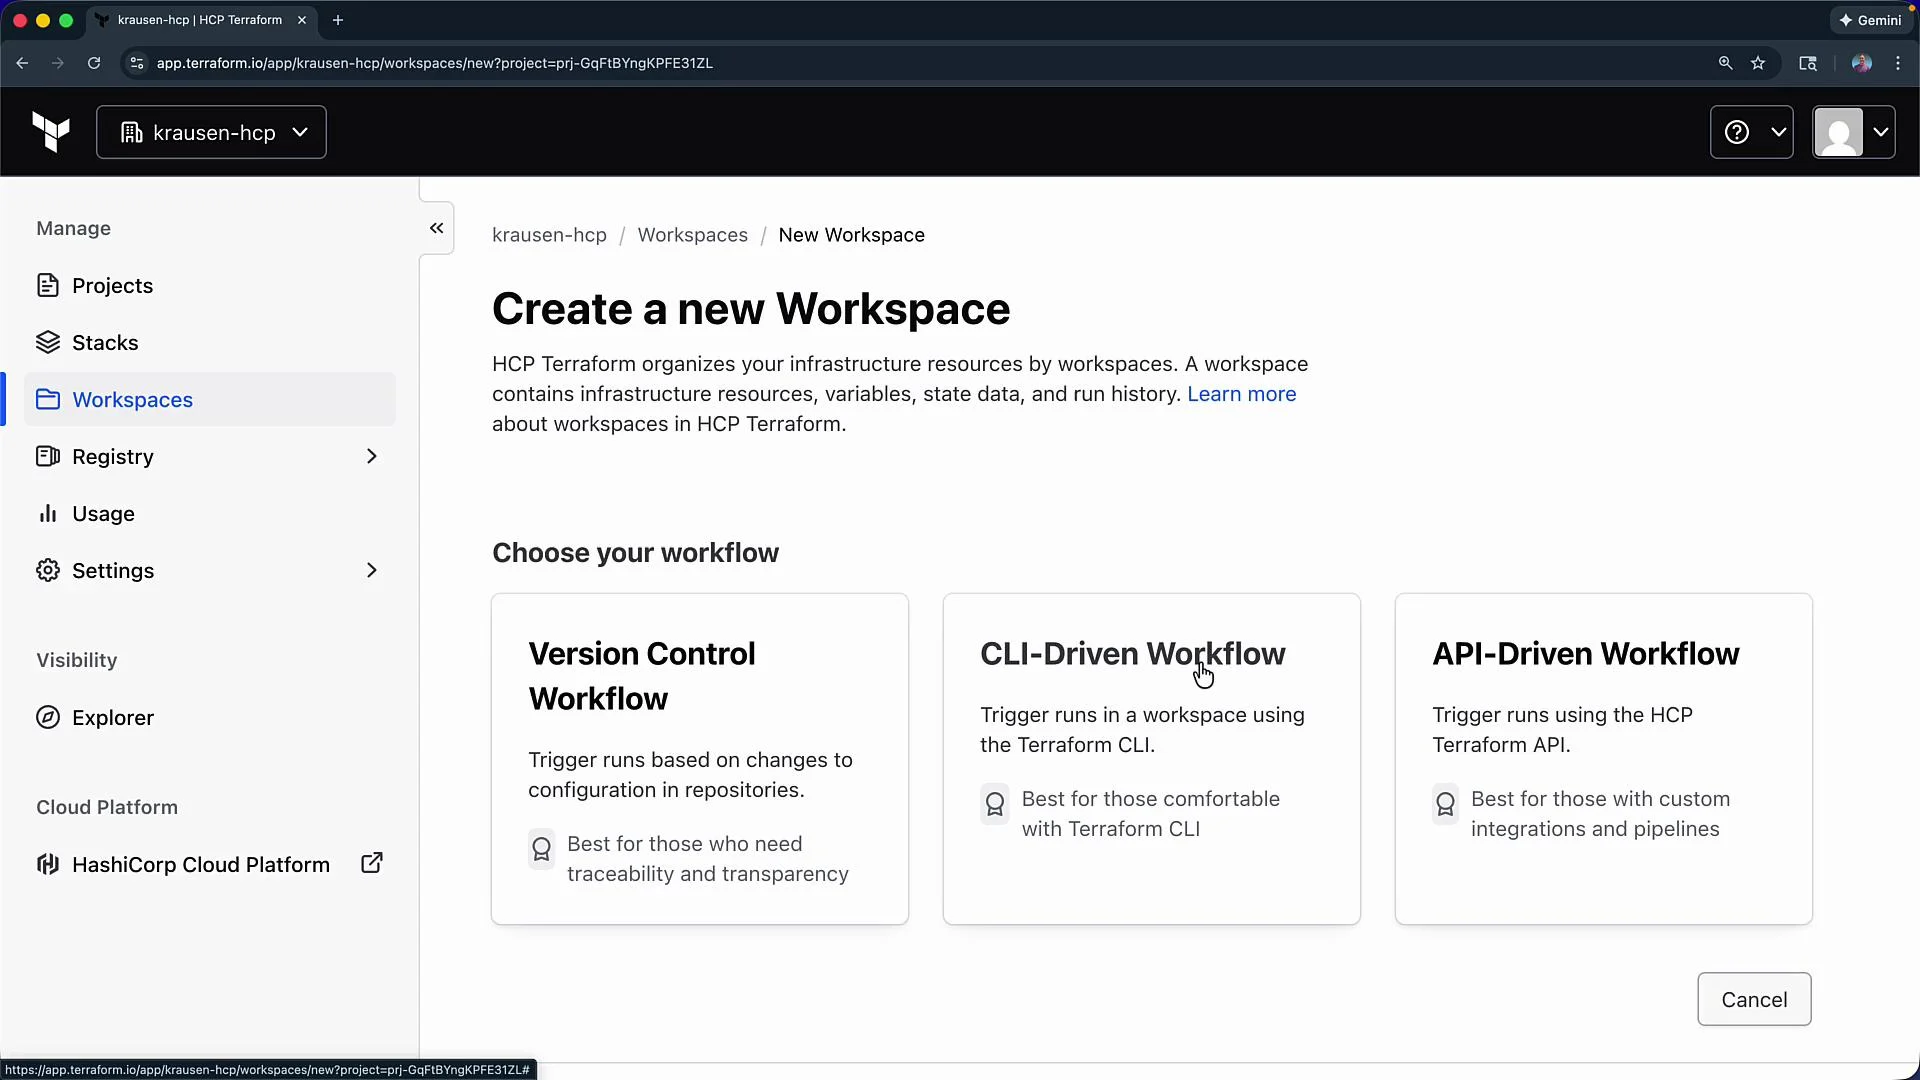
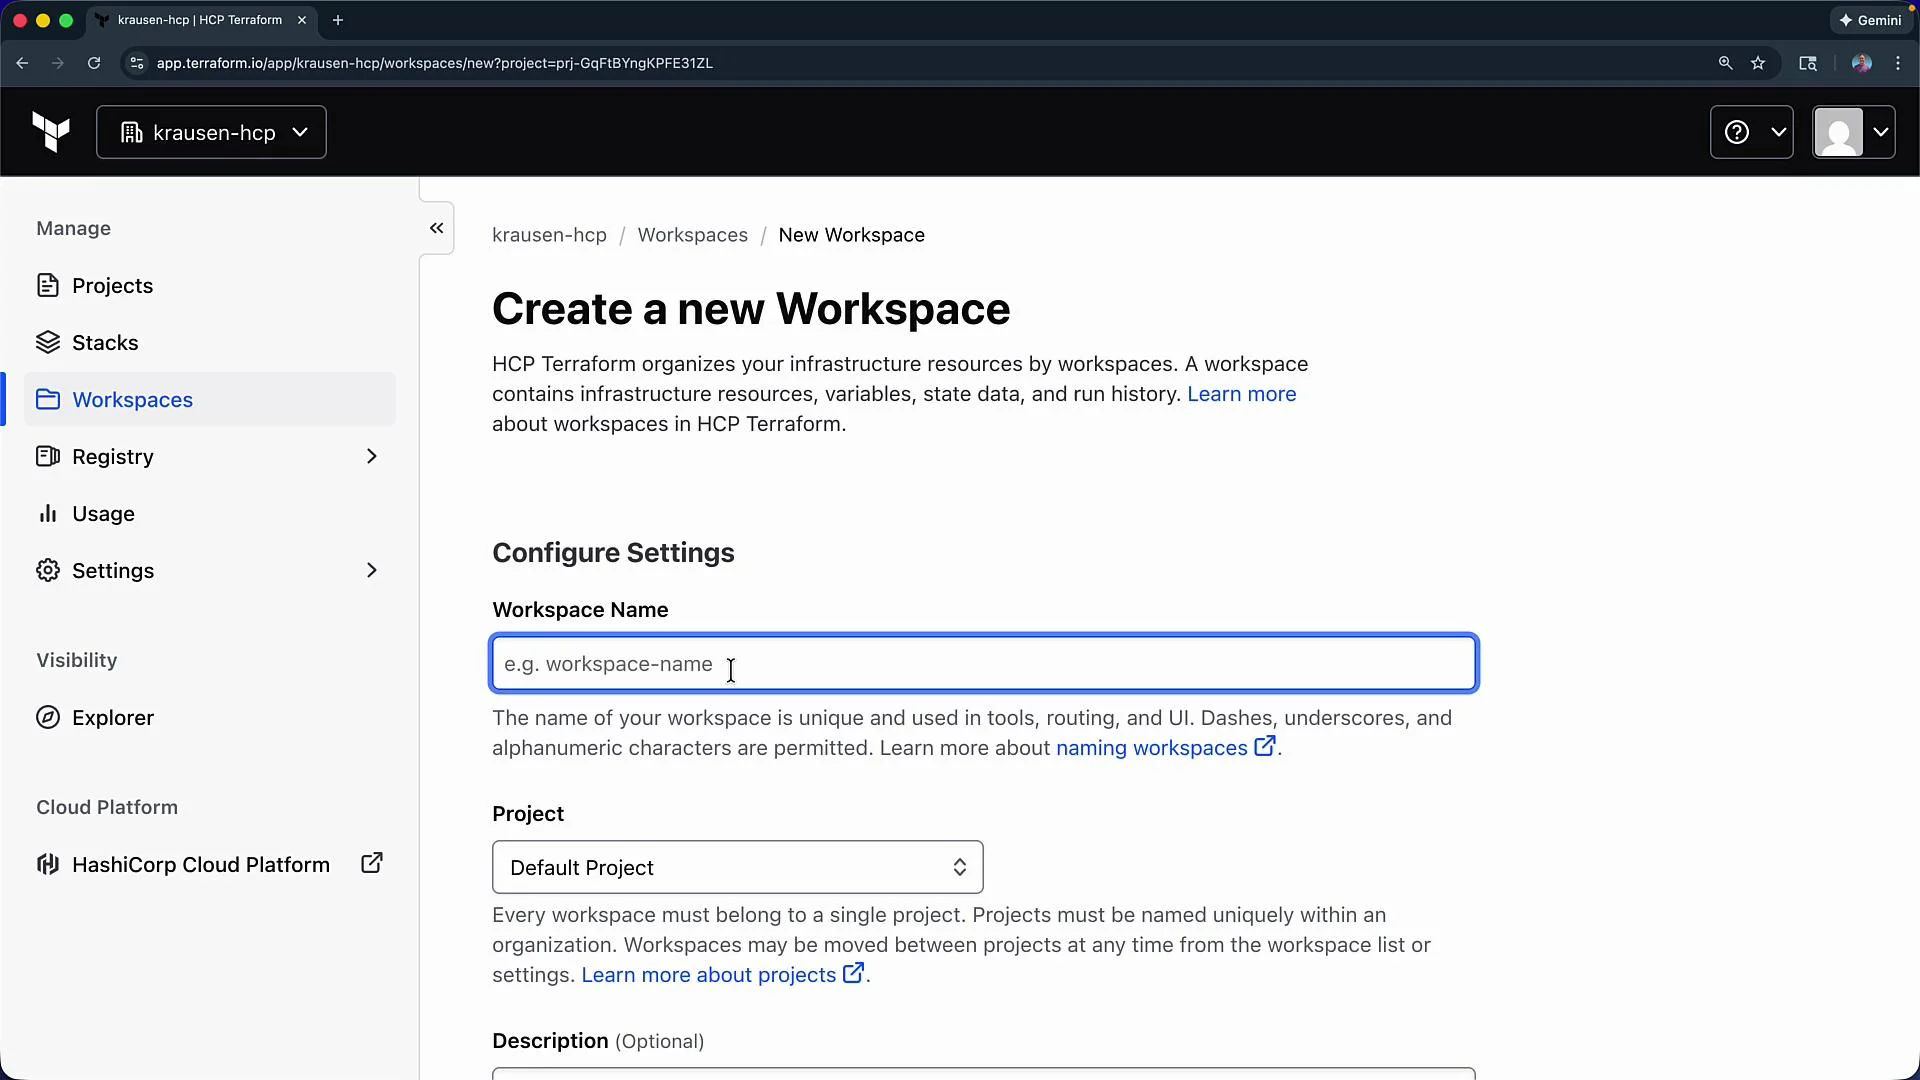
- Choose CLI-driven, give the workspace a name (we use
hcp-demoin this example), confirm the Default Project, optionally add a description, and click Create.
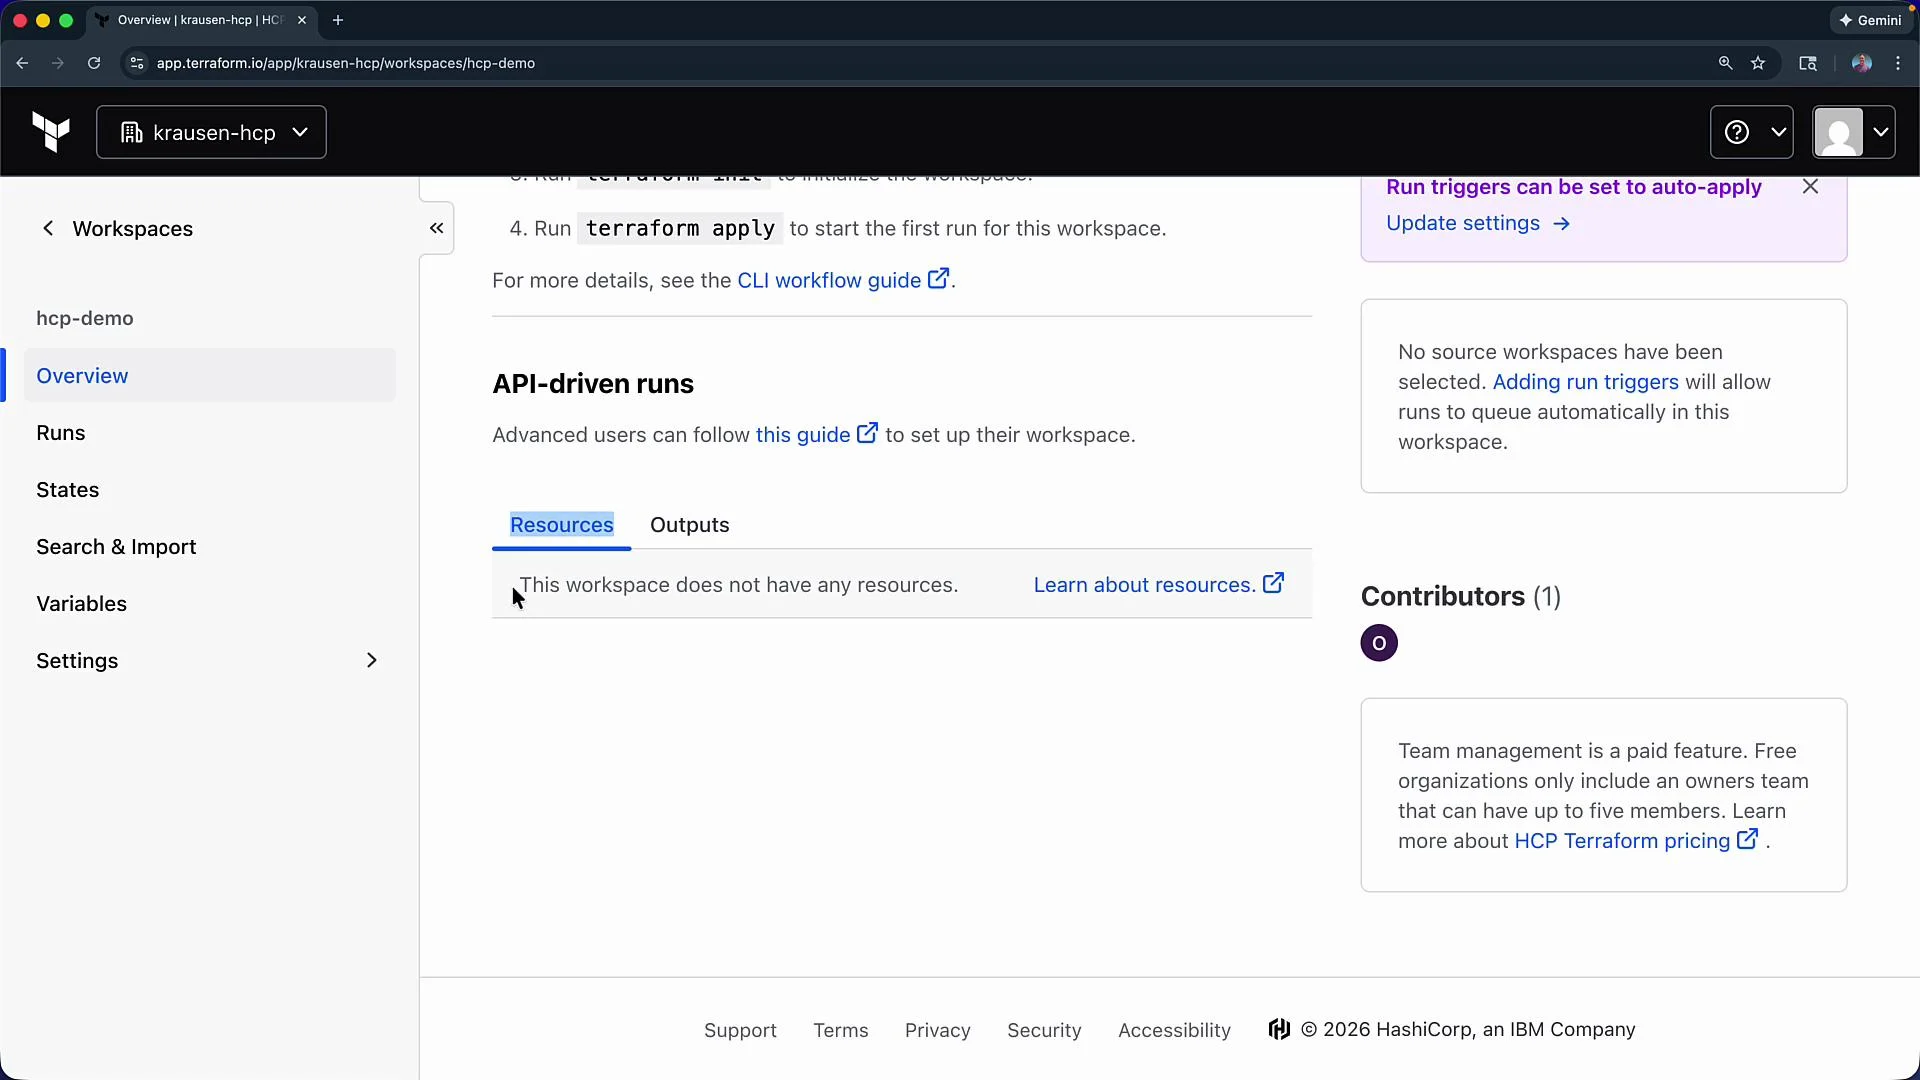
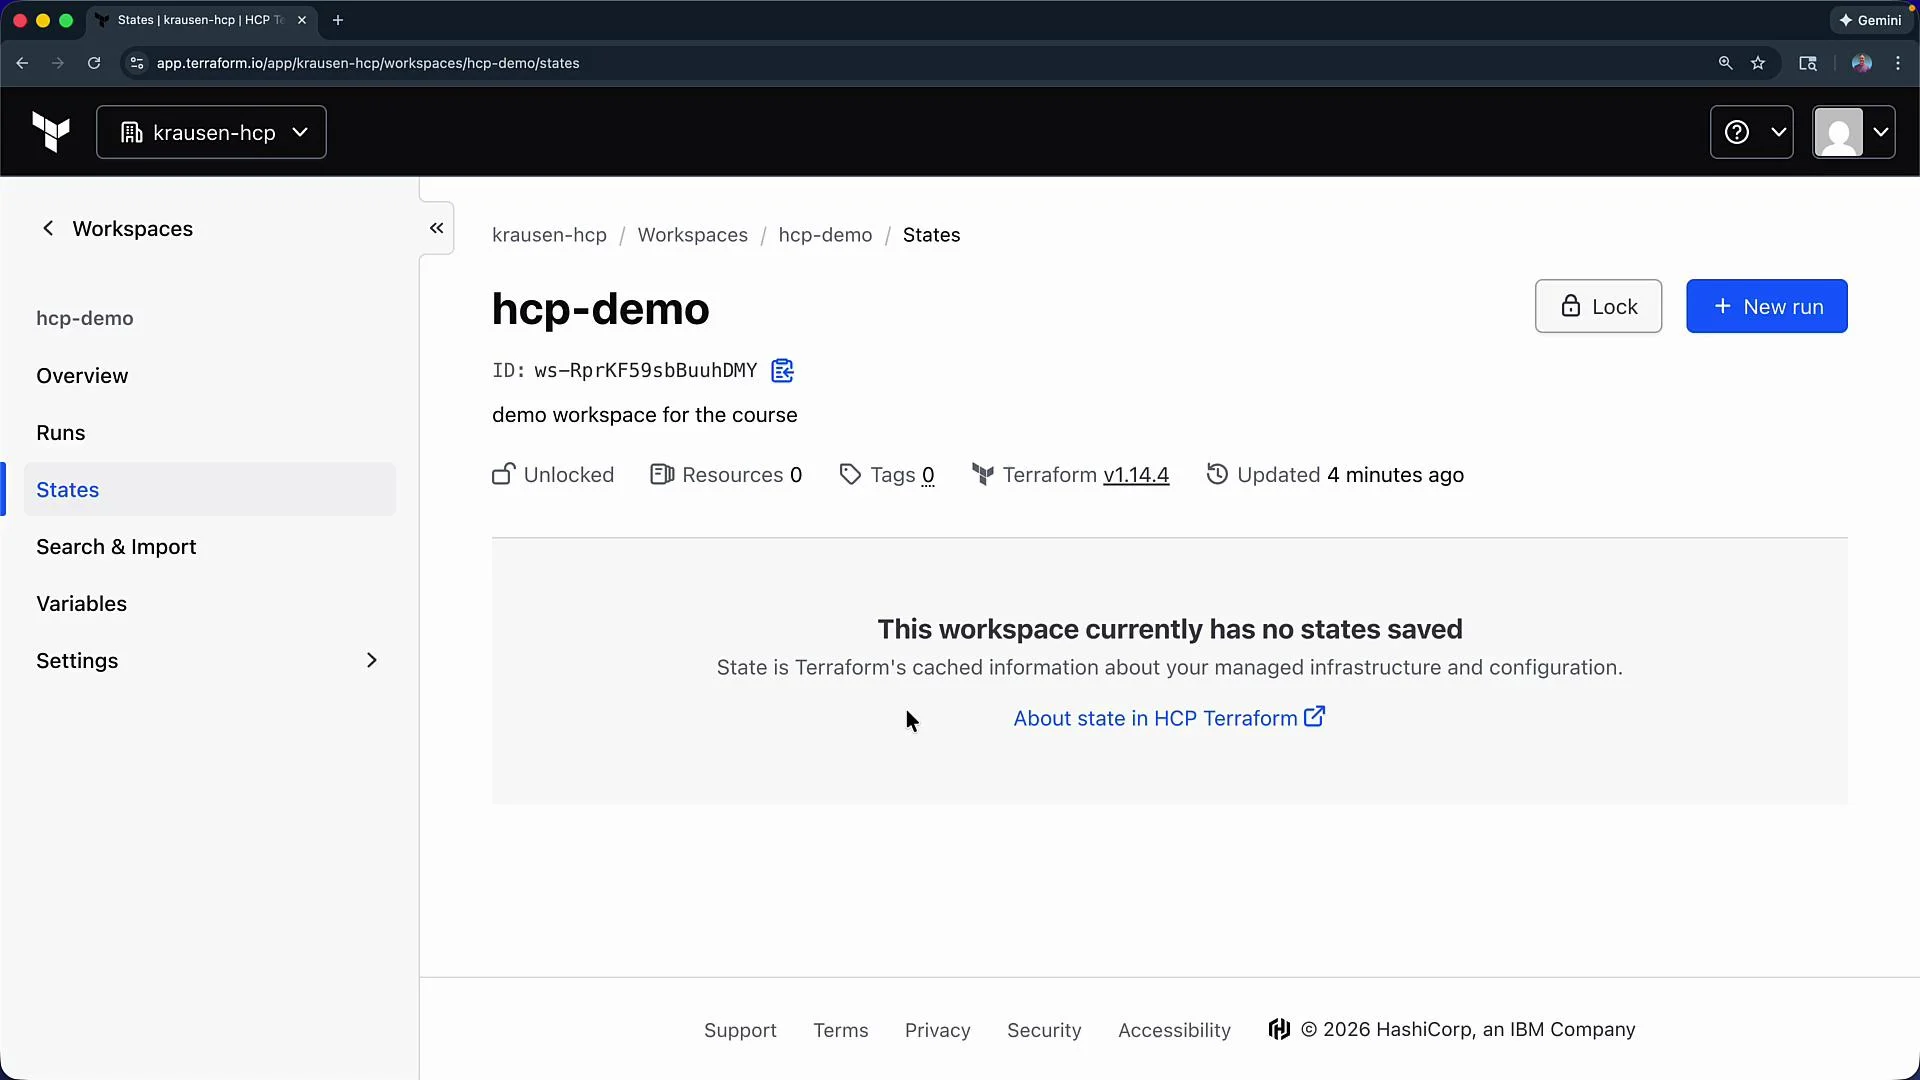
- After creation you’ll see the workspace name and ID at the top. The ID is useful when integrating external systems or APIs.
- You can lock the workspace, view the initial resource count (starts at zero), and see the Terraform version HCP will use to run plans and applies. You can change the version in the workspace settings.
- The right-hand summary displays execution mode (Remote, Local, Agent), auto-apply, allowed run sources (API/UI/VCS), and the current status (for example, “waiting for configuration” when nothing is connected).
terraform configuration to point it at the new HCP workspace:
HCP Terraform measures licensing by “resources under management” (RUM). On the free tier you can manage up to 500 resources across your workspace(s). A “resource” is any Terraform-managed object (for example, VPC, subnet, instance, DNS record). Plan workspaces accordingly to avoid exceeding your RUM limits.
- Use the left navigation to open Runs (view queued and past runs), State (saved state files), and other workspace features such as Search and Import.
- Click State after performing runs to view the saved state files and version history.
- Each workspace can have Terraform input variables and environment variables configured via the Variables section.
- Click Add Variable, choose the variable type (Terraform or Environment), enter a key and value, and mark it Sensitive if it should be encrypted and masked.
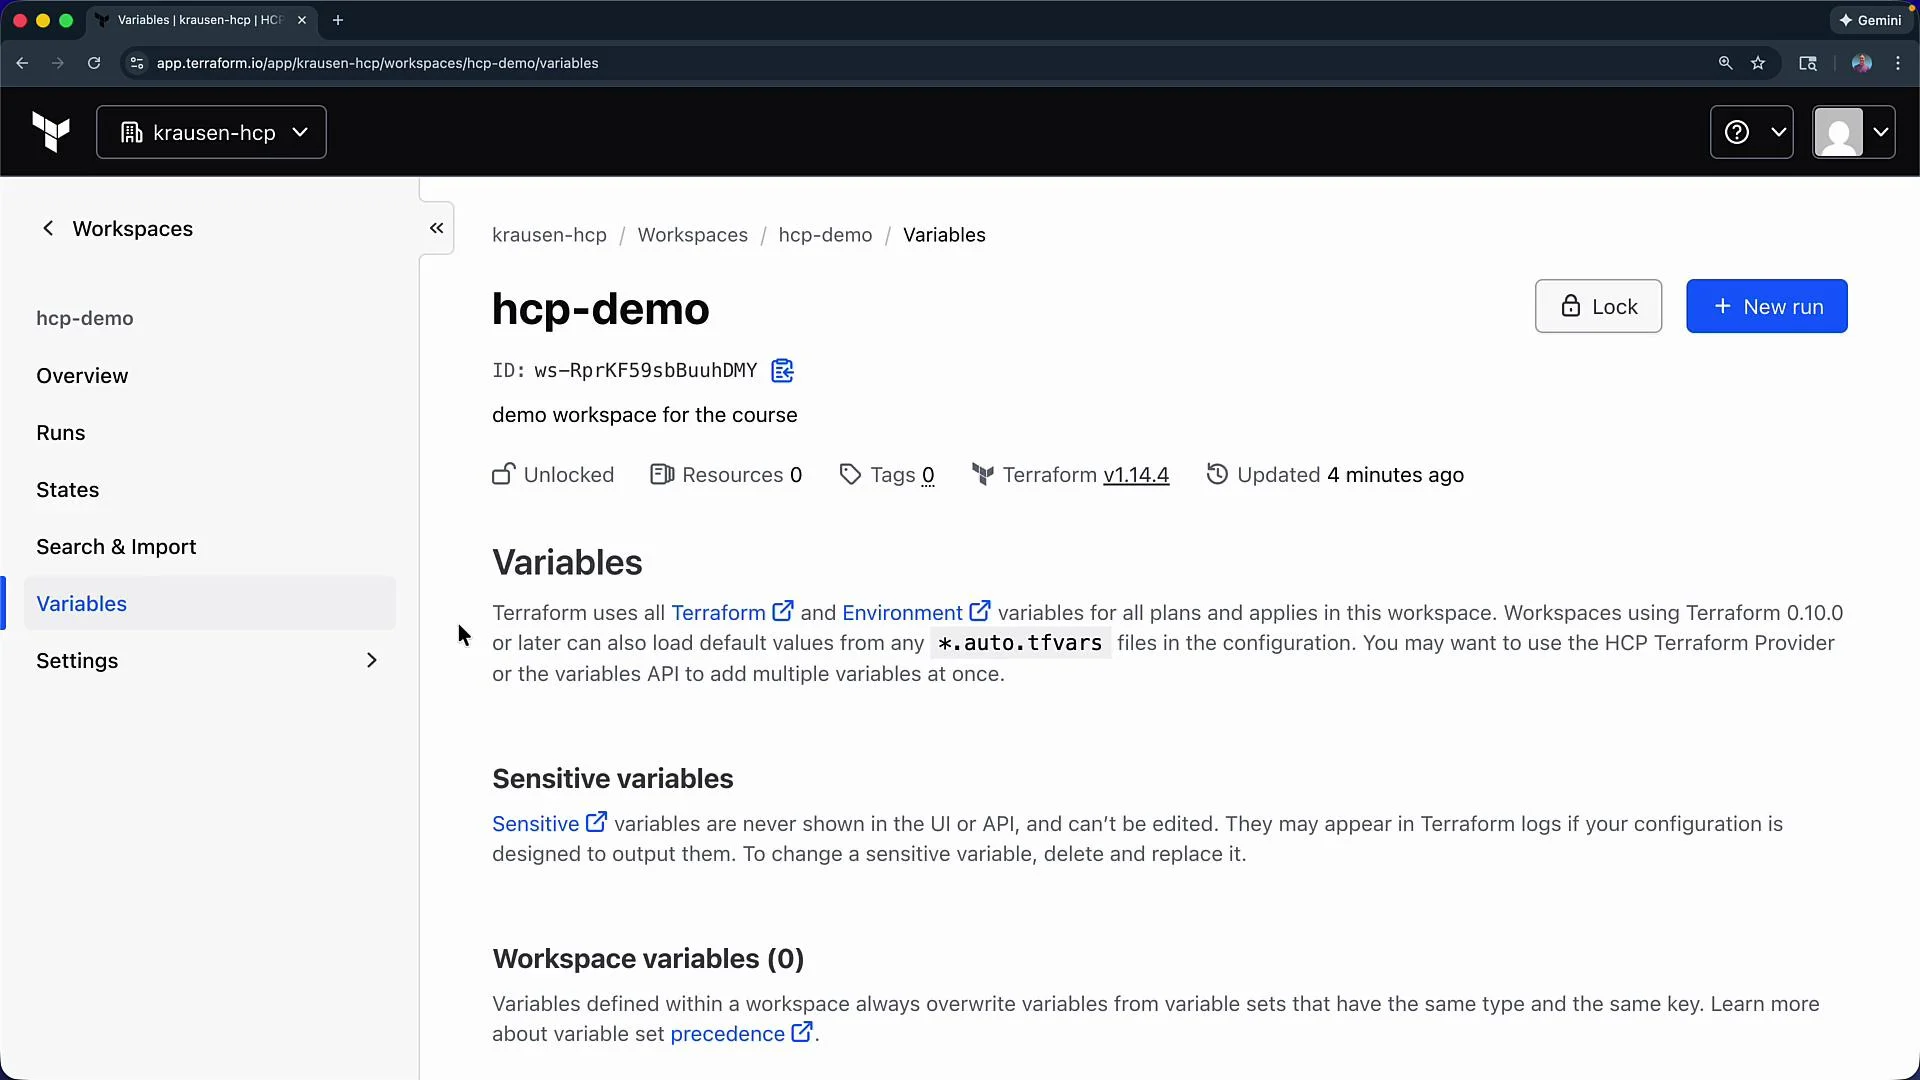
Sensitive variables are encrypted and cannot be read back after creation. You can update (overwrite) a sensitive value, but you cannot retrieve the original value from the UI—store your secrets securely elsewhere if you need a retrievable copy.
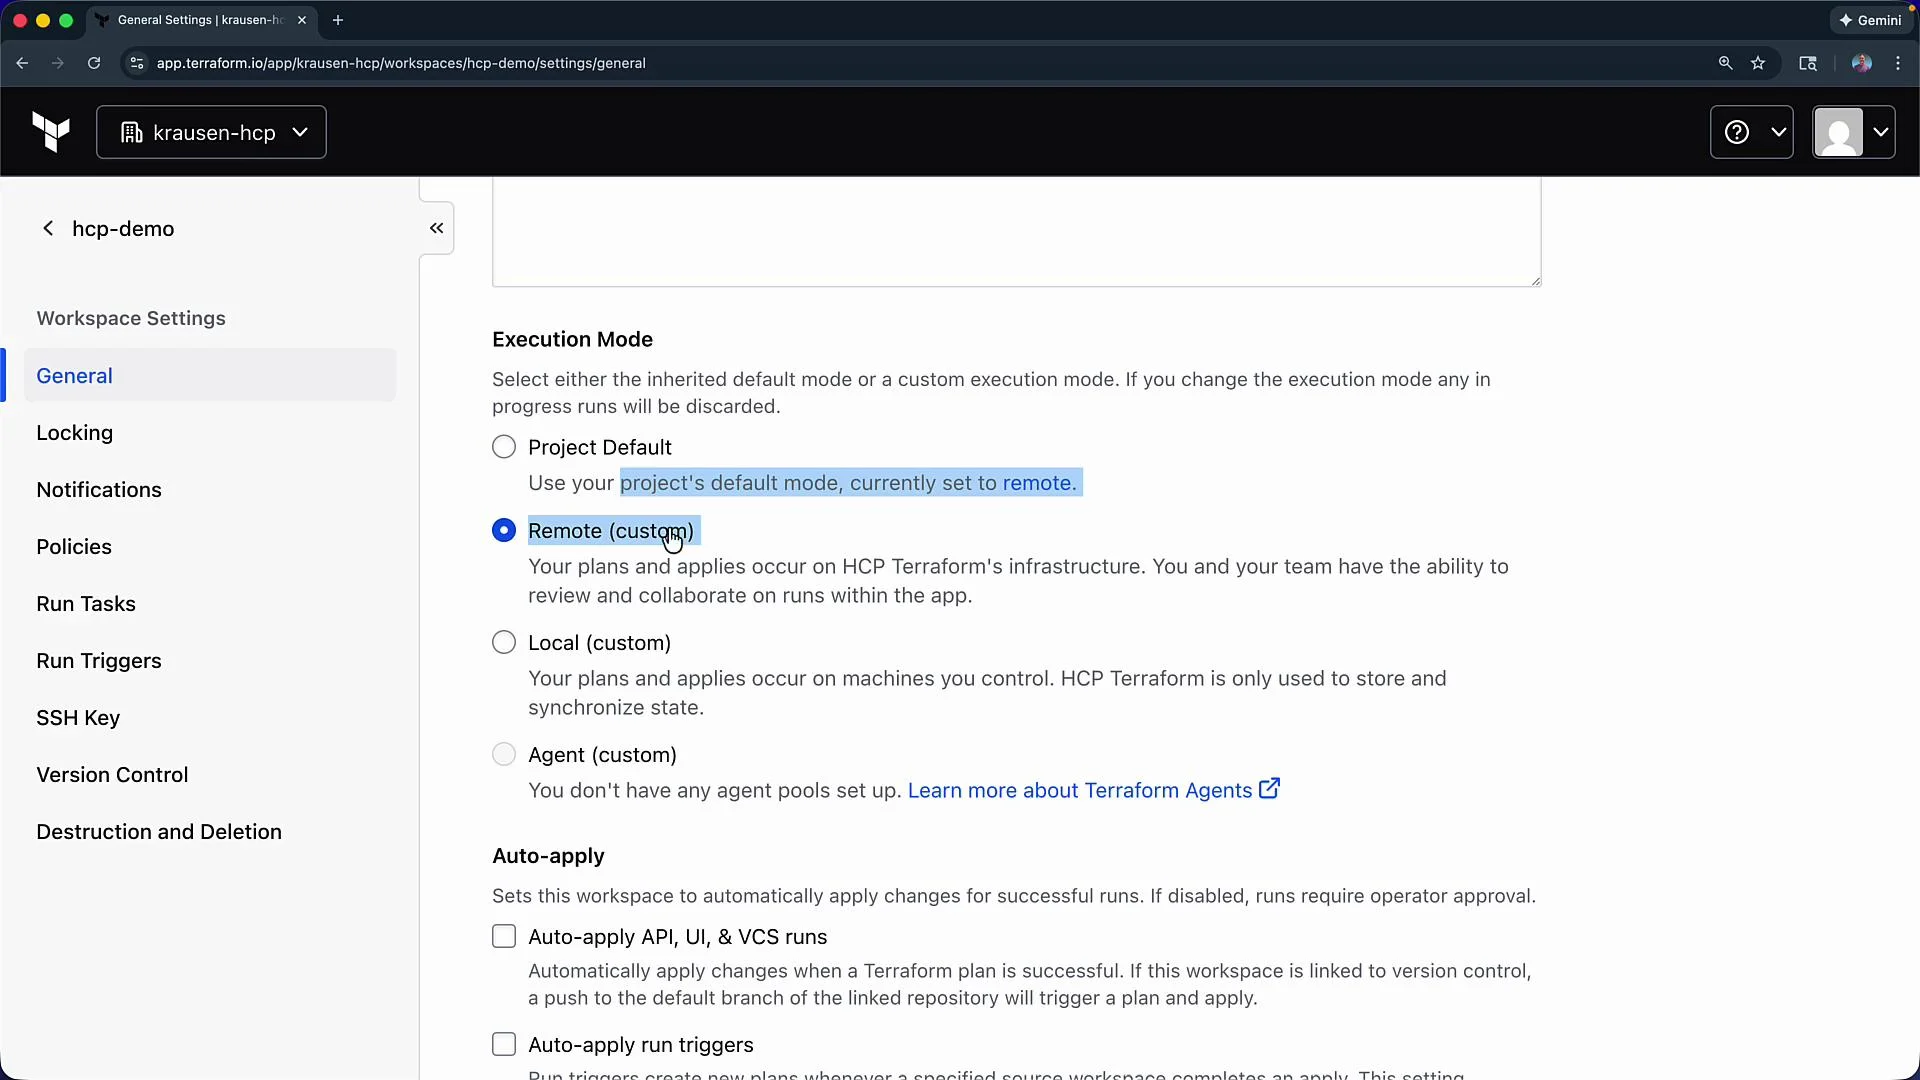
- Execution mode options: Project Default, Remote, Local, Agent. For this demo choose Remote execution so HCP executes plans and applies.
- Toggle Auto-apply if you want applies to run automatically after a successful plan.
- You can set the Terraform working directory, configure remote state sharing, and choose which run sources are allowed.
- Be sure to align the workspace Terraform version with your local environment (for example, select
1.1.2if that’s what you use locally) and click Save settings.
Destroying infrastructure
If you need to destroy resources managed by your local configuration before disconnecting the workspace, run the standard Terraform destroy flow locally:
- Connect your local code by adding the
cloudblock shown above, then runterraform initandterraform planto migrate state. - Consider connecting a VCS provider to enable version-control-driven runs if you want CI-driven automation.
- HCP Terraform documentation: https://www.hashicorp.com/products/terraform
- Terraform Cloud & HCP documentation: https://www.terraform.io/docs/cloud/index.html
- Terraform CLI: https://www.terraform.io/docs/cli/index.html
hcp-demo workspace and reviewed the main settings. You can now connect configuration, add variables, and migrate your local Terraform state into this workspace.