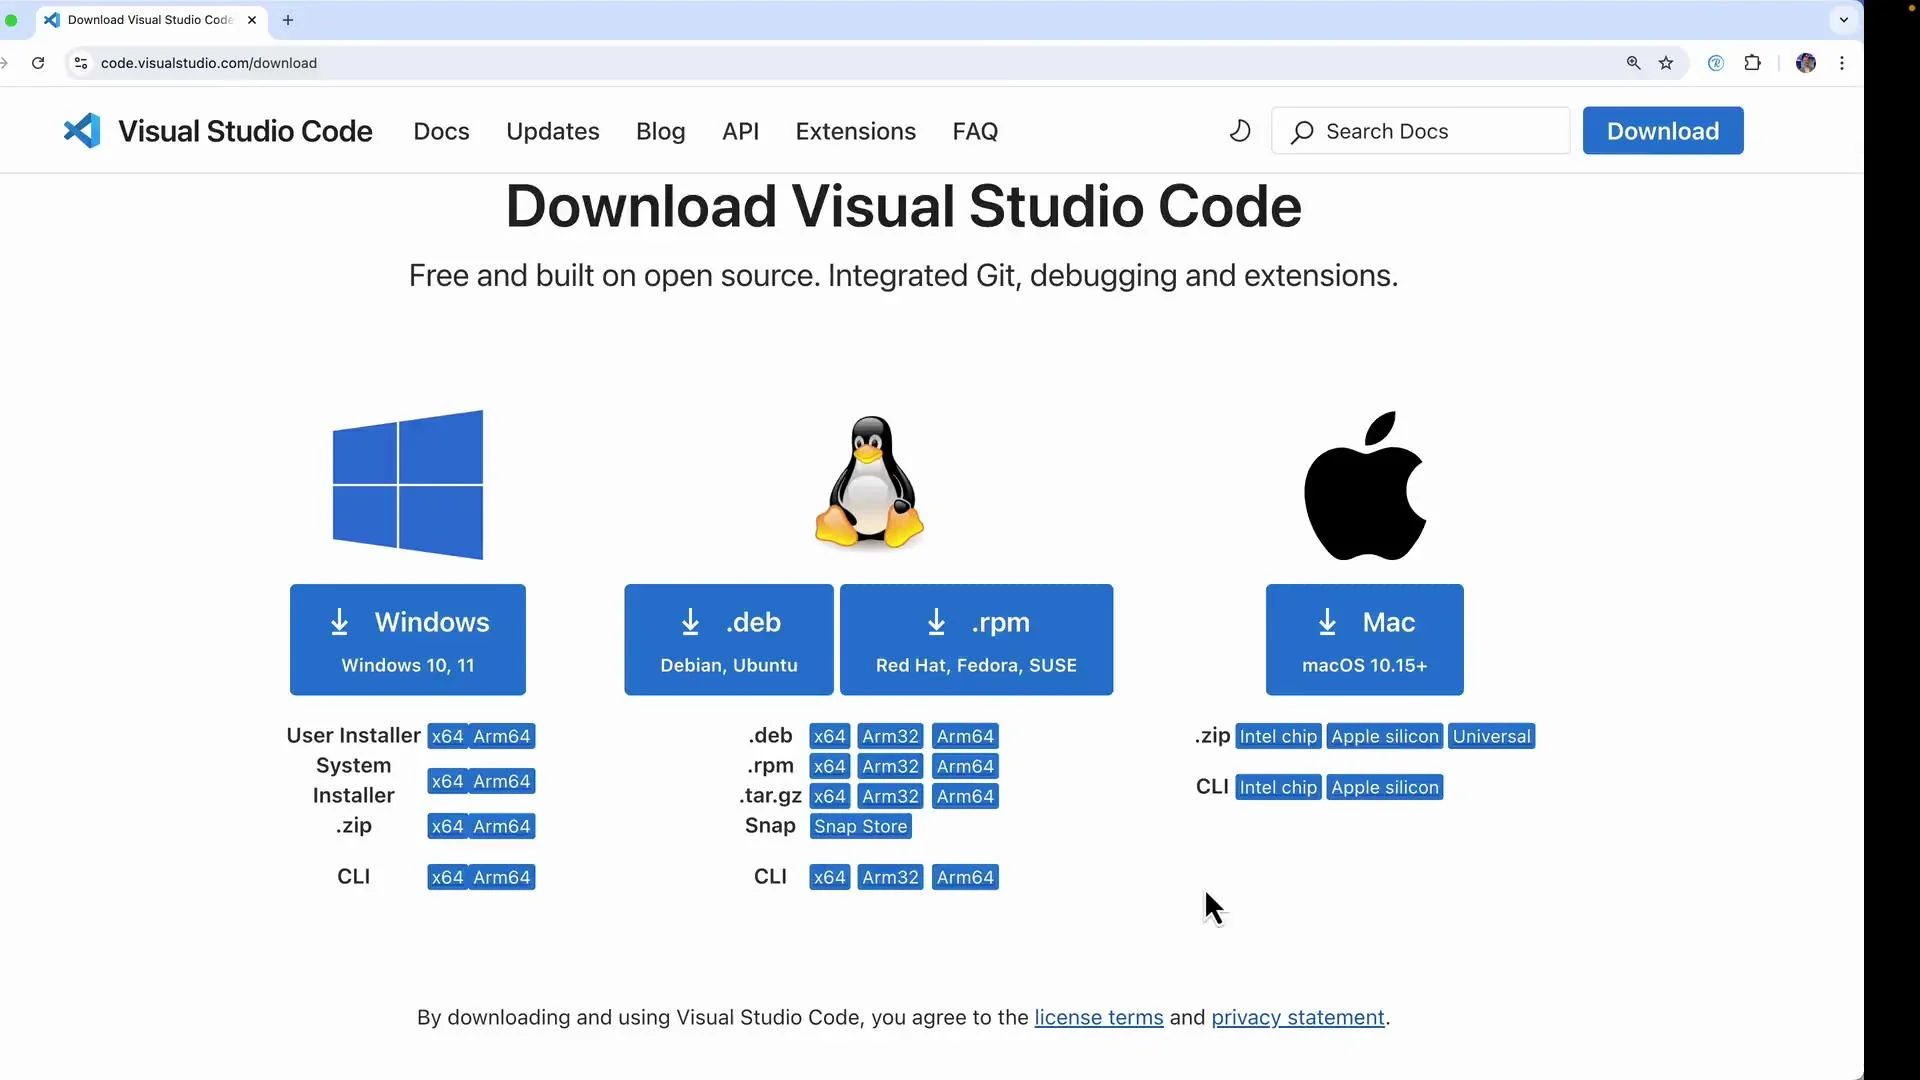
- Visit the official download page: https://code.visualstudio.com/download and select the installer for your operating system (Windows, macOS, or Linux).
- Choose the correct build for your machine (for example, Apple Silicon vs Intel on macOS), download the installer, and run it.
Choose the installer that matches both your OS and CPU architecture (Intel vs Apple Silicon on macOS) to avoid runtime issues or performance penalties.
- After installation, launch VS Code.
- Open your project folder using File > Open Folder (or use the Explorer icon in the Activity Bar). You can add multiple folders to a single workspace if you need to work across repositories or projects.
- The Explorer will display the files and folders in the workspace and allow you to right‑click to open an integrated terminal at any folder path.

- Once a folder is opened, VS Code lists files in the Explorer. Below is a common Terraform
main.tfexample you might find in a demo project. It demonstrates VPC and subnet resources and how tags are used.
- Your project will typically declare required providers. Here is an example
terraformblock that pins the AWS provider:
- Use the Explorer to browse files and the magnifying glass (Search) to find text across all workspace files.
- Use Outline or Go to Symbol (Ctrl/Cmd+Shift+O) to jump to functions and resource blocks quickly.
- The Source Control view provides an integrated Git experience: stage changes, commit, create branches, and push/pull to remote repositories directly from VS Code when the folder is a Git repo.
- Click the Extensions icon to browse and install extensions from the Marketplace. Extensions enhance syntax highlighting, formatting, linting, container tooling, and AI-assisted coding.
- Popular extensions for Terraform and cloud development:
- As you add extensions, new Activity Bar icons or commands may appear (e.g., Terraform actions, Remote Explorer for dev containers, or Terraform Cloud integrations).
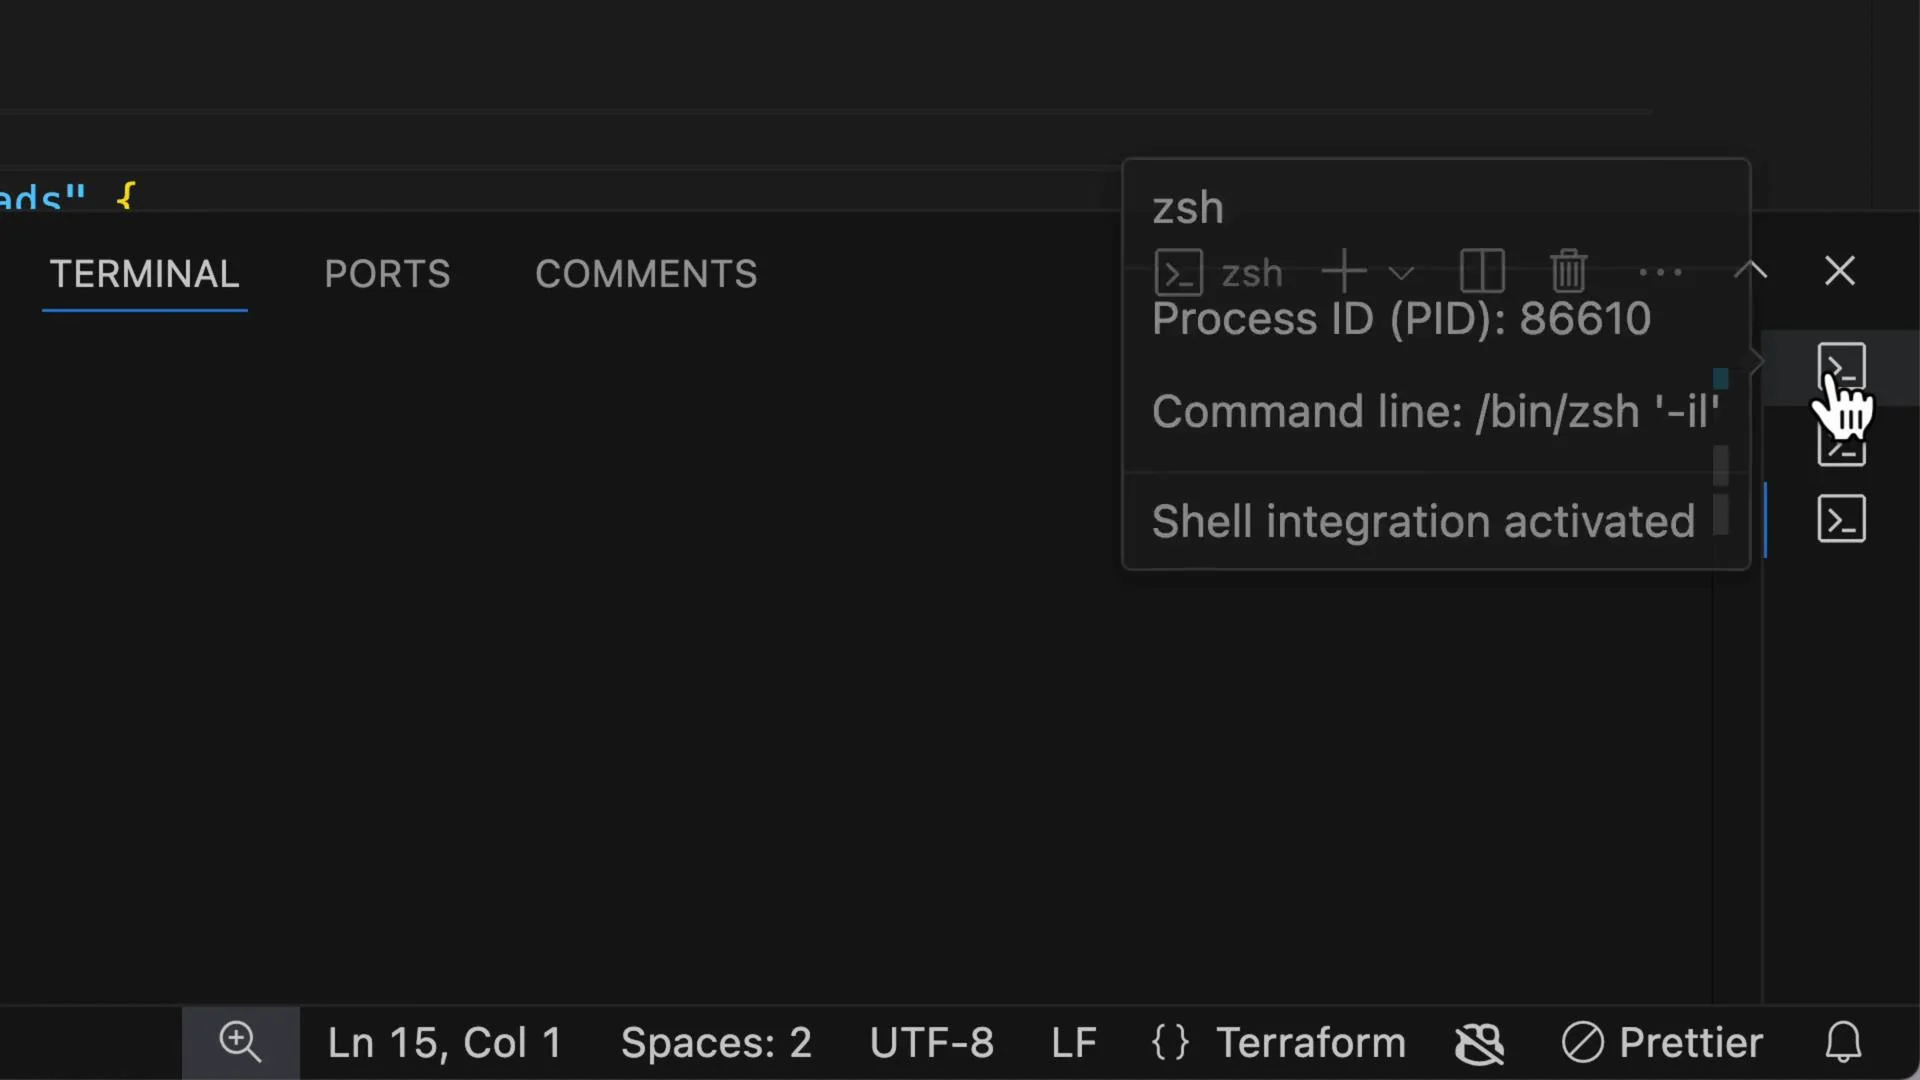
- VS Code includes an integrated terminal scoped to your workspace. To open a terminal at a specific folder, right-click that folder in Explorer and choose “Open in Integrated Terminal”, or use the Terminal menu.
- The terminal runs your default shell (zsh, bash, PowerShell), supports multiple terminals, and persists your working directory so CLI tools (Terraform, git, npm, etc.) run in the workspace context.
If an extension or language feature doesn’t behave as expected, try reloading the window (Cmd/Ctrl+Shift+P → “Developer: Reload Window”) or reinstalling the extension. For Terraform-specific issues, ensure your Terraform binary is installed and on your PATH.
- Install the full set of extensions you need for the course (including GitHub Copilot if available for your account).
- Confirm Terraform is installed locally and accessible from the integrated terminal.
- Continue to the next lesson where we’ll use VS Code and the integrated terminal to run Terraform commands and explore state and plans.
- Visual Studio Code download: https://code.visualstudio.com/download
- Terraform documentation: https://www.terraform.io/docs
- HashiCorp AWS provider: https://registry.terraform.io/providers/hashicorp/aws/latest
- VS Code Marketplace: https://marketplace.visualstudio.com/vscode