random provider. You’ll learn the typical Terraform local workflow: create a configuration, format it, initialize providers, plan changes, apply them, inspect state, and destroy resources. These same CLI steps apply when working with real cloud providers, though provider-specific behavior and execution times will differ.
Setup: open an empty directory in VS Code and create a file named main.tf.
1) Check Terraform version
Confirm the installed Terraform version before you begin.2) Create a minimal configuration
Add the random provider, arandom_pet resource, and an output to main.tf. The random provider generates values locally and does not call external APIs.
main.tf:
3) Format the configuration
Useterraform fmt to format all HCL files in the working directory.
4) Initialize the working directory
terraform init initializes the working directory, downloads provider plugins, and configures the backend (if one is configured).
init, Terraform creates a .terraform directory with installed provider plugins. The binary layout may vary by Terraform version and OS.
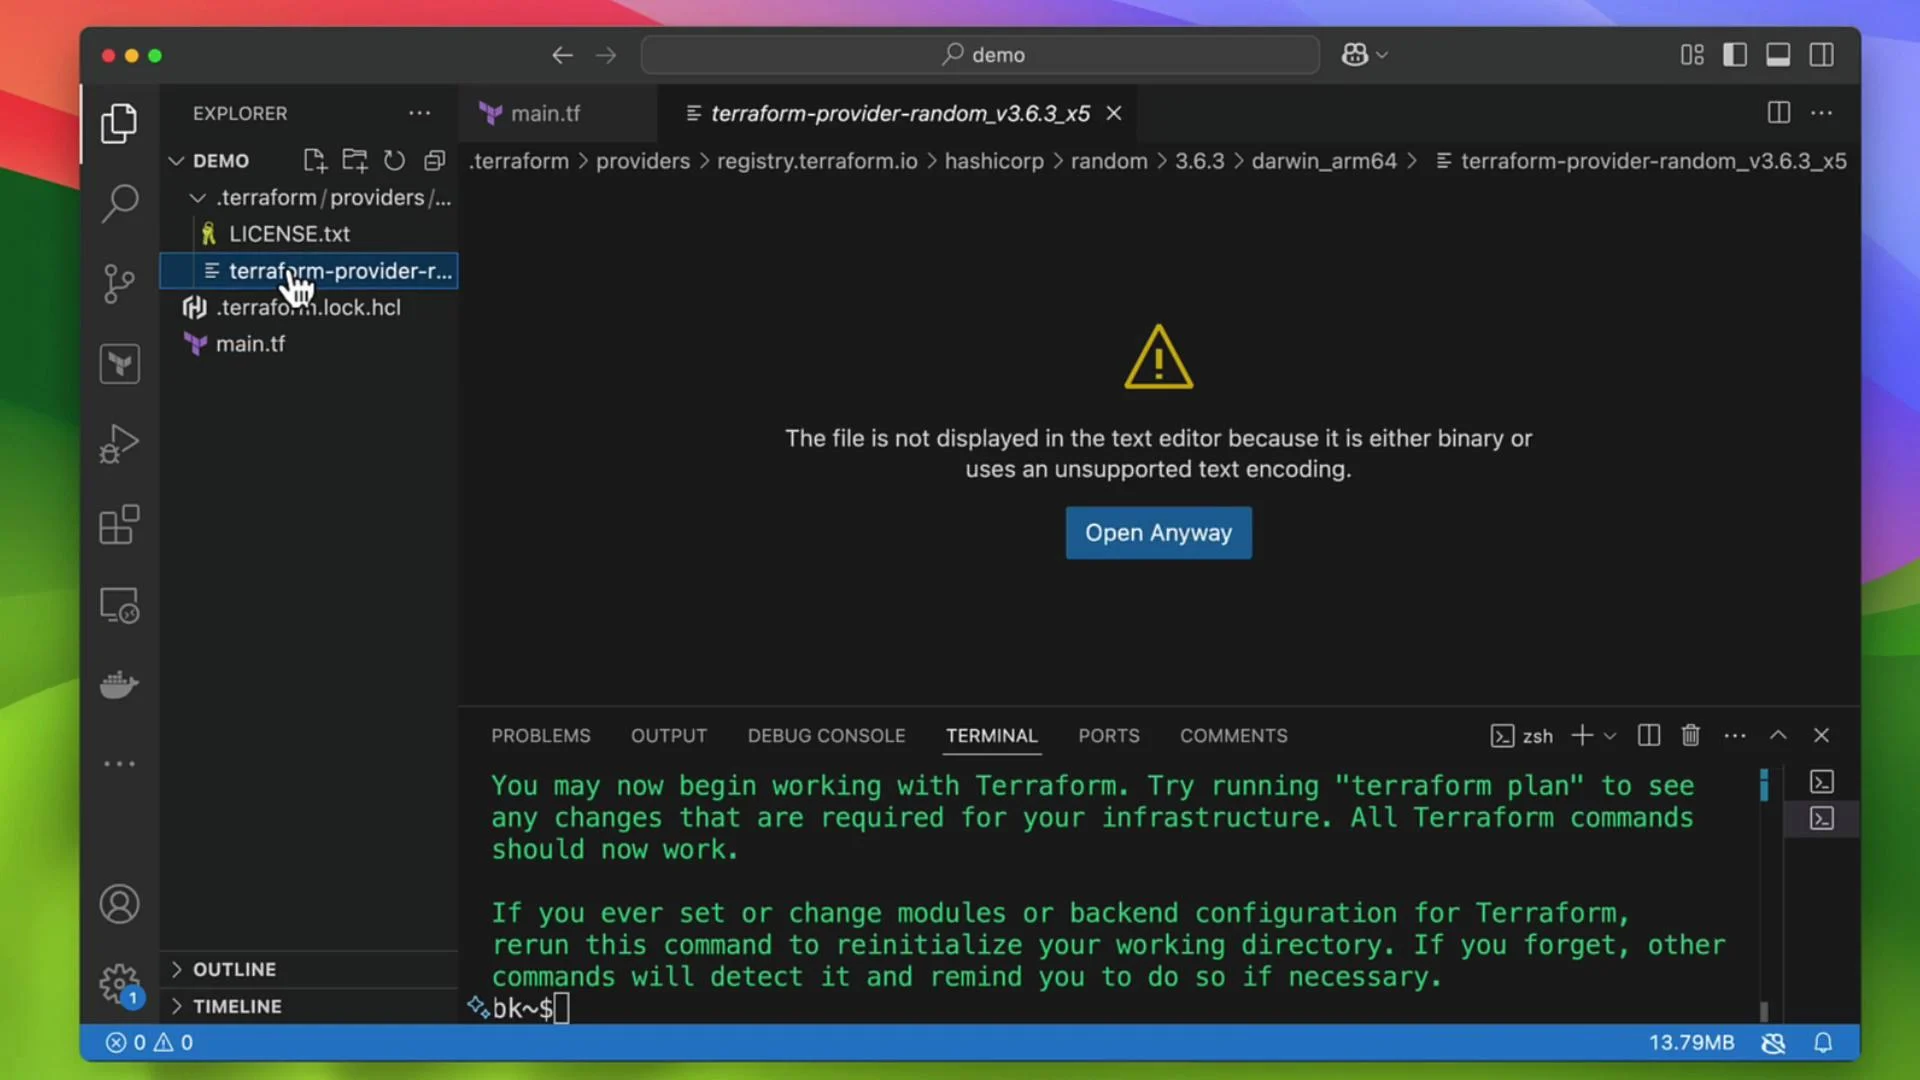
The
.terraform directory and provider plugin binaries are local artifacts for this working directory. They are safe to ignore in version control (add them to .gitignore).5) Validate the configuration
terraform validate checks HCL syntax and basic semantics.
Valid example:
6) Create an execution plan
Useterraform plan to preview changes without applying them.
-out so you can apply exactly that plan later:
7) Apply the configuration
terraform apply runs a planning step and then prompts to confirm the changes. Add -auto-approve to skip interactive confirmation (use carefully in automation).
Interactive apply:
8) Update configuration: replacement vs. in-place update
Changing certain attributes may force a resource replacement depending on the provider and resource type. For example, changinglength:
terraform plan may show a replacement:
9) Inspect the state
Terraform stores a state file (by defaultterraform.tfstate) that records managed resources and outputs.
Example state fragment:
10) Manage multiple resources
Every resource instance requires a unique label:terraform apply:
11) Destroy resources
terraform destroy plans and prompts to destroy all managed resources in the configuration.
Interactive:
terraform destory (incorrect). Use terraform destroy.
Be careful with
-auto-approve or --auto-approve flags on apply and destroy. They bypass interactive confirmation and can cause destructive changes if used accidentally.Quick reference — common Terraform CLI commands
Summary
This lesson demonstrated a simple end-to-end Terraform workflow with therandom provider: create a configuration, format and validate it, initialize providers, plan and apply changes, inspect state, and destroy resources. The same CLI workflow applies to cloud providers; expect provider-specific behavior and longer apply/destroy durations when interacting with remote APIs.