

Collector Core — minimal, stable foundation
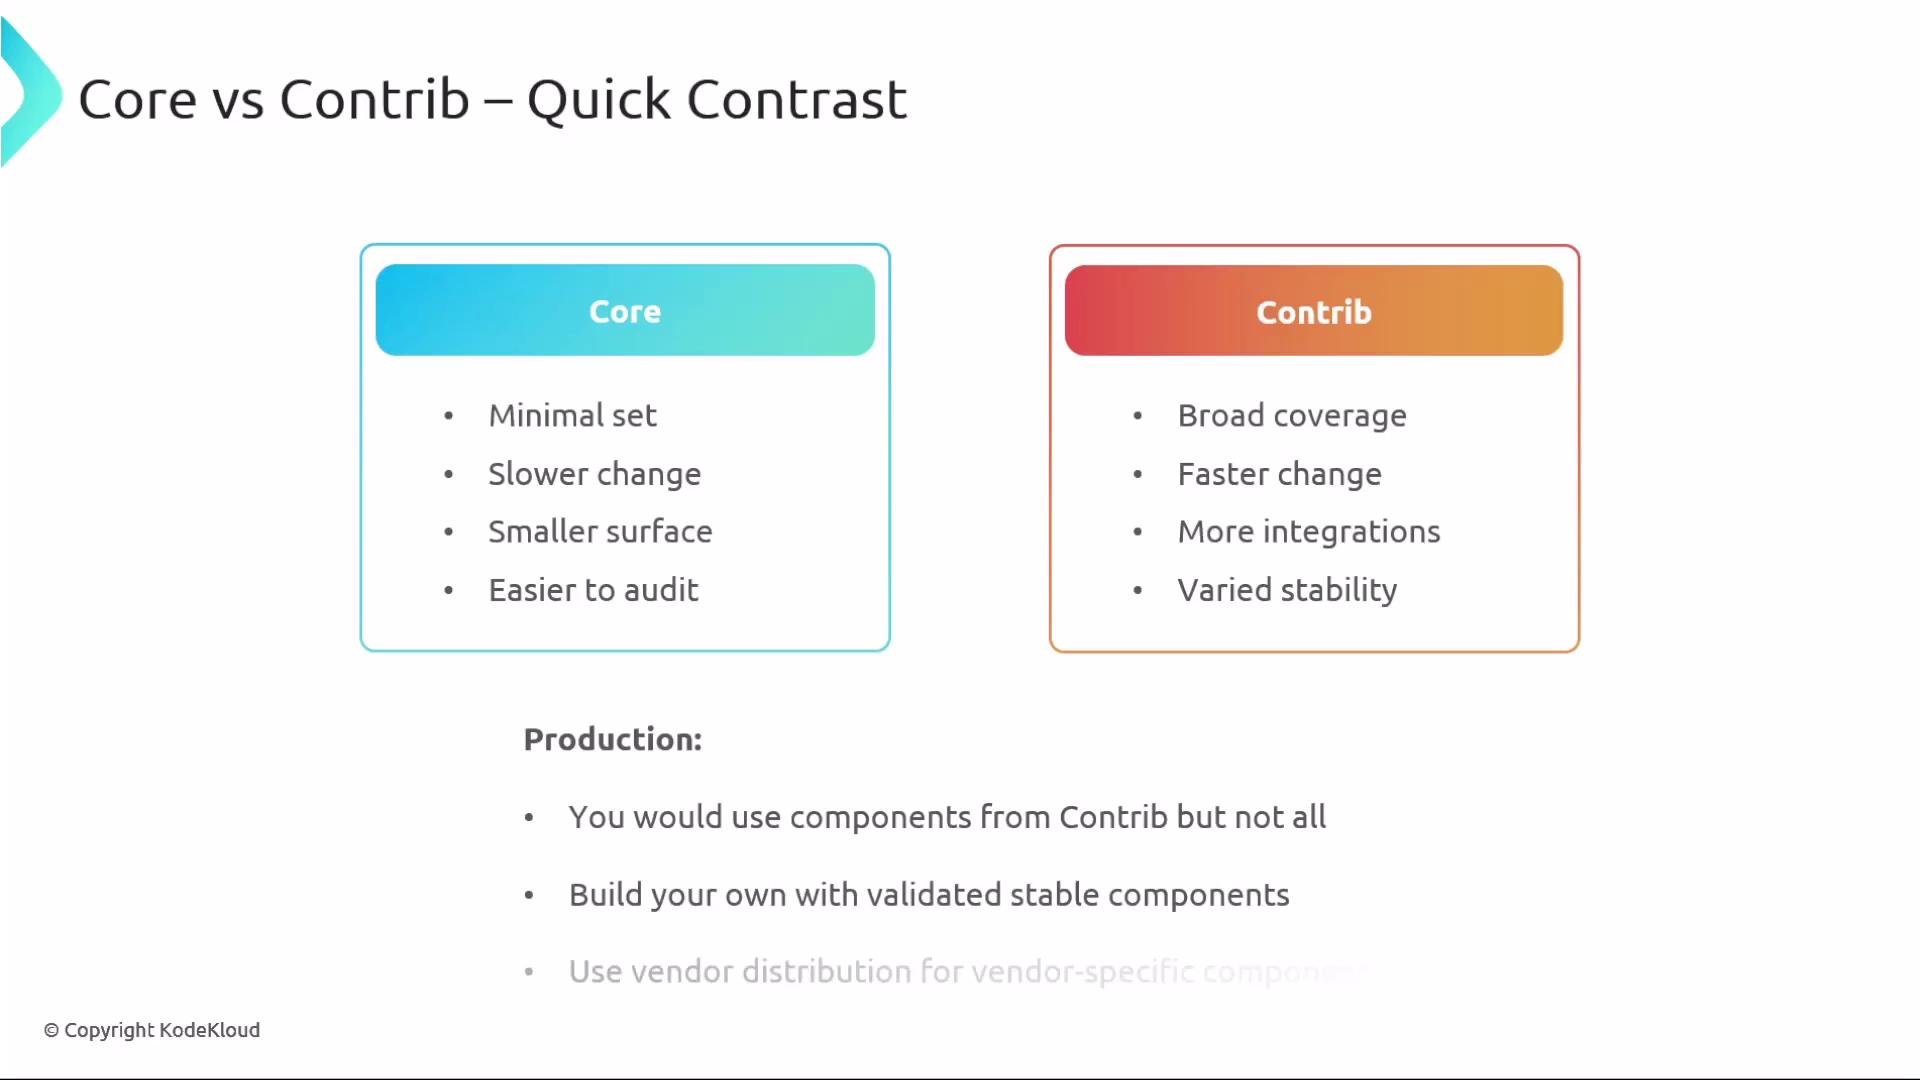
The Collector Core distribution is intentionally conservative and small. It contains the officially maintained components required to build predictable telemetry pipelines: receivers, processors, exporters, and extensions. Core’s limited surface area and slower cadence make it easier to audit, upgrade, and operate safely in production.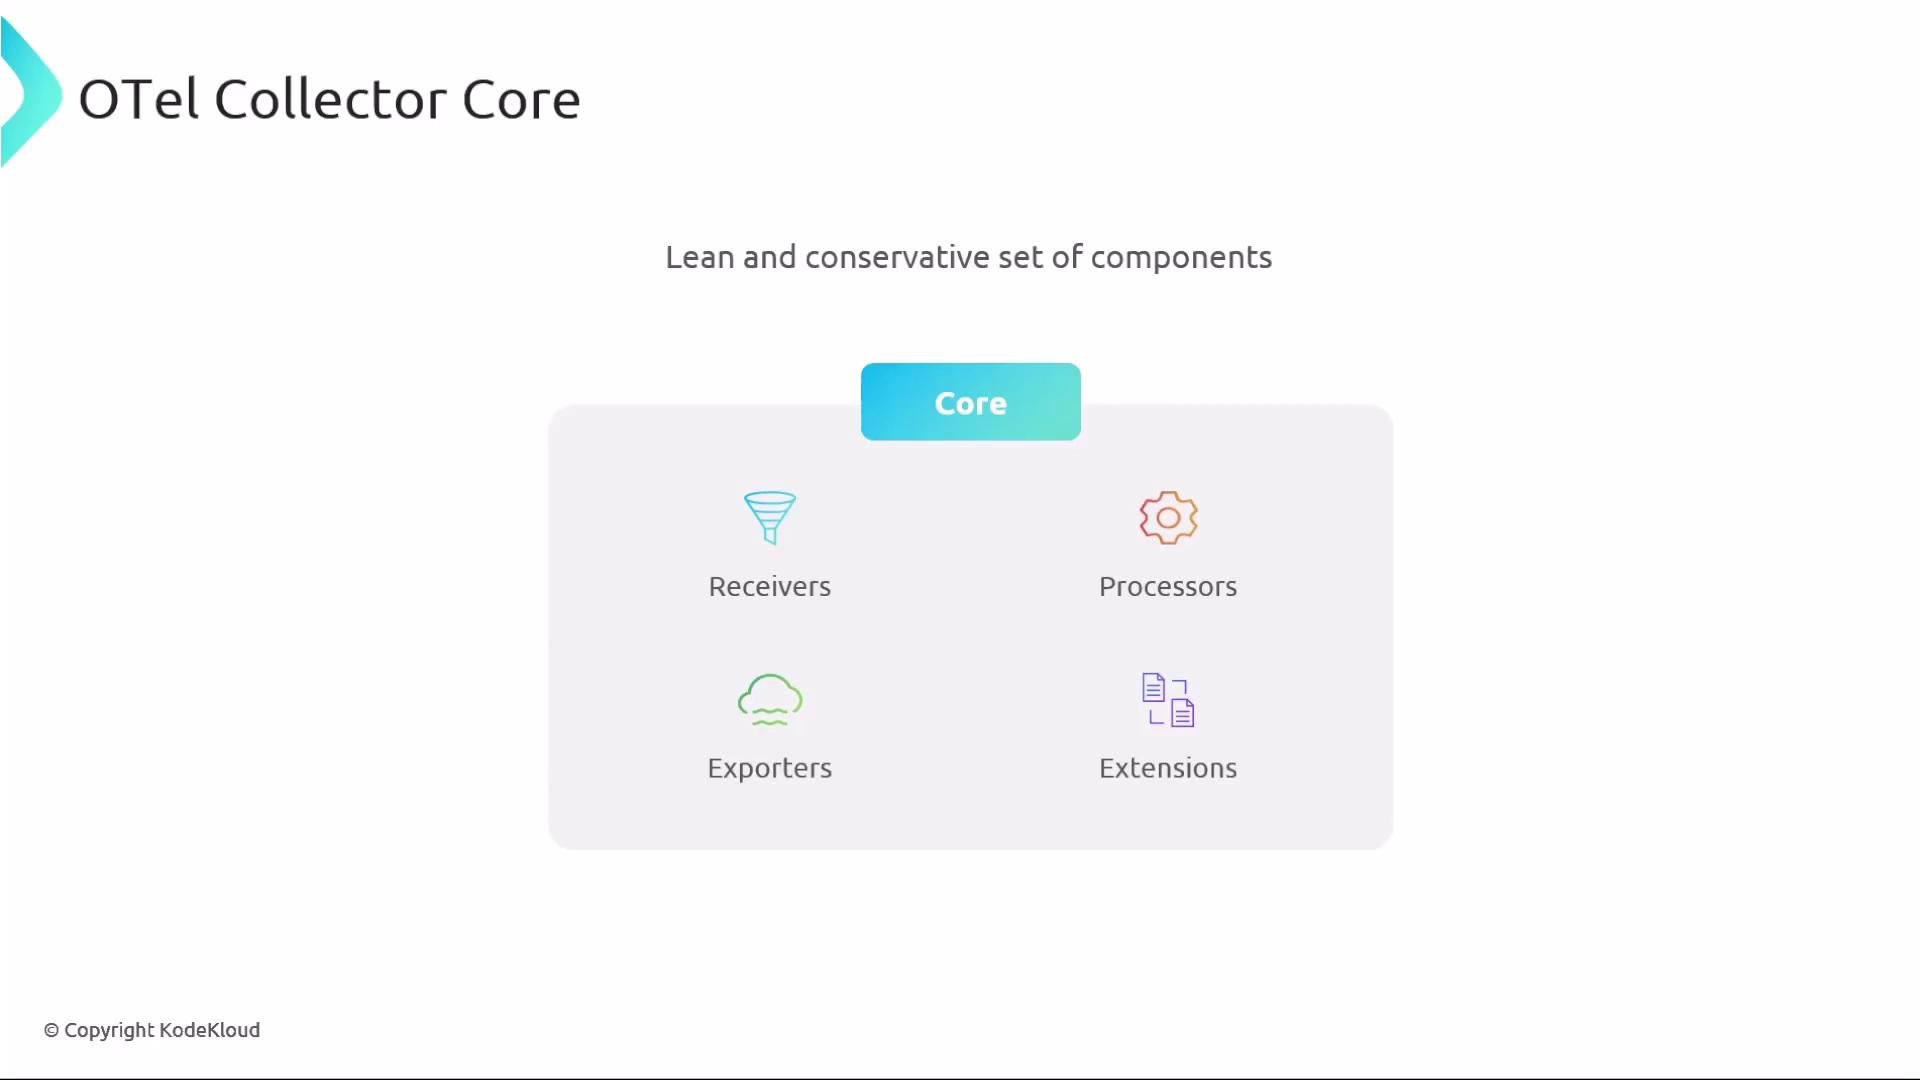
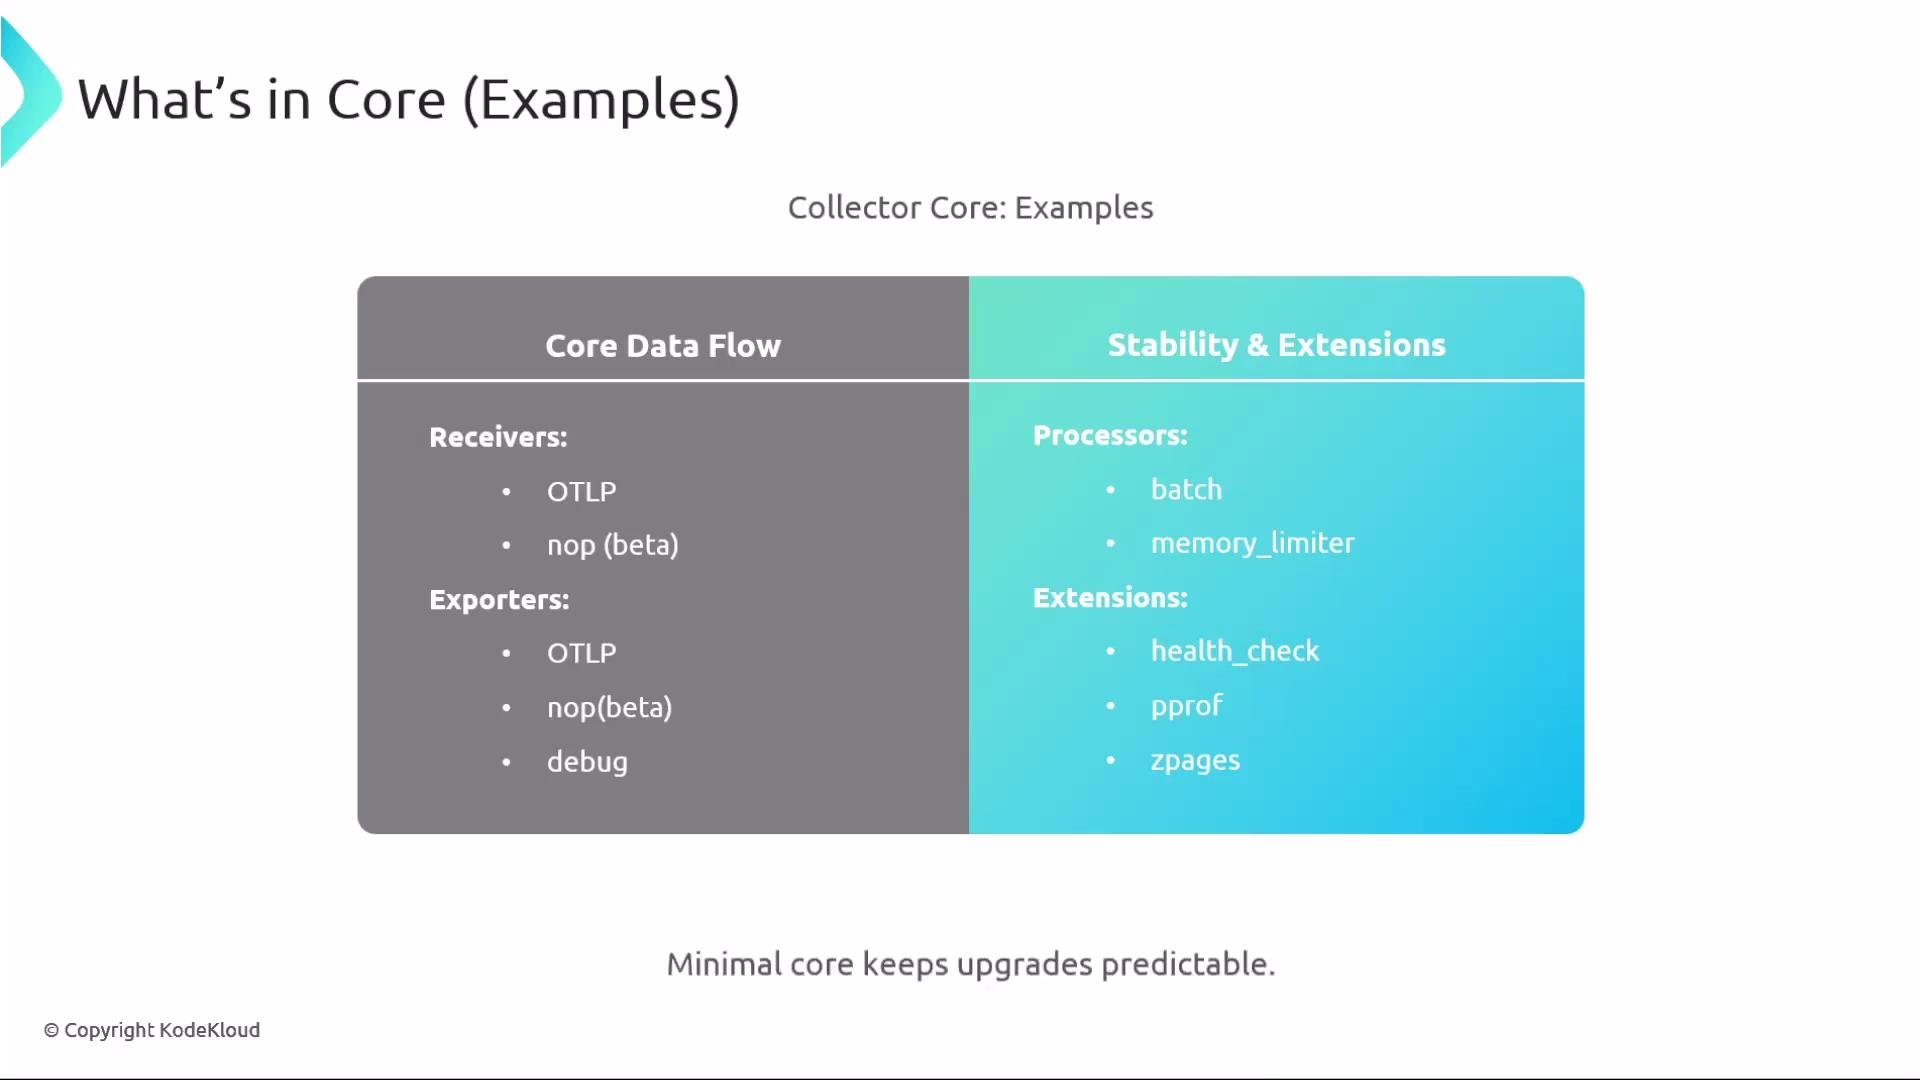
- Receivers:
otlpand simple/no-op receivers for testing or when no external input is required. - Exporters:
otlp, no-op, debug/logging exporters. - Processors:
batch,memory_limiter, and other stability-focused processors. - Extensions:
health_check,pprof,zpages, etc.
Collector Contrib — broad integrations, faster change
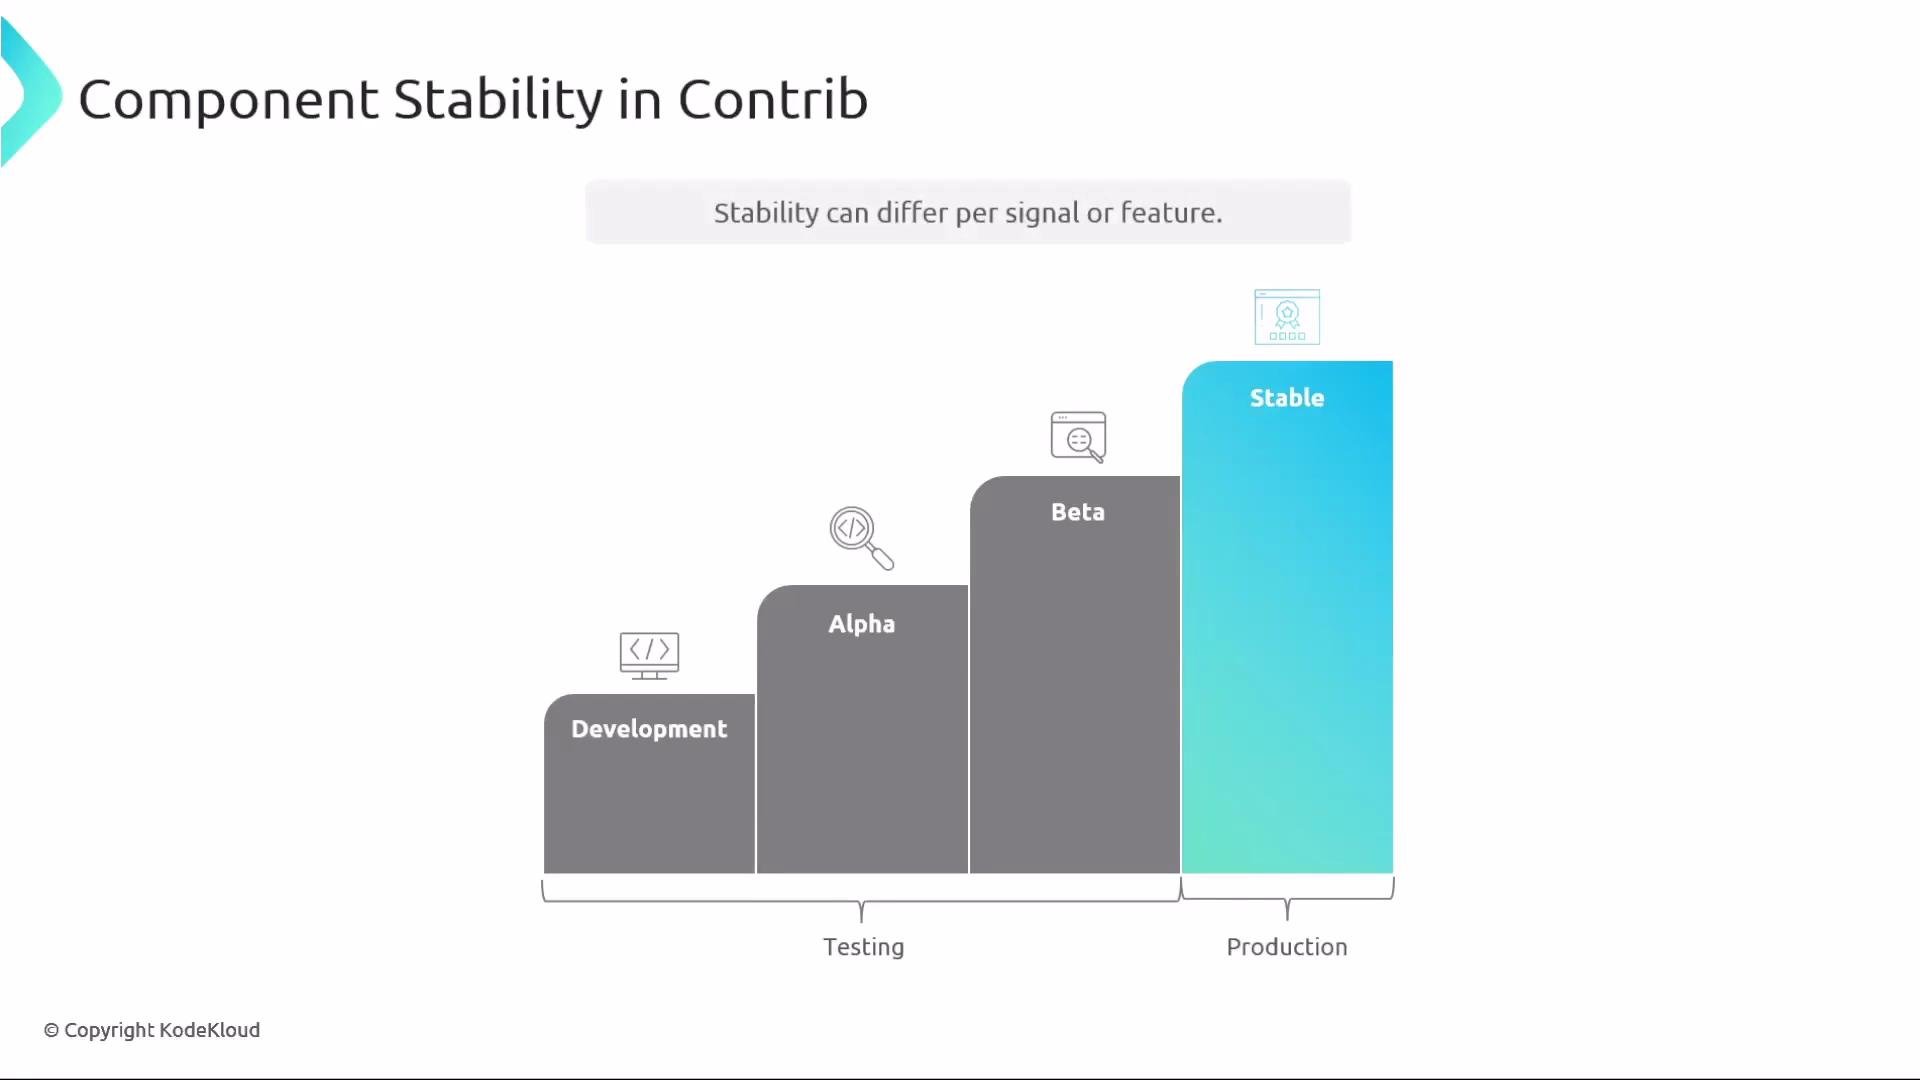
Contrib extends Core with community- and vendor-contributed components. It includes integrations for Prometheus, Kafka, Jaeger, cloud providers (AWS, Azure, GCP), and many other systems. Contrib is feature-rich and moves faster, but many components are experimental or community-maintained—validate maturity before production use.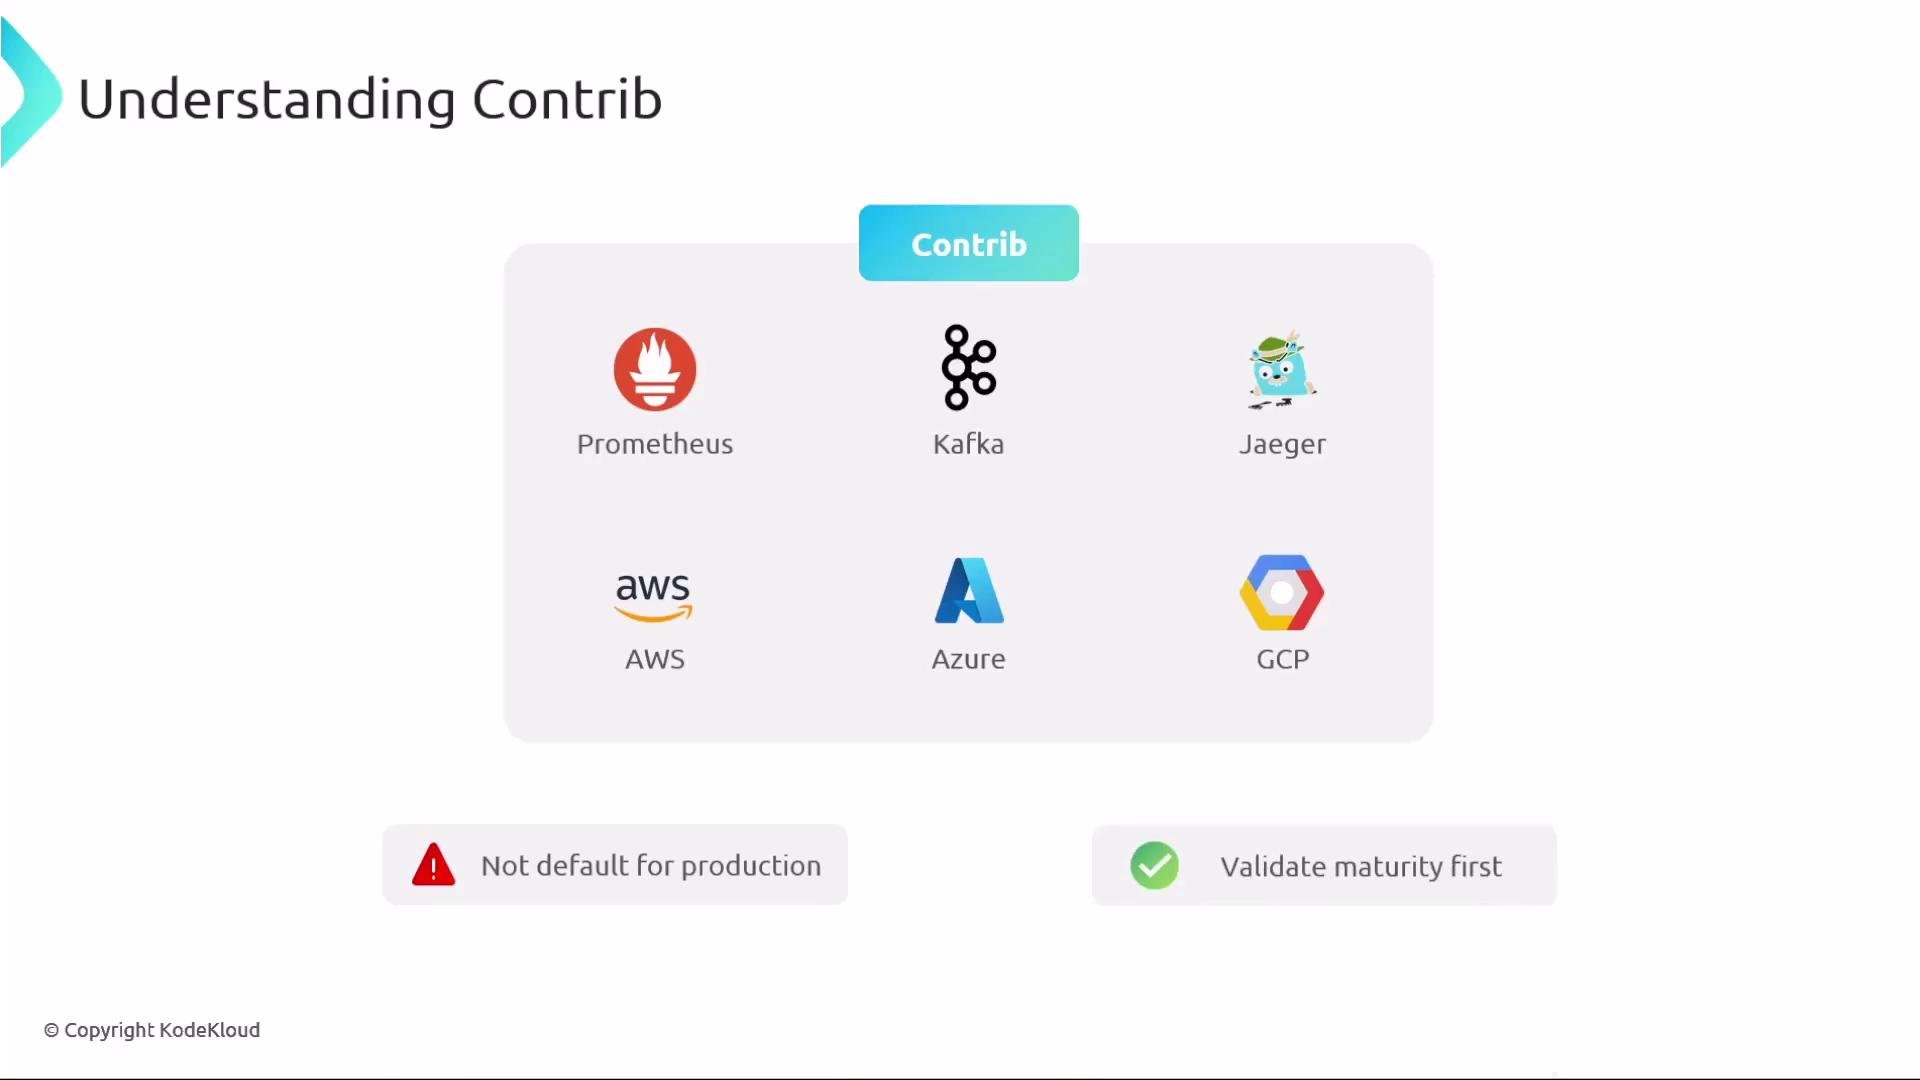
Core vs Contrib — quick comparison
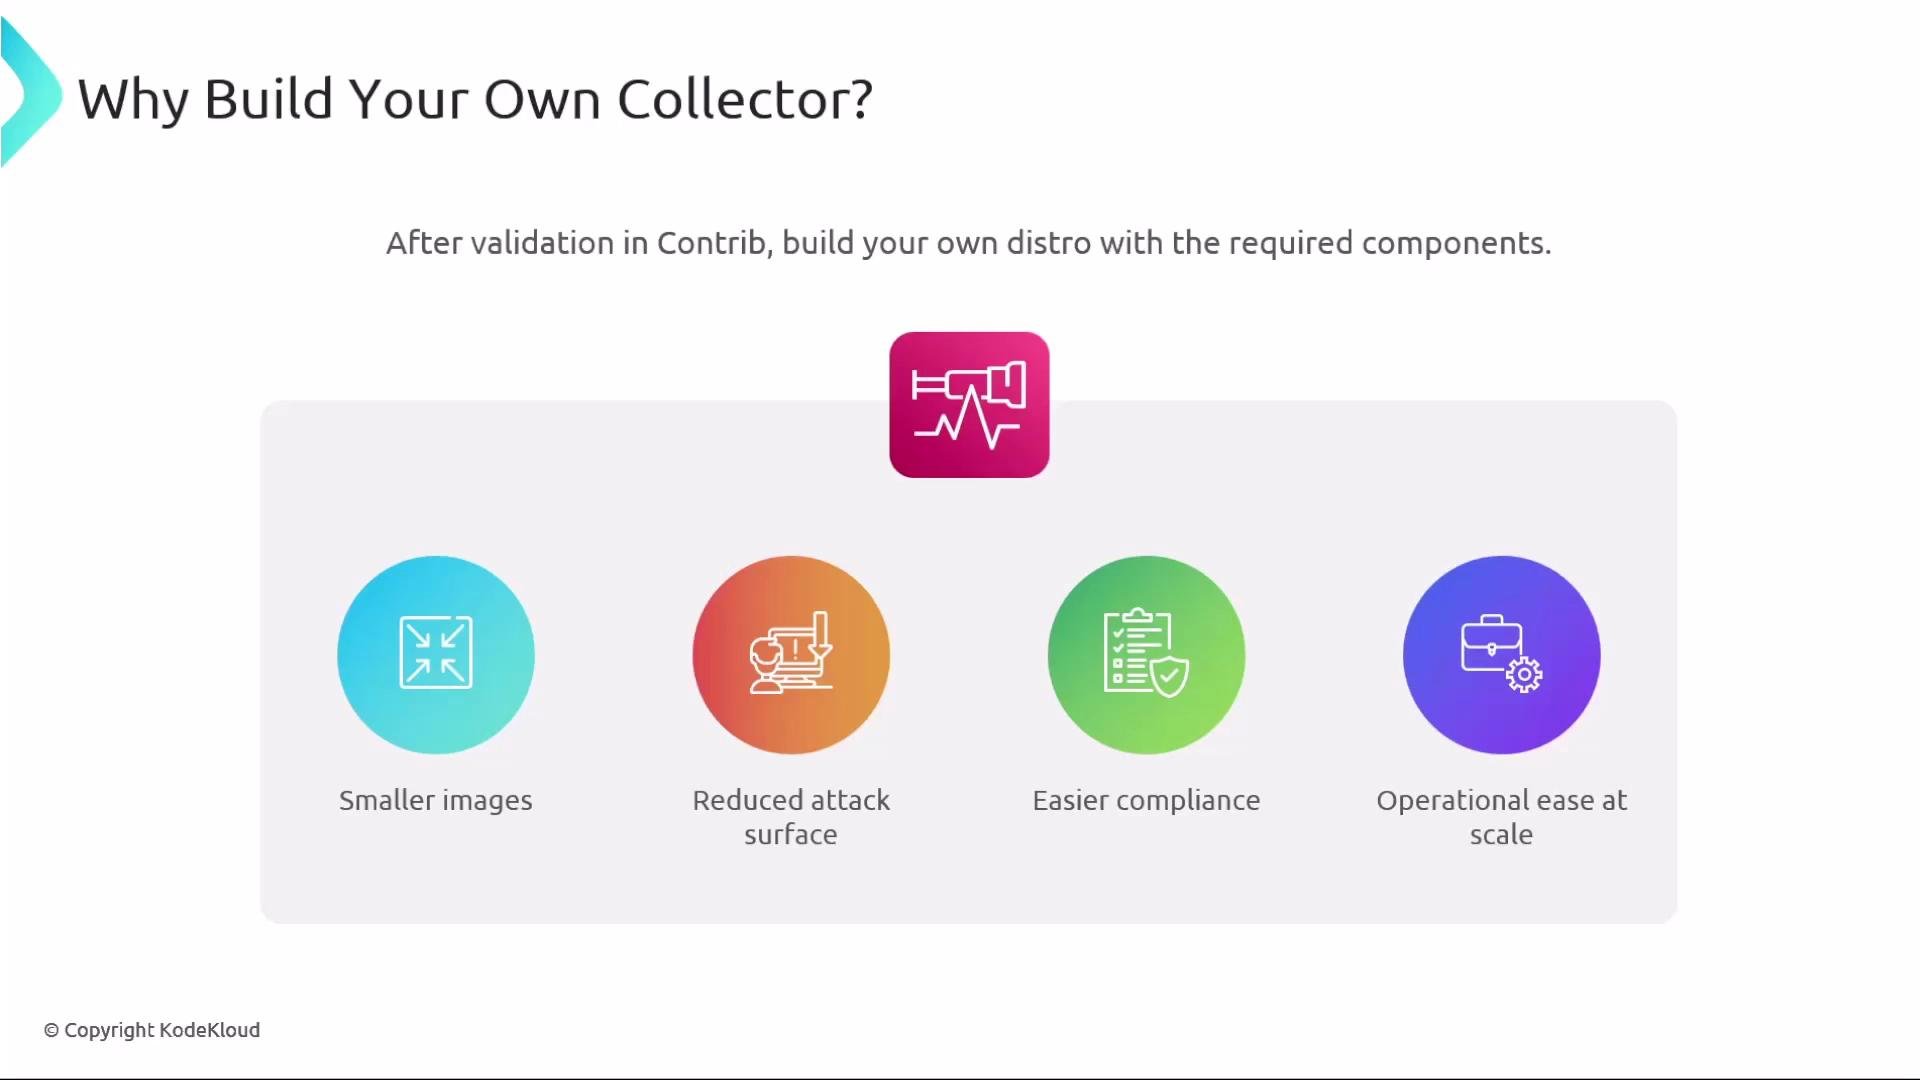
When to build your own collector
If Contrib components you rely on are stable but you want a smaller, more controlled runtime, build a custom collector. Benefits:- Smaller images/binaries containing only needed components.
- Reduced attack surface and fewer third-party dependencies.
- Easier compliance and security reviews.
- Predictable upgrades and consistent test results across environments.
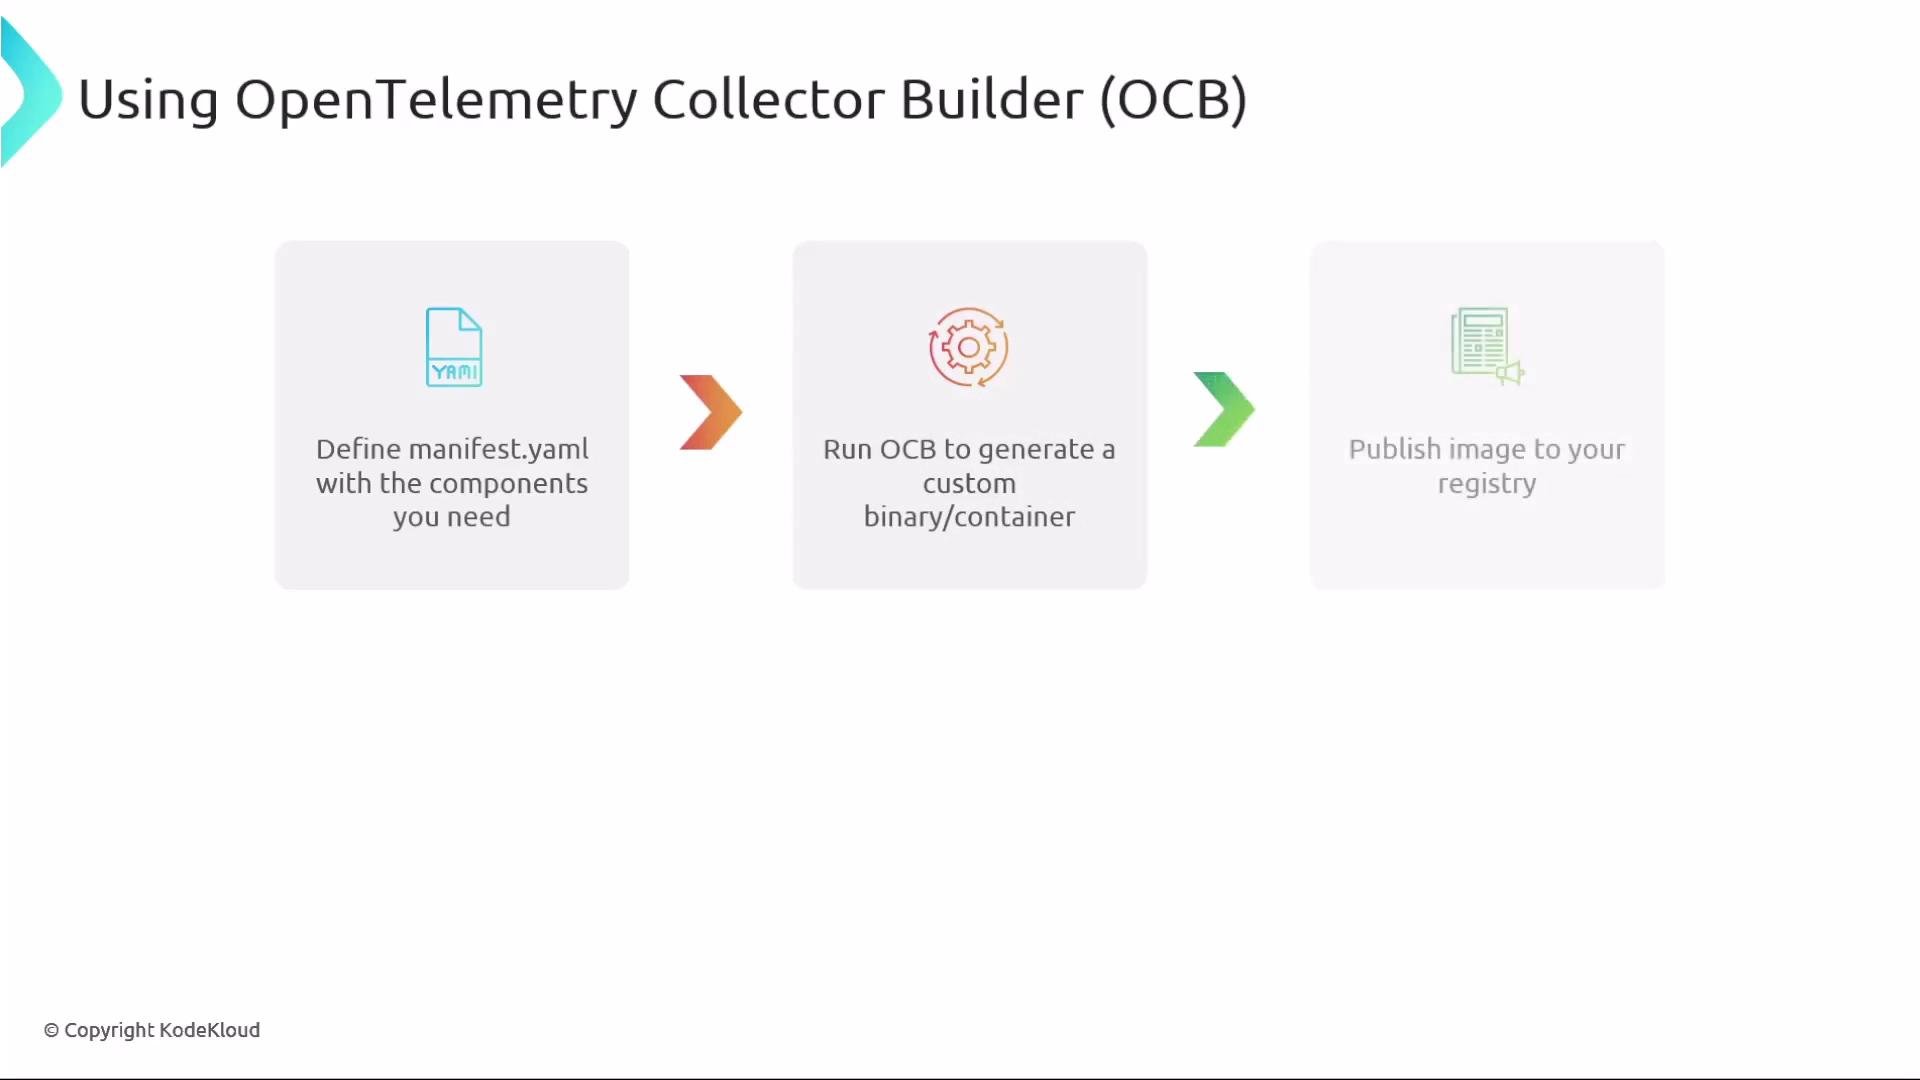
How to build a custom collector (OCB)
Use the OpenTelemetry Collector Builder (OCB) to generate a tailored collector binary or container image:- Create a manifest YAML that lists the receivers, processors, exporters, and extensions you require.
- Run OCB to generate a custom binary or container image containing only those components.
- Publish the resulting image to your registry and deploy it.
- Build the OCB image in CI, pinning component versions.
- Run integration tests in staging and validate upgrade paths.
- Push the image to a private registry and roll out via your normal deployment pipelines.
- OCB repository and docs: https://github.com/open-telemetry/opentelemetry-collector-builder
- Example: build a container image in CI and push to your registry
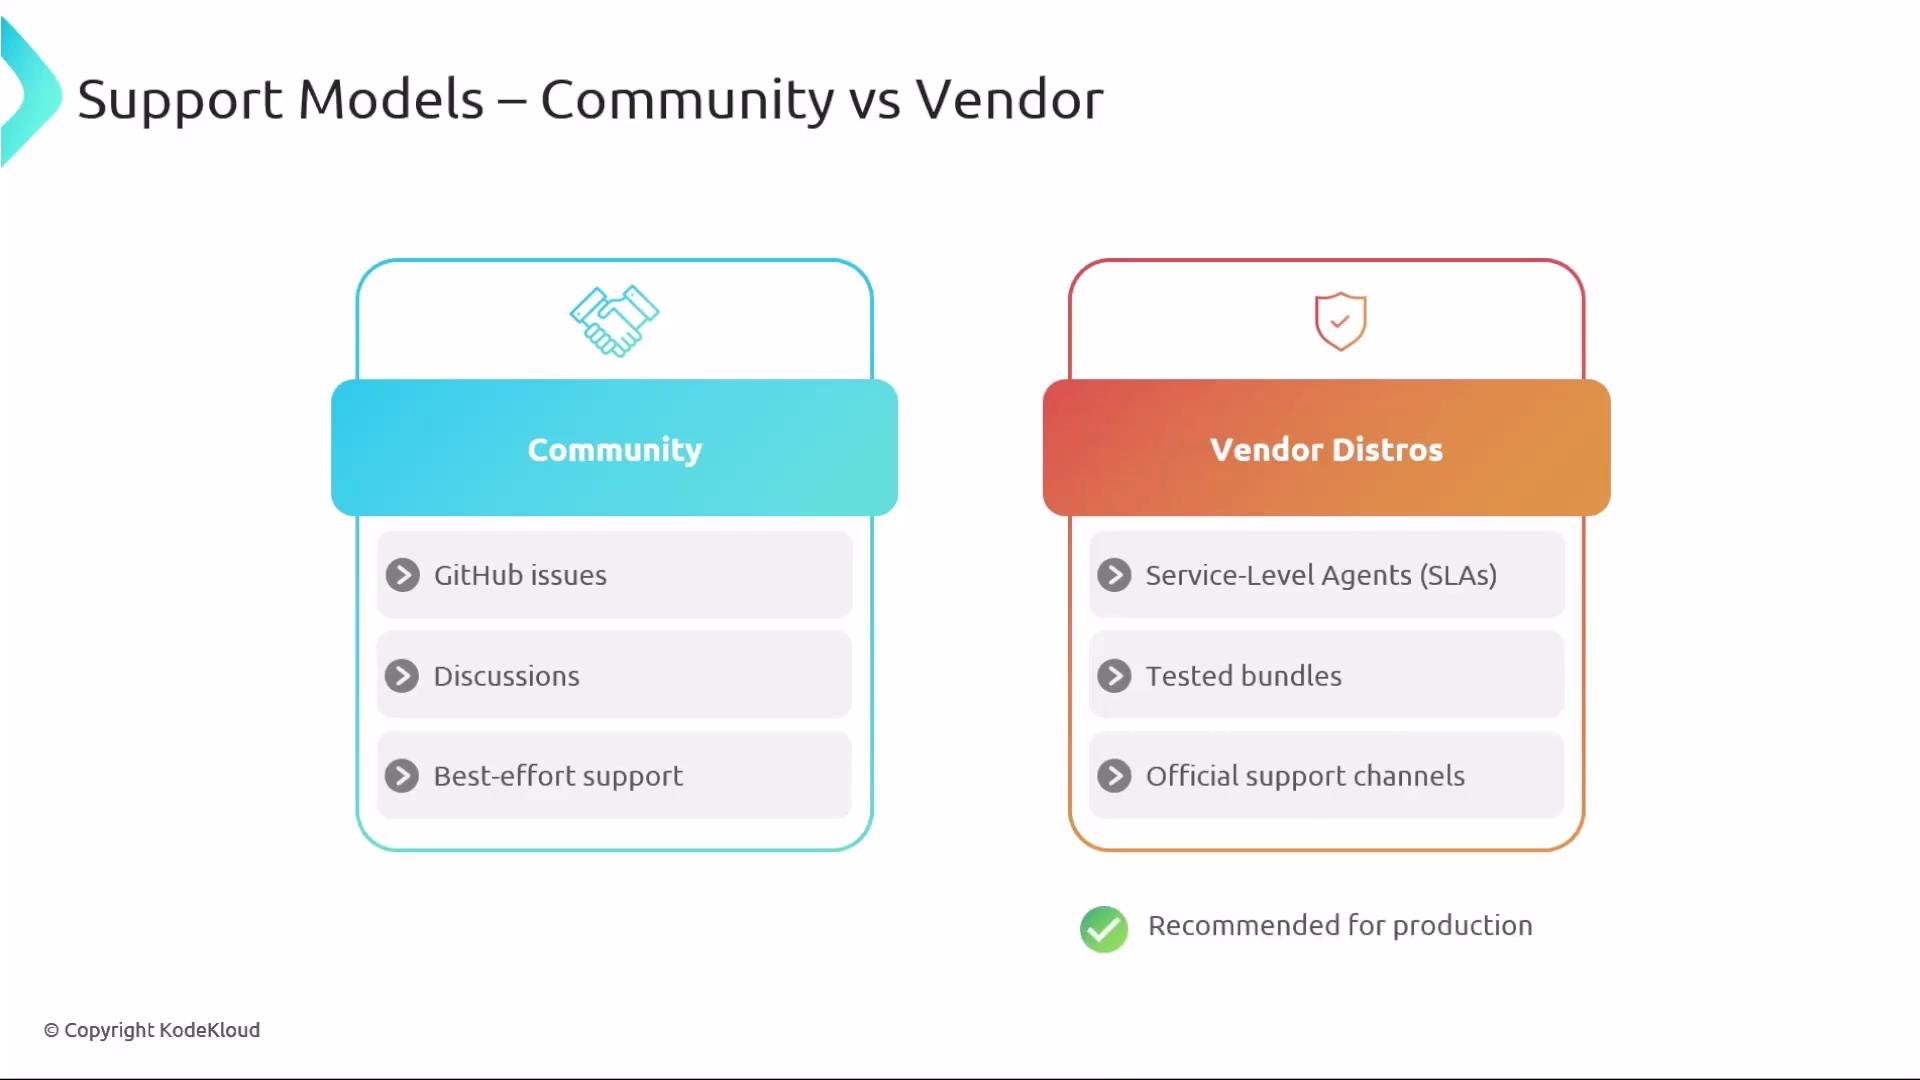
Support models: community vs vendor
Vendor distributions often include compatibility testing with that vendor’s backend and may be preferable for production environments that require SLAs.
Where to find releases
Core and Contrib binaries, OS packages, and container images are published in the OpenTelemetry Collector Releases repository: Use official artifacts for development and early testing. For production, prefer a validated OCB-built image or a vendor-supported distribution.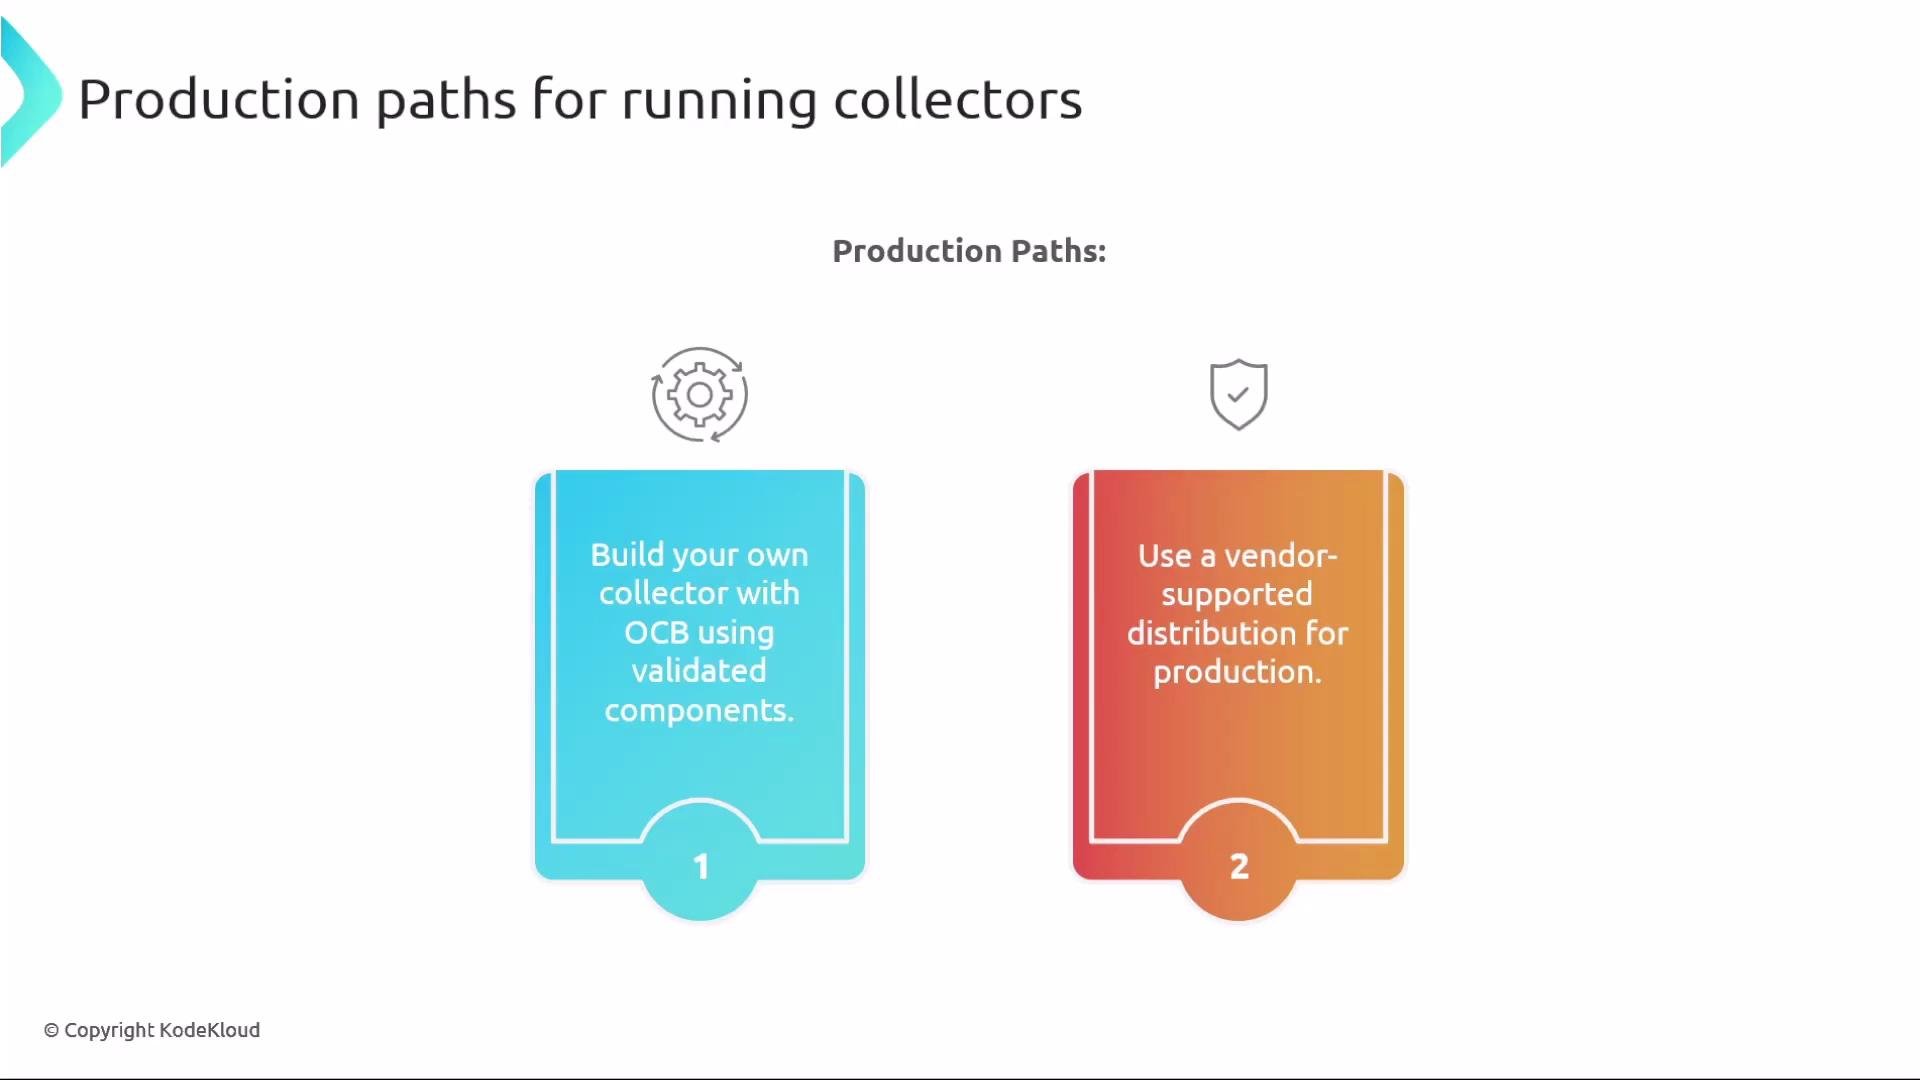
Best practices
- Start by experimenting with Contrib to validate integrations and workflow.
- Track component stability labels and record feature gate usage.
- Pin versions and run upgrade tests in staging before promoting to production.
- Right-size your collector with OCB so only vetted components are included.
- Avoid enabling unnecessary or unstable components in production unless protected by feature gates and covered by tests.
- Automate build and deployment (CI/CD) and deploy collectors declaratively.
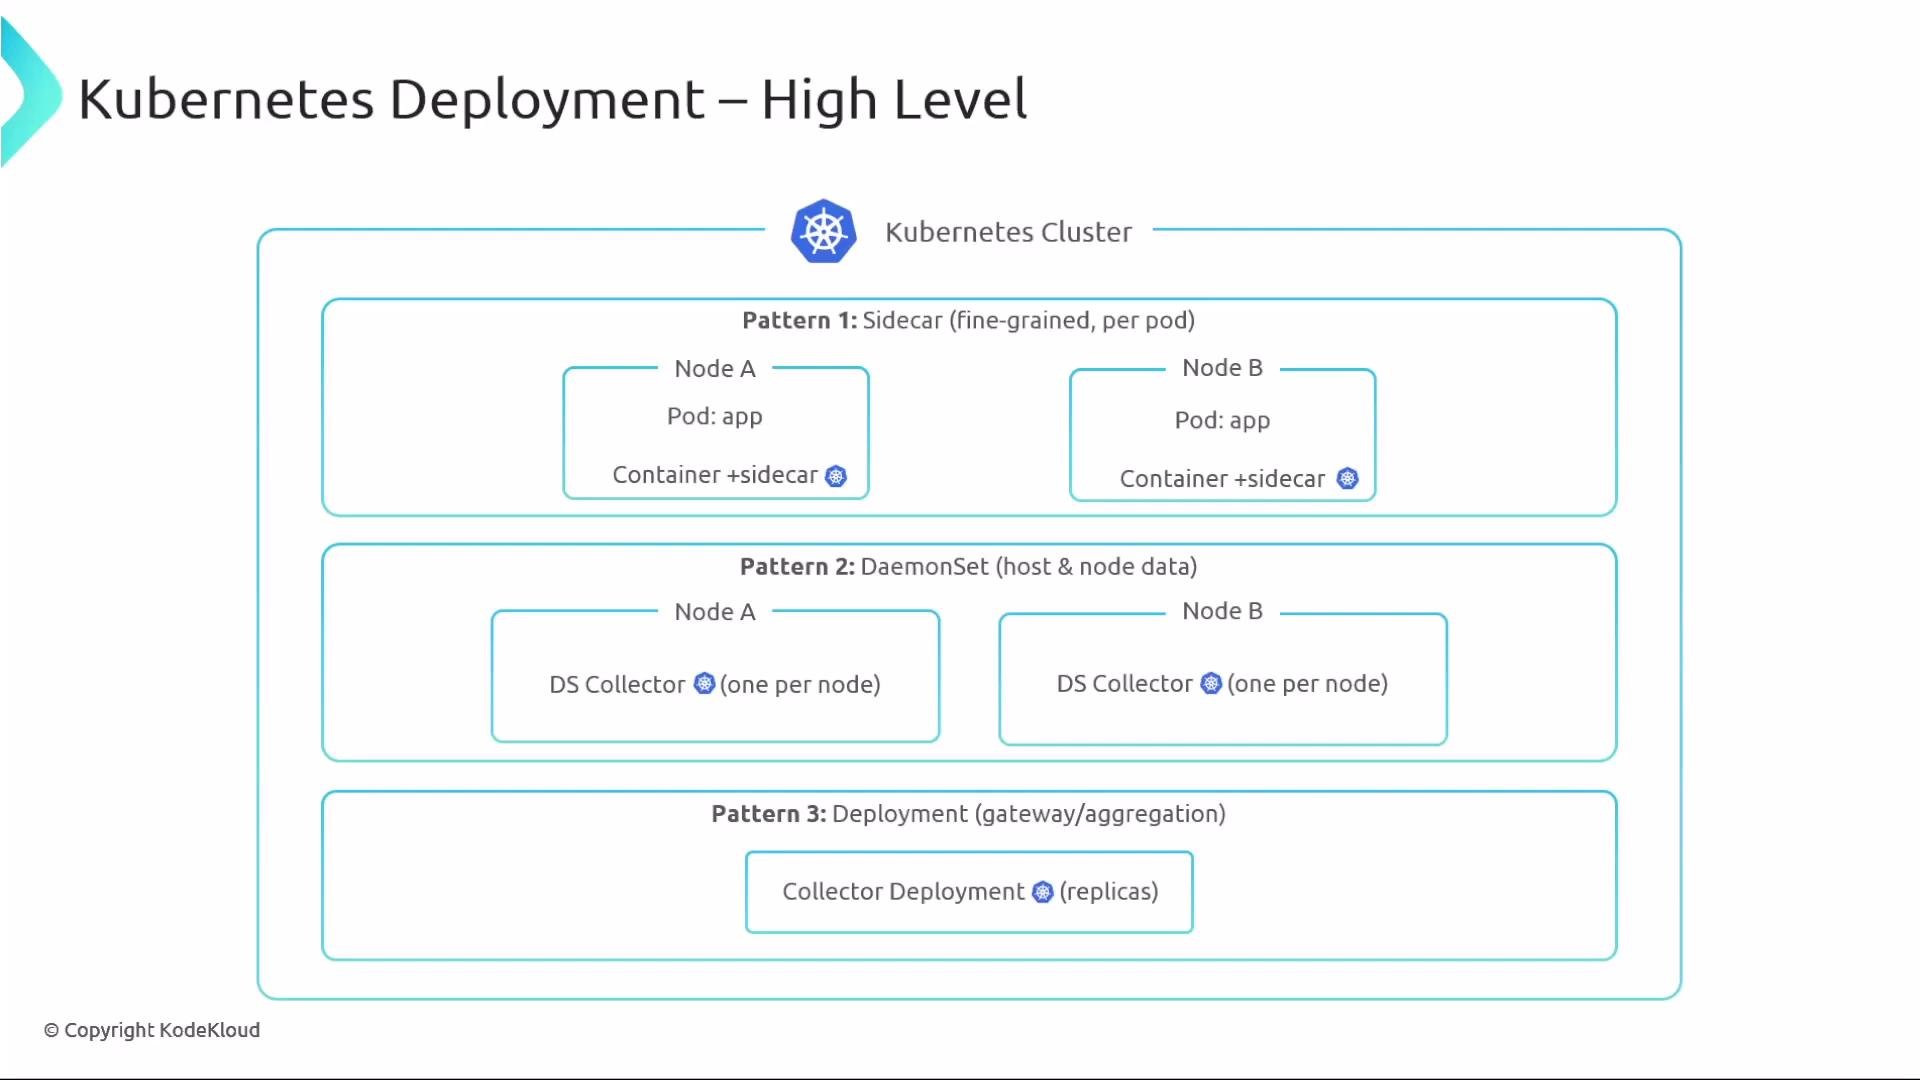
Kubernetes deployment patterns (high-level)
Common deployment patterns:- Sidecar: a collector runs alongside each application pod — ideal for fine-grained telemetry capture and low-latency forwarding.
- DaemonSet: one collector per node — useful for node-level and host-level telemetry collection.
- Centralized Deployment: a set of centralized collectors that aggregate, process, and export telemetry for multiple services.
Operator-driven management
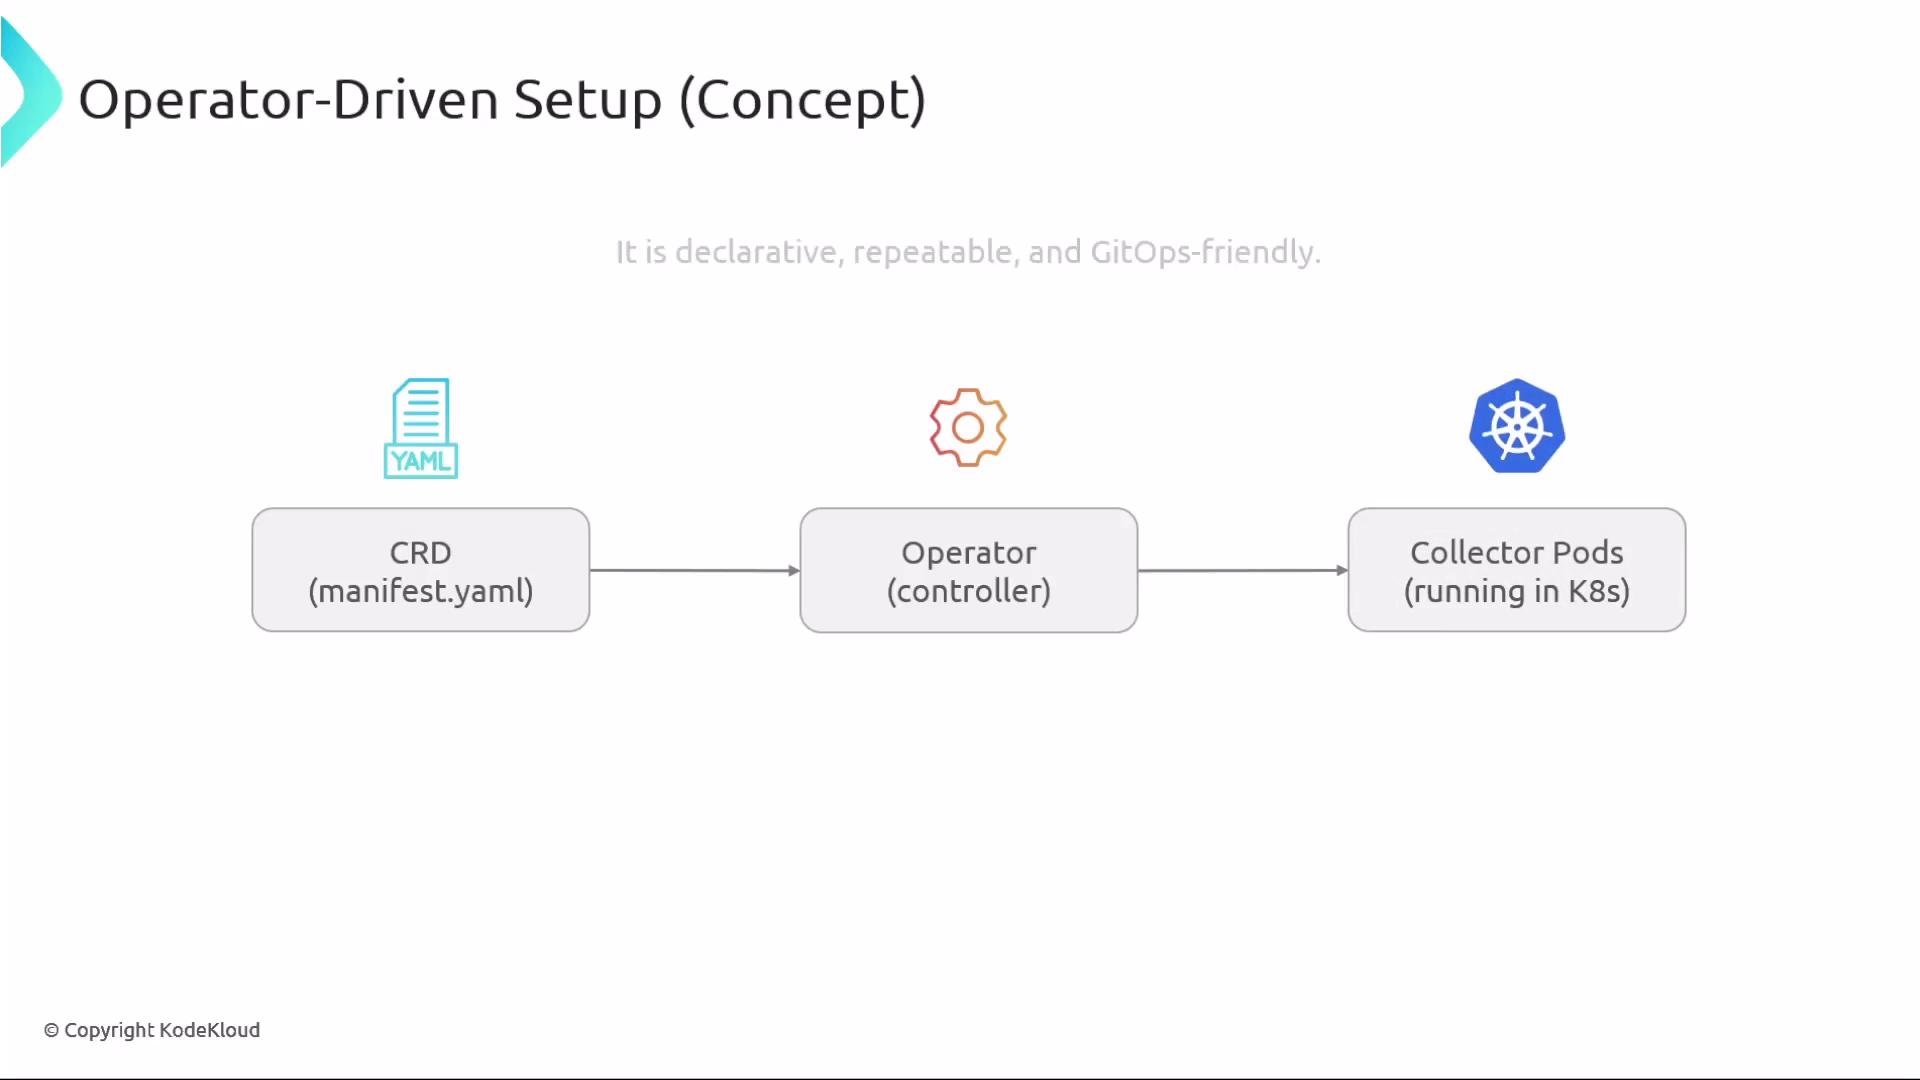
An OpenTelemetry Operator automates collector lifecycle management in Kubernetes:- Declare a Custom Resource (CR) manifest.
- The operator watches and reconciles the CR, creating and managing collector pods.
- This approach fits GitOps practices and simplifies upgrades and scaling.
For production, prefer validated OCB builds or vendor-supported distributions and deploy collectors declaratively (for example, via the OpenTelemetry Operator) to ensure reproducibility and easier operations.
Wrap-up
- Collector Core: minimal and stable — ideal for predictable, low-risk deployments.
- Collector Contrib: broad integrations and faster innovation — validate component maturity and stability before production use.
- Use feature gates to control experimental behavior and test thoroughly.
- For scale and safety, build a tailored collector with OCB or adopt a vendor-supported distribution.
- In Kubernetes, deploy collectors declaratively (Operator/CRDs) and choose the deployment pattern that fits your telemetry and operational needs.
Links and references
- OpenTelemetry Collector Builder (OCB): https://github.com/open-telemetry/opentelemetry-collector-builder
- OpenTelemetry Collector Releases: https://github.com/open-telemetry/opentelemetry-collector-releases
- OpenTelemetry Operator: https://github.com/open-telemetry/opentelemetry-operator
- OpenTelemetry project: https://opentelemetry.io/