

Defining Resources
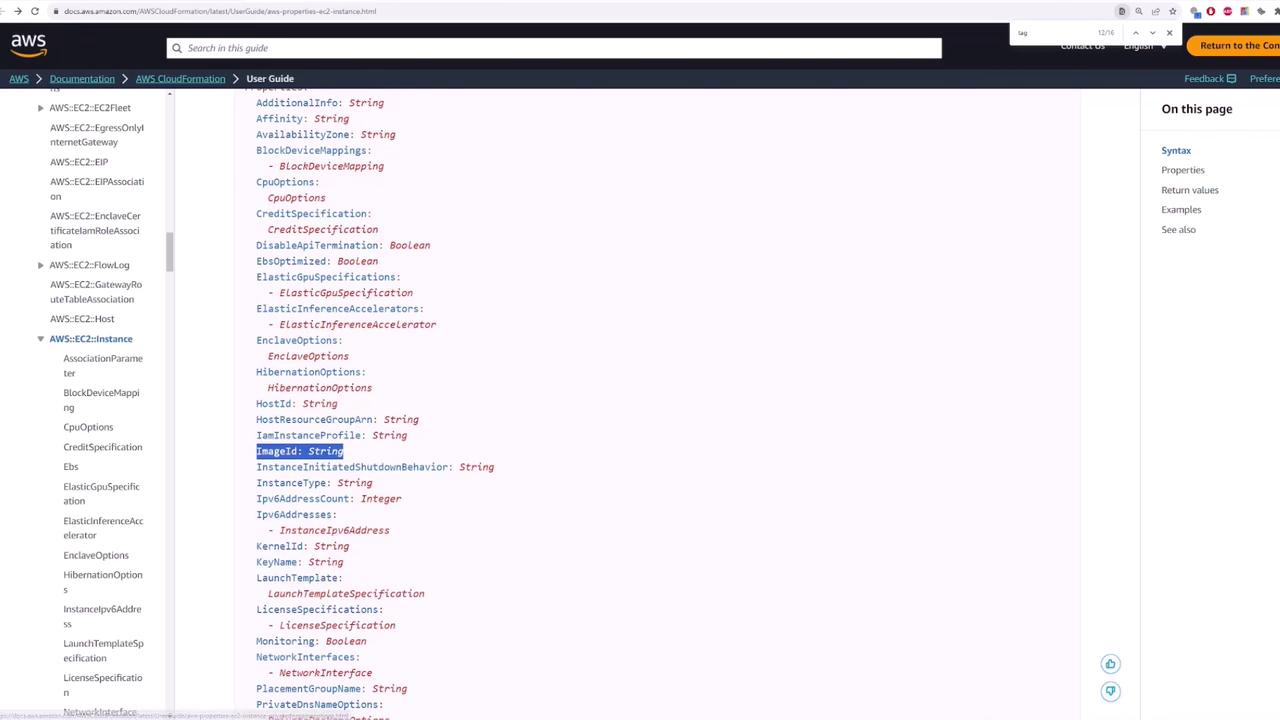
Under the Resources section, you define all the resources to be deployed by CloudFormation. In our example, we create an EC2 instance named “Ec2Instance.” The resource type is specified using the AWS resource type identifier, in this caseAWS::EC2::Instance.
Below is an example snippet that demonstrates how to define an EC2 instance resource:
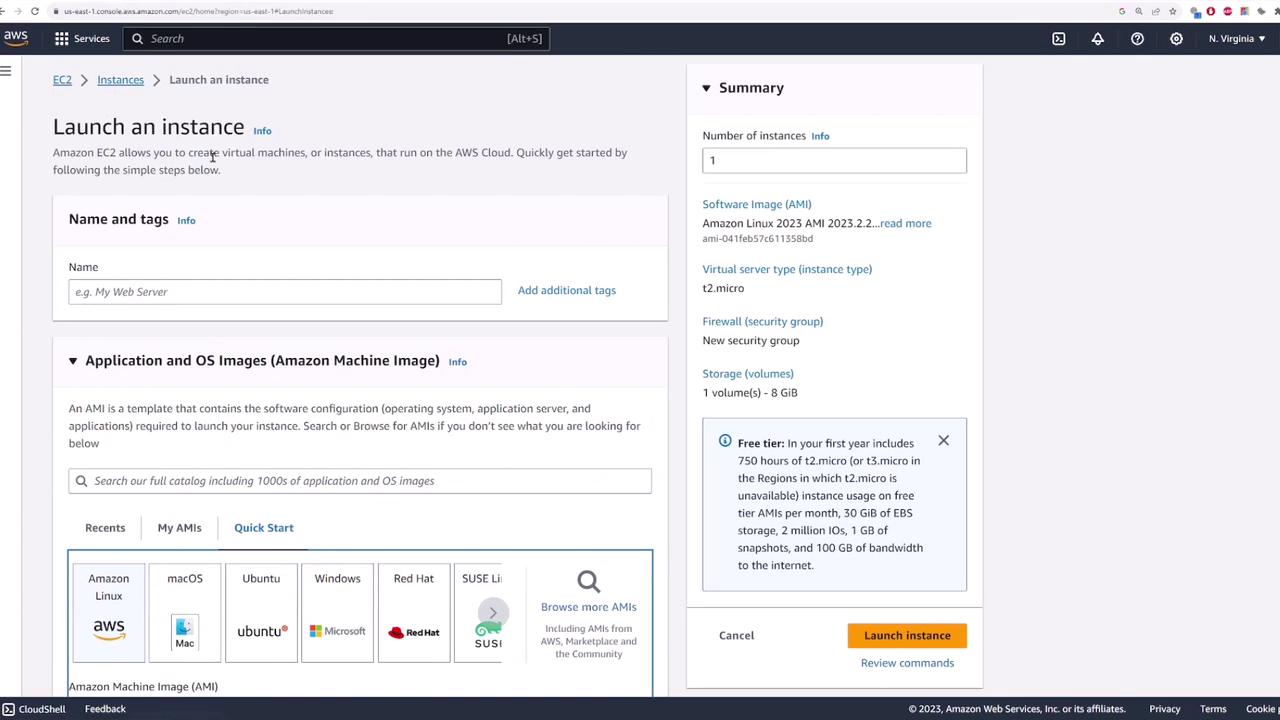
When choosing an AMI, navigate to the EC2 console, launch a new instance, select the desired image, and then copy its AMI ID.
Adding a Security Group
Next, add a security group resource to control access to your EC2 instance. Under the Resources section, create a new resource called “InstanceSecurityGroup” with the typeAWS::EC2::SecurityGroup. Configure the Properties with a group description and ingress rules. For example, to allow SSH access on TCP port 22:
Associating the Security Group with the EC2 Instance
To automatically associate the security group with your EC2 instance, include the SecurityGroups property in the EC2 instance configuration. Use CloudFormation’s intrinsic function!Ref to reference the security group defined in the same template:
Introducing Parameters
CloudFormation allows you to make the template dynamic by using input parameters. For instance, if you want the user to specify a name for the EC2 instance, define a Parameters section:Defining Outputs
Outputs enable you to extract data from your deployed resources. In this example, the public IP address of the EC2 instance is output so you can easily reference it after deployment:!GetAtt function retrieves attributes—for example, the PublicIp—from the specified resource.
Below is the complete CloudFormation template that combines all the elements discussed:
Deploying the CloudFormation Stack
Once your template is ready, follow these steps to deploy it using the AWS CloudFormation console:- Open the CloudFormation service in the AWS console.
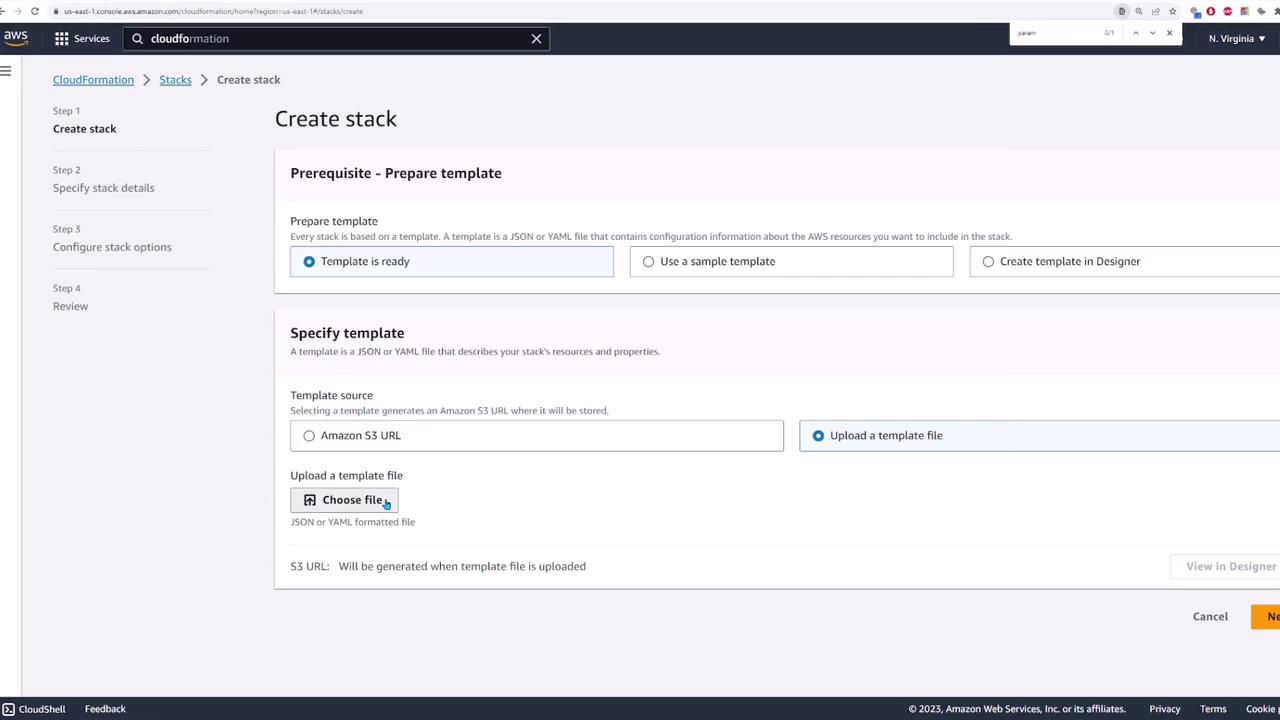
- Click on “Create stack” and select “Upload a template file.”
- Choose your “stack.yaml” file and click “Next.”
- Enter a stack name (e.g., “my-deployment”). The template’s parameters will be displayed. Provide the EC2 instance name (for example, “this is the server”) and select your key pair from the dropdown.
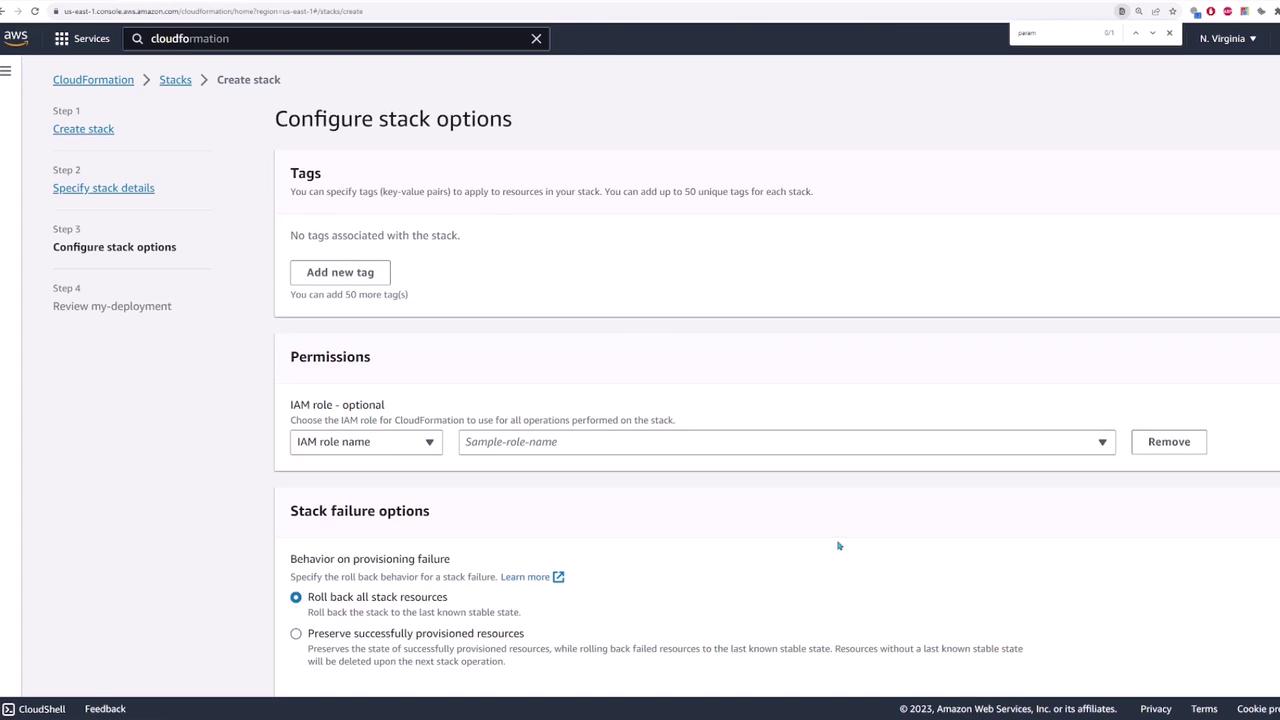
- Click “Next” to configure stack options such as tags, permissions, and rollback options. You can leave these options blank if they are not required.
- Review your configuration and click “Submit” to deploy the stack.
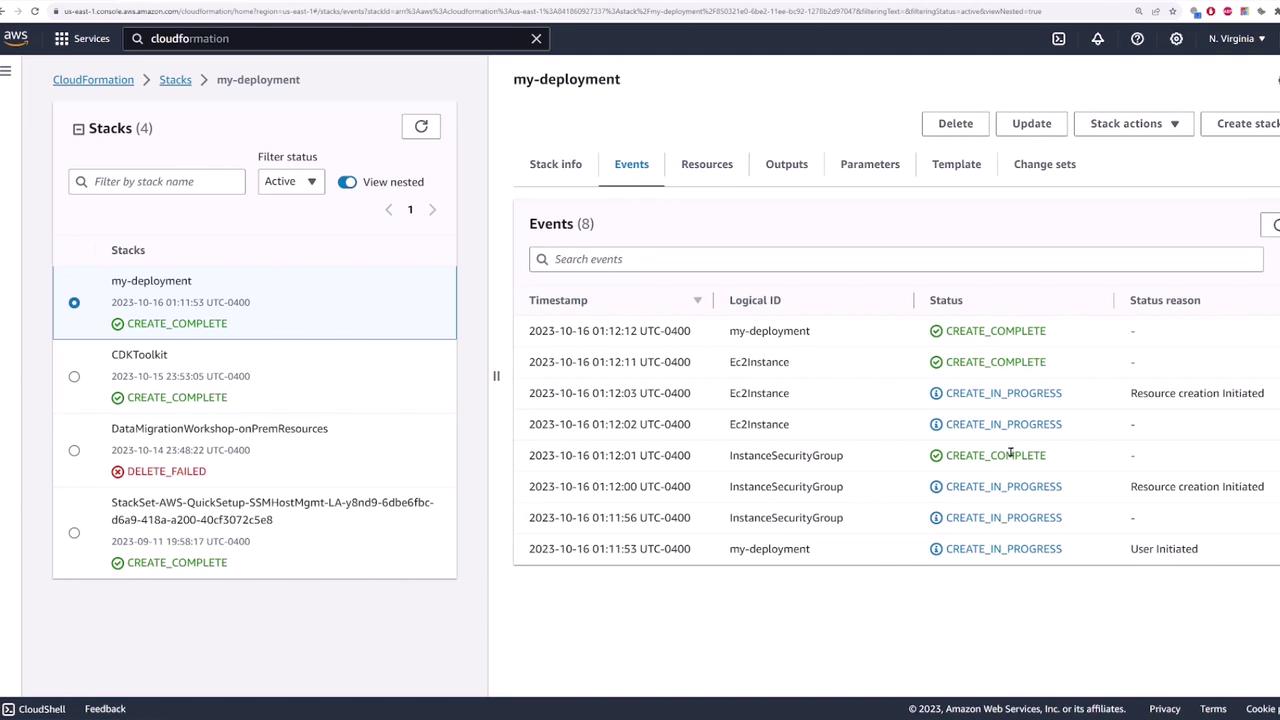
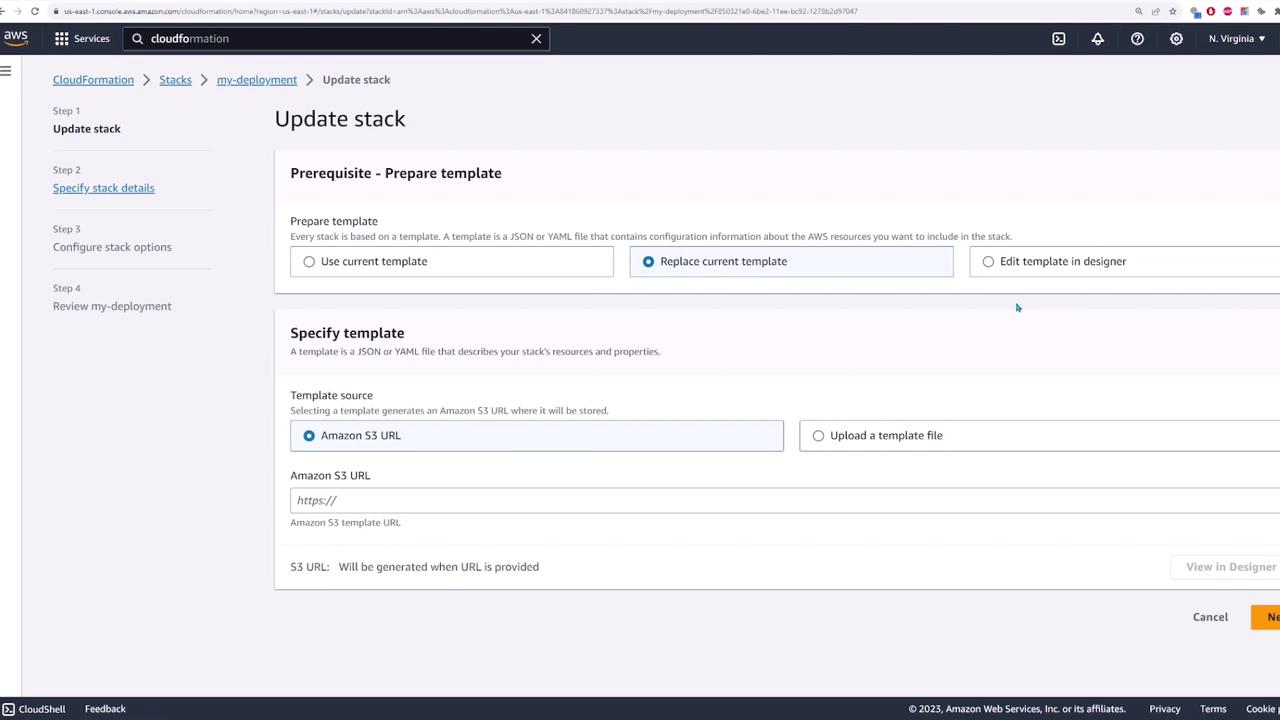
This concludes the demo on working with AWS CloudFormation. By leveraging CloudFormation, you can automate the provisioning of AWS infrastructure consistently and efficiently. Happy deploying, and explore additional configurations and features to further enhance your AWS environment!