Example: Creating an EC2 Instance
To create an EC2 instance using the AWS CLI, execute a command similar to the following:run-instances operation in the EC2 service. Each flag (such as --image-id, --count, --instance-type, --key-name, --security-group-ids, and --subnet-id) corresponds to the parameters you would normally configure via the AWS console.
Benefits of Using AWS CLI
The AWS CLI offers several key advantages:-
Efficiency:
Using the CLI is much faster compared to the console. Instead of clicking through menus, you execute commands, making it convenient to copy, paste, and share instructions with colleagues. -
Enhanced Configuration Options:
Some advanced features and settings are accessible only through the CLI, offering you greater control over AWS services. -
Collaboration:
Command-line instructions standardize operations and simplify troubleshooting. CLI logs provide quick insights into any issues without the need to sift through the console interface.
For many scenarios, using the CLI will streamline your workflow and maintain consistency across your team.
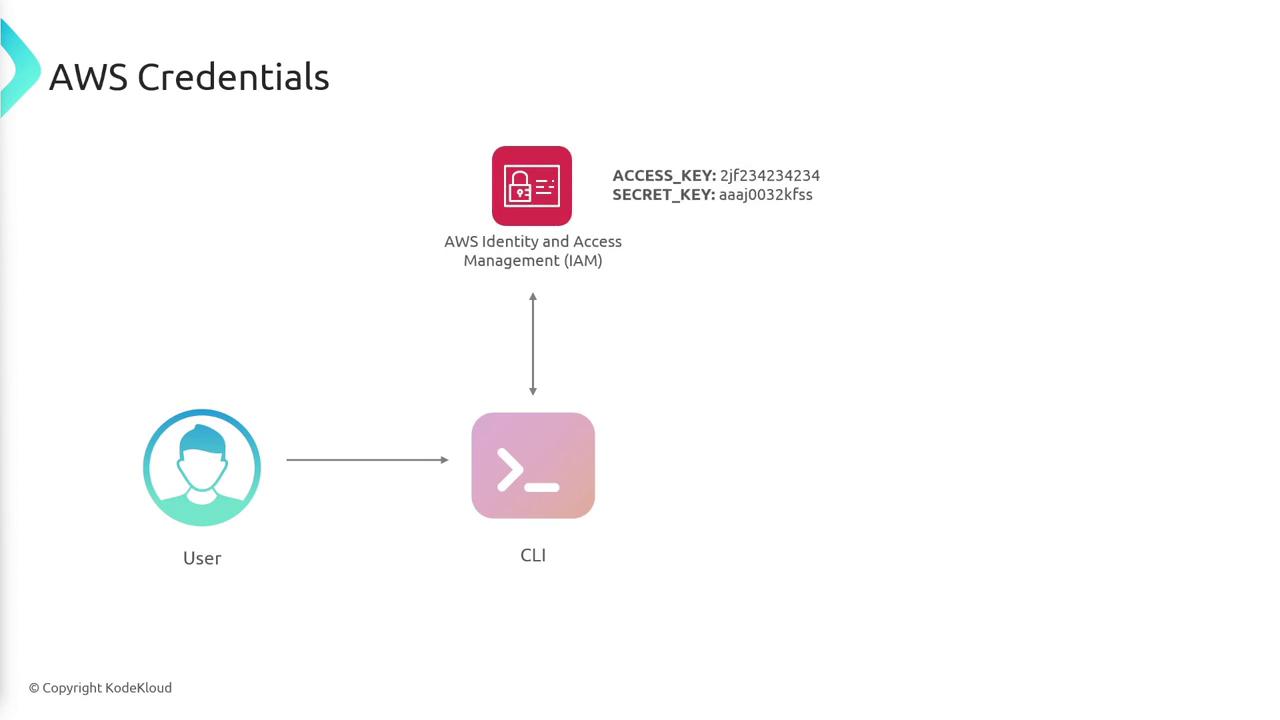
Configuring AWS CLI Credentials
To communicate with AWS, the CLI requires valid credentials, which you can obtain from AWS Identity and Access Management (IAM). These credentials consist of an access key and a secret key tied to a specific IAM user account. The diagram below outlines the process of transmitting these credentials from the user to IAM via the CLI: