This article explores using AWS Security Groups and Network ACLs to control traffic flow to resources, including launching an EC2 instance and setting up a web server.
In this lesson, we explore how to use AWS Security Groups and Network ACLs (NACLs) to control traffic flow to and from your resources. We begin by launching an EC2 instance and applying a security group, then move on to modifying rules and setting up a web server.
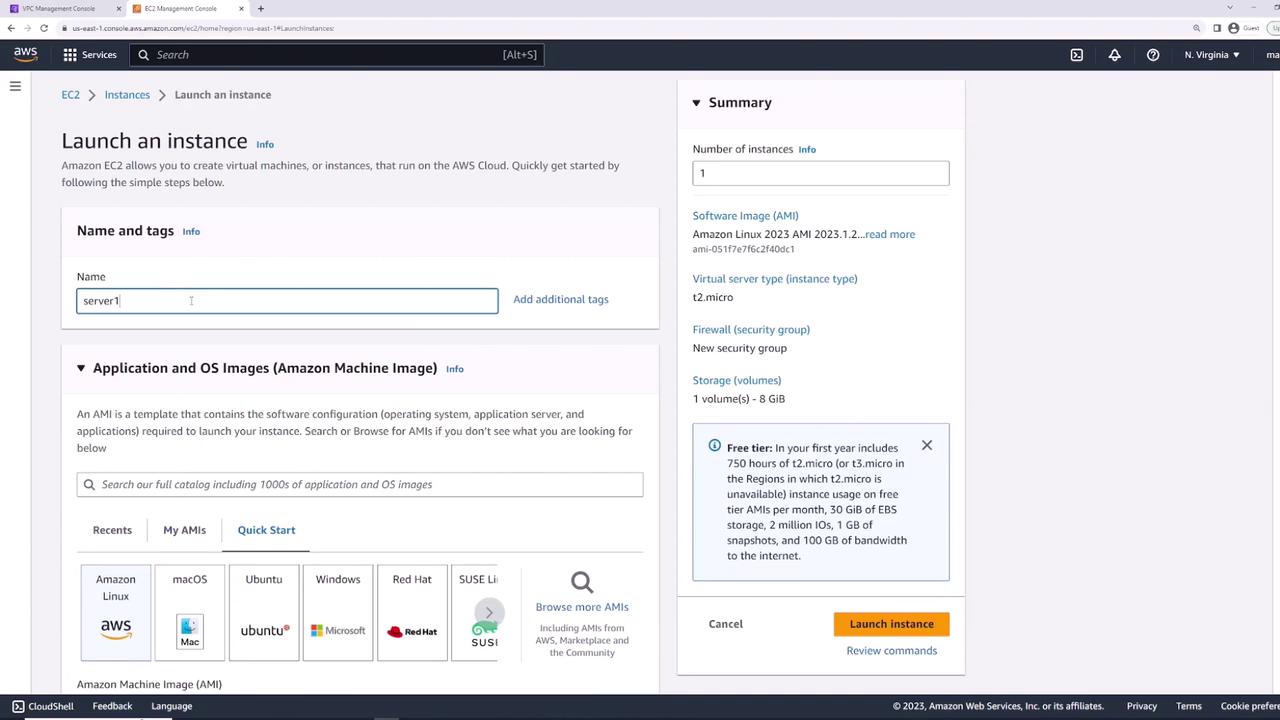
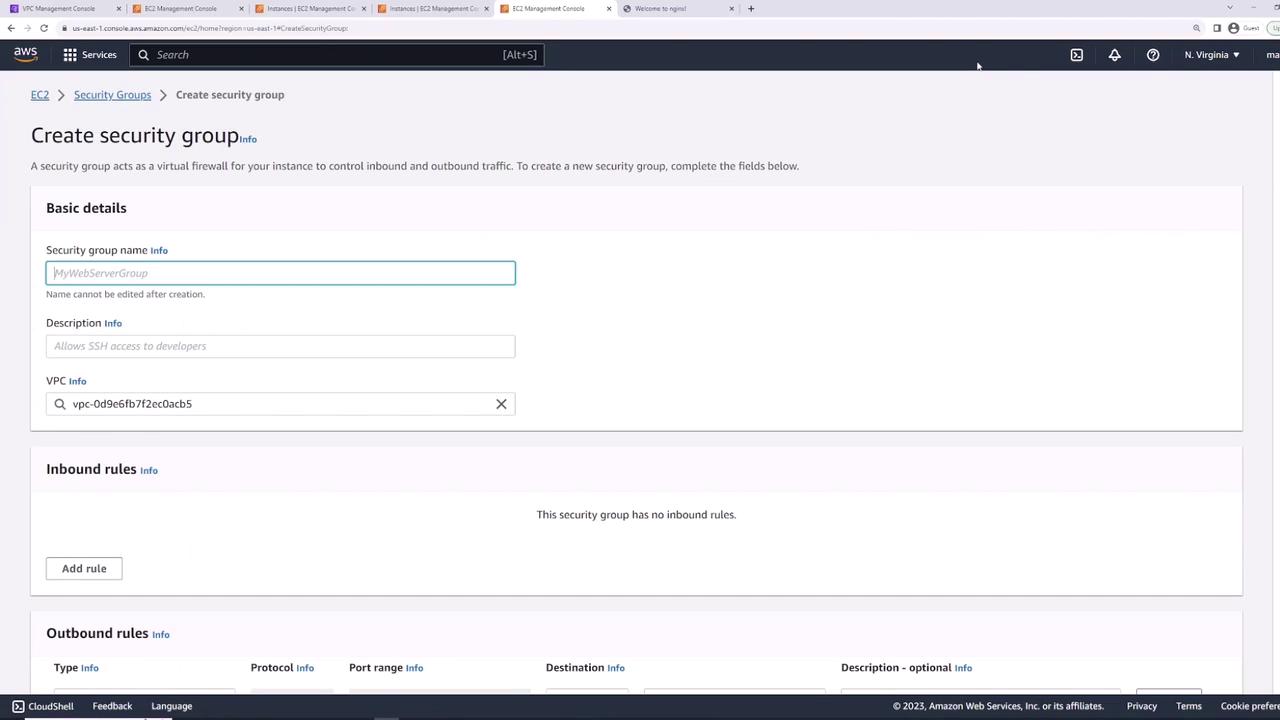
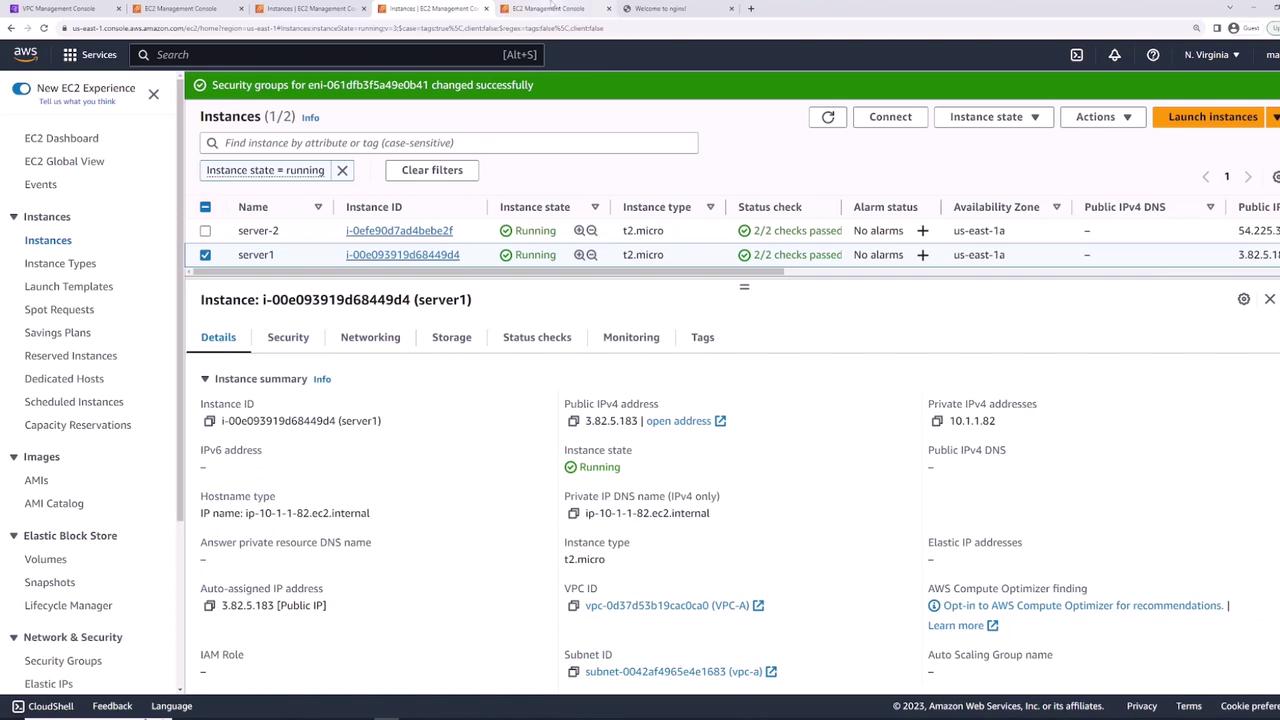
First, create an EC2 instance—named “server one”—using the default Linux AMI. During the networking configuration, select your pre-existing VPC. At this point, a new security group is automatically created with a default inbound rule for SSH (TCP port 22).
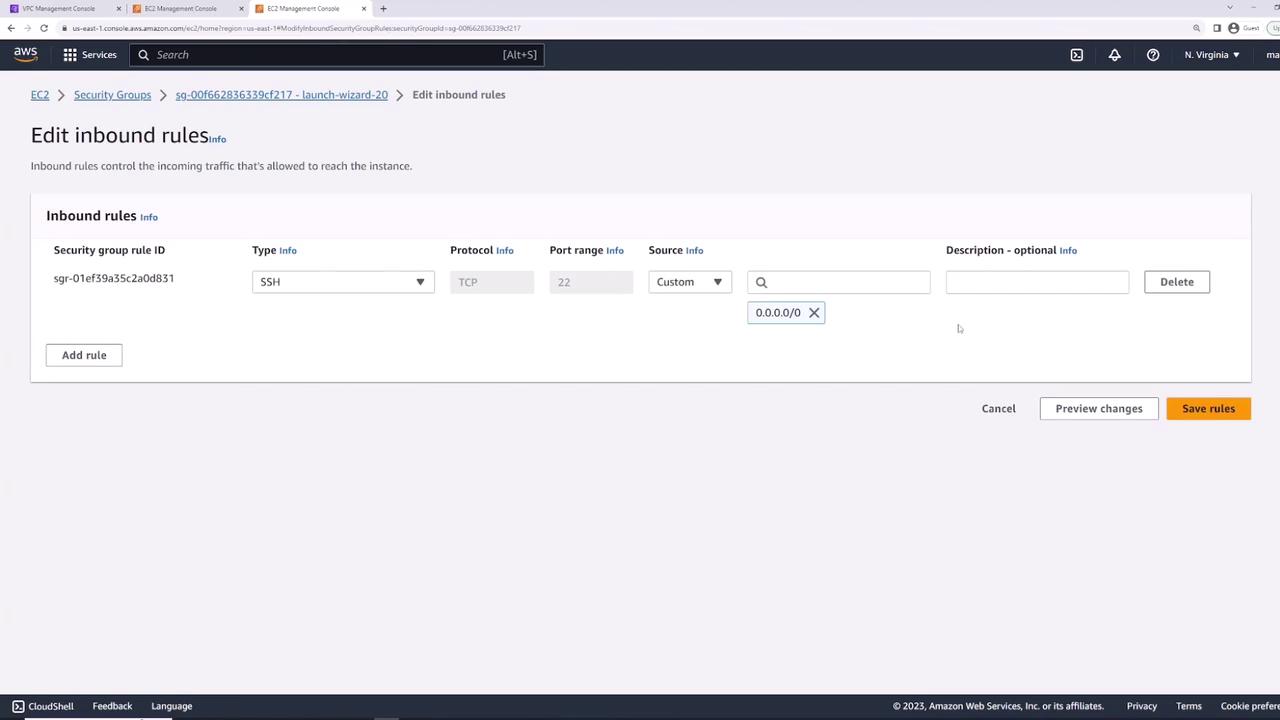
By default, the SSH rule permits access from any IP address (0.0.0.0/0), which is useful for testing. However, in a production environment, it is recommended to restrict SSH access to known IP addresses—for example, your corporate headquarters.After launching the instance, navigate to the security tab in the console. Here, you will see the security group details, confirming the inbound access on port 22 and an outbound rule that permits all traffic.
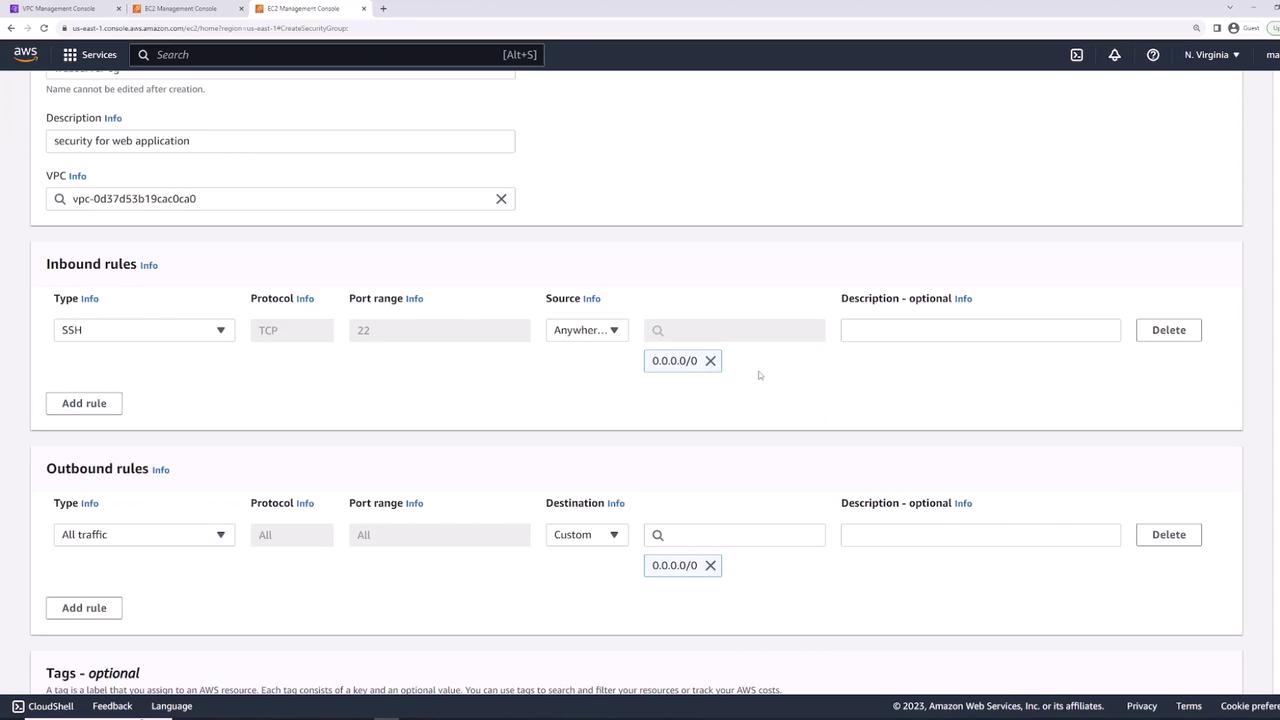
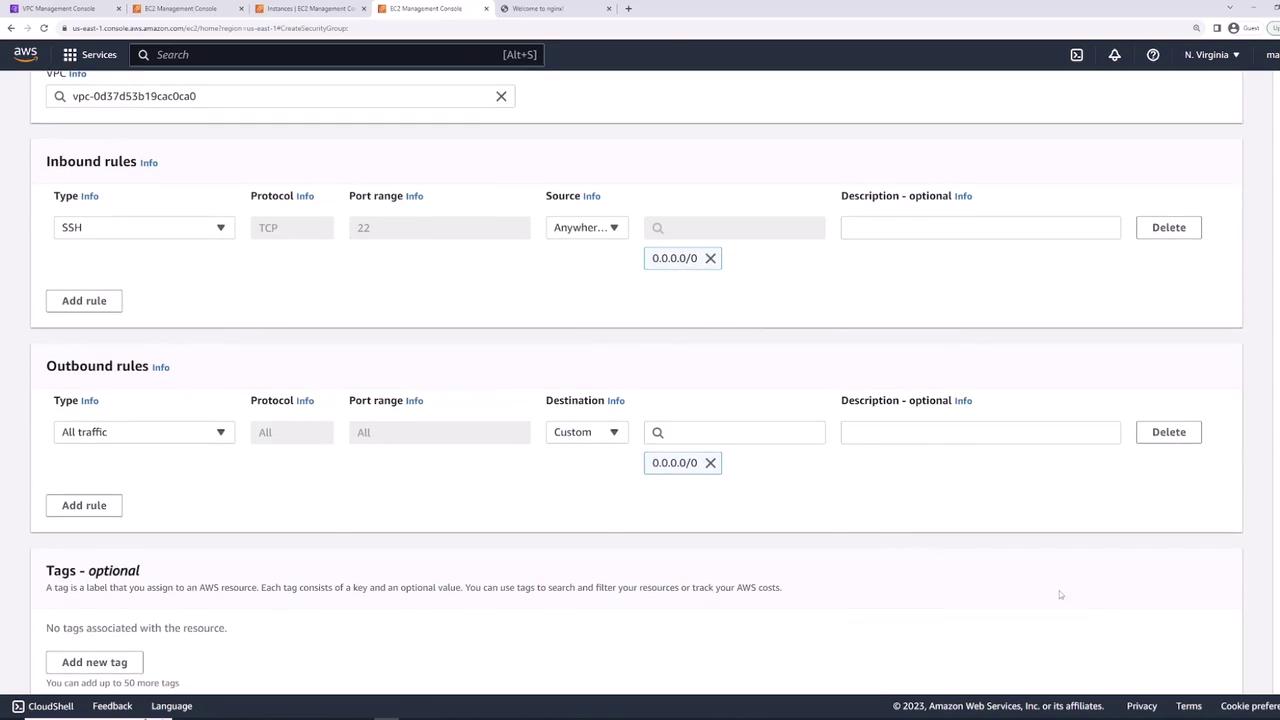
Next, create a new security group for web server use. Name it “web server security group” (or “web applications”) and select the appropriate VPC. Configure the following rules:
Inbound: Allow SSH (TCP port 22) from any IP.
Outbound: Allow all traffic.
Attach this new security group to your EC2 instance by choosing “Actions” → “Security” → “Change Security Groups.” Remove the old group and add the “web server security group.” With this configuration, SSH connectivity is restored as the new security group permits traffic on port 22.
Since “server one” is now set up to host a web server, install Nginx by executing:
sudo yum install nginx
After installation, start the Nginx service. Verify that Nginx is running locally on the instance using:
curl localhost
The command should return an HTML document similar to the following, confirming that Nginx is operational:
<!DOCTYPE html><html><head><title>Welcome to nginx!</title><style>html { color-scheme: light dark; }body { width: 35em; margin: 0 auto; font-family: Tahoma, Verdana, Arial, sans-serif; }</style></head><body><h1>Welcome to nginx!</h1><p>If you see this page, the nginx web server is successfully installed and working. Further configuration is required.</p><p>For online documentation and support please refer to <a href="http://nginx.org">nginx.org</a>.<br/> Commercial support is available at <a href="http://nginx.com">nginx.com</a>.</p><p><em>Thank you for using nginx.</em></p></body></html>
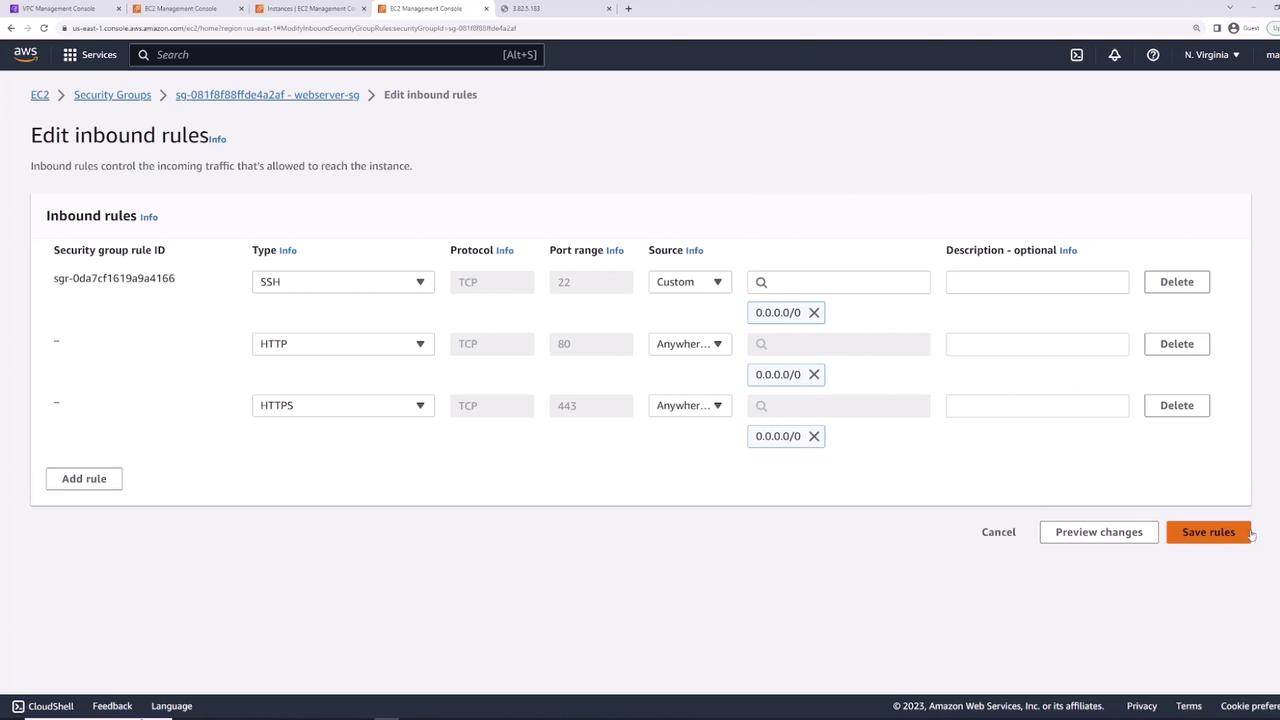
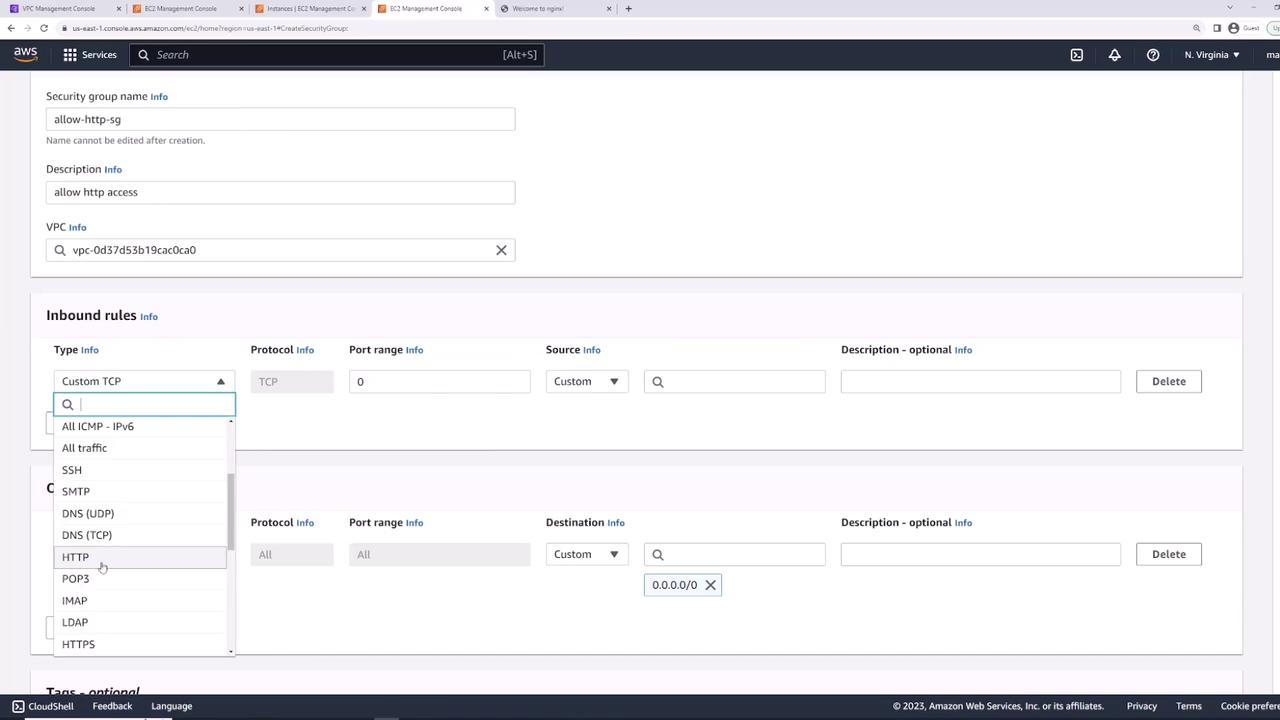
To access the web server from your browser using the instance’s public IP, note that the current security group only allows SSH (port 22), causing the page to hang. To resolve this, update the security group by adding new inbound rules for web traffic:
HTTP: Allow TCP port 80 from any IP.
HTTPS: Allow TCP port 443 from any IP.
After updating the rules, refresh the security group settings. You should now be able to access the Nginx welcome page via your browser.
Security groups act as stateful firewalls. When an inbound request is allowed (e.g., on port 80), the returning outbound traffic is automatically permitted—even if outbound rules are restrictive.
If your instance initiates an outbound connection (for example, using the ping command), ensure your outbound rules explicitly allow that traffic. For instance, running:
ping 8.8.8.8
will fail if no corresponding outbound rule exists. Restoring an outbound rule that allows all traffic will enable such outbound connections.
AWS allows you to attach multiple security groups to a single EC2 instance. The rules from all attached groups are merged. This modular approach enables you to separate concerns by creating:
An “allow SSH” security group (permitting only SSH inbound traffic).
An “allow HTTP” security group (permitting only HTTP inbound traffic).
Attach both groups to your instance to collectively allow SSH and HTTP traffic.
To update the security groups for “server one,” follow these steps:
Go to “Actions” → “Security” → “Change Security Groups.”
Remove the existing security group.
Add both the “allow SSH” and “allow HTTP” security groups.
Save the changes to ensure that port 22 (SSH) and port 80 (HTTP) are permitted.
This modular method simplifies the management of standardized rules across multiple instances. For example, you can secure 50 web servers by applying a common HTTP security group.
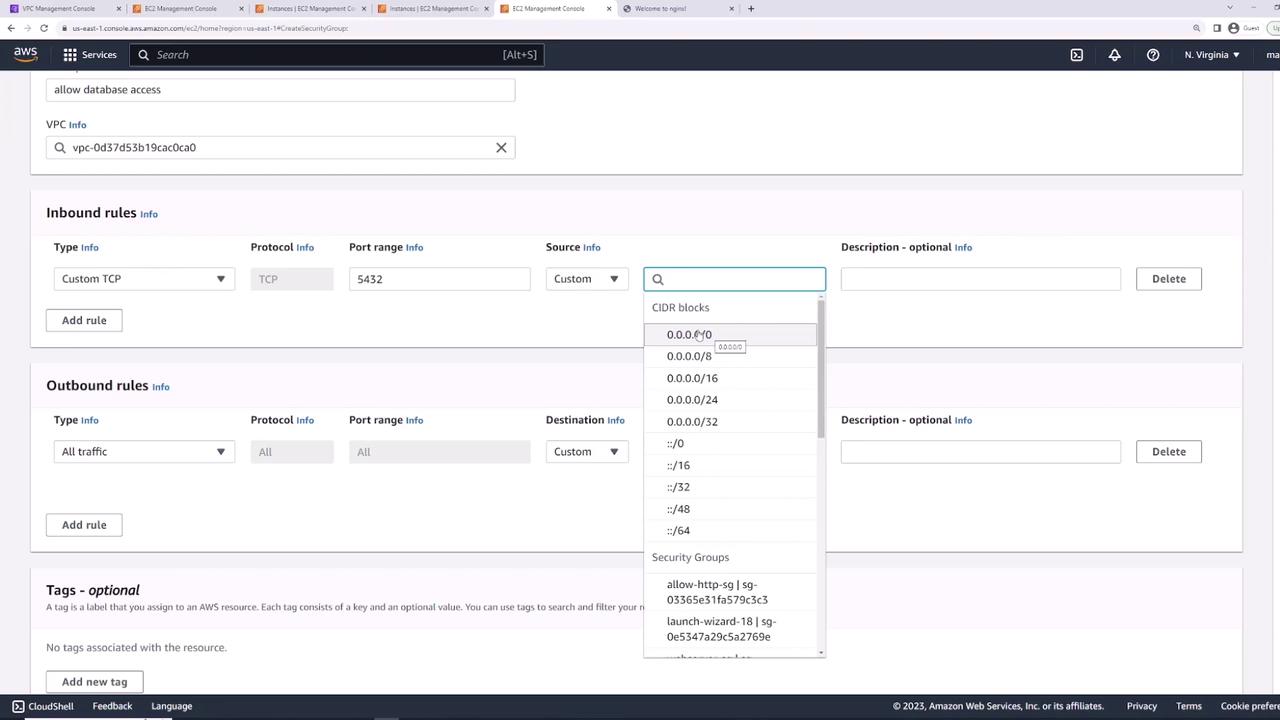
Finally, create a security group for your database instance. Name it “database security group” and include an inbound rule for your database port (such as port 5432 for PostgreSQL). In production systems, avoid exposing the database directly to the internet. Instead of allowing access from 0.0.0.0/0, restrict inbound access to your web servers.One effective method is to set the source to any resource associated with the “allow HTTP” security group. This dynamic approach automatically includes new web servers with that security group without manually updating IP addresses.
Launch an EC2 instance with a default security group.
Modify security group rules to control traffic.
Install and validate a web server (Nginx) on an EC2 instance.
Apply multiple security groups for modular and scalable rule management.
Implement security group-based restrictions for database instances instead of using static IP addresses.
Additionally, exploring Network ACLs (NACLs) for subnet-level traffic filtering is a natural next step in enhancing your network security. Happy cloud computing!